Forum Replies Created
-
AuthorPosts
-
10th August 2020 at 12:17 pm #25999
 beachcomberParticipant
Slow progress but …. well slow ! That’s been progress with life and the Glemseck this year.
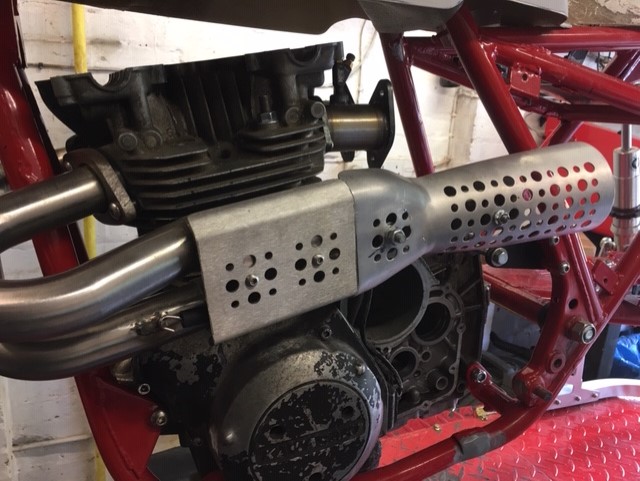
Lot’s of incidental work going on, but nothing that constitutes real visible progress. The exhaust was due to be completed 2 moths ago, but the company making the 120 degree bends [ inside the frame ] and swaging the ends can’t get the basic stock from their suppliers. That would have been a real boost to see the exhaust system completed.
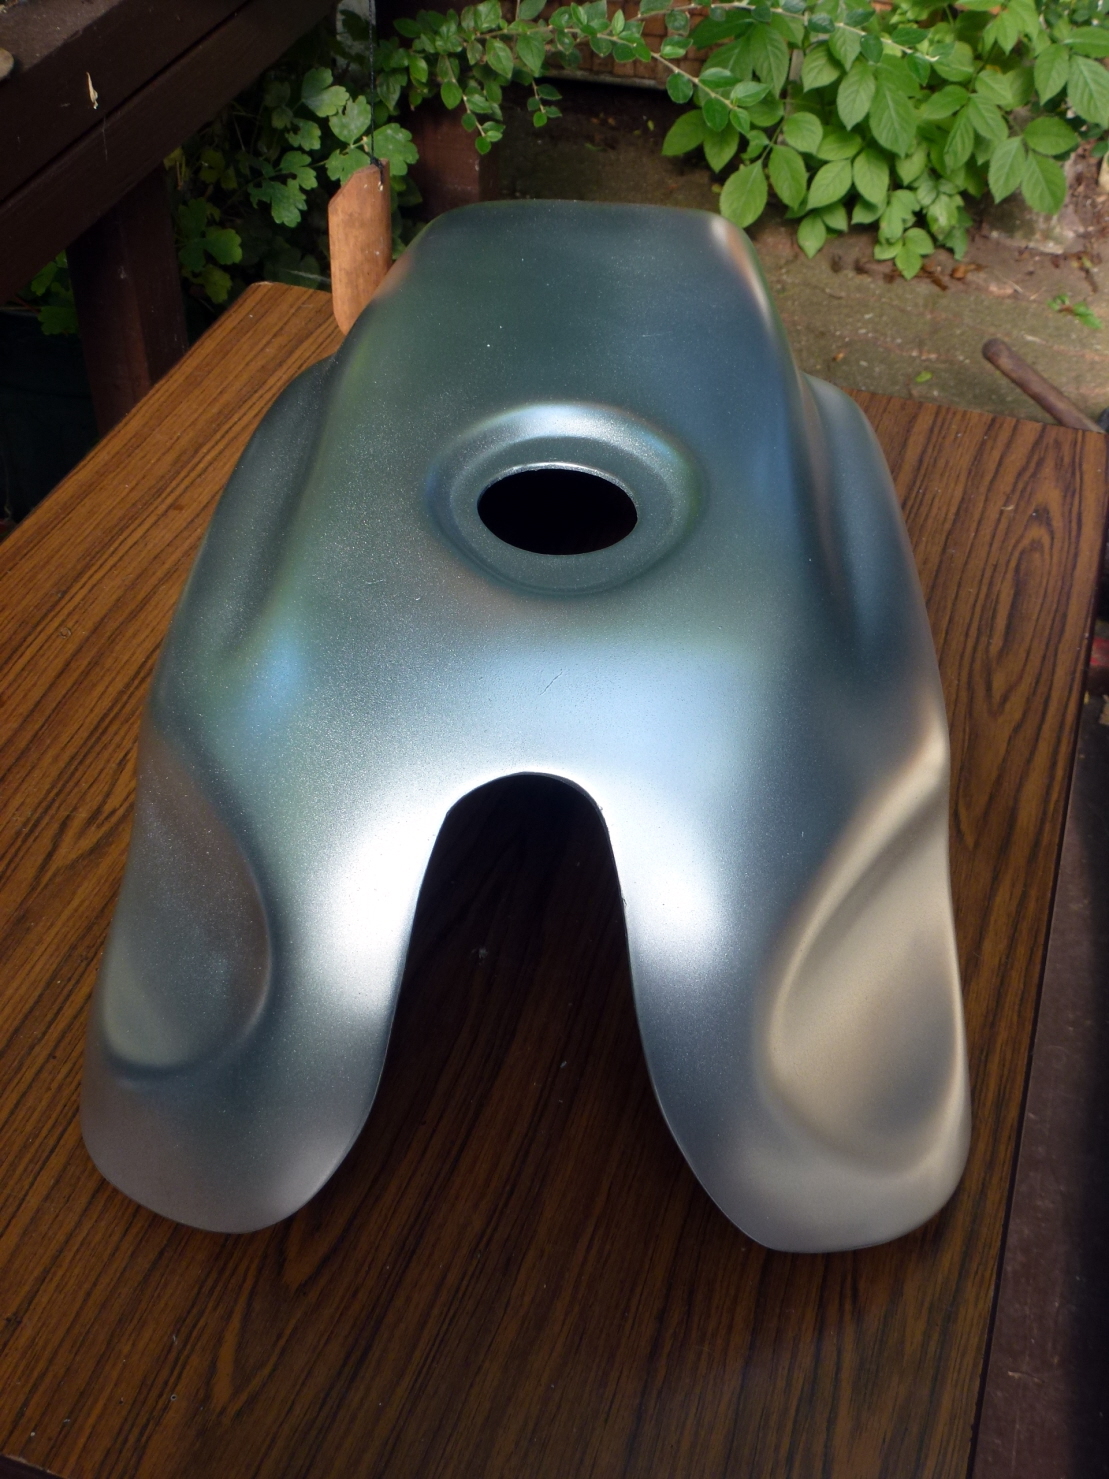
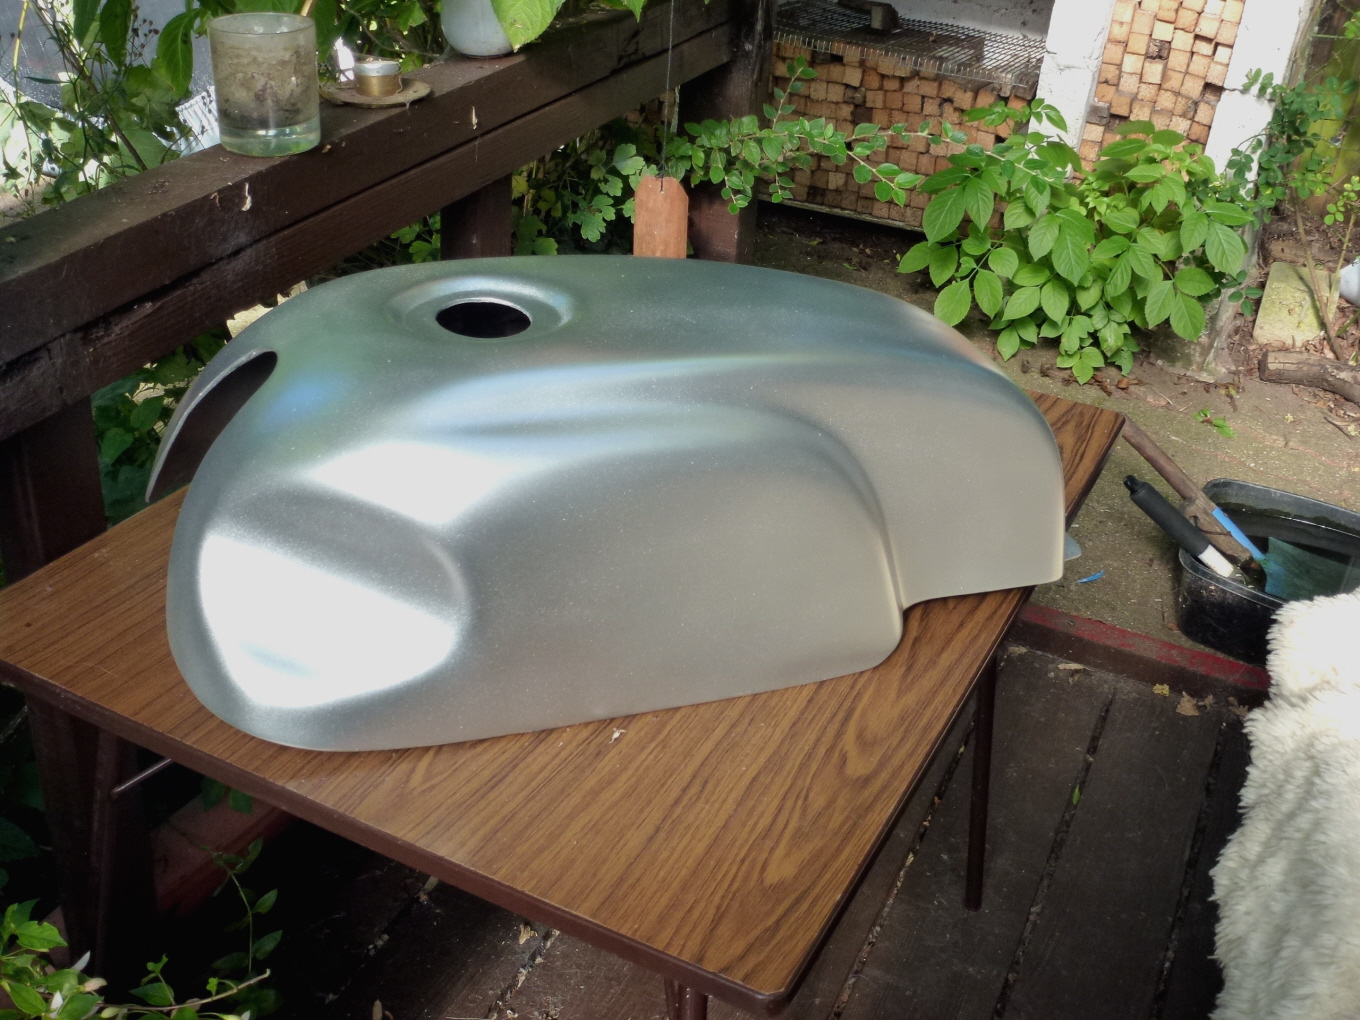
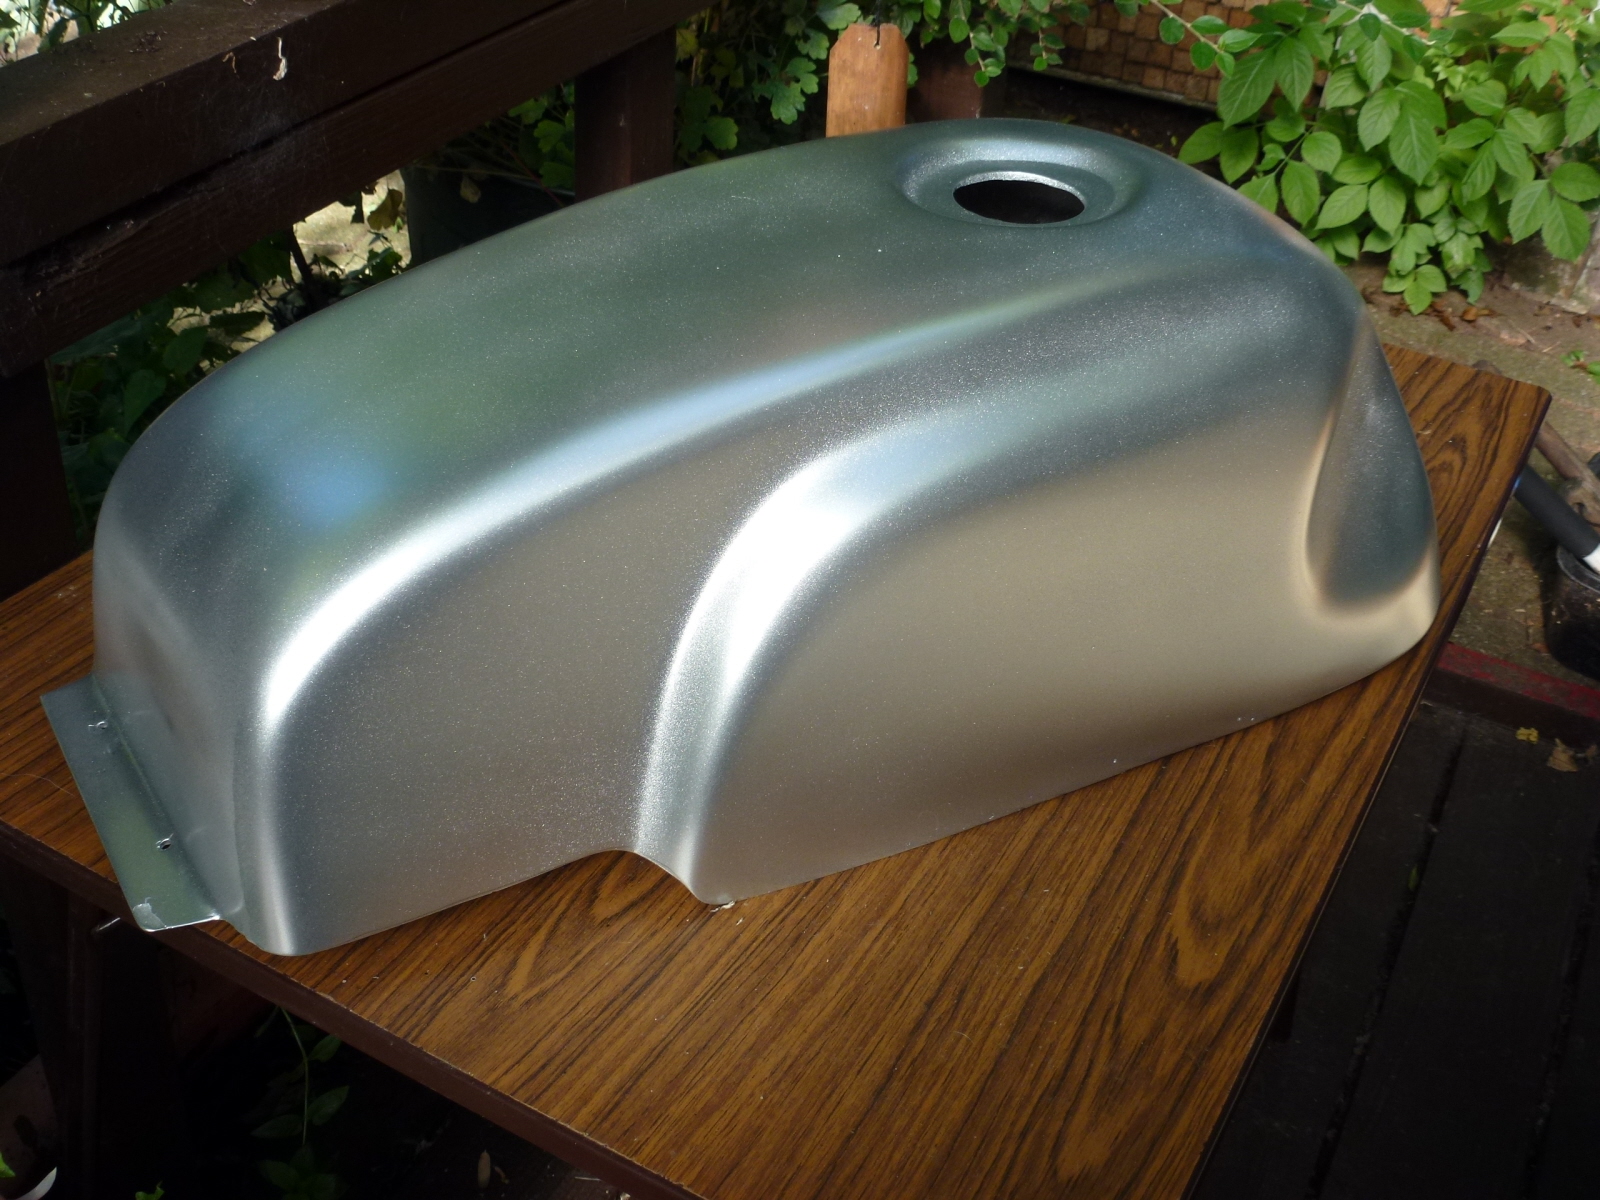
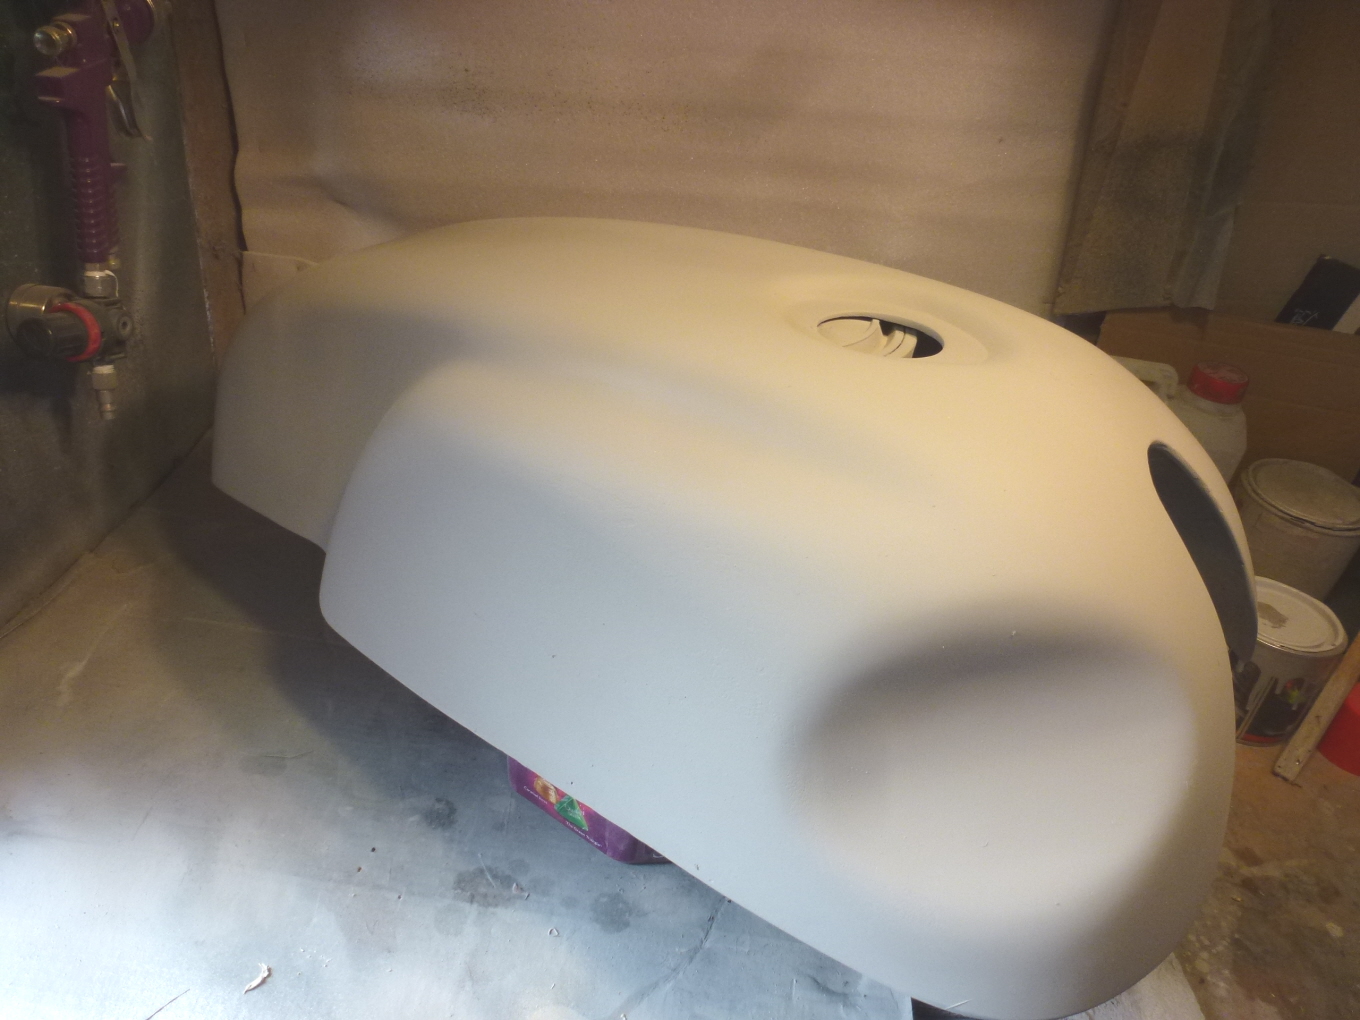
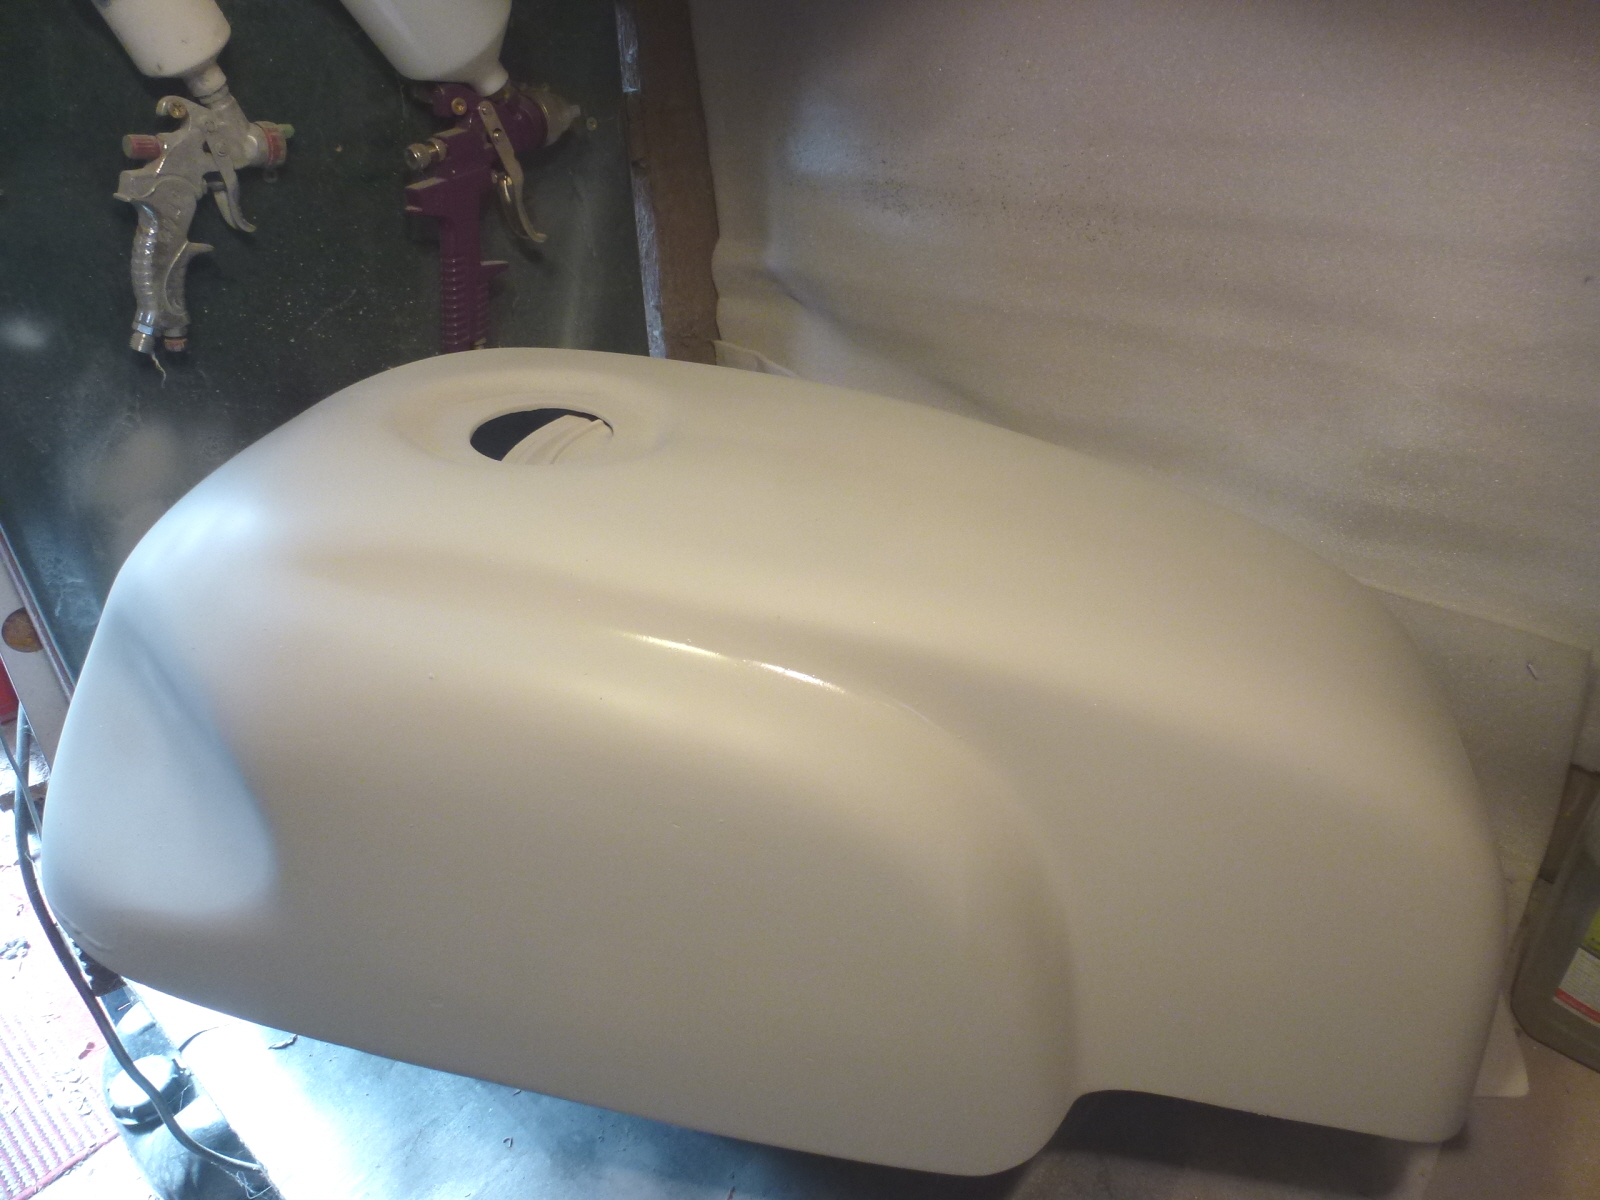
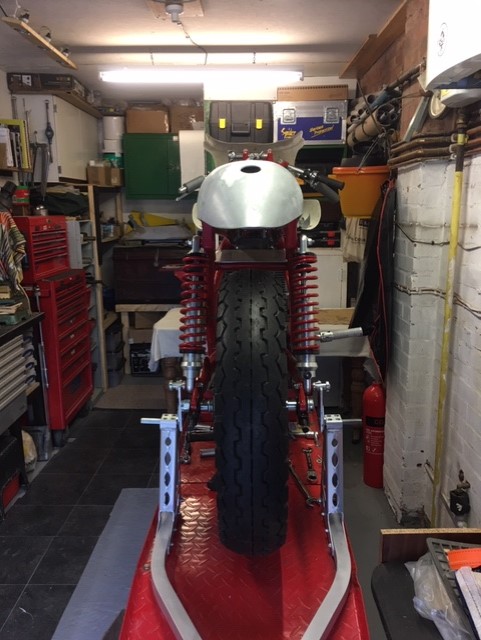
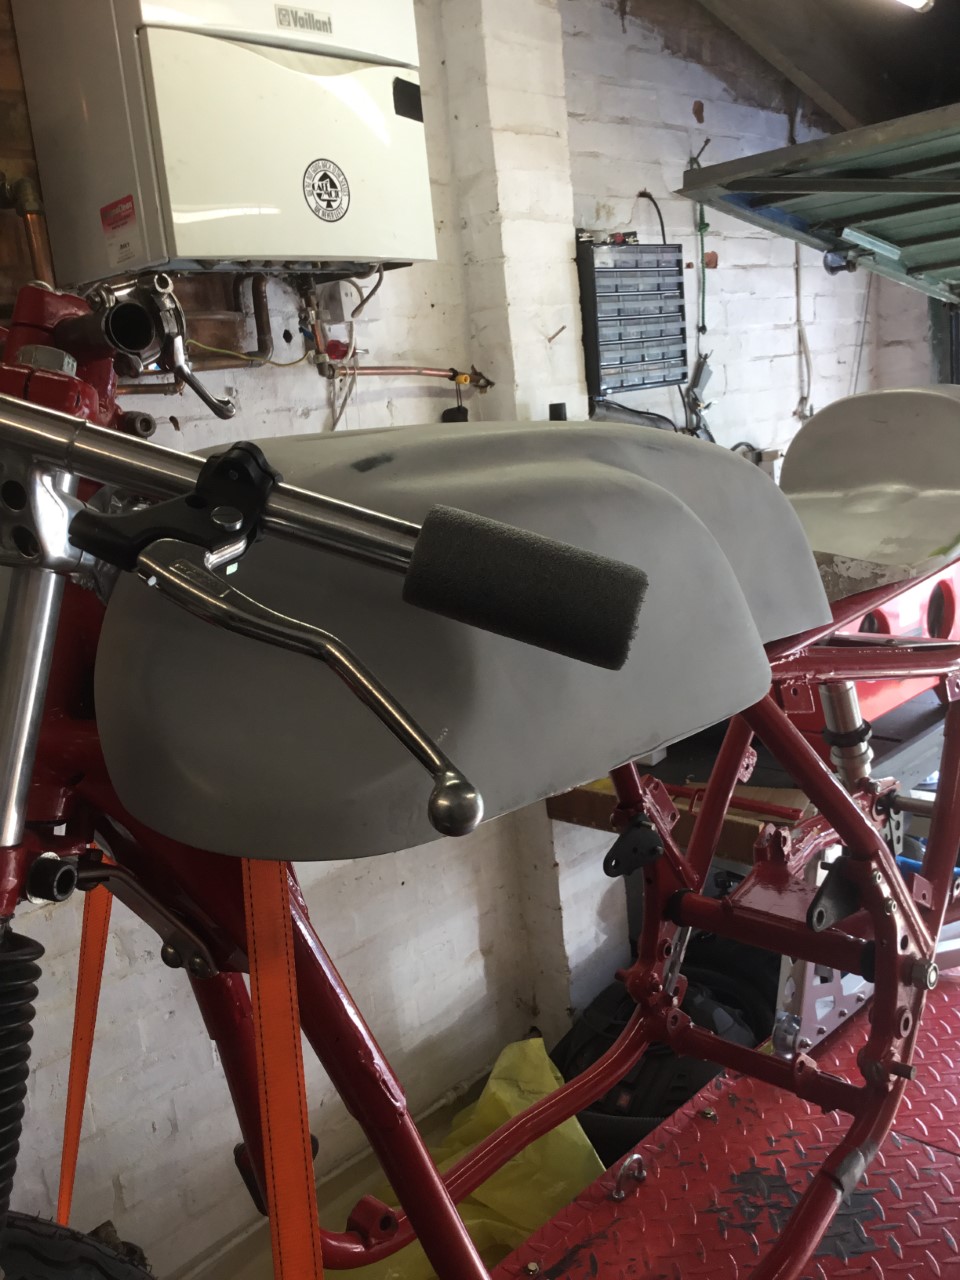
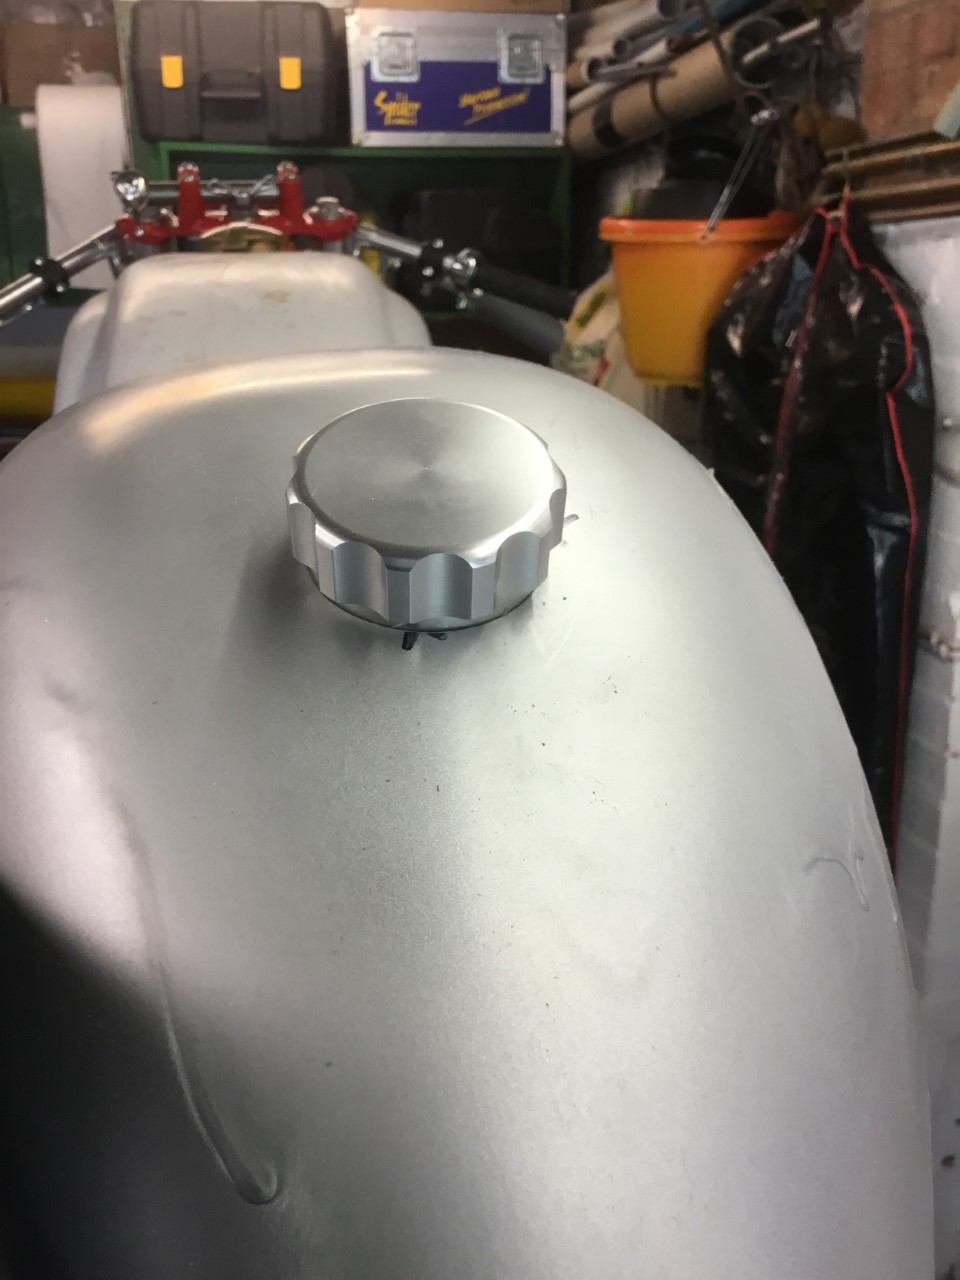
I did get the Manx tank cover detailed and prepped ready for the Silver base coat. After one false start I swapped from my detailing gun to a full size spray gun and I got he coverage and flow I needed to get an idea of the finish. I only had trade thinners – supplier out of stock of premium grade I need for the top coats and lacquer. However …… it IS Silver !!! There’s a shitload of aluminium mini flakes in the paint [ why the spotting gun wasn’t coping ] and it has the look [ close one eye ] of an Aluminium tank ! Once the clear lacquer is on I think it’s pretty close to the finish I had in my mind. I’ve done a couple of test pieces of GRP and I’ll try both Satin and Gloss lacquer

 29th June 2020 at 11:21 pm #25704beachcomberParticipant
Thanx Doc,
All my engines are now late models.
The Glemseck rods additionally will be magnafluxed, stress relieved and shotpeened.
28th June 2020 at 10:47 pm #25699beachcomberParticipantMe too …………………… but I ran out of tape !!!!!!!
28th June 2020 at 4:21 pm #25694beachcomberParticipantBeen a long year so far – gone very quickly !
Trouble with computers and life in general. Time for a bit of a ketchup.
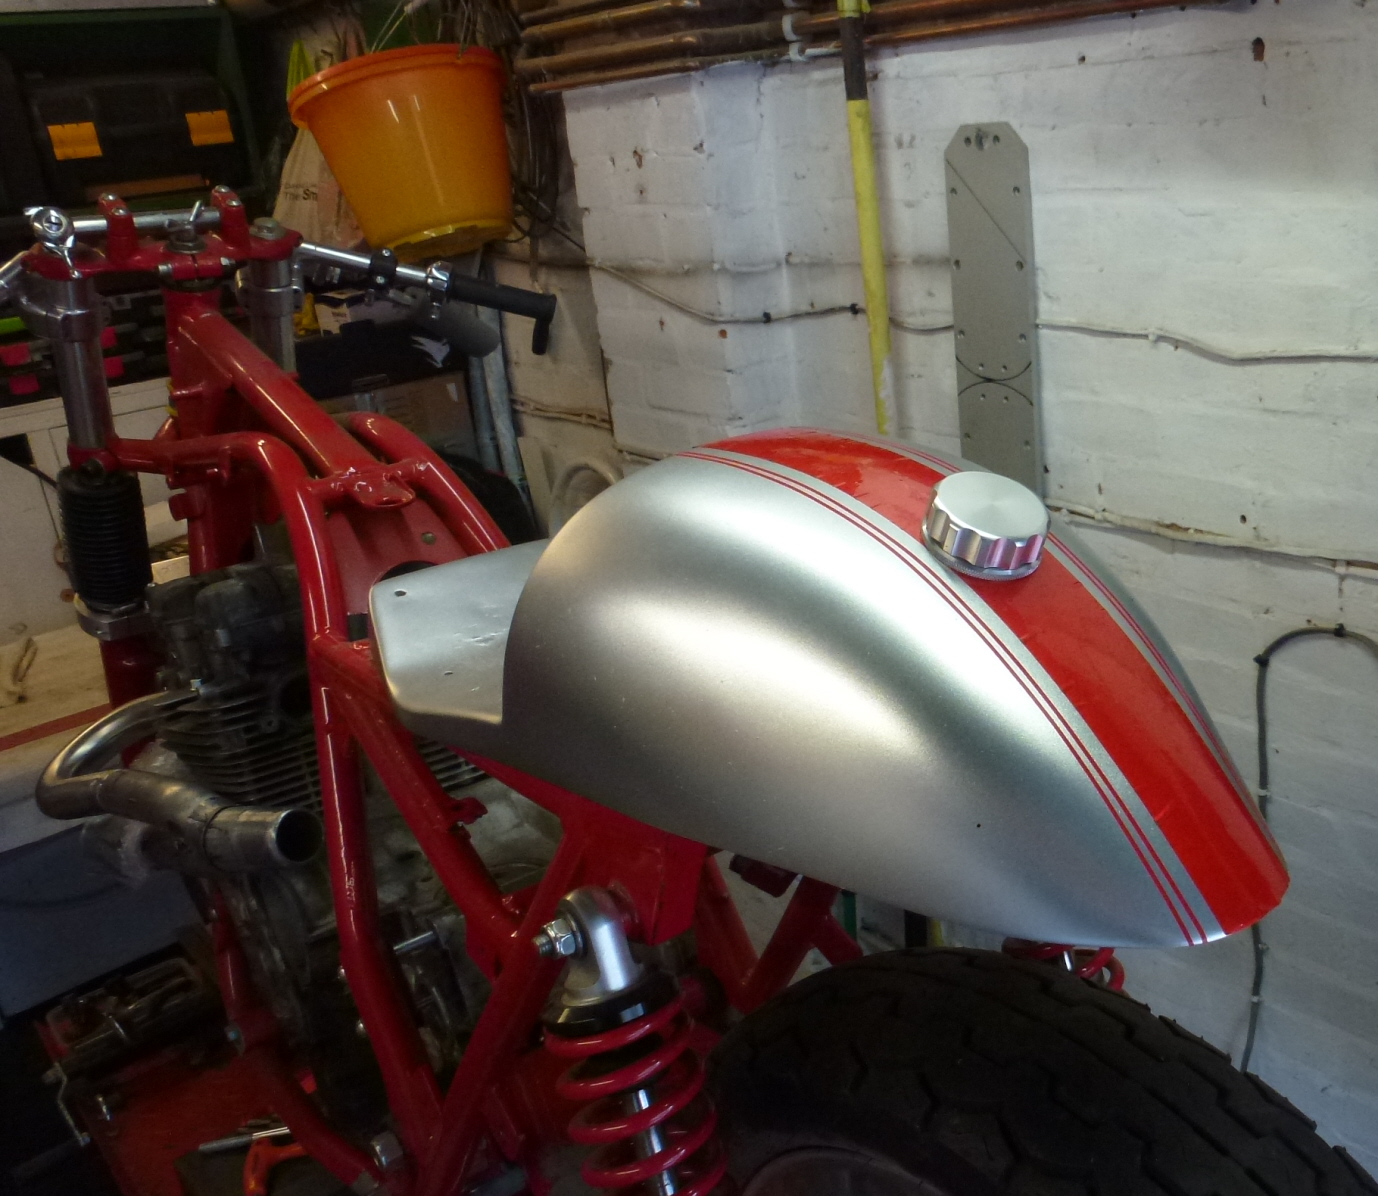
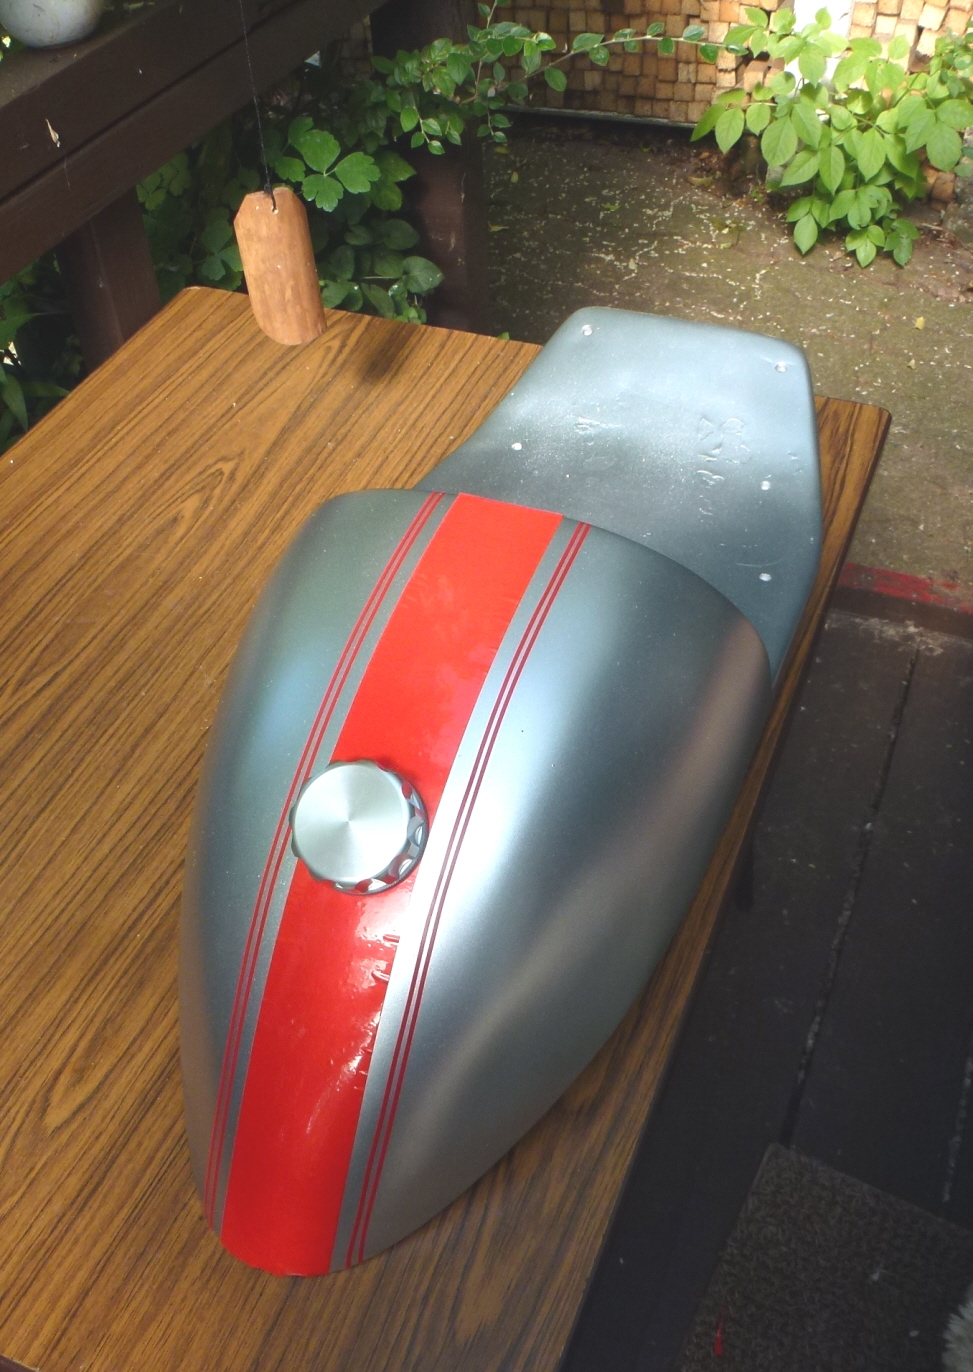
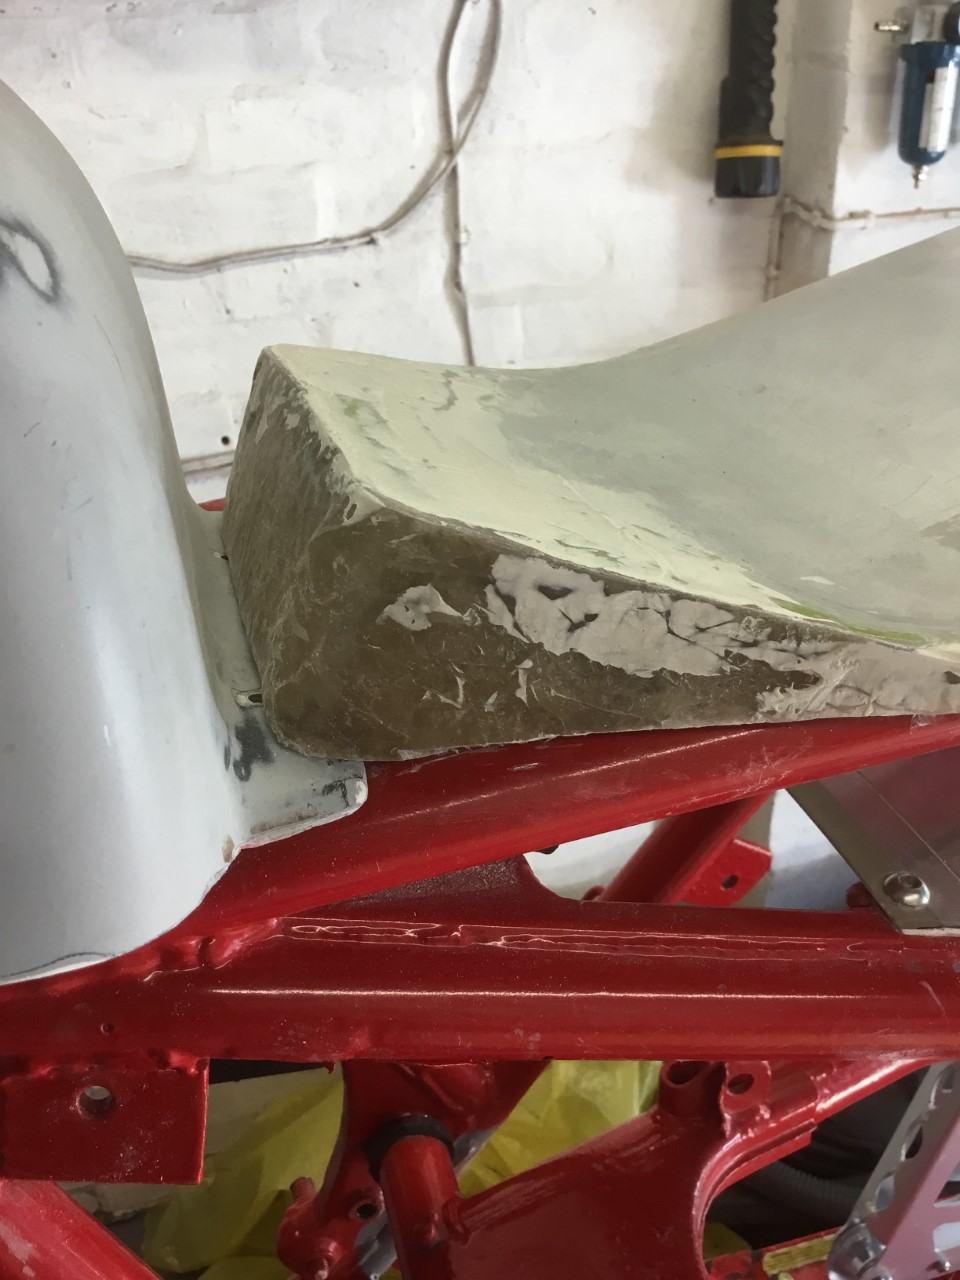
The Metallic Silver I eventually picked has now been applied to the seat, although they neglected to tell me it was a base coat paint ! Needs lacquer. Never mind, the colour is what I wanted.
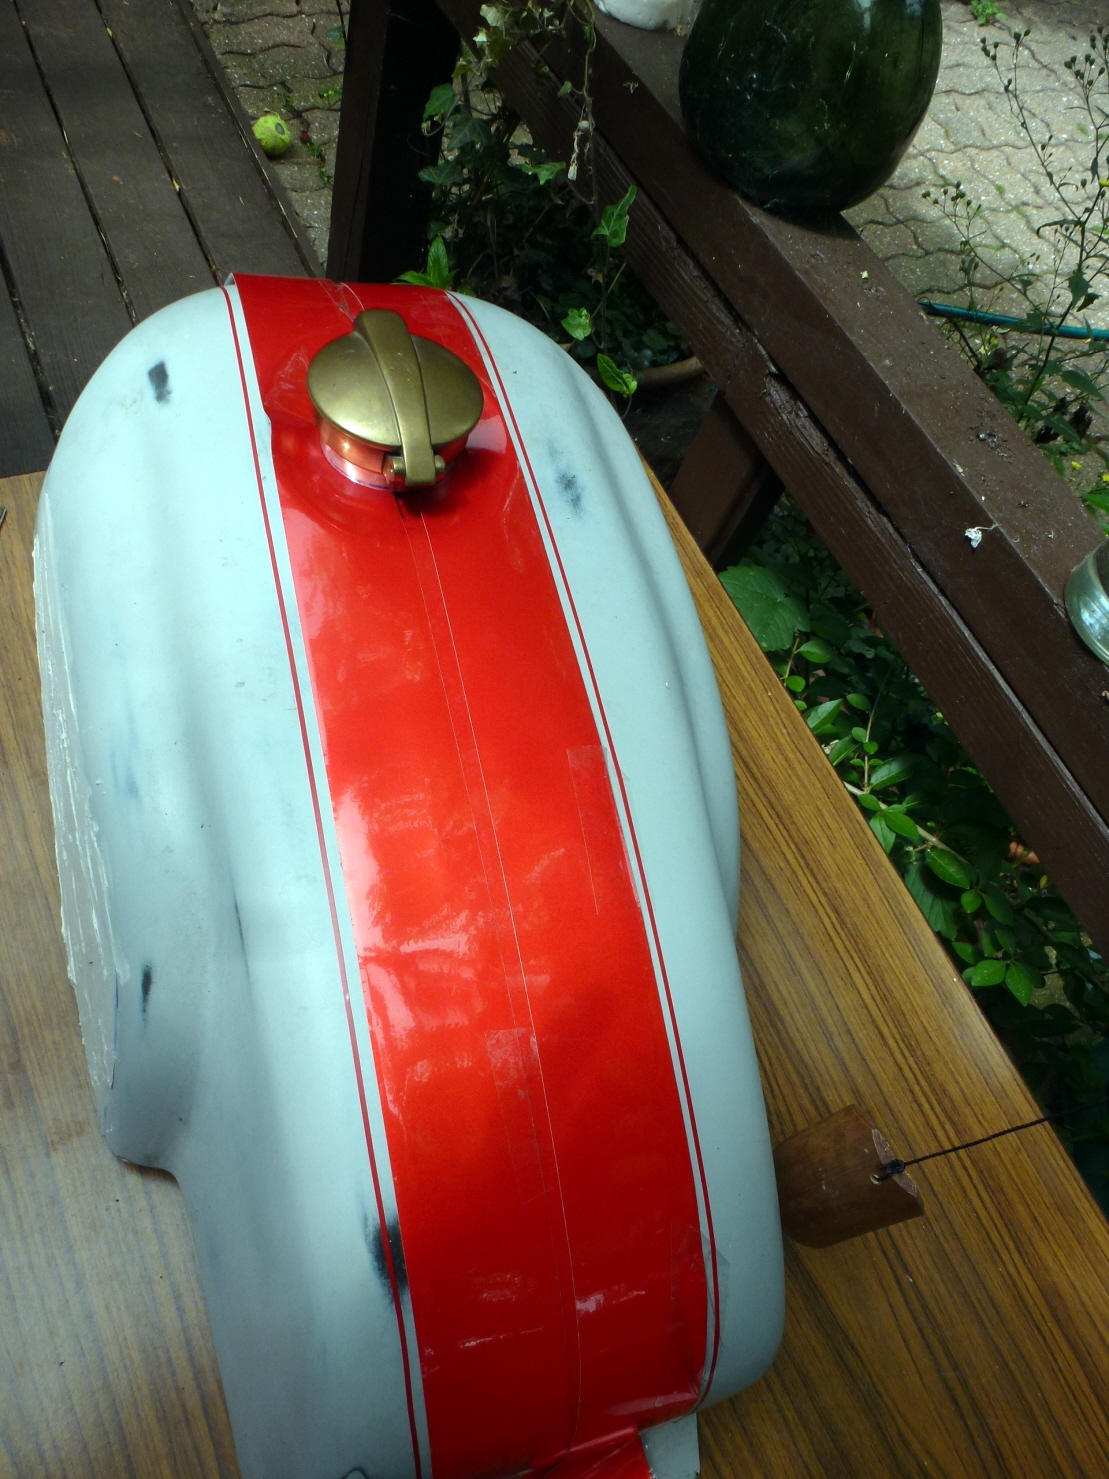
Then I’ve been agonising [?] over the stripes and graffix. The side of the “tank” will get traditional Manx Norton pinstriping, but I decided the top needed something to break up the Silver. So “Cobra” stripe it was. After mocking up several I’ve decided on one broad stripe with 2 x 1/8″ or 1/16″ [ pictured ] outer stripes. That makes masking a much simpler job and has the right look.
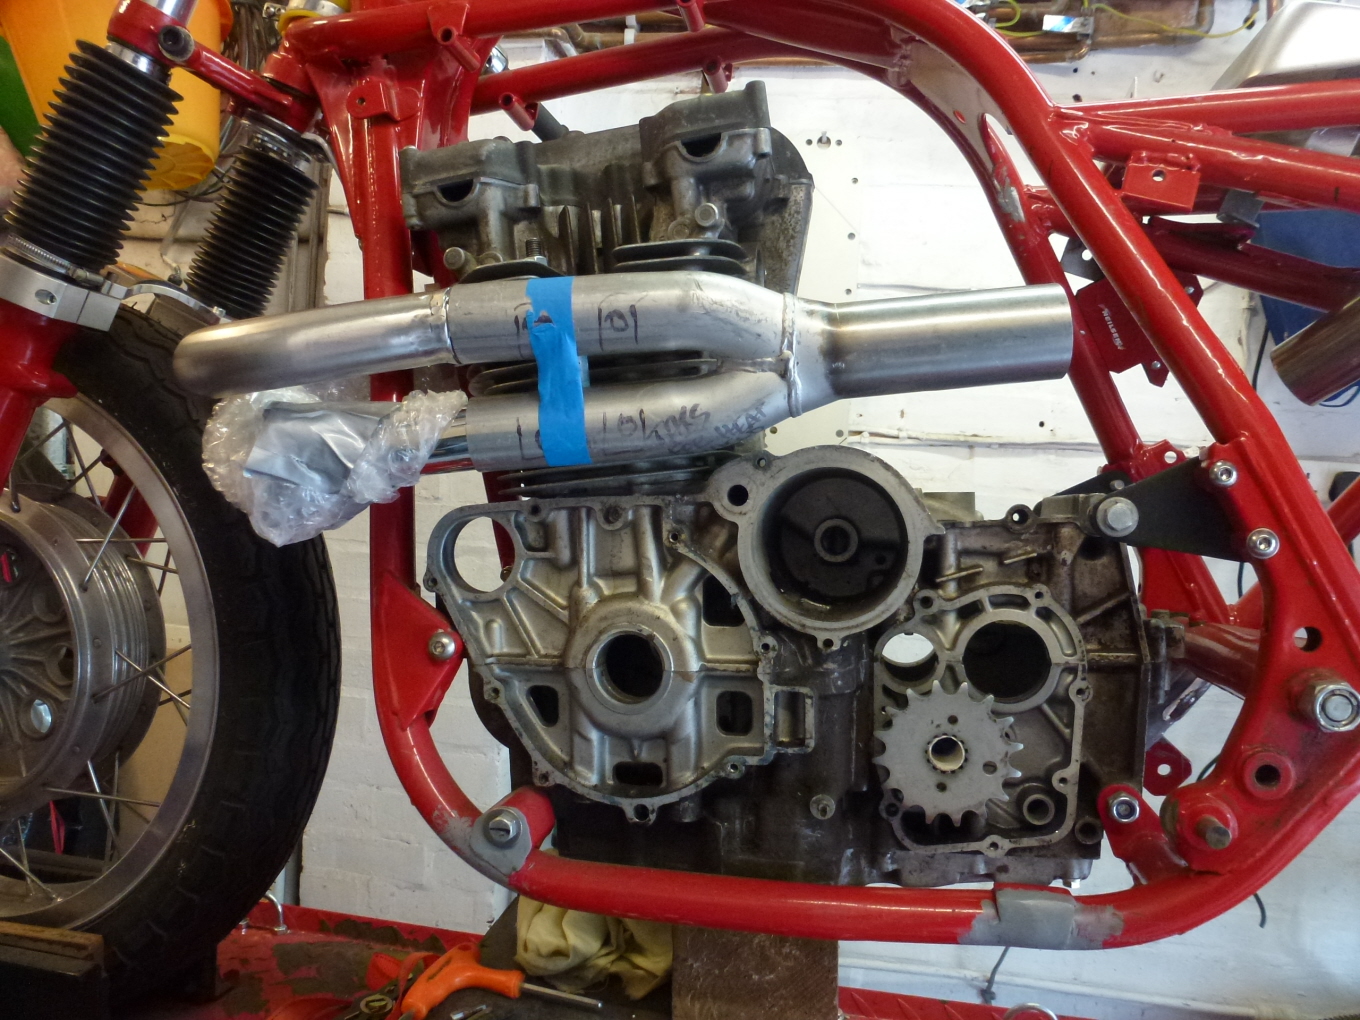
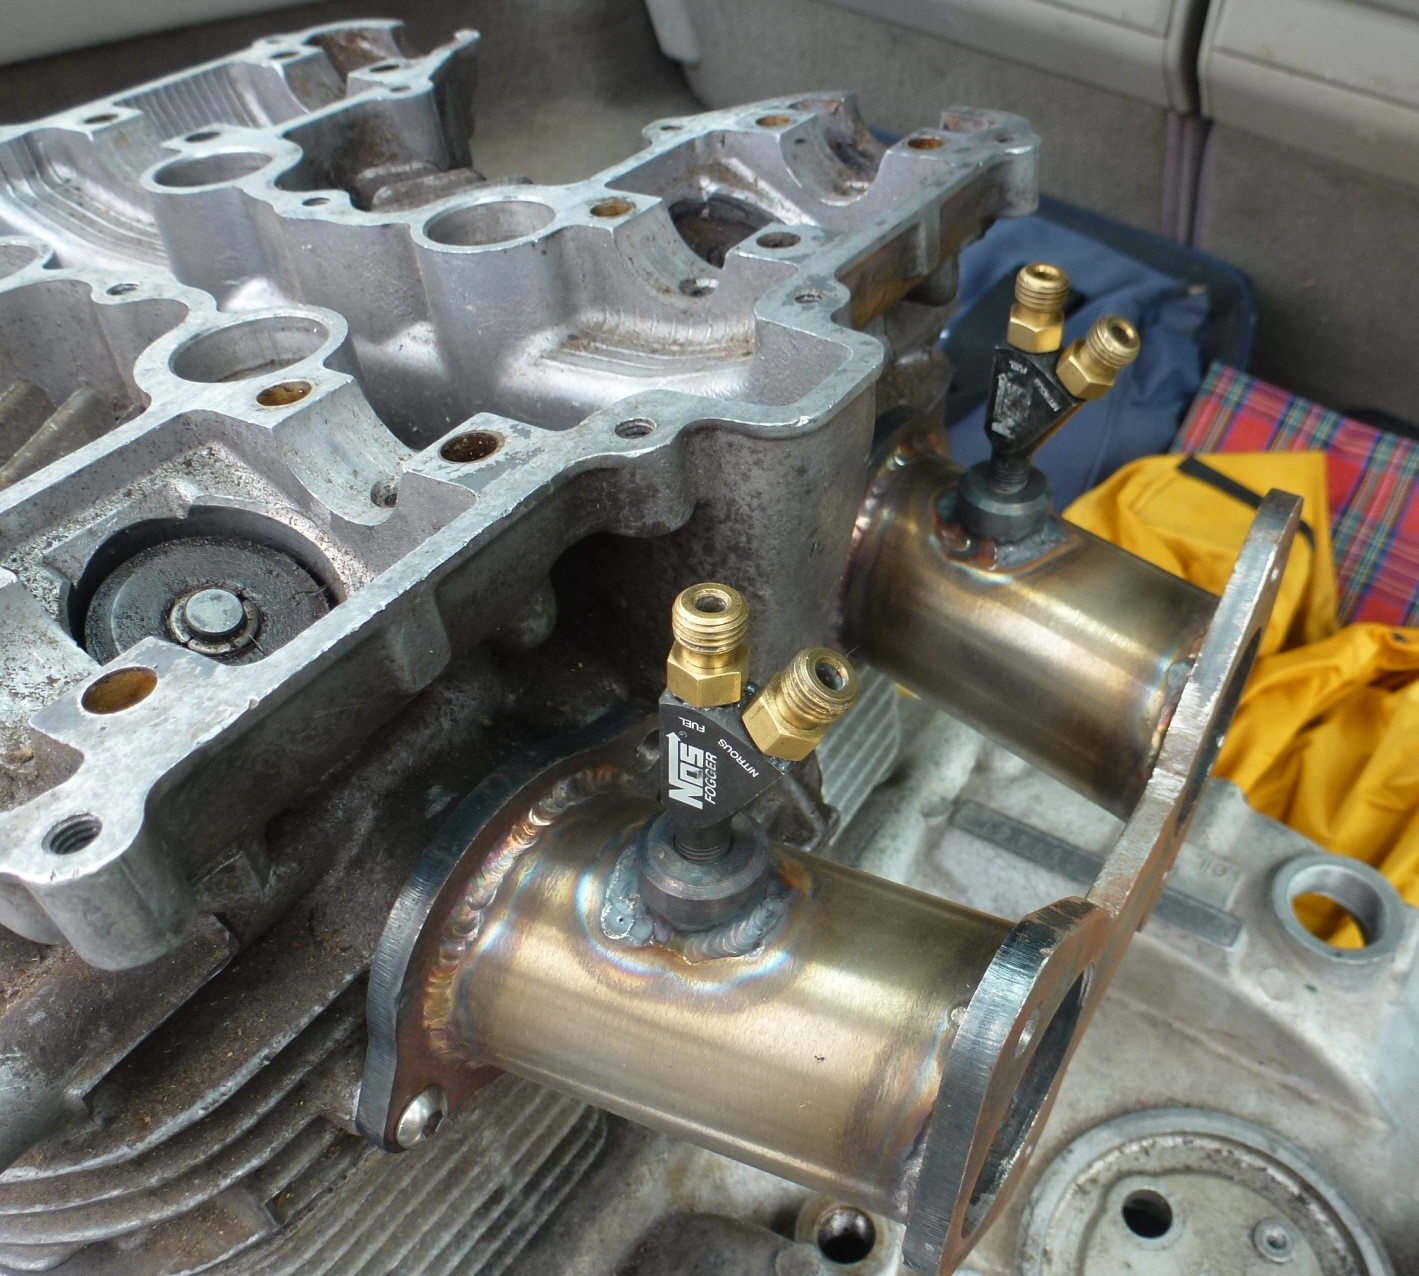
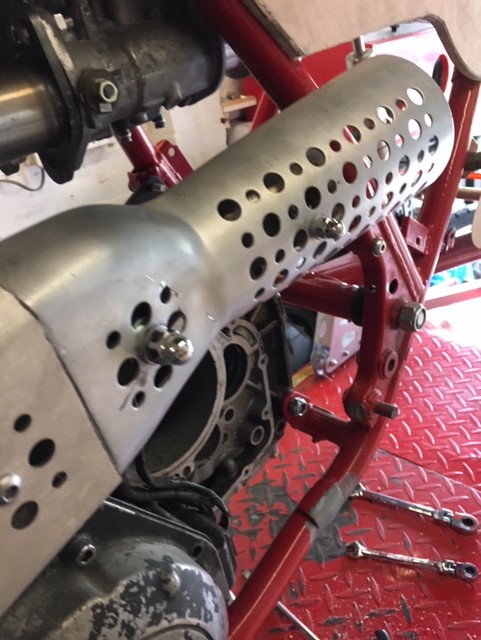
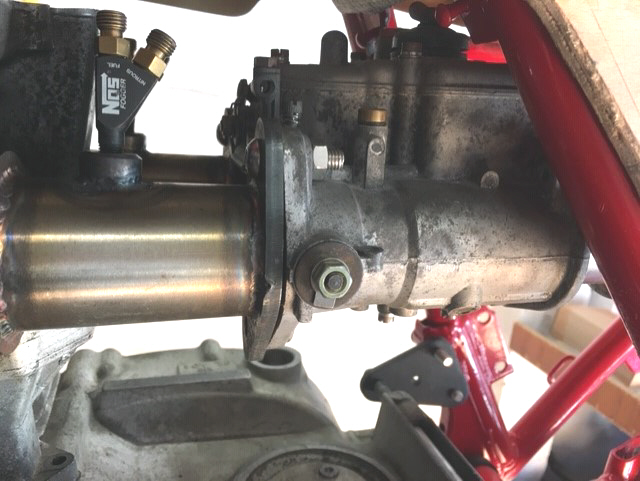
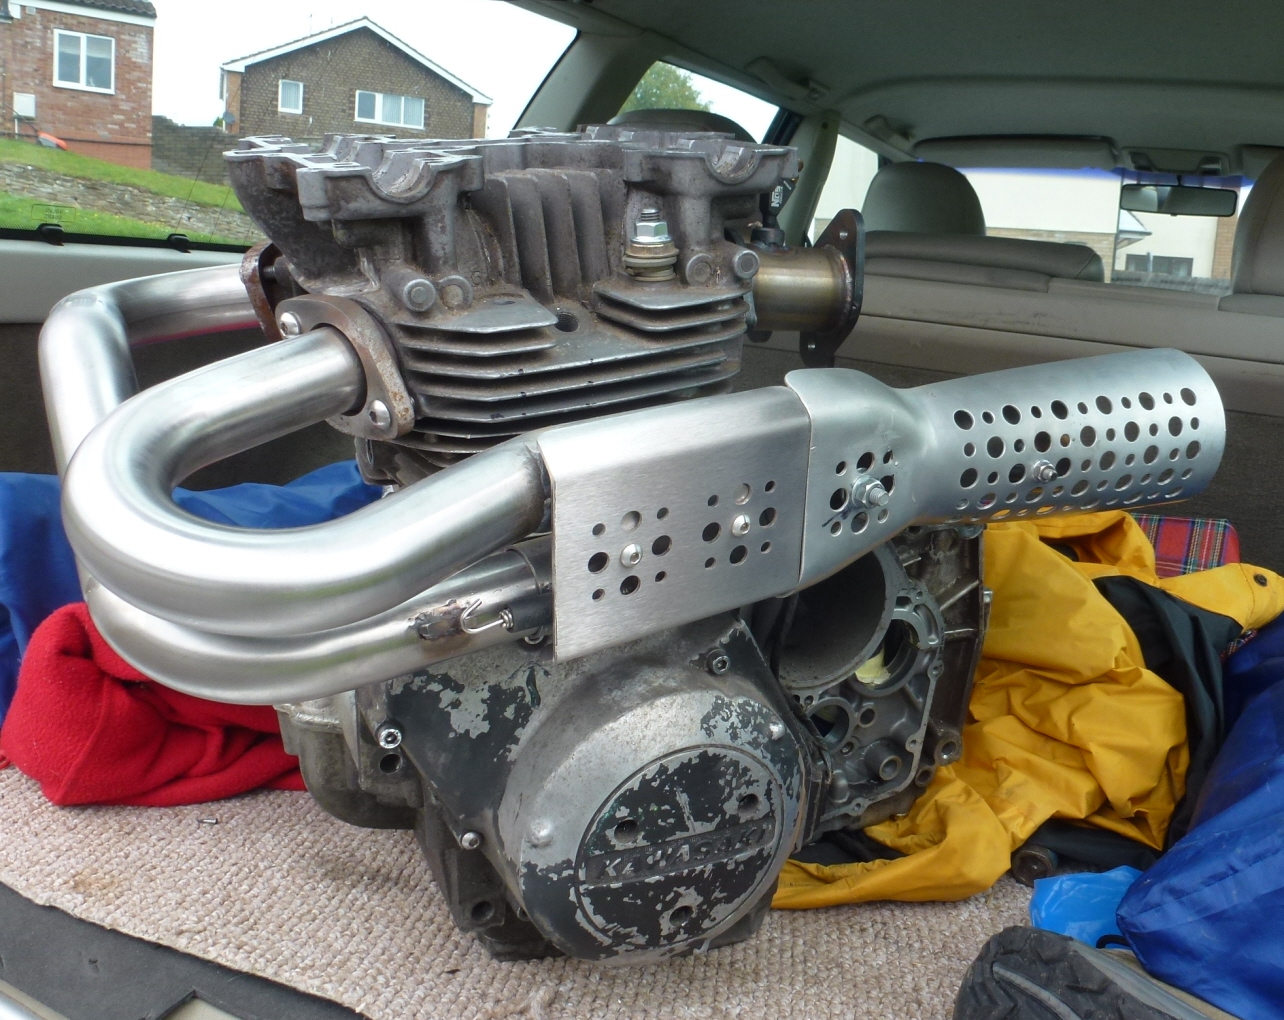
The exhaust has now had a final mock up and once the new 45 degree bend arrives we can start the final assembly and welding. The collector WILL be level with the headers and the silencer [ ha, ha ] will be as high up under the seat as we can get it with the outlet point down.
I now have my second twin plug head – this time with 12mm secondary plugs to give a bit of safety against hot spots around the valve seats when the NOS is squeezed.
Hopefully work will now begin on the Glemseck engine rebuild.
The Weber 40 DCOE is undergoing sonic cleaning and will be assembled with “whatif” baseline jets, chokes etc.
Once the exhaust is completed we can start packaging all the electronics, NOS components, fuel pumps, etc. We’ve lost the area under the seat [ fuel filler and exhaust ], but still plenty of room under the tank, in the belly fairing and if we run out of space – we have the 1/2 fairing.

 2nd November 2019 at 11:57 pm #25322beachcomberParticipant
More progress ………..
 5th October 2019 at 10:21 am #25264beachcomberParticipant
Hi Phil,
yes that’s the plan …. however, my daughter is moving house that weekend !!!! I’ll post up
Guess you are going ?
3rd October 2019 at 10:22 pm #25262beachcomberParticipantA bit more progress…………


 12th August 2019 at 10:53 pm #25215beachcomberParticipant
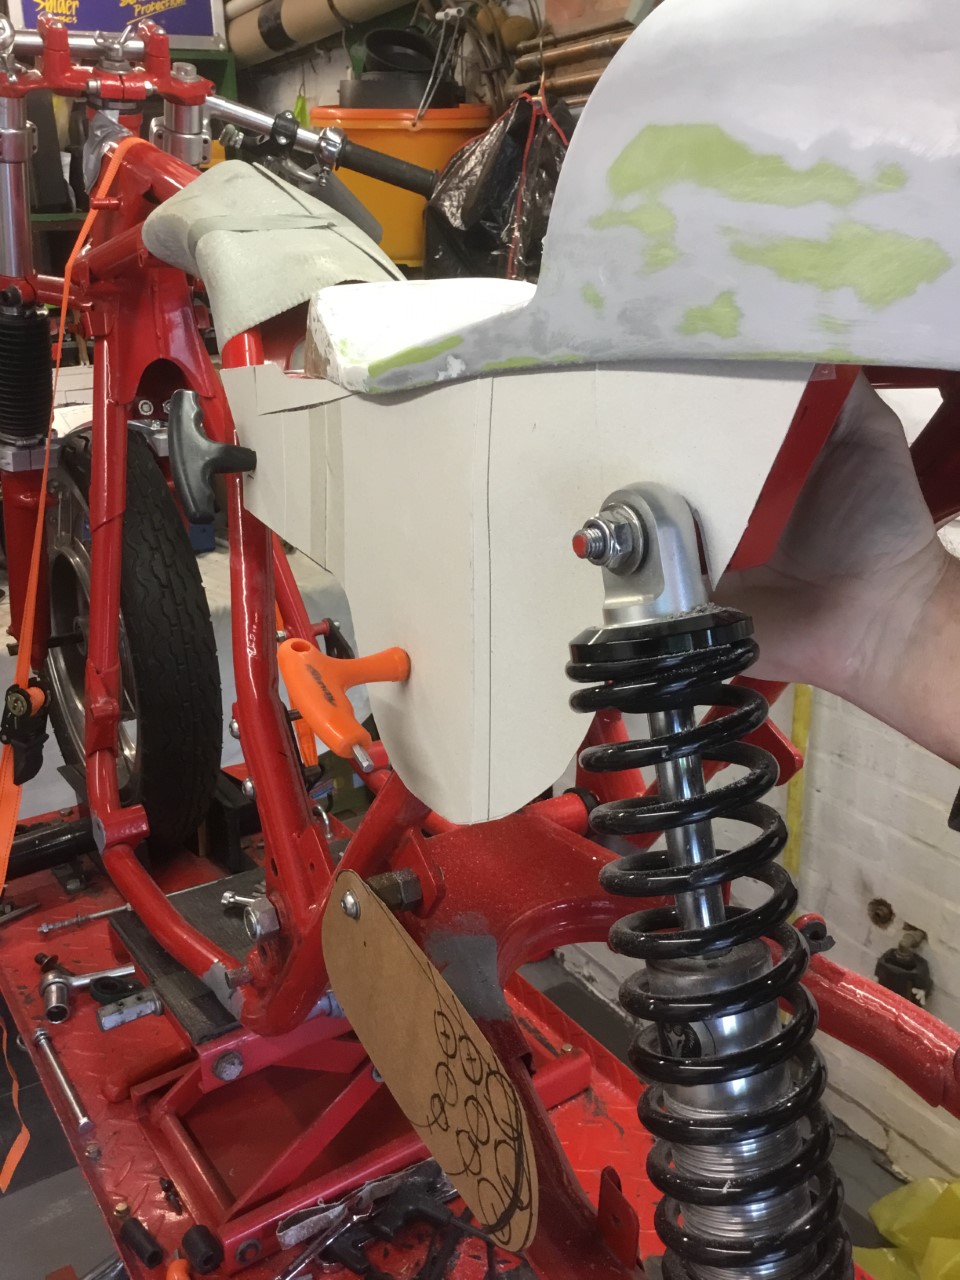
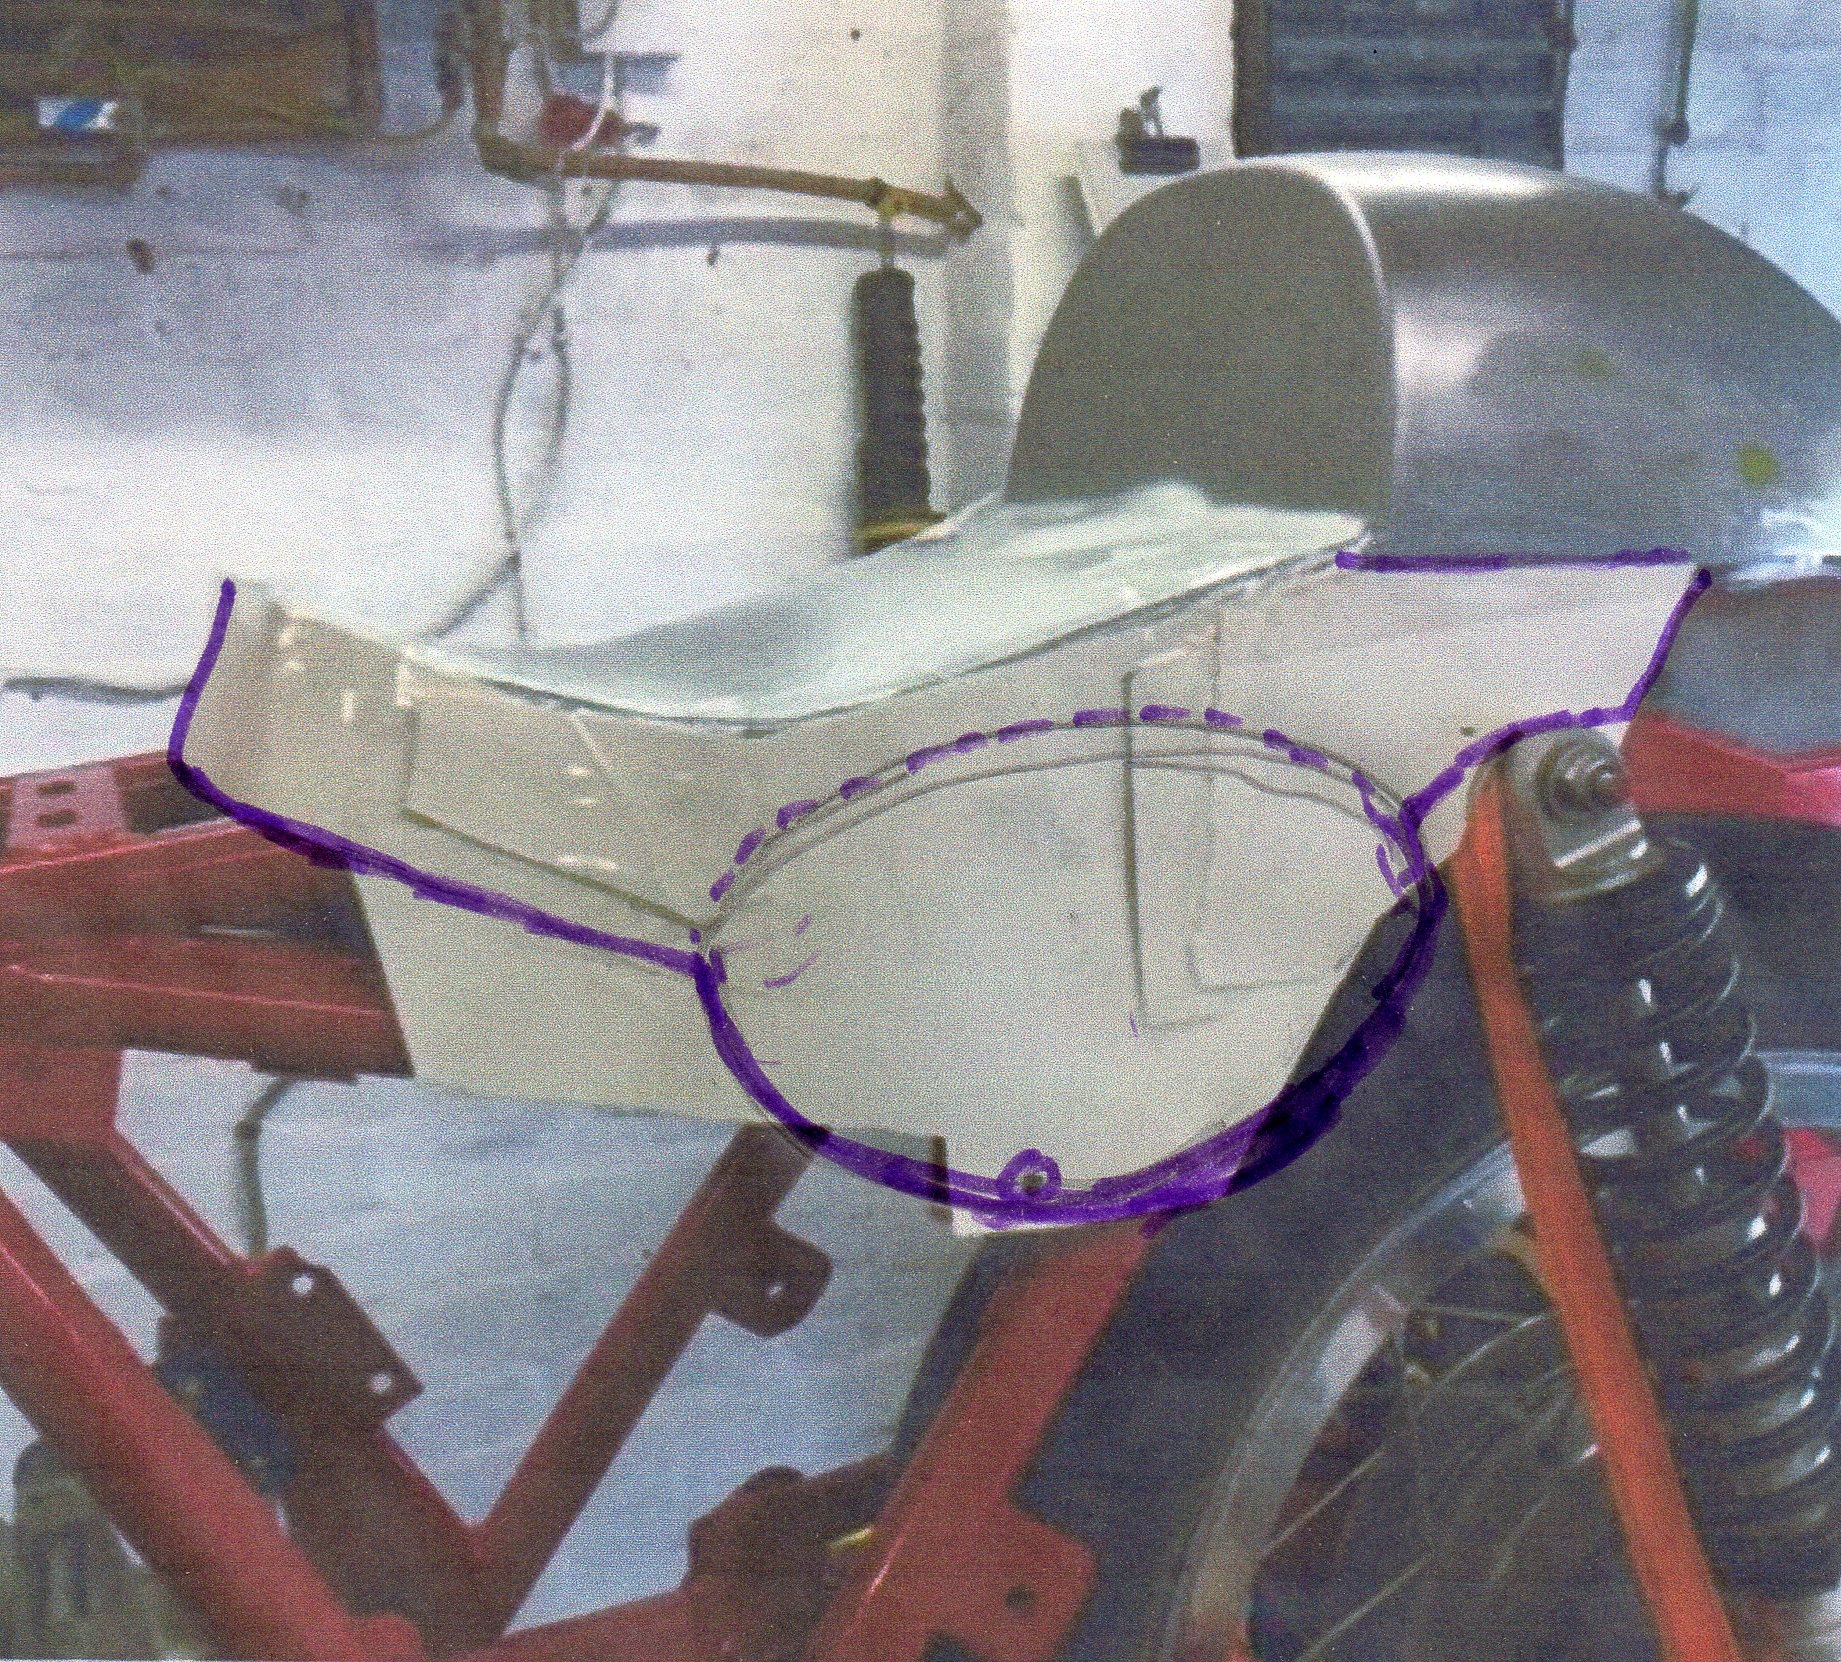
Another good week of progress. The seat pattern making is now completed and all the fixings are glassed in. The side panel shape has been finalised and is ready to be transferred into 1.2mm or 1.5mm alloy. The top edge will be attached to the seat and that in turn will give the top edge a gentle curve …. nothing worse than a flat ally panel !
The “tank” fixings are now glassed in, and it’s been trial fitted so we can finalise the position of the footrest / bars / seat relationship.
The fuel cell is now finalised and we are just waiting for some more mat / resin to arrive so the mounting brackets on the belly pan can be completed. There’s a lot of prep required on the belly pan itself. As well as the mods we made, the whole thing wasn’t symetrical to start with !
Once the footrest mount patterns are completed I’ll get some 10mm alloy plate from our friendly stockist in Redditch. We’ll have to get them lazer / water jet profiled as they need to be spot on.
I finally gave up with the guy who said he’d weld up my exhaust “a week at the most” ….. that was 3 months ago – tosser. My machinist guy can do the job – so I’ll take all my odds and ends that need doing / plating at the same time.
BTW – if anyone can help with the previous request I’d be very grateful. I can’t order the Ignitech ignition module until I have that info.
 26th July 2019 at 11:09 pm #25202beachcomberParticipant
HELP PLEASE.
I have contacted Ignitech who can supply the ignition module DCCDIP-2 for my project.
However, they require the following information / photos.
Sadly I do not have a complete bike or wiring system to photograph.
Can anyone help please ?
Here is their request …………
[b]What product are you interested in (e.g. charging regulator, ignition unit, programmable ignition unit, programmable injection unit…).
Correct bike type and year of production (e.g. Yamaha DT125R 1997).
Firm designation of the part if it is possible (labels on cover e.g.. Denso 21119-1214 070000-1700).
Photo of original unit, connectors, (we mostly need to seen colors of wires on each position). More important are wires on connectors in bike wiring than wires on connectors by ignition or regulator (could you see photo below)
Wiring diagram of your bike if it is possible (e.g. from bike manual)
In special cases we need photo or drawings of pickup system in position of rotor and pick up in top dead center – TDC.[/12th July 2019 at 5:46 pm #25199beachcomberParticipantThanx Phil,
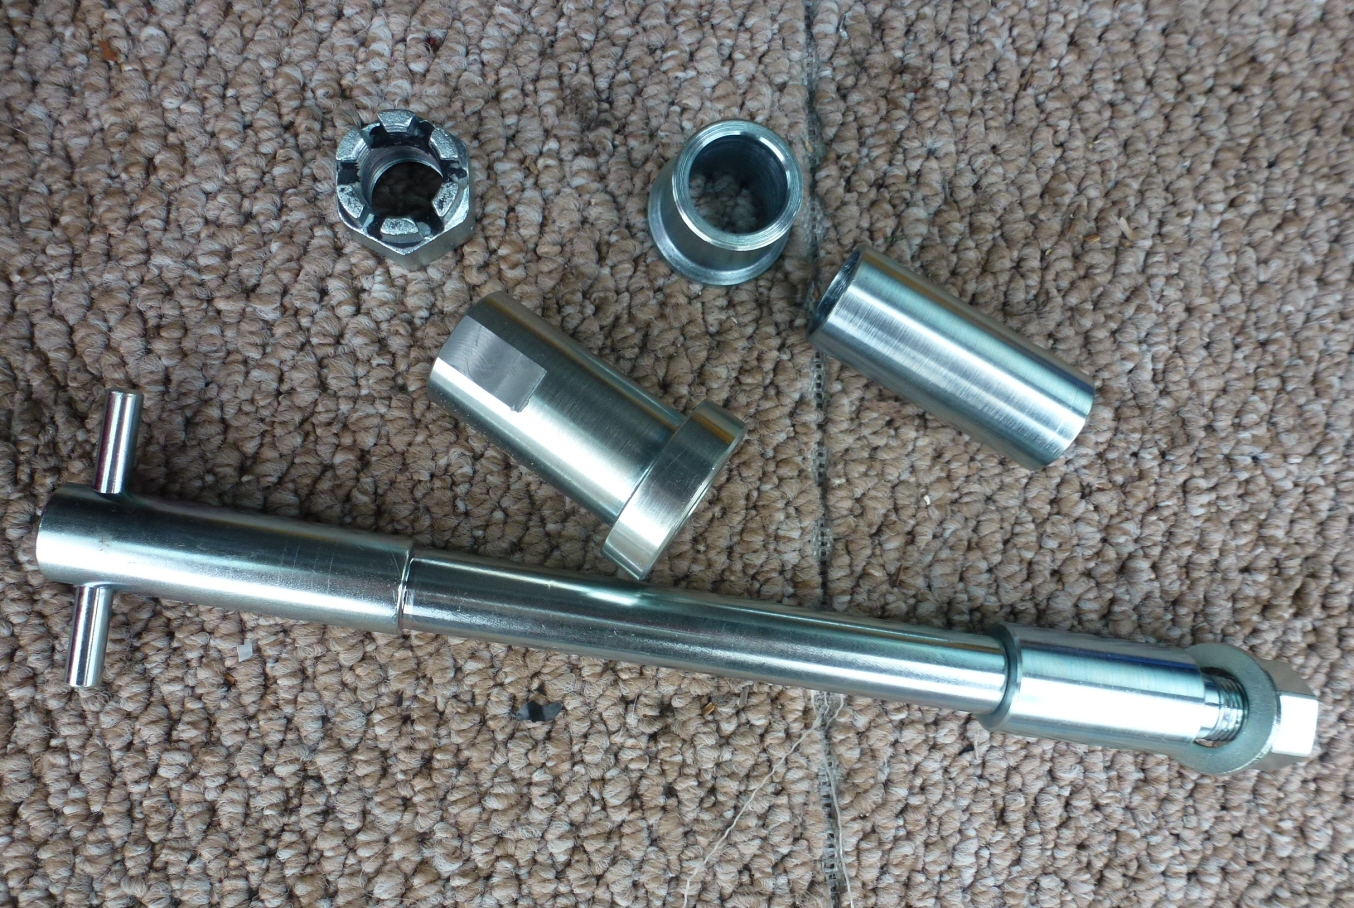
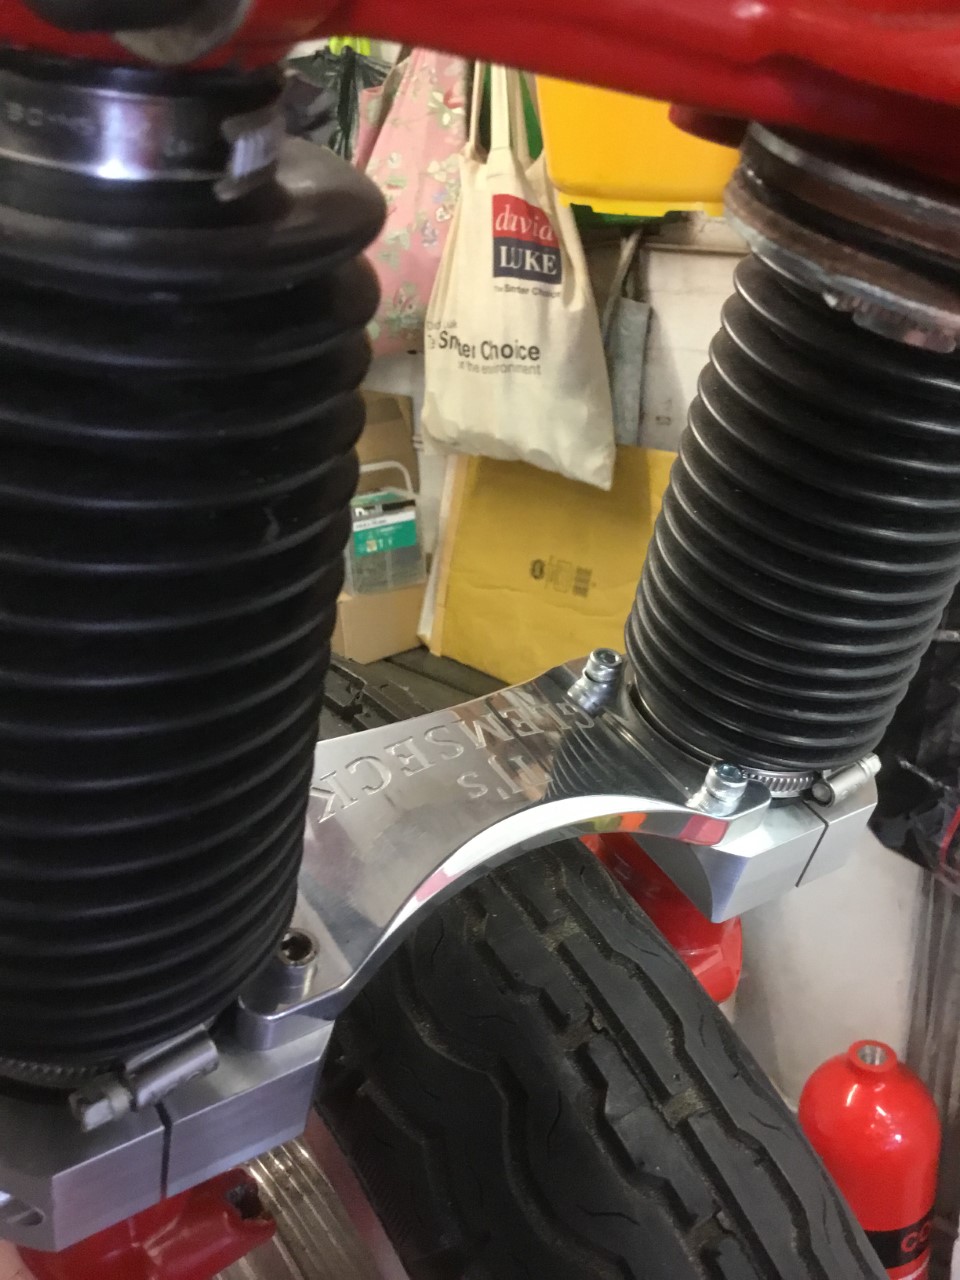
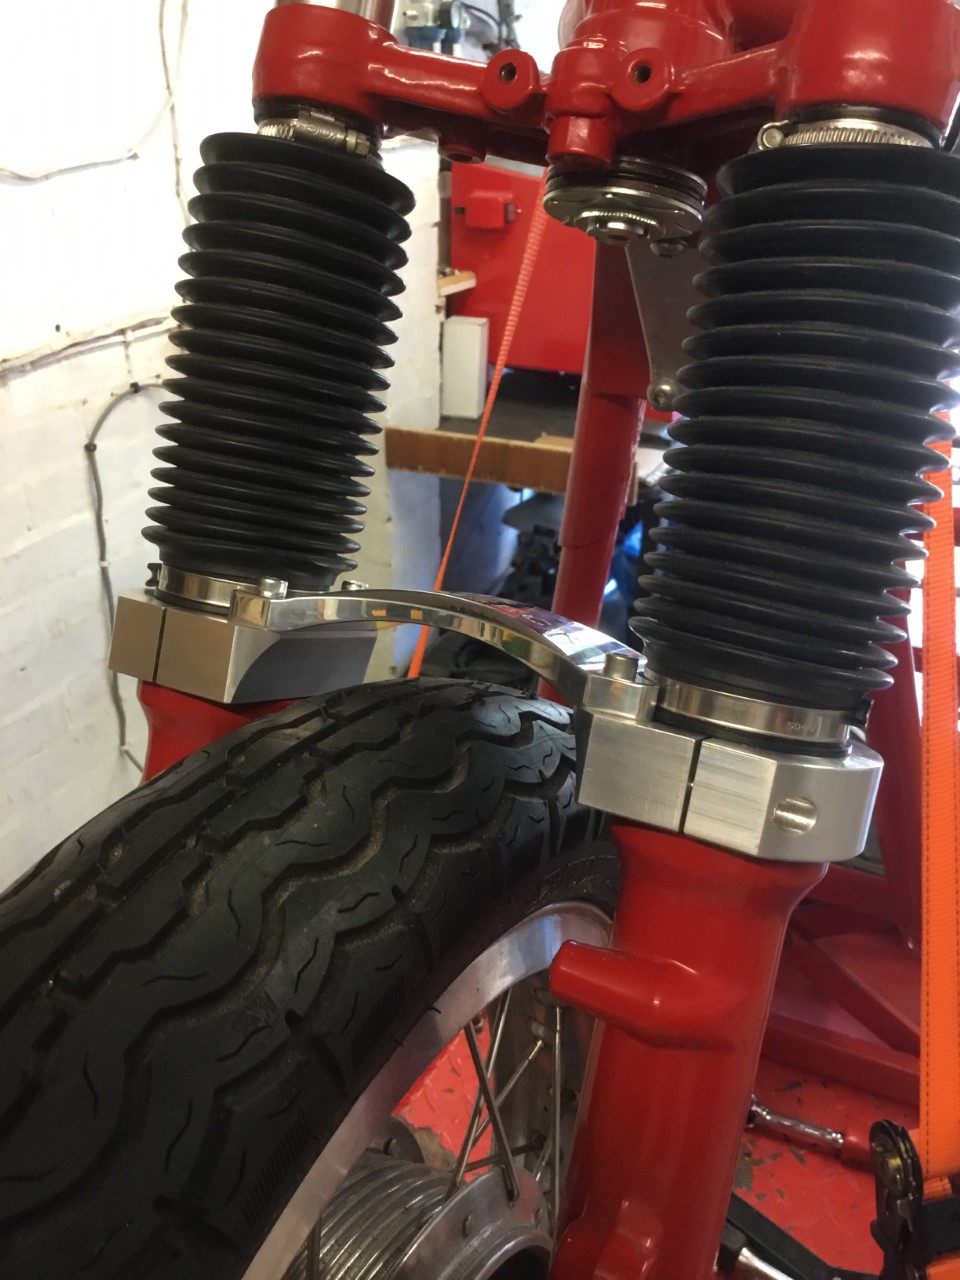
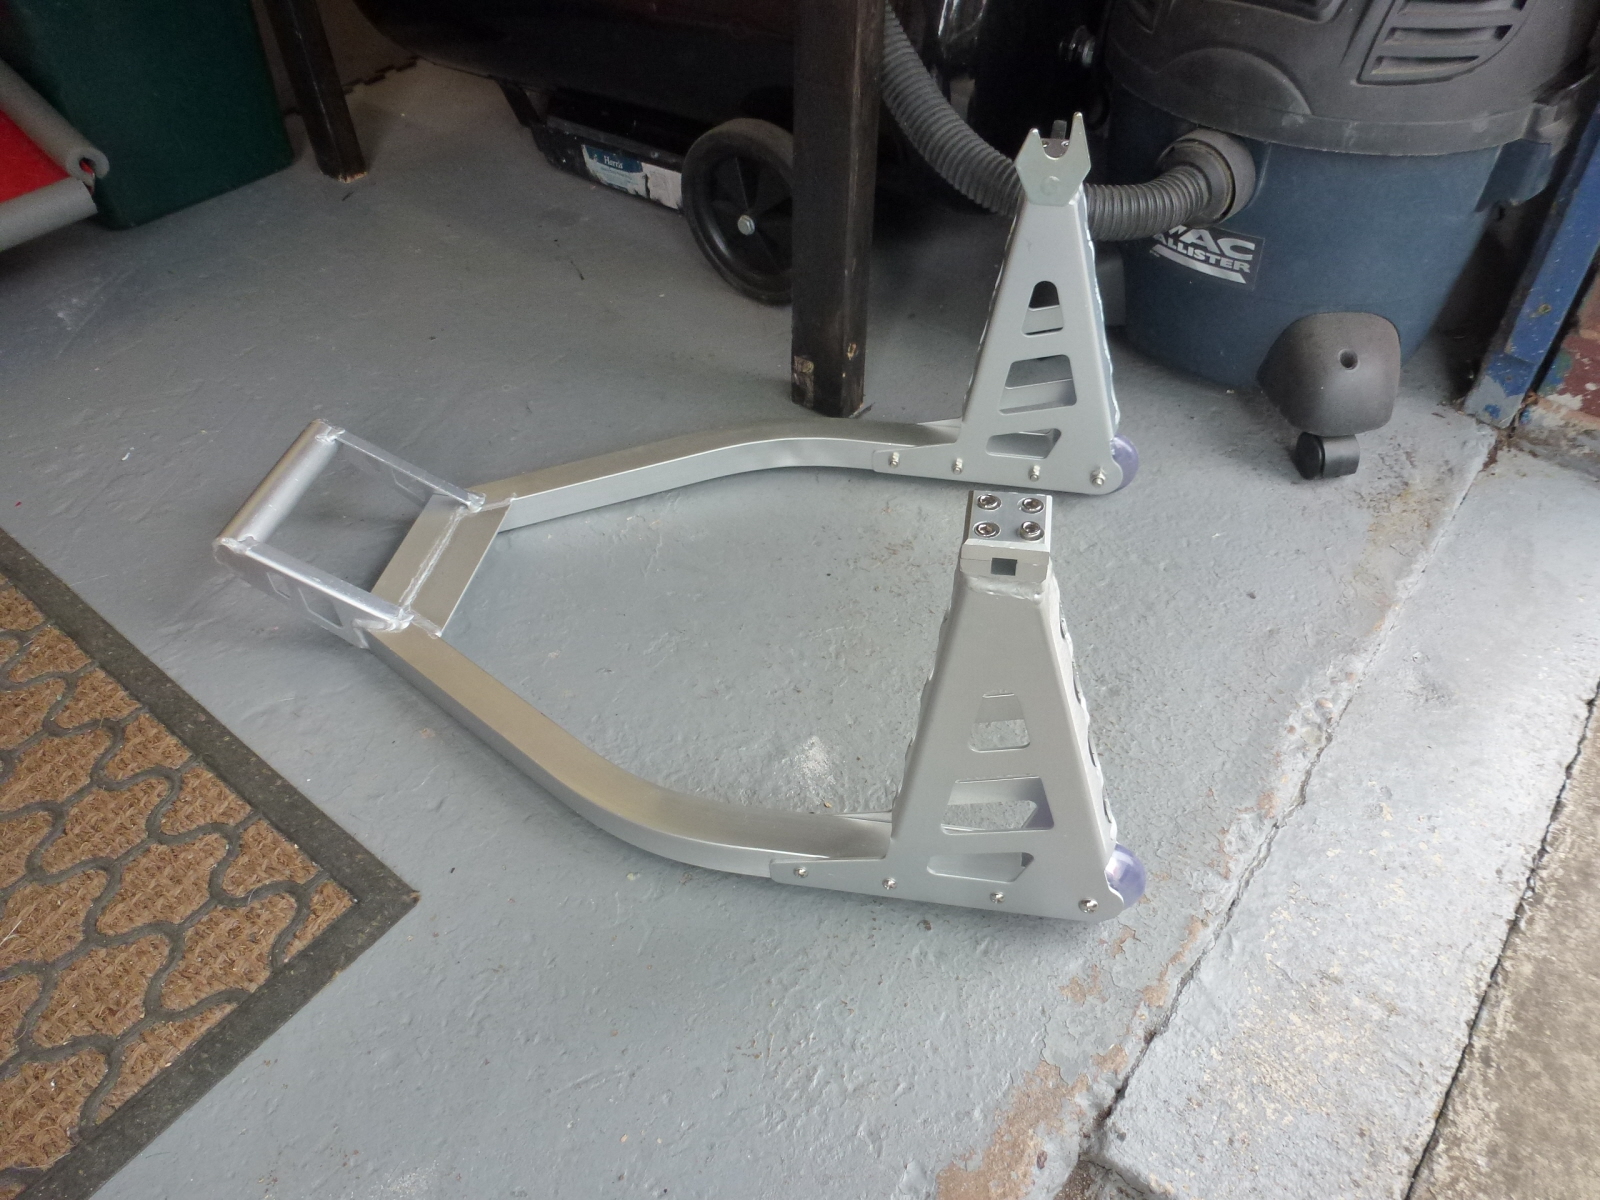
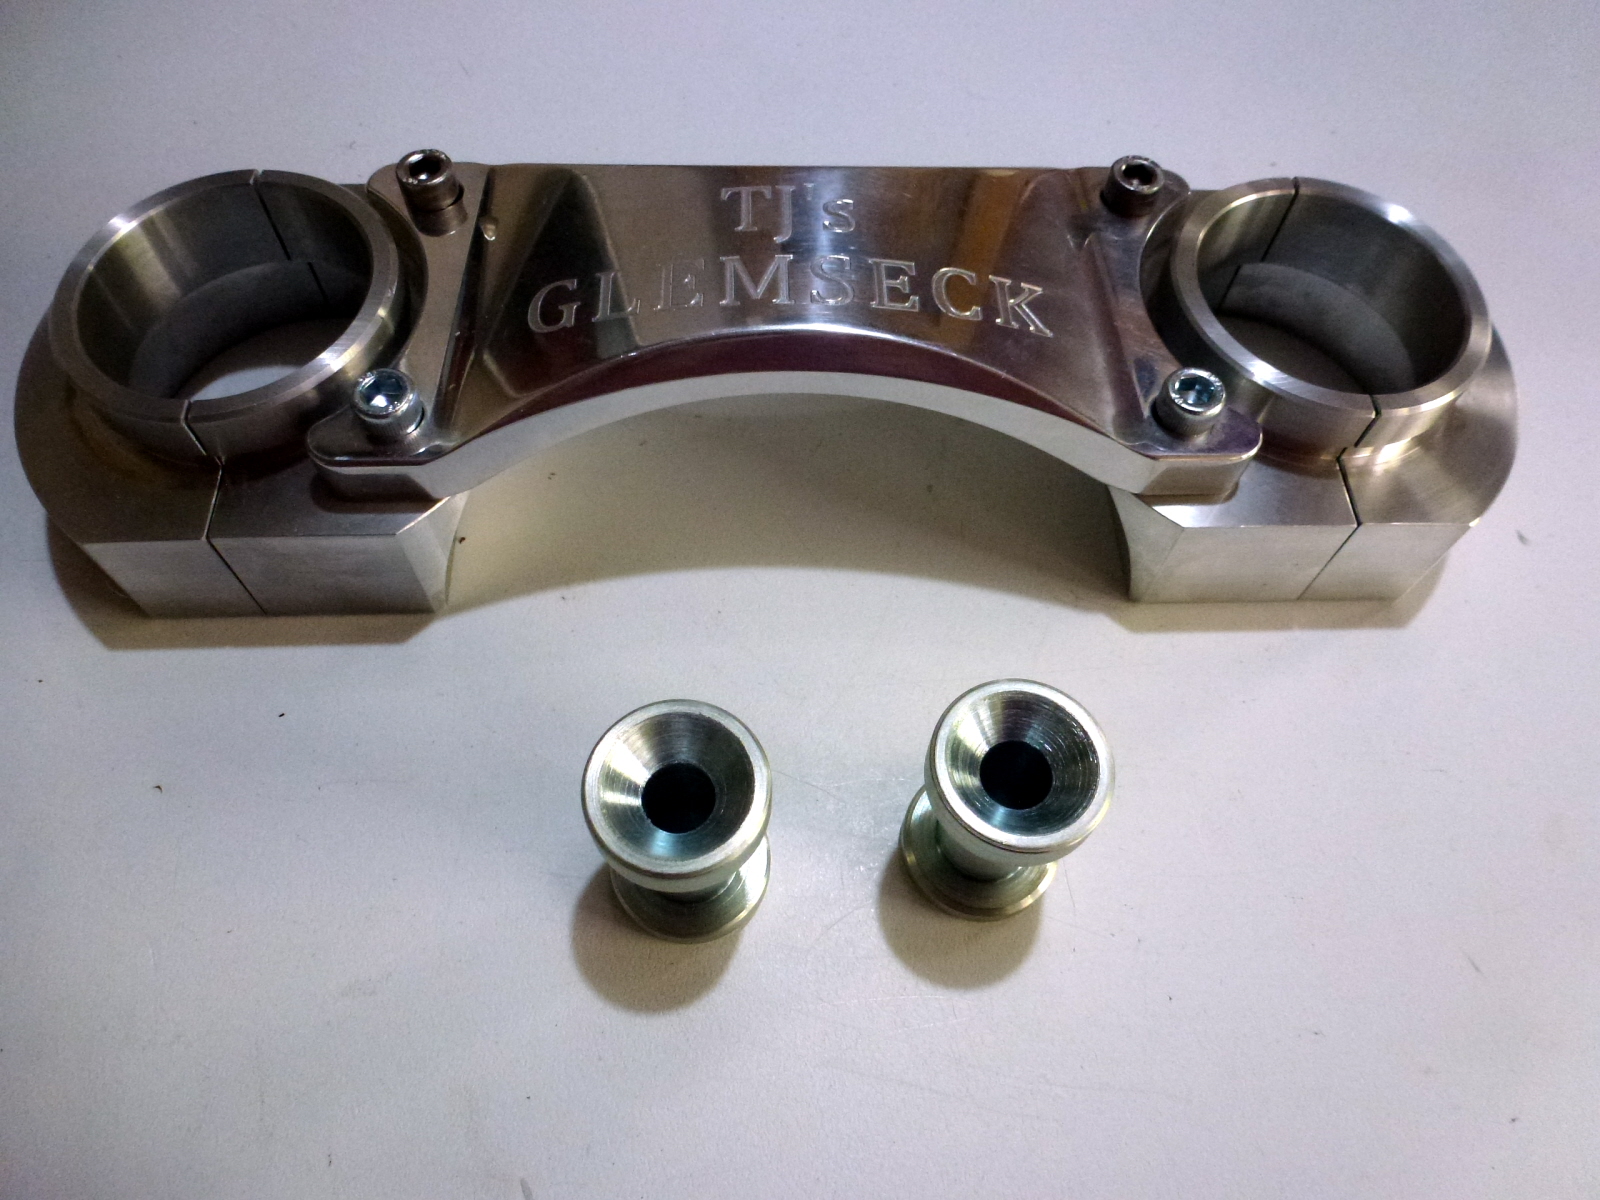
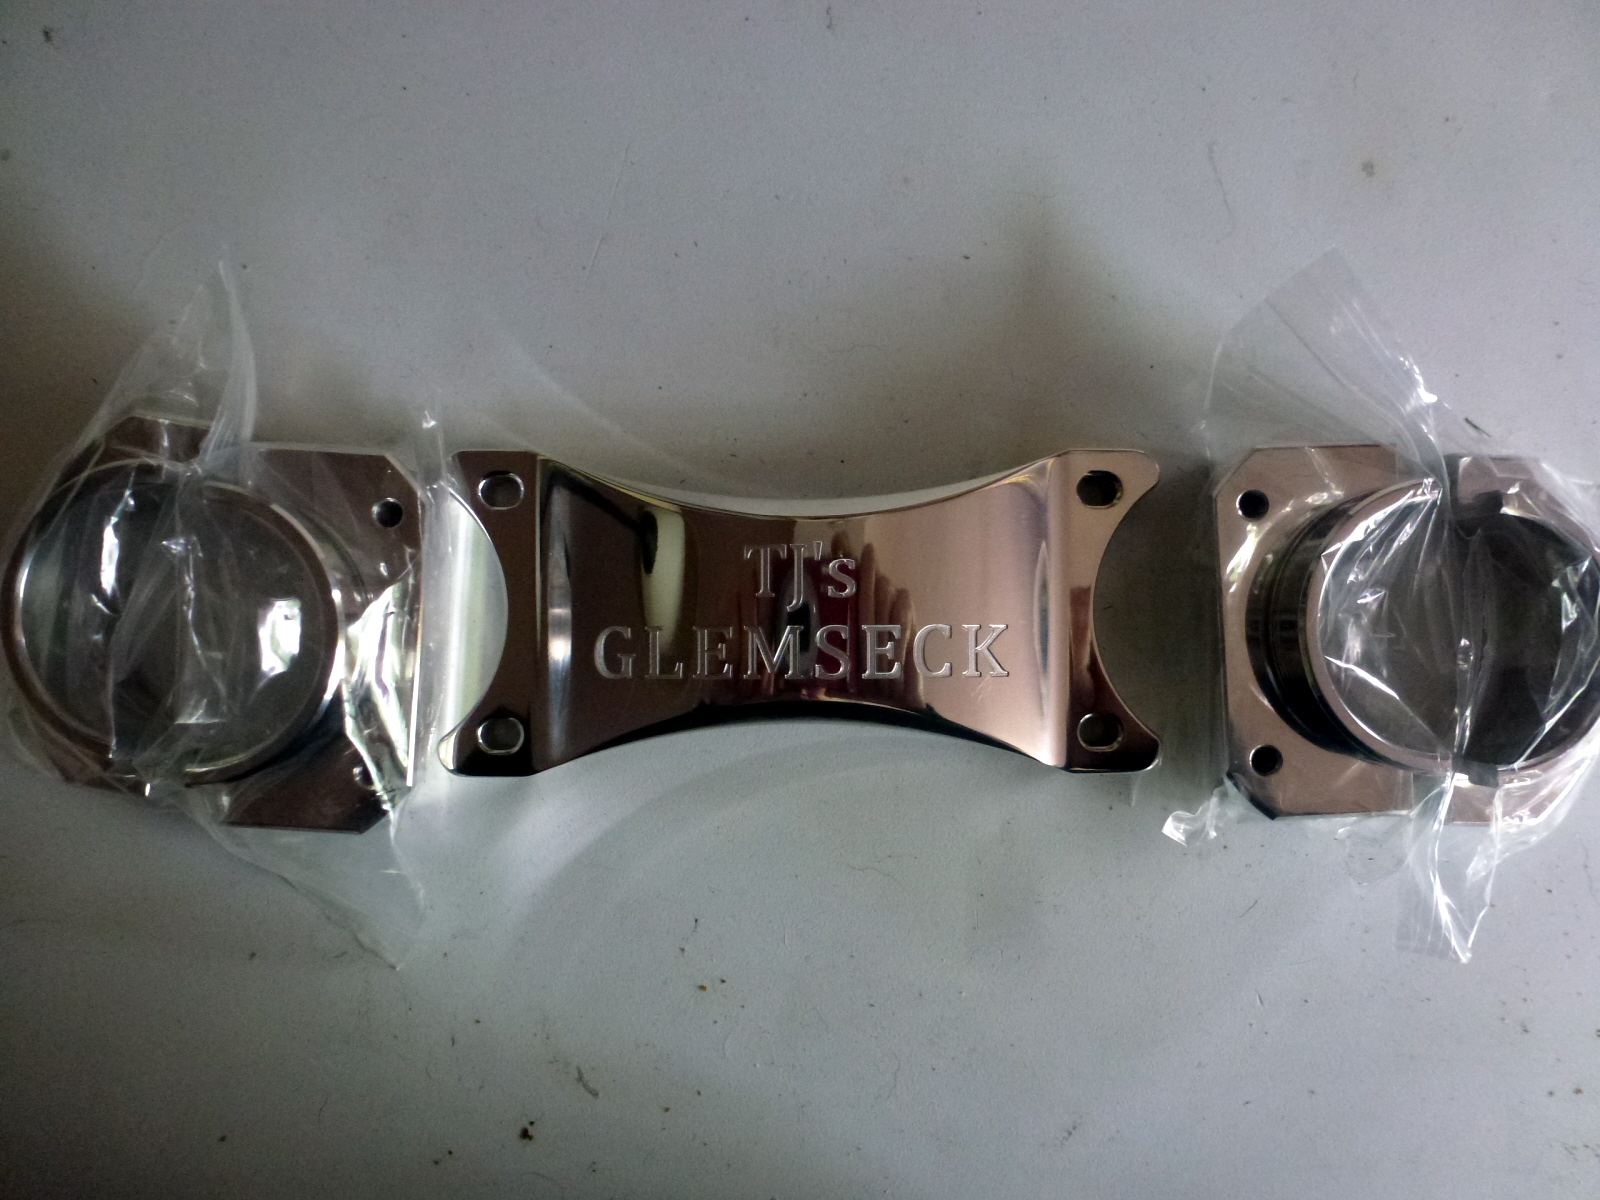
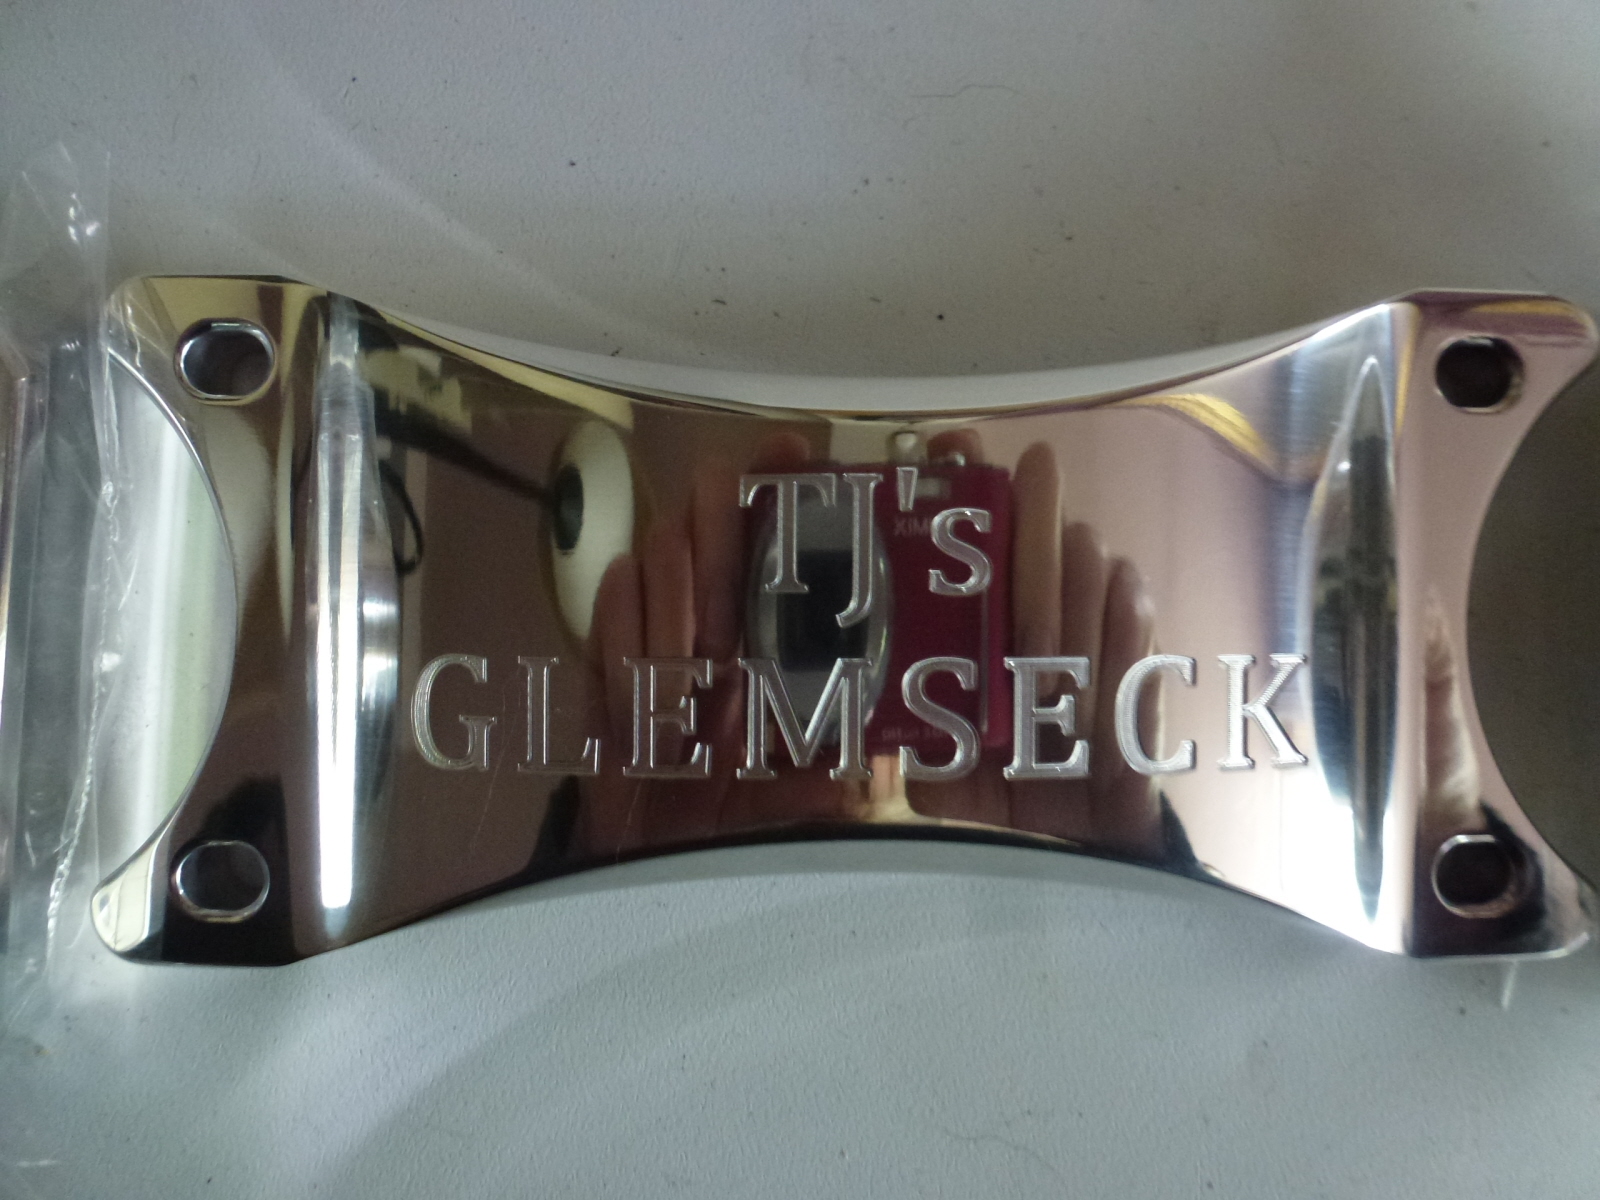
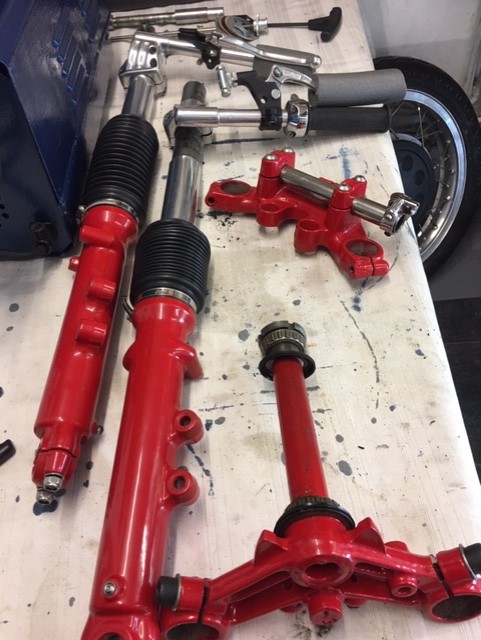
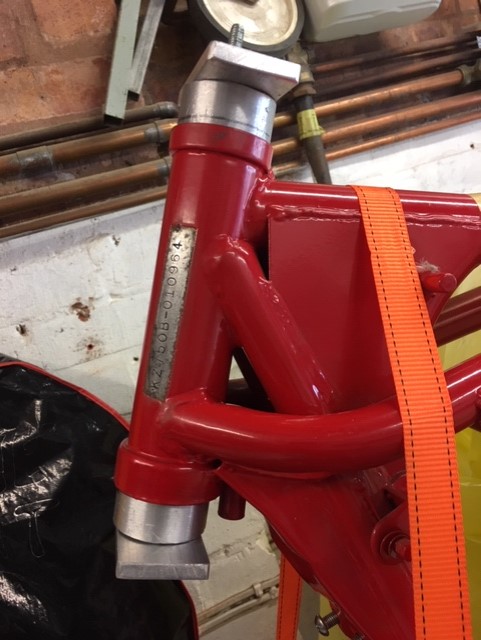
Finally found out the weirdness with my forks ! They were always suspected as not being stock items…………………. you guys told me !!!
Found that out when I came to fit my new fork brace !! My fork legs are 60mm dia at the top and not the standard 55mm ! My local machinist guy made me new 60mm clamps so at least I managed to save the newly engraved fork bridge ! He also made the bobbins for the new paddock stand. My machinist is going to give me a price for 10 off fork braces to fit the stock 55mm fork tops.
We’ve got the seat brackets made and mounted and ditto the “tank”. That has allowed us to site the position for the footrests, bars, etc. I’m also making up “bikini” side panels that will incorporate the race plate oval.
The belly pan fuel cell is almost completed, and we’ve mocked up the fuel delivery system – filler in back of seat hump.
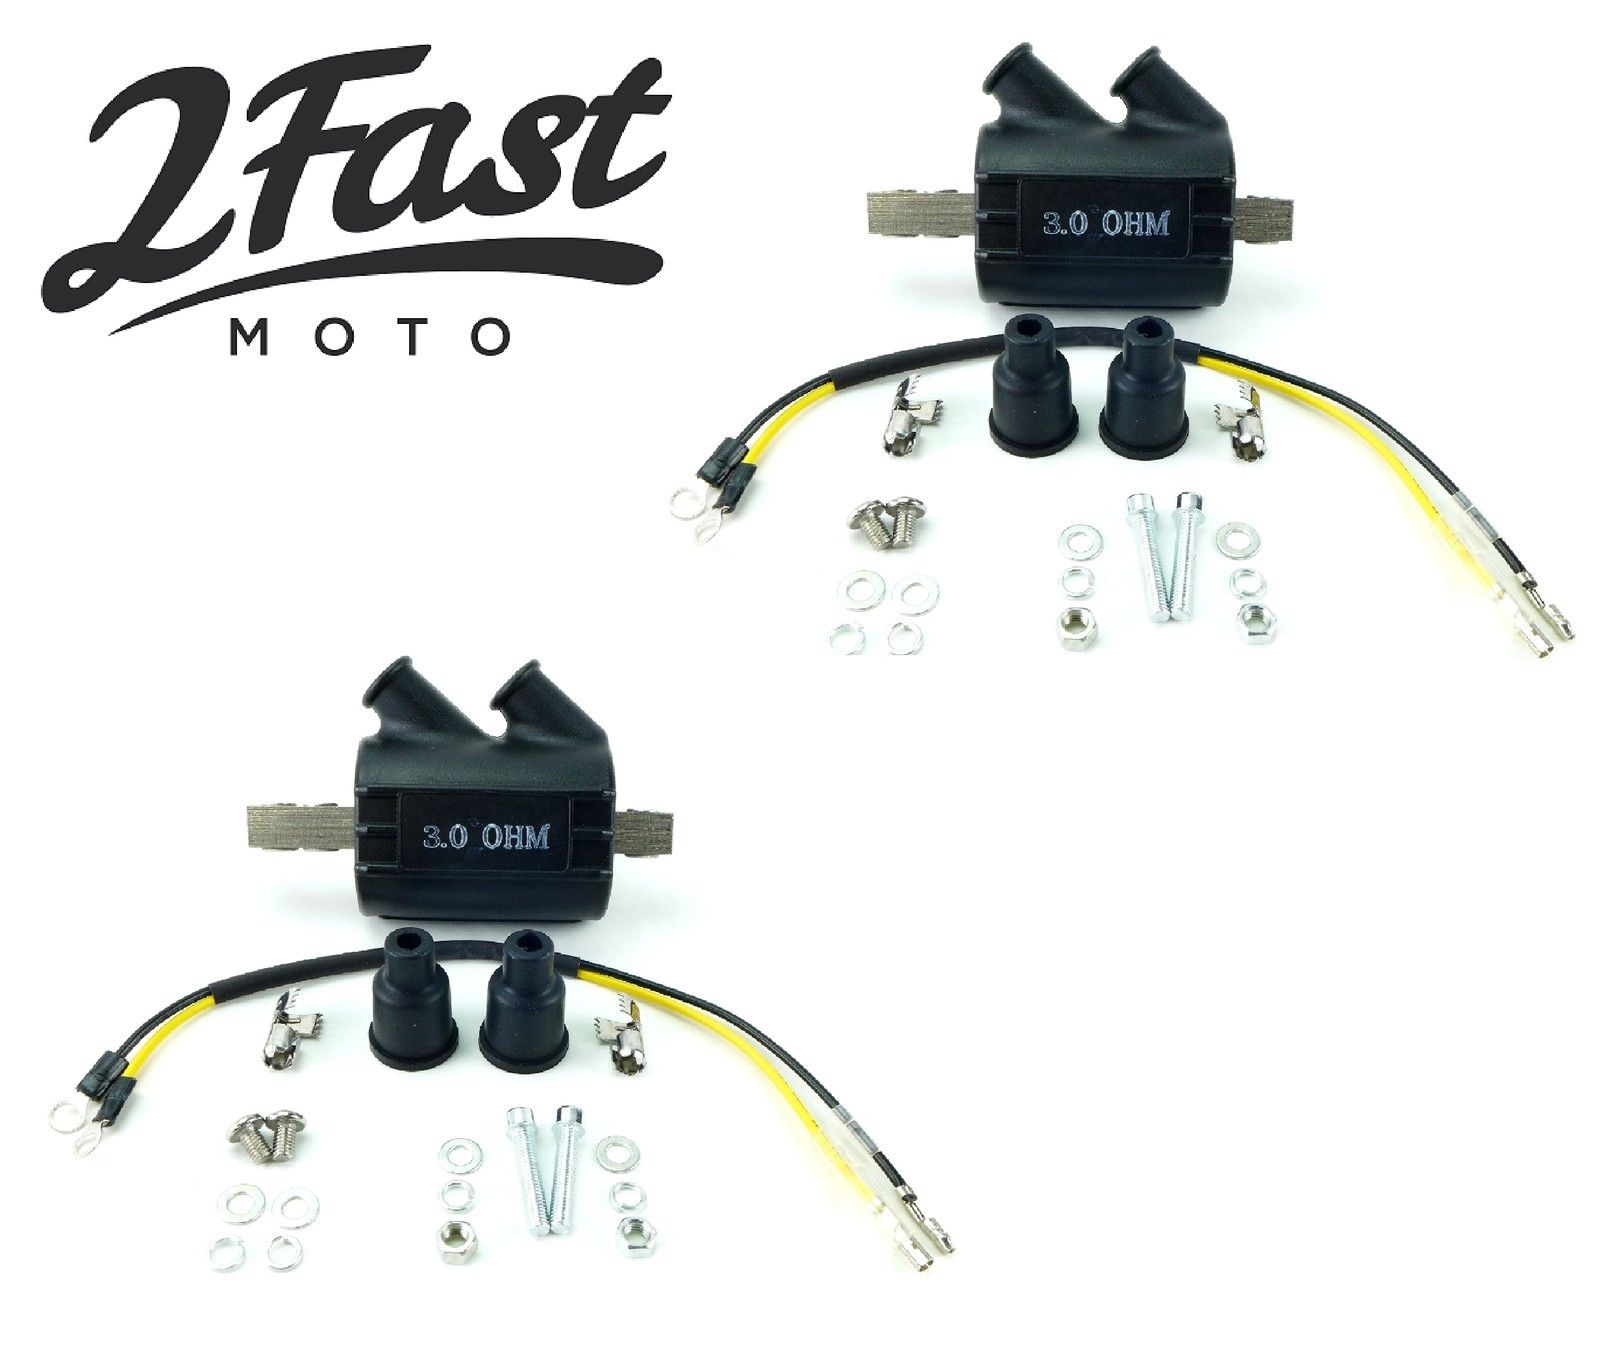
After much toing and froing I’ve abandoned the idea of using the Dynatek DARC-2 ignition module which has a retard built in. There are FIVE different versions of the same base unit – and nobody [ even Dynatek ! ] could tell me which one I needed. The final kicker was that their unit requires 0.7 ohms coils – £165 ! Anyway, I dropped on a Czech company called Ignitech – courtesy of Michael who uses one of the units. The one I’ve selected has THREE retard modules and is fully programmable AND is 70% cheaper than the Dynatek !! Has a 3 year guarantee AND I can use the 0.3 ohms coils I already have.
I’ve ordered the alloy sheet to make the side panels, which I will have next week.

 20th June 2019 at 11:21 am #25150beachcomberParticipant
Regrettably life got in the way and slowed everything down to a virtual standstill since last October.
On again. The belly pan / fuel cell combo is nearly completed after waiting 3 months for some mods to be welded up and will soon be fettled and ready for paint. The fuel delivery system to the fuel cell has been finalised and all the relevant hoses and pipe secured. Dry run this weekend.
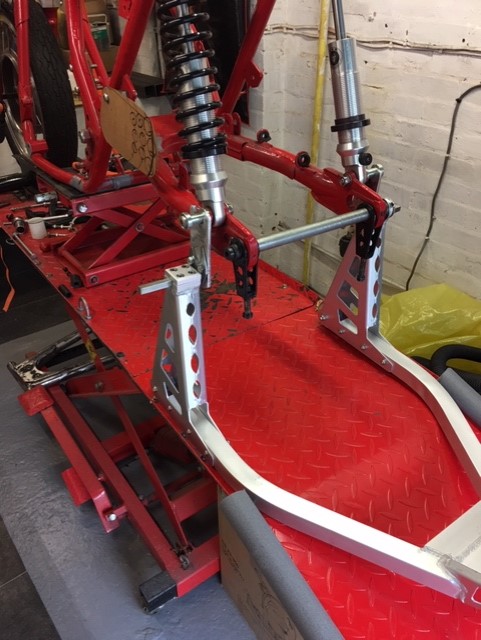
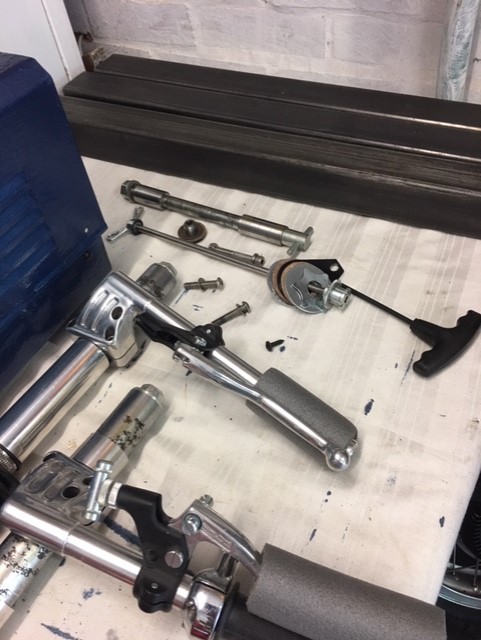
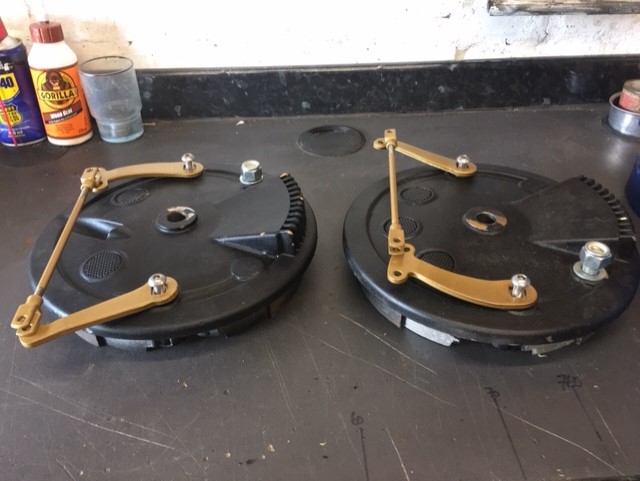
We had some issues getting the new taper bearing cups to seat properly, resolved after my pal made a puller up.The front end has gone back on now and I’m just in the process of re-fitting all the linkages and controls to the Grimeca 4LS brake plates, then they can go on.
The exhaust headers are being welded as we speak, so that’s another of the outsource jobs ticked off.
When they come back I’ll finalise all the plumbing and hosing for the carb and nitrous oxide.
I eventually got a fork brace ! The Tarrozi one I ordered didn’t fit and eventually I found a company to make me a bespoke item – for the same price as the Tarrozi !! It’s perfect, and they even threw in some personalised engraving for free – Fastec Racing are the guys.
 3rd April 2019 at 9:51 pm #24894beachcomberParticipant
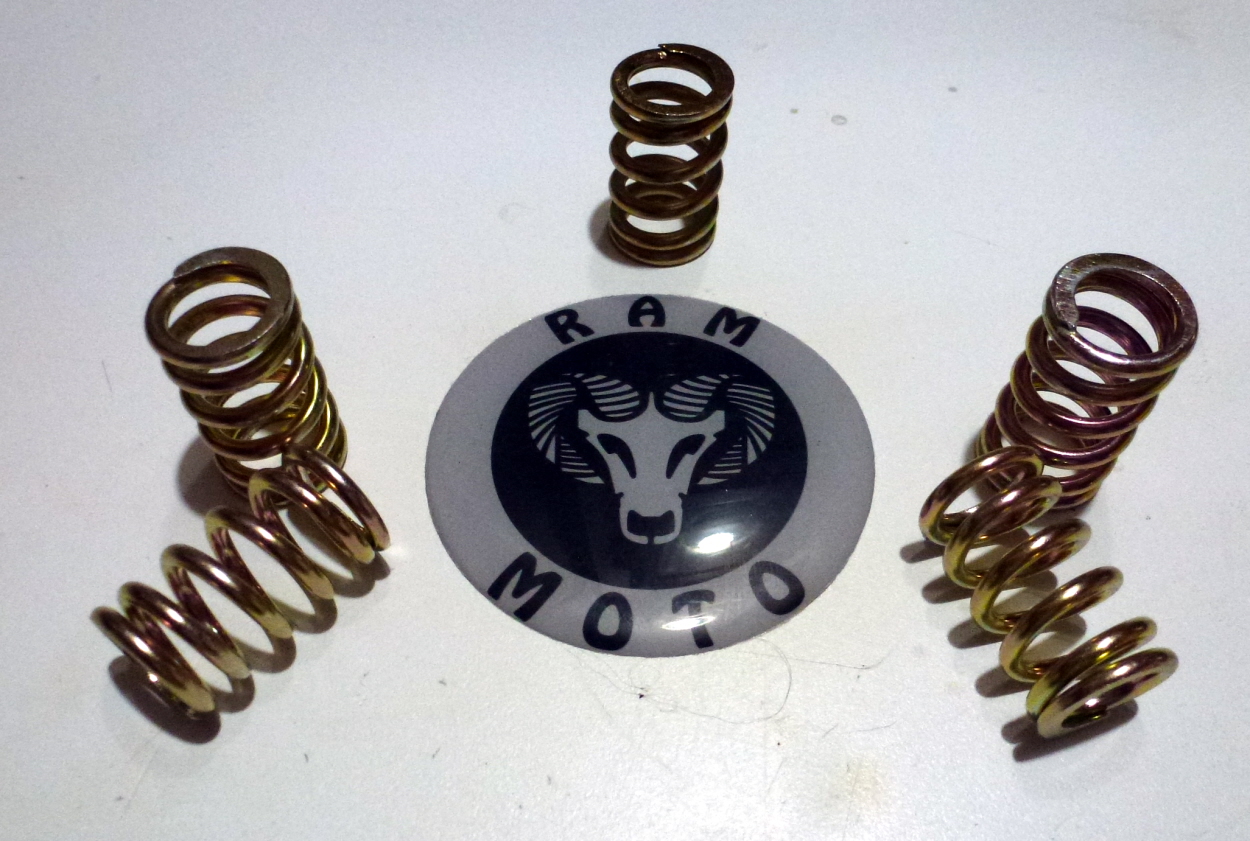
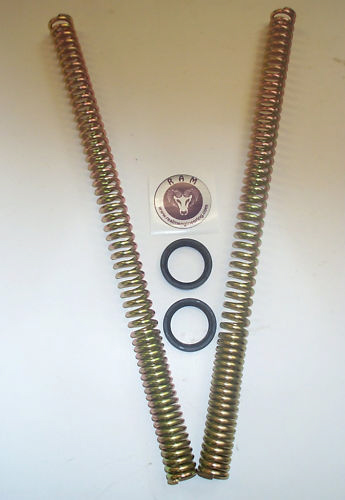
Called to see my spring man [ collect latest order for Kays ] and enquired re: KZ750.
He’s prepared to make a minimum of 40 springs as long as all dimensions are the same apart from length.
I thought maybe 20 of each B1,B2 … that’s 10 bike sets for each model.
As per the Kays [ Progressive, but without seals ] price would be £65 / set.
I’ll be posting up on the other relevant sites to see if there is enough interest to go ahead.
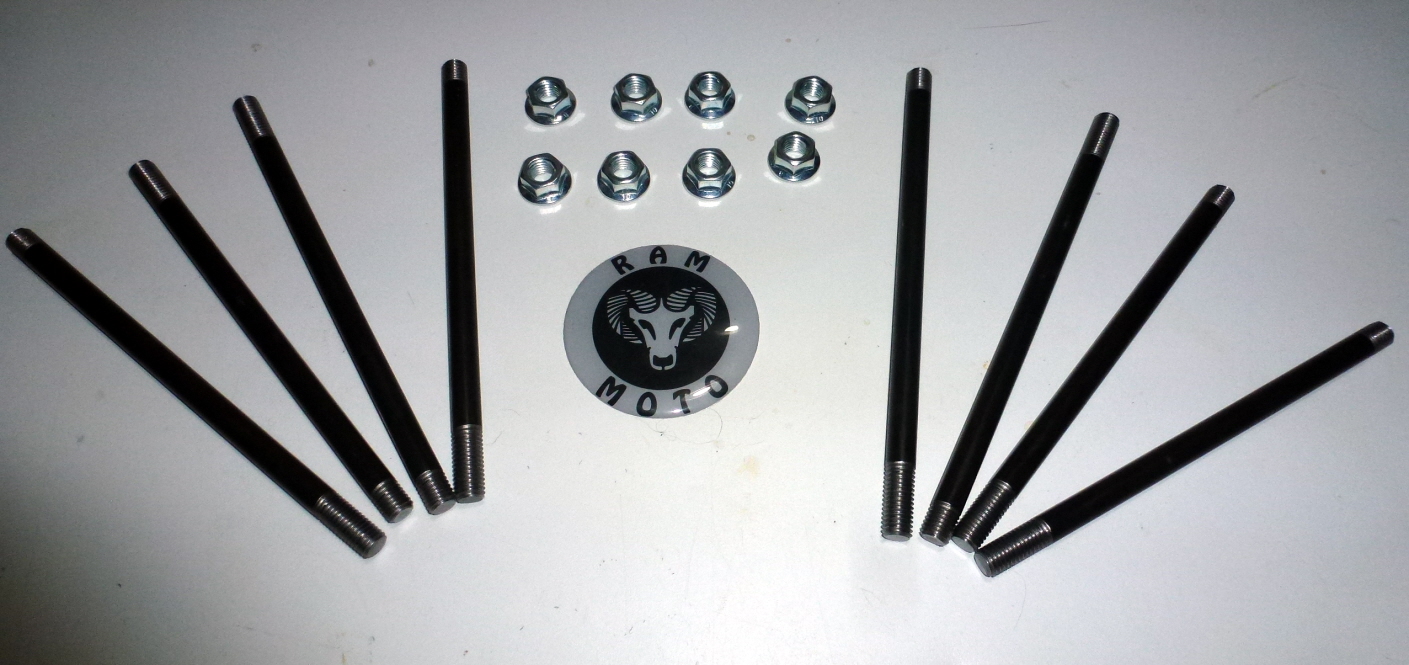
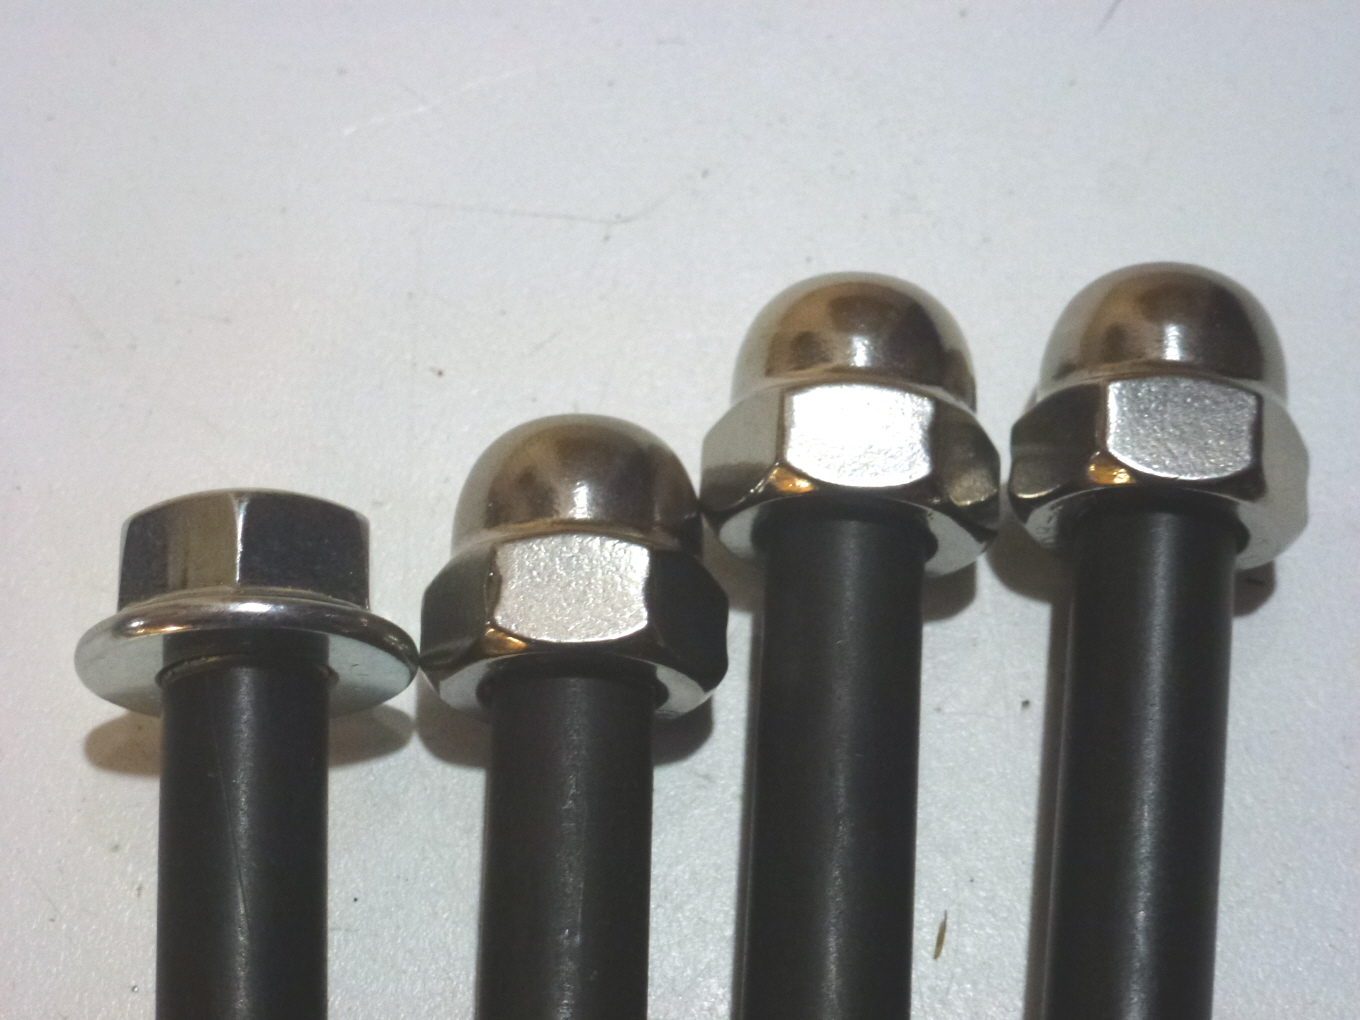
29th March 2019 at 4:50 pm #24877beachcomberParticipantThanx everyone for the support. I will almost certainly be ordering another batch of studs.
Only 4 sets of clutch springs left.
Additionally I am now seriously looking at getting progressive fork springs made. MOST of our bikes will be suffering from “settled” / worn springs ….. that’s just the nature of the beast.
When I did the same exercise 10 years ago for my BMW Kays [ 100 and 1100 ], the difference was chalk and cheese. Went from being a soggy imprecise steering barge into something far more predictable and fun. They were also tested severely under race conditions by Ben Kingham – winning THREE B.E.A.R.S. Championships outright with RAM springs and shox.

I can get just ONE set made cheaper than off the shelf aftermarket items ….. but if I get 20 – 30 sets ? Probably 20% saving. I now know there are 3 different lengths, so I would have to go for the 2 most popular initially.
 16th March 2019 at 3:35 pm #24830beachcomberParticipant
The bad [?] news …. one set of studs left. The good news ….. the manufacturers contacted me yesterday to say they’d “found” another 3 sets on the shelf !!!! They said it was probably an overrun, but have agreed to let me have them as part of the original order. That’s my 2 engines sorted then !
13th February 2019 at 6:48 pm #24748beachcomberParticipantGreat to see another of our American Cousins here – Welcome. TJ
-
AuthorPosts
