Home › Forums › All Things 750 Twin › Projects and Progress › New Projects › Z750B1 1976
- This topic has 23 replies, 3 voices, and was last updated 7 years, 6 months ago by
 Ownthesky2010.
-
AuthorPosts
-
18th September 2018 at 8:51 pm #23765
 Ownthesky2010Participant
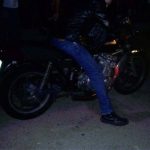
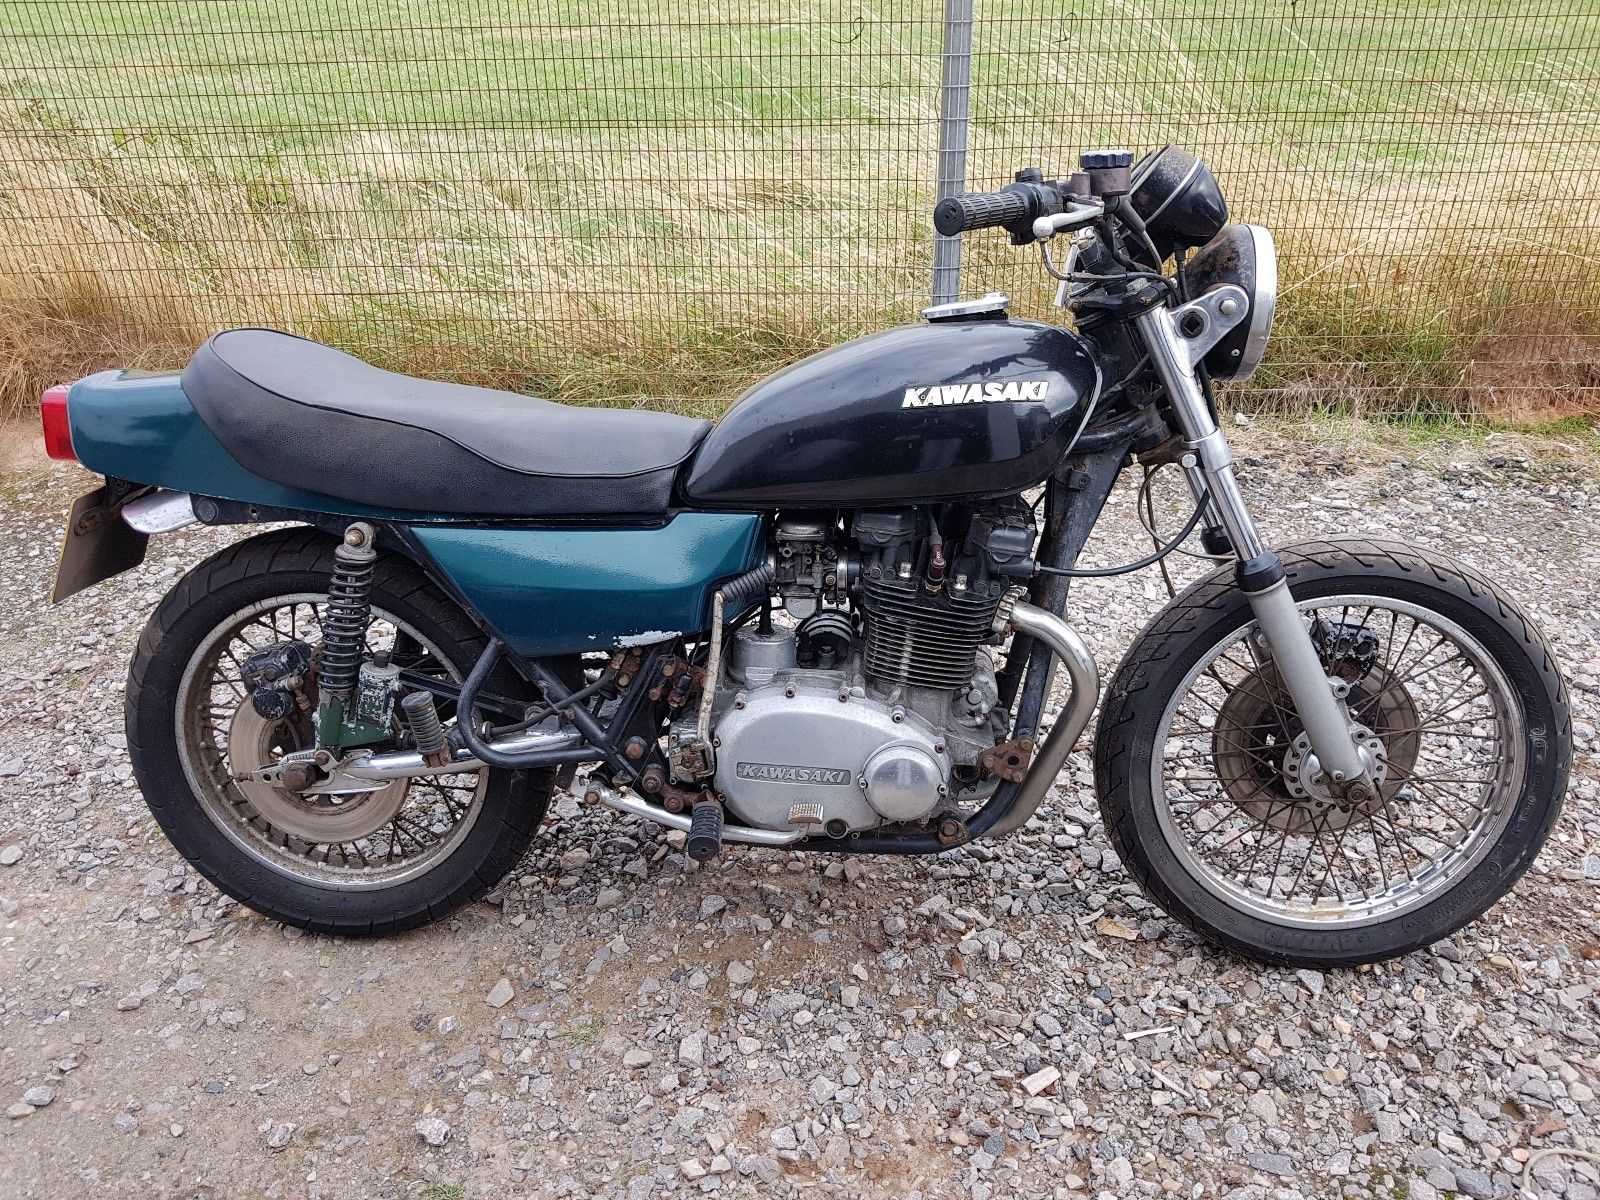
This is the project as it came from ebay.
I will post some more pictures as I get bits done.
This will be a total resto I think.
 18th September 2018 at 9:10 pm #23773Ownthesky2010Participant
My plan was to get this running before taking it to bits so the first this I tackled was the kickstarter as it was flopping around and I had a feeling I was going to need it.
I’m no stranger to kickstaring big 4-strokes but I had a go at hoofing this one and kept wrapping my foot around the passenger pegs.

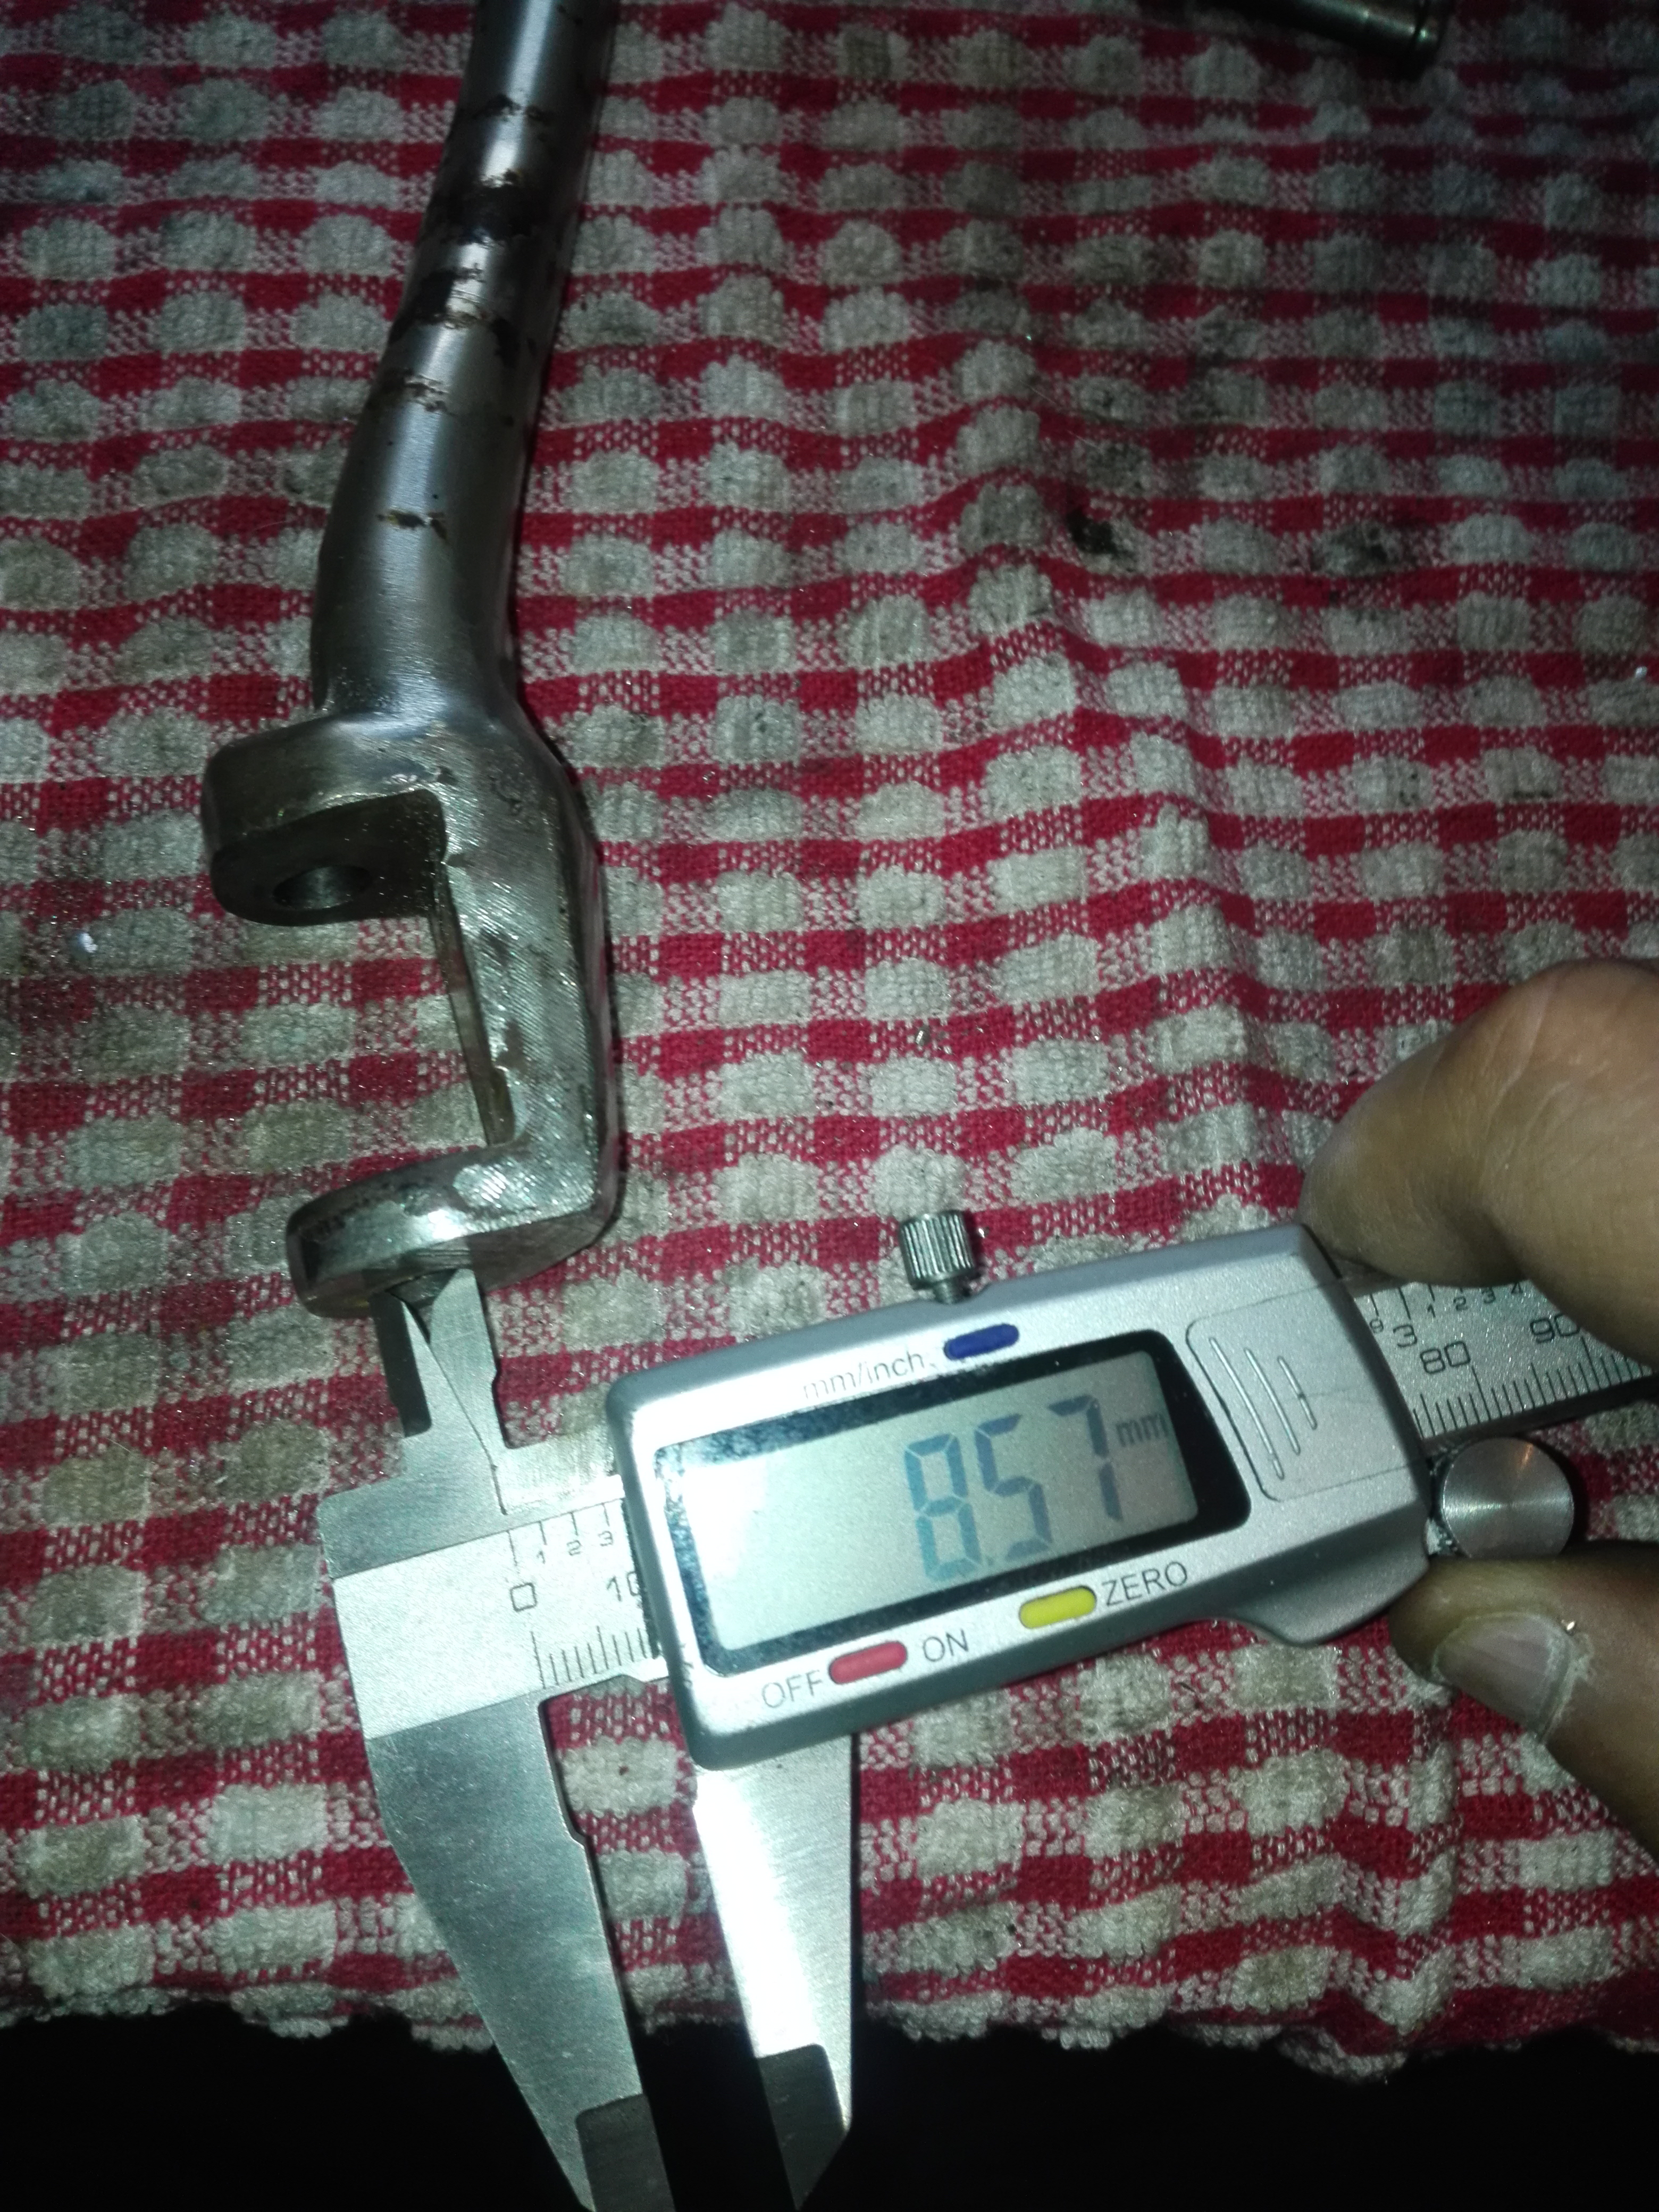
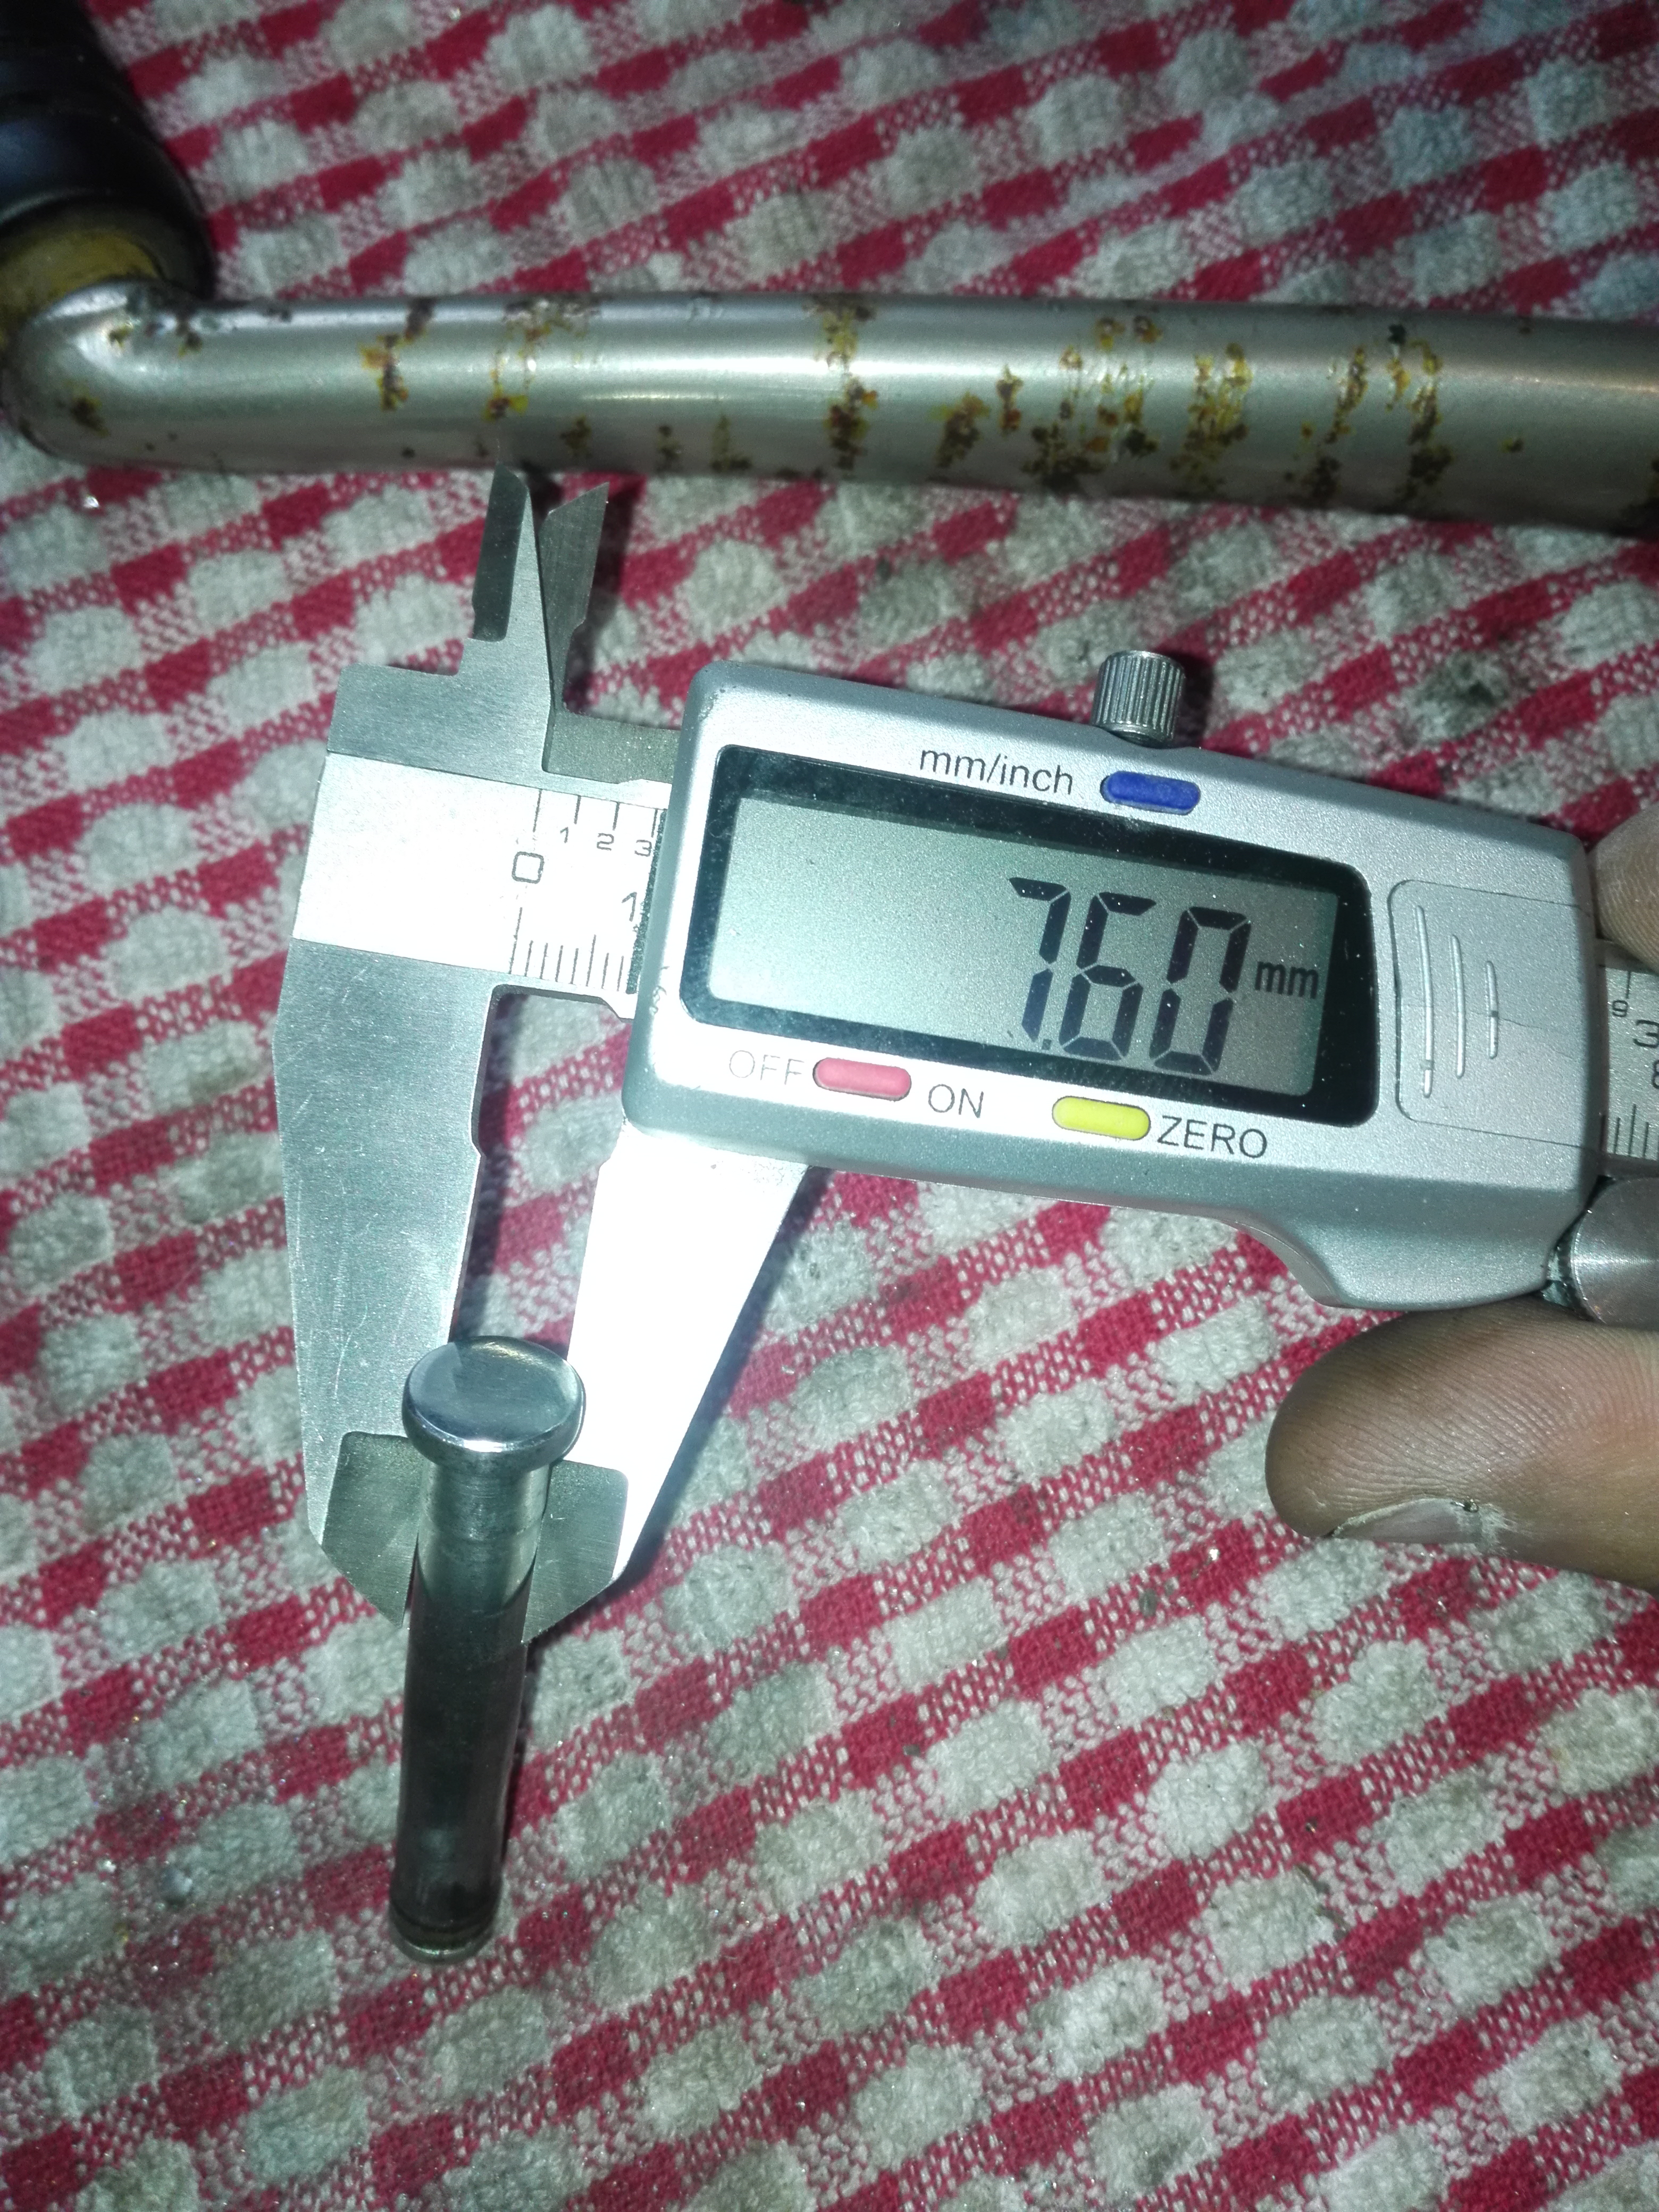
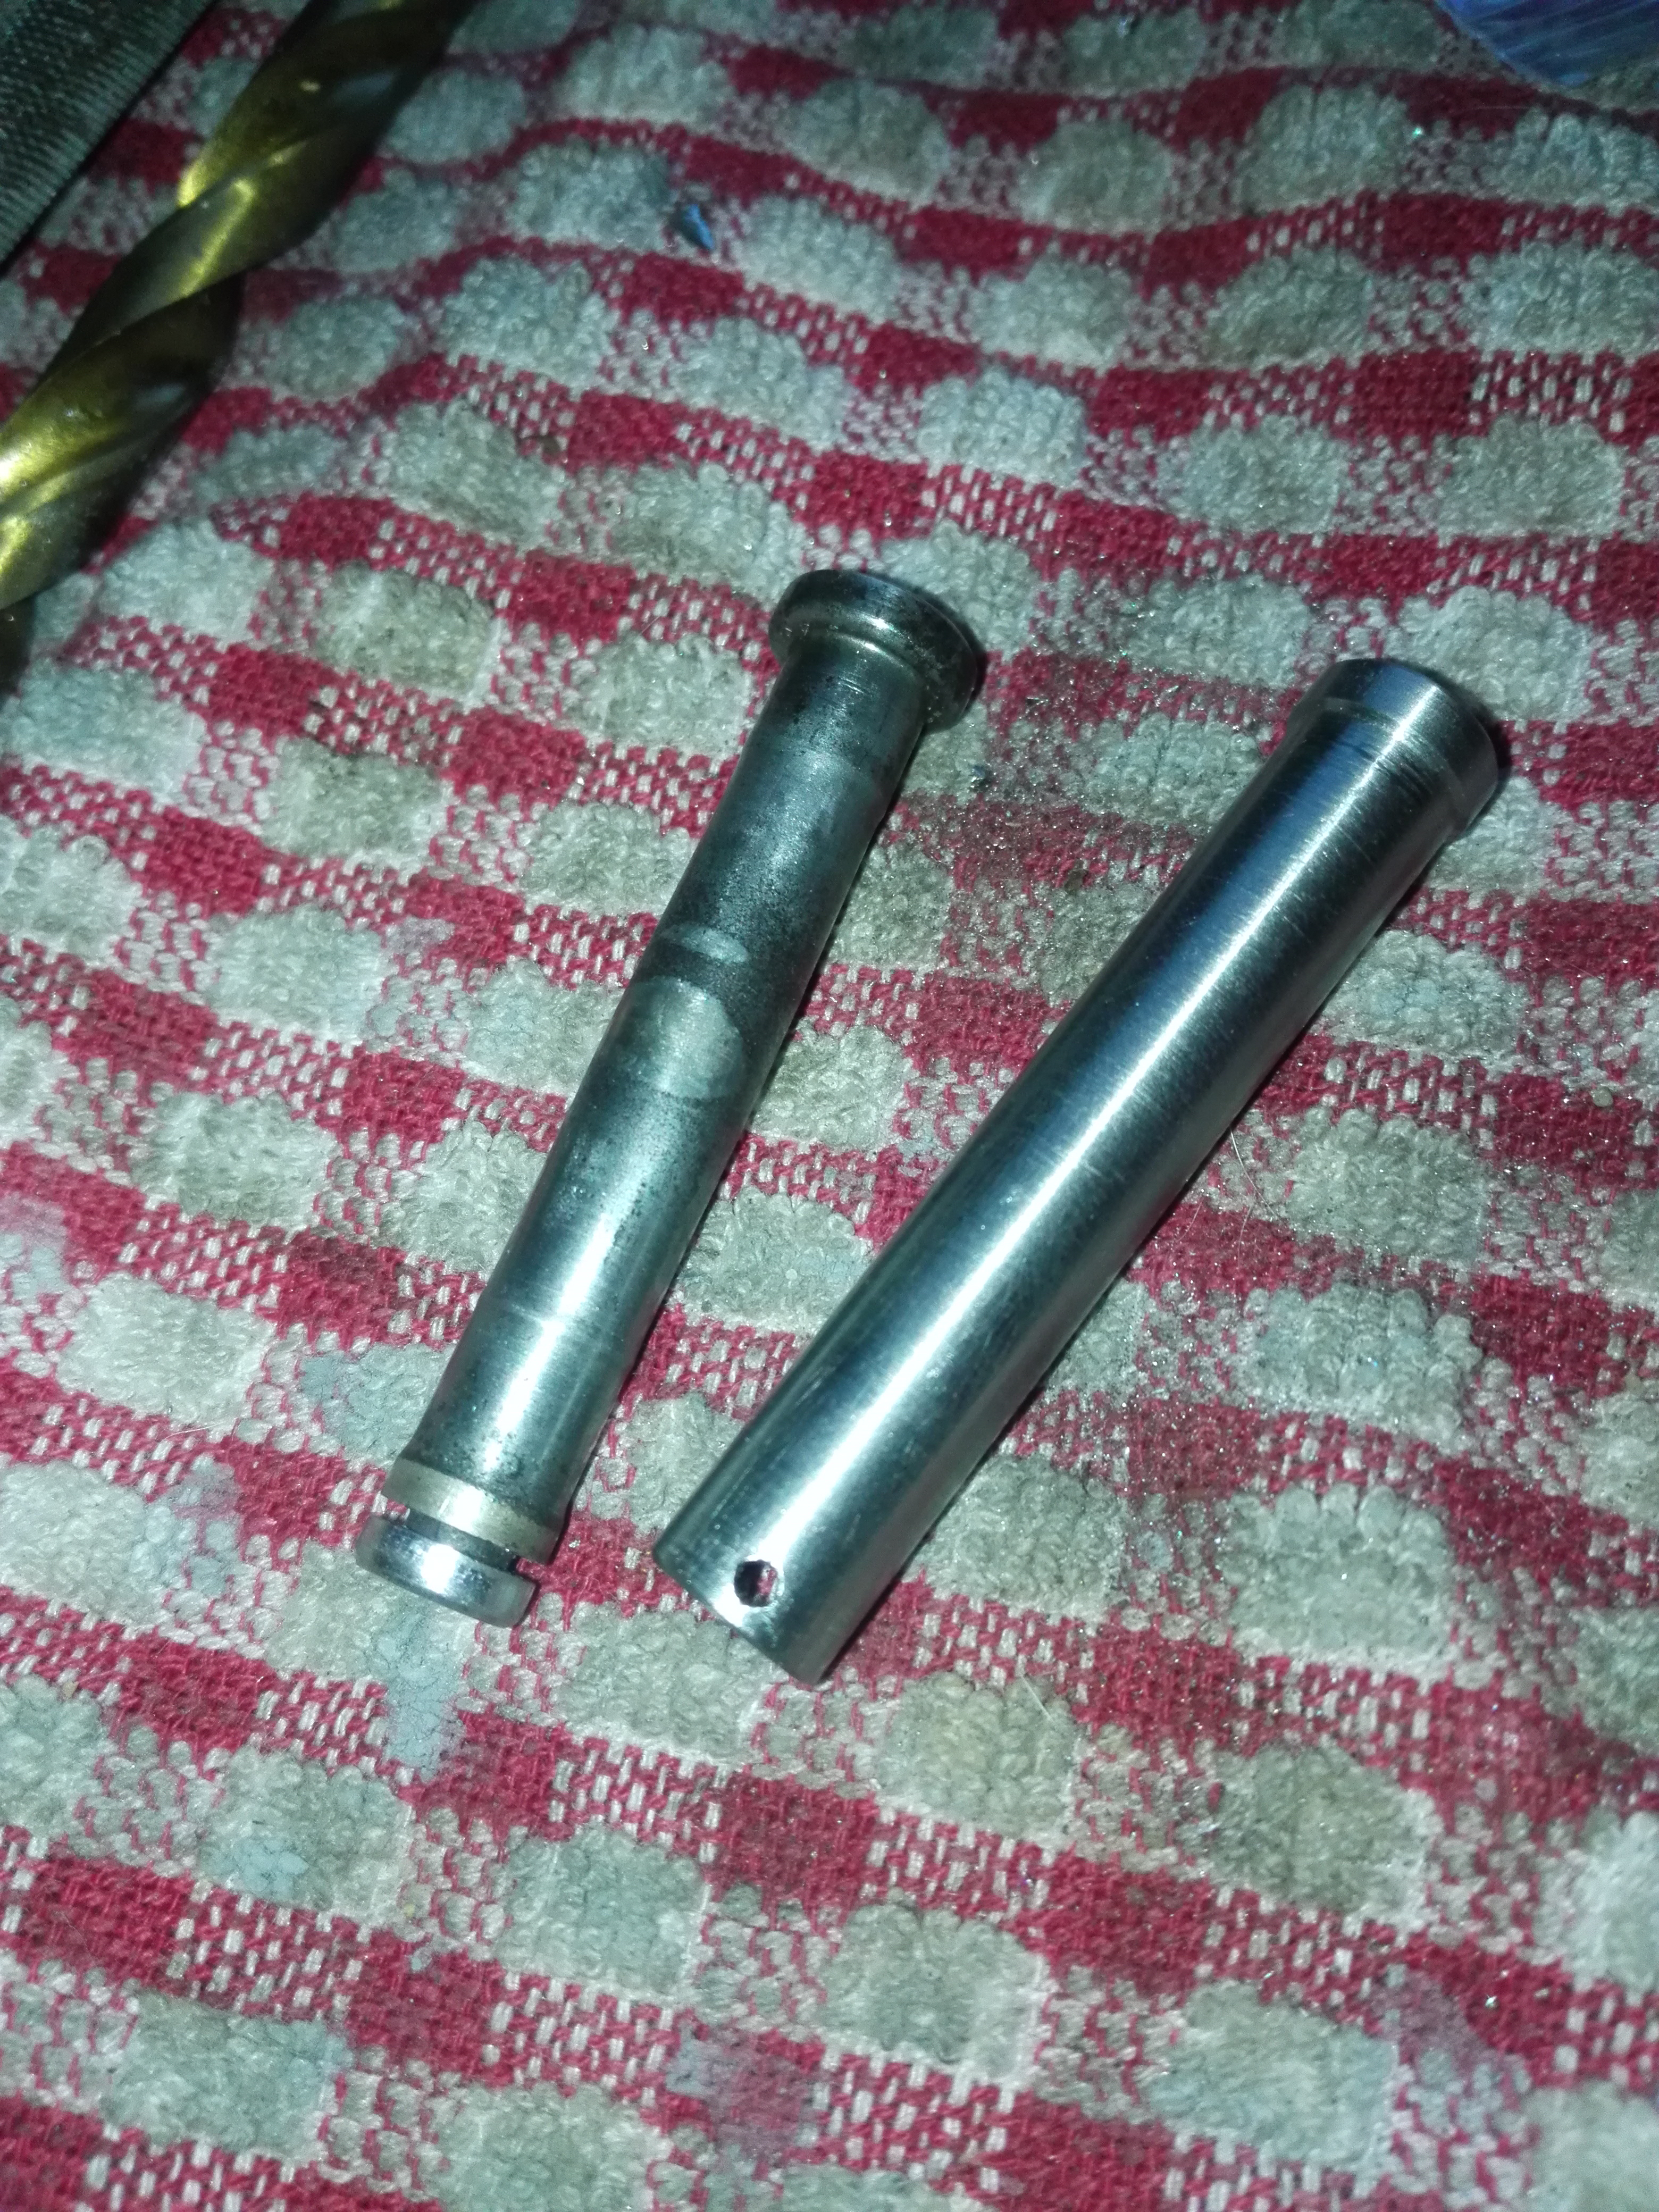
I drilled it out to 9mm and made a new stainless shaft but I don’t have a grooving tool small enough for the e-clip groove so I just drilled it for a pin instead.
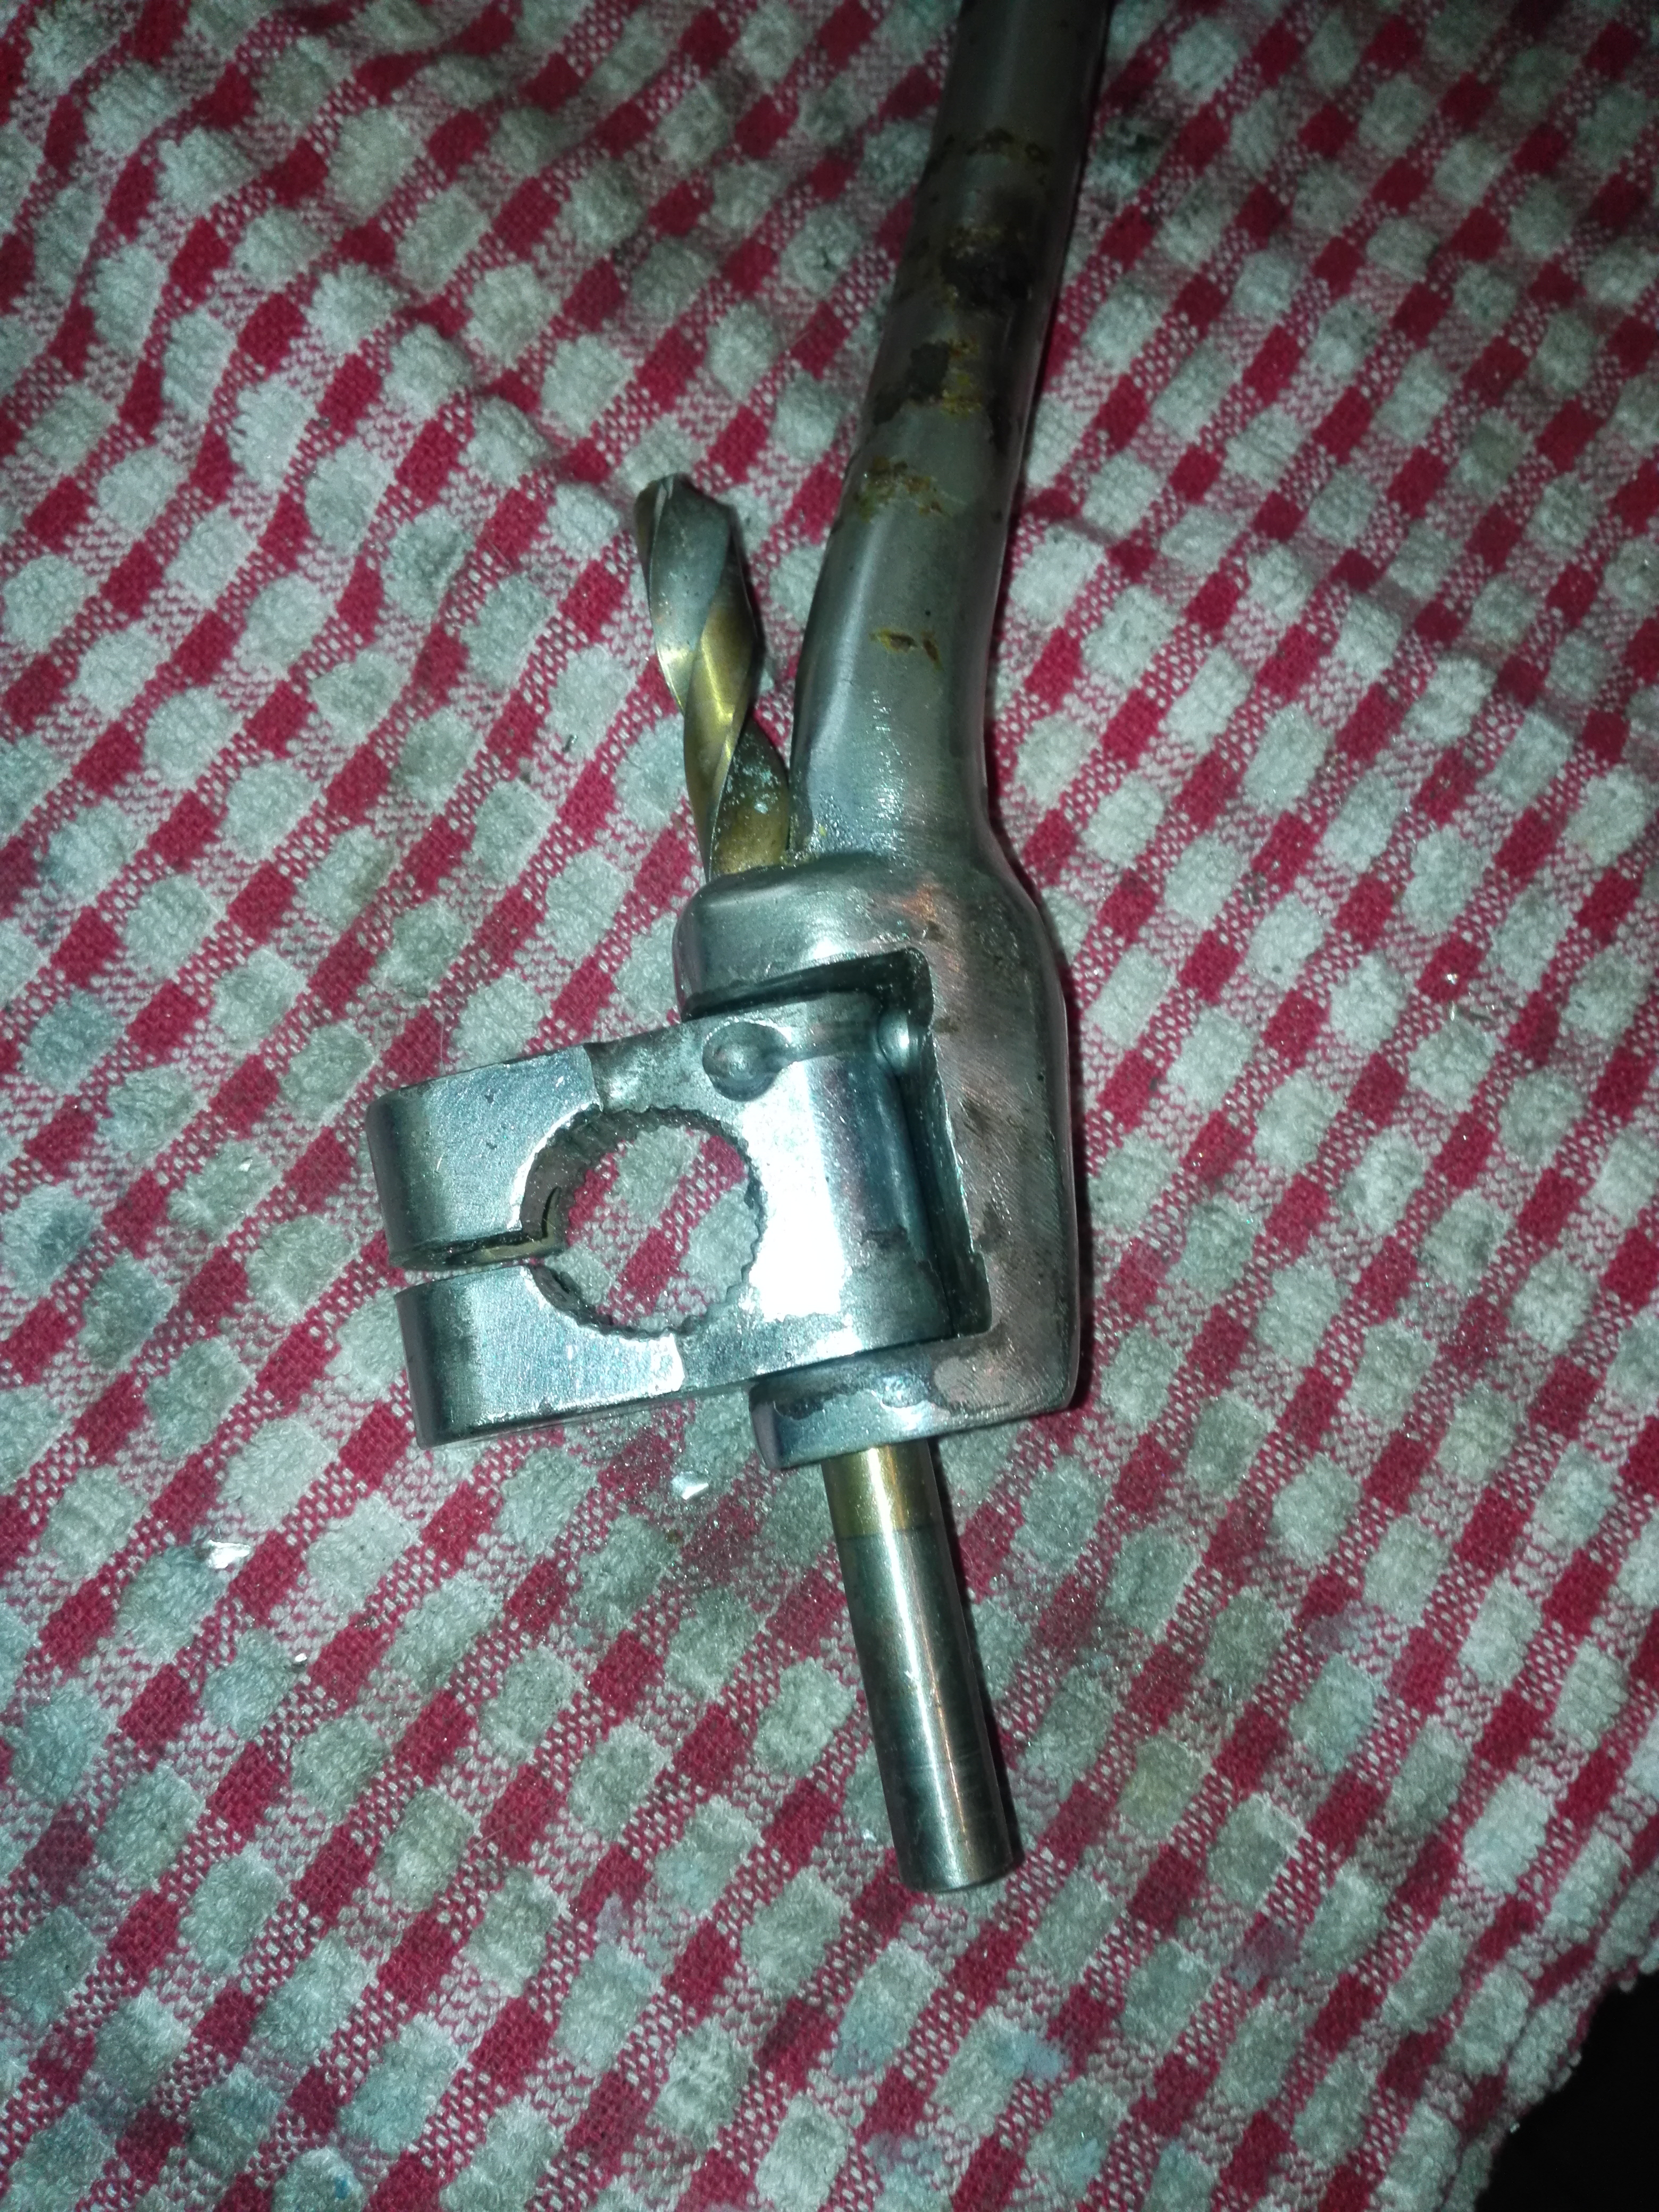
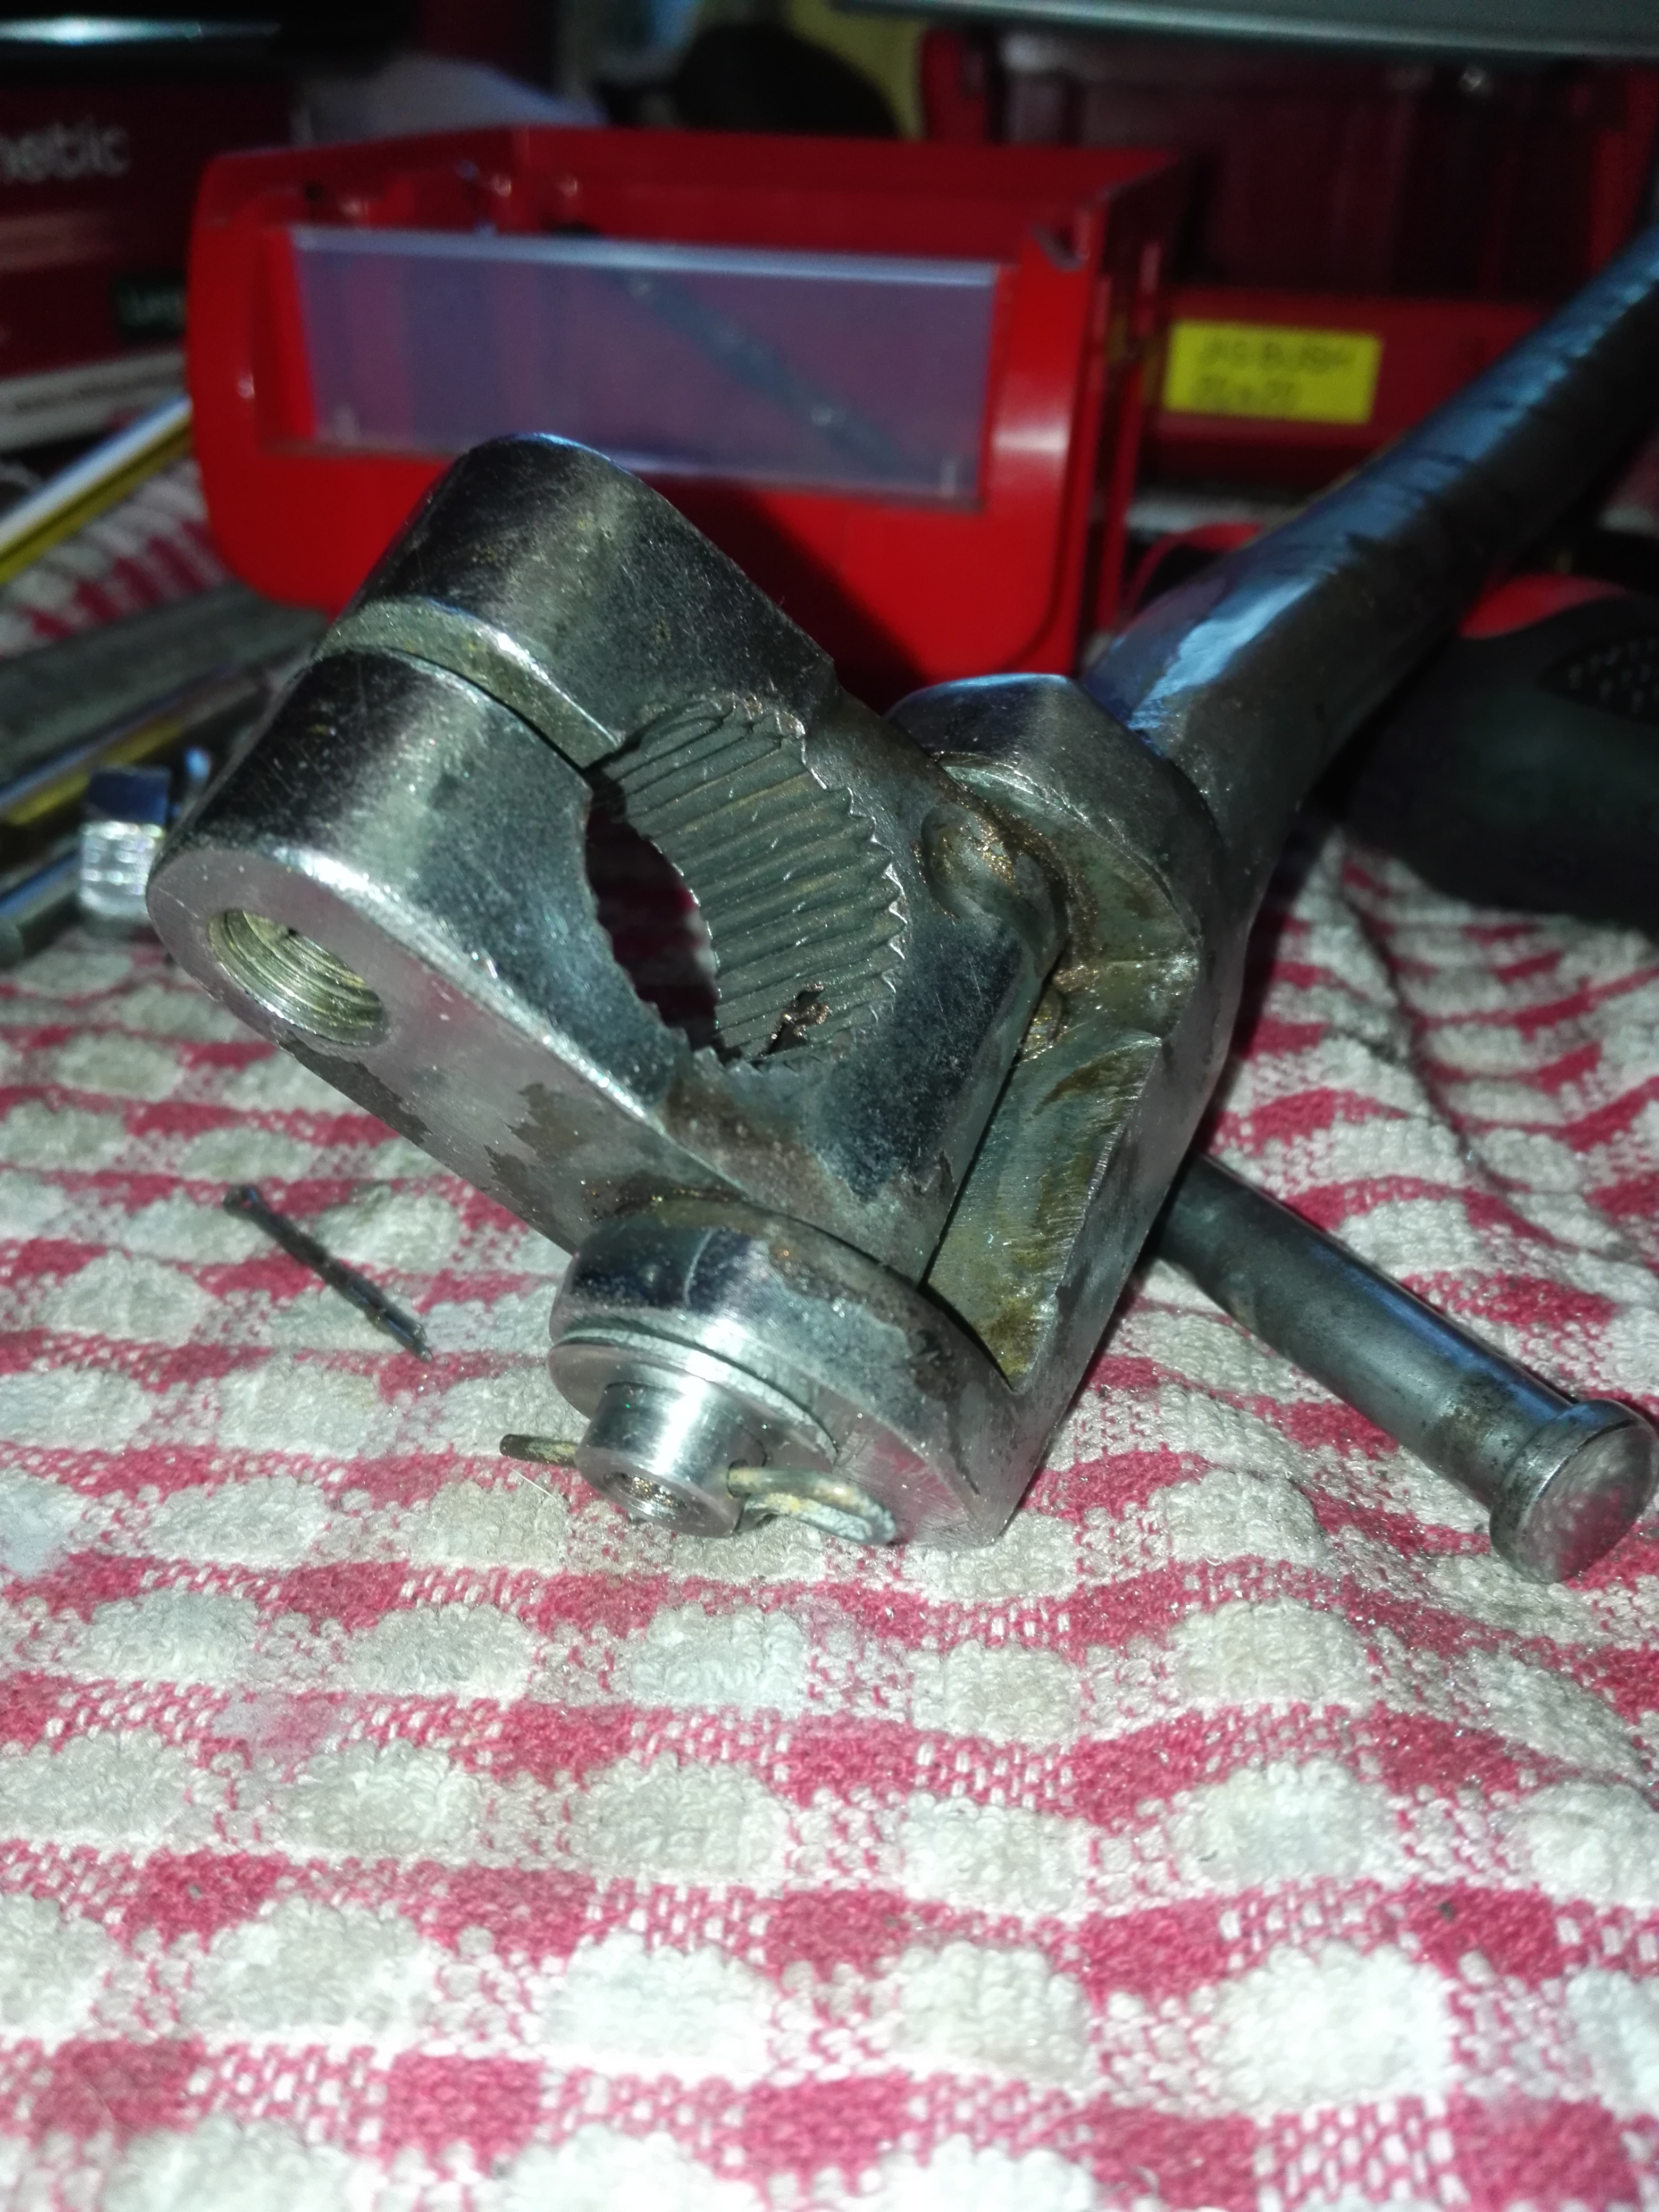
This fix worked very well and it swings in and out with a satisfying click and doesn’t wobble at all.
Its also not touching the sidecover anymore, happy days.
I haven’t decided how I’m going to finish the kickstart as I cant afford re-chroming.
I might just paint it but I will think about it for a bit.
Carbs next.
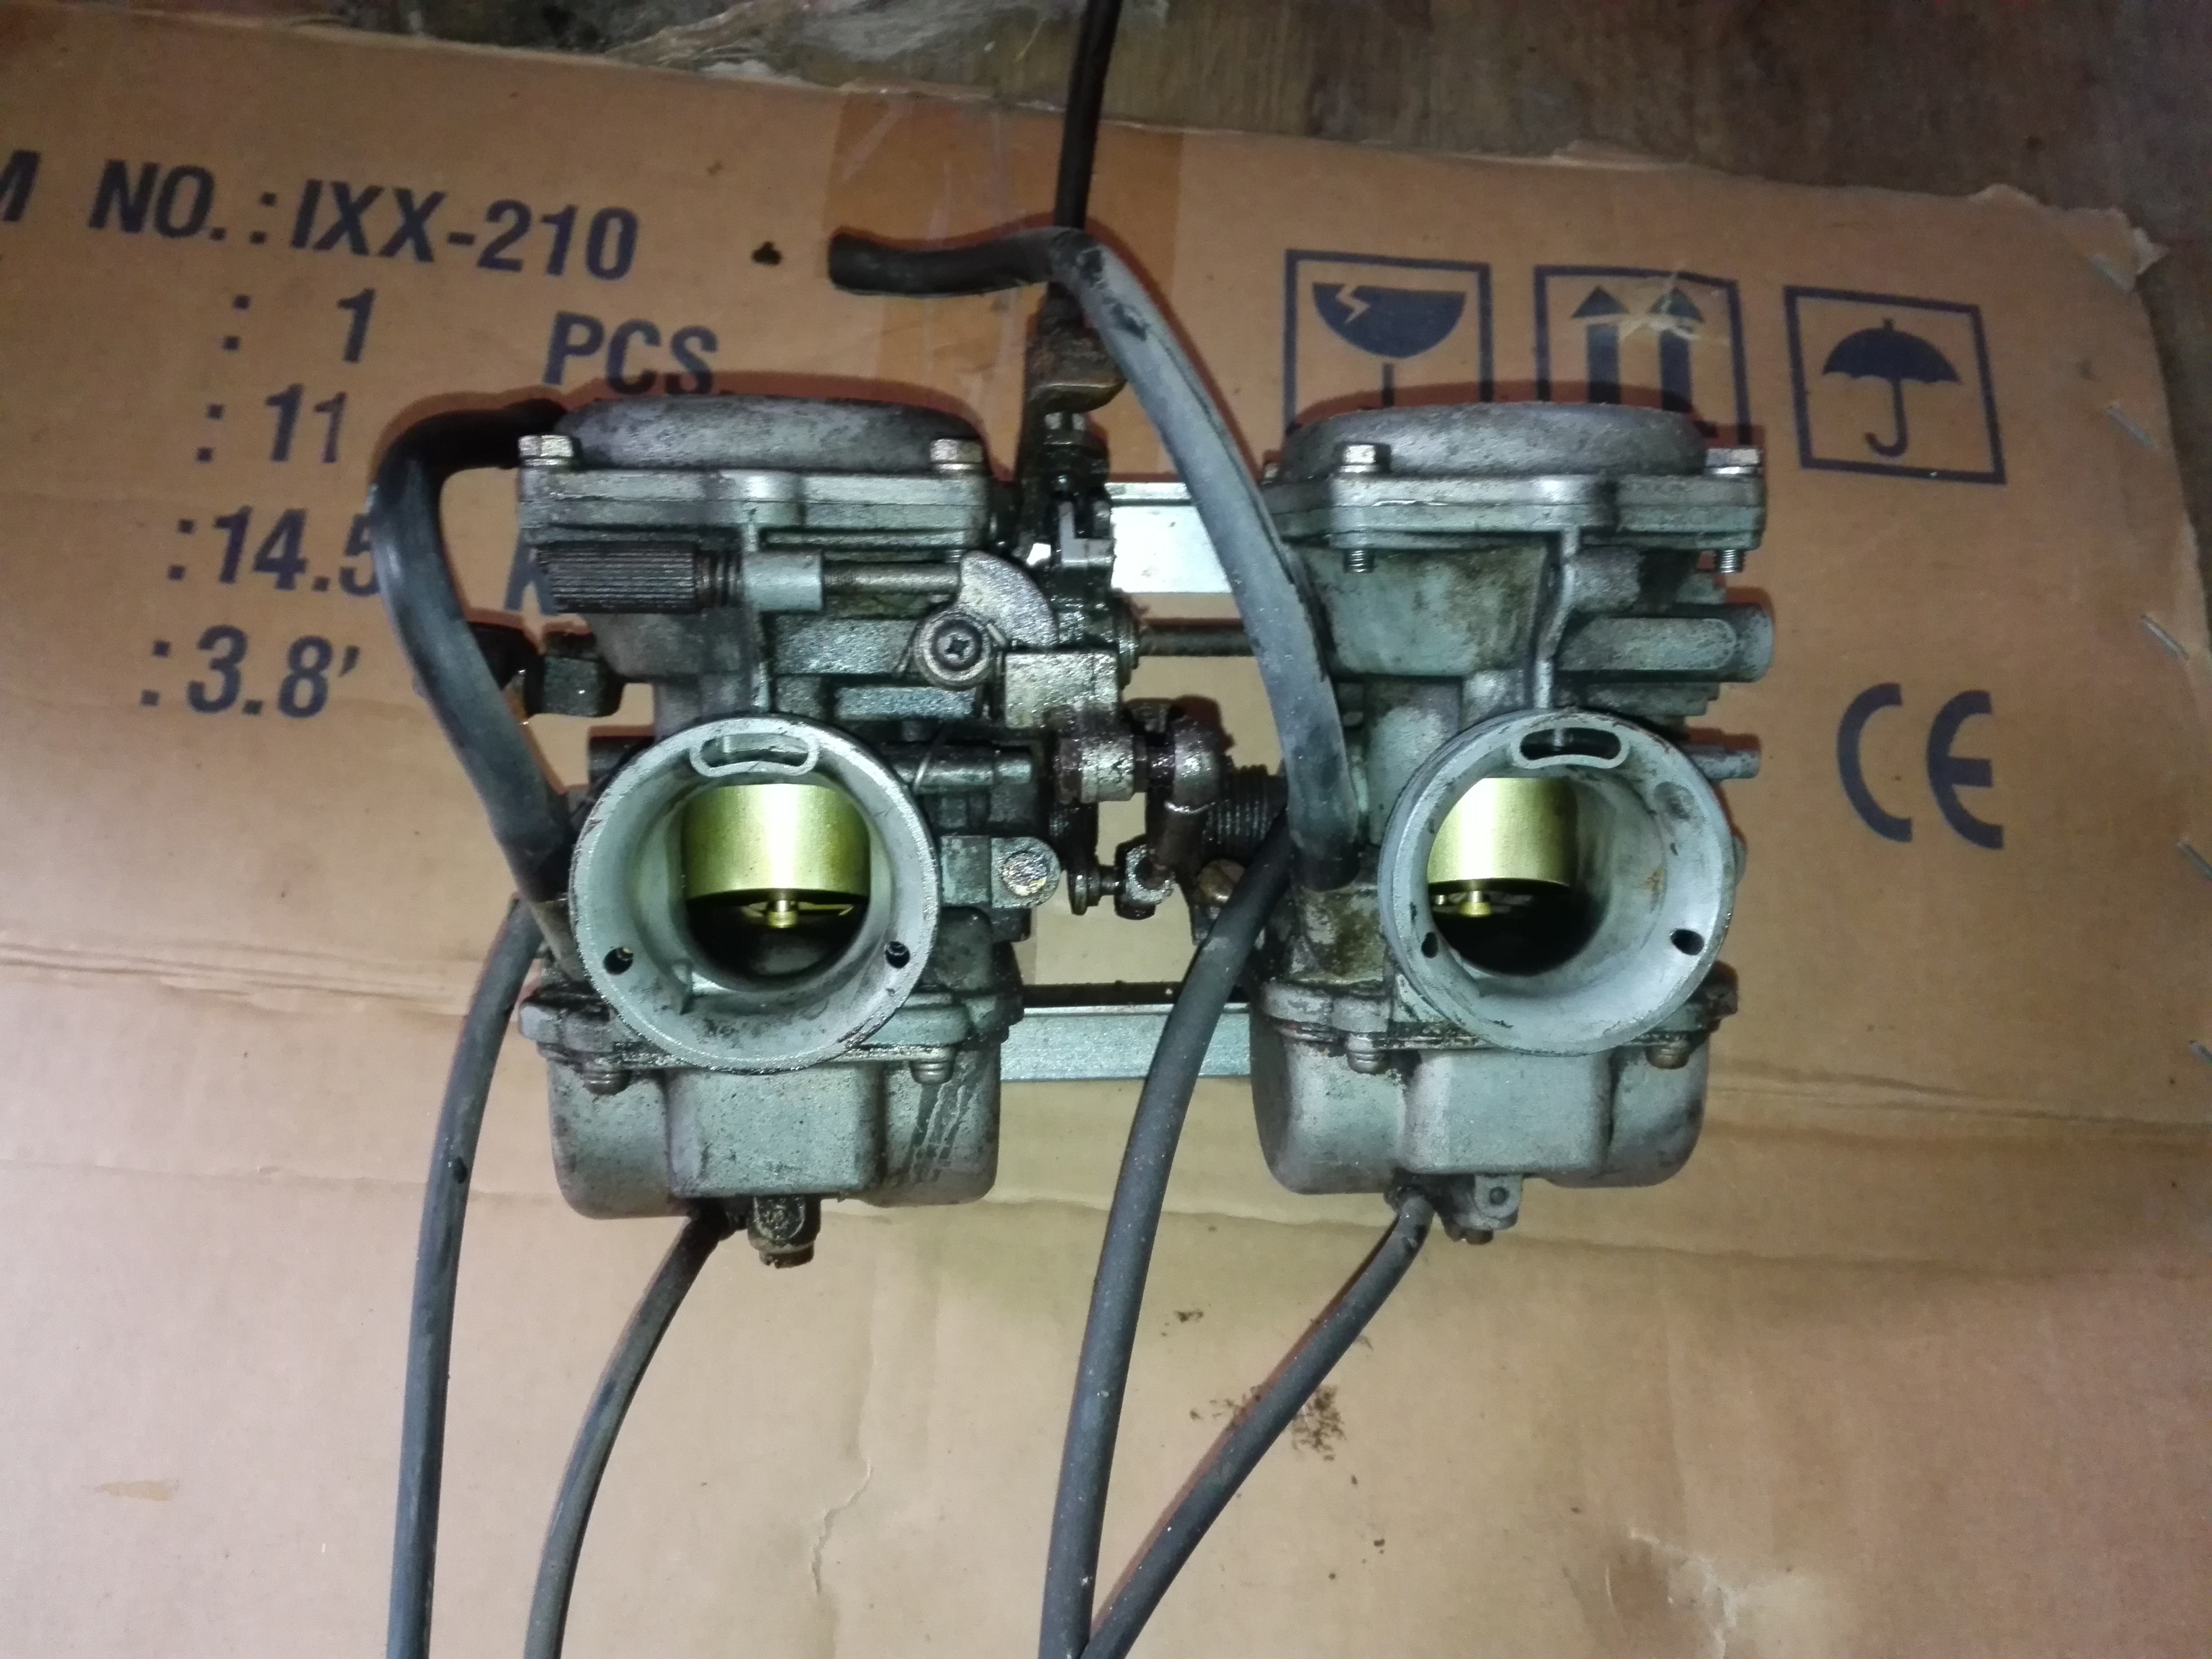
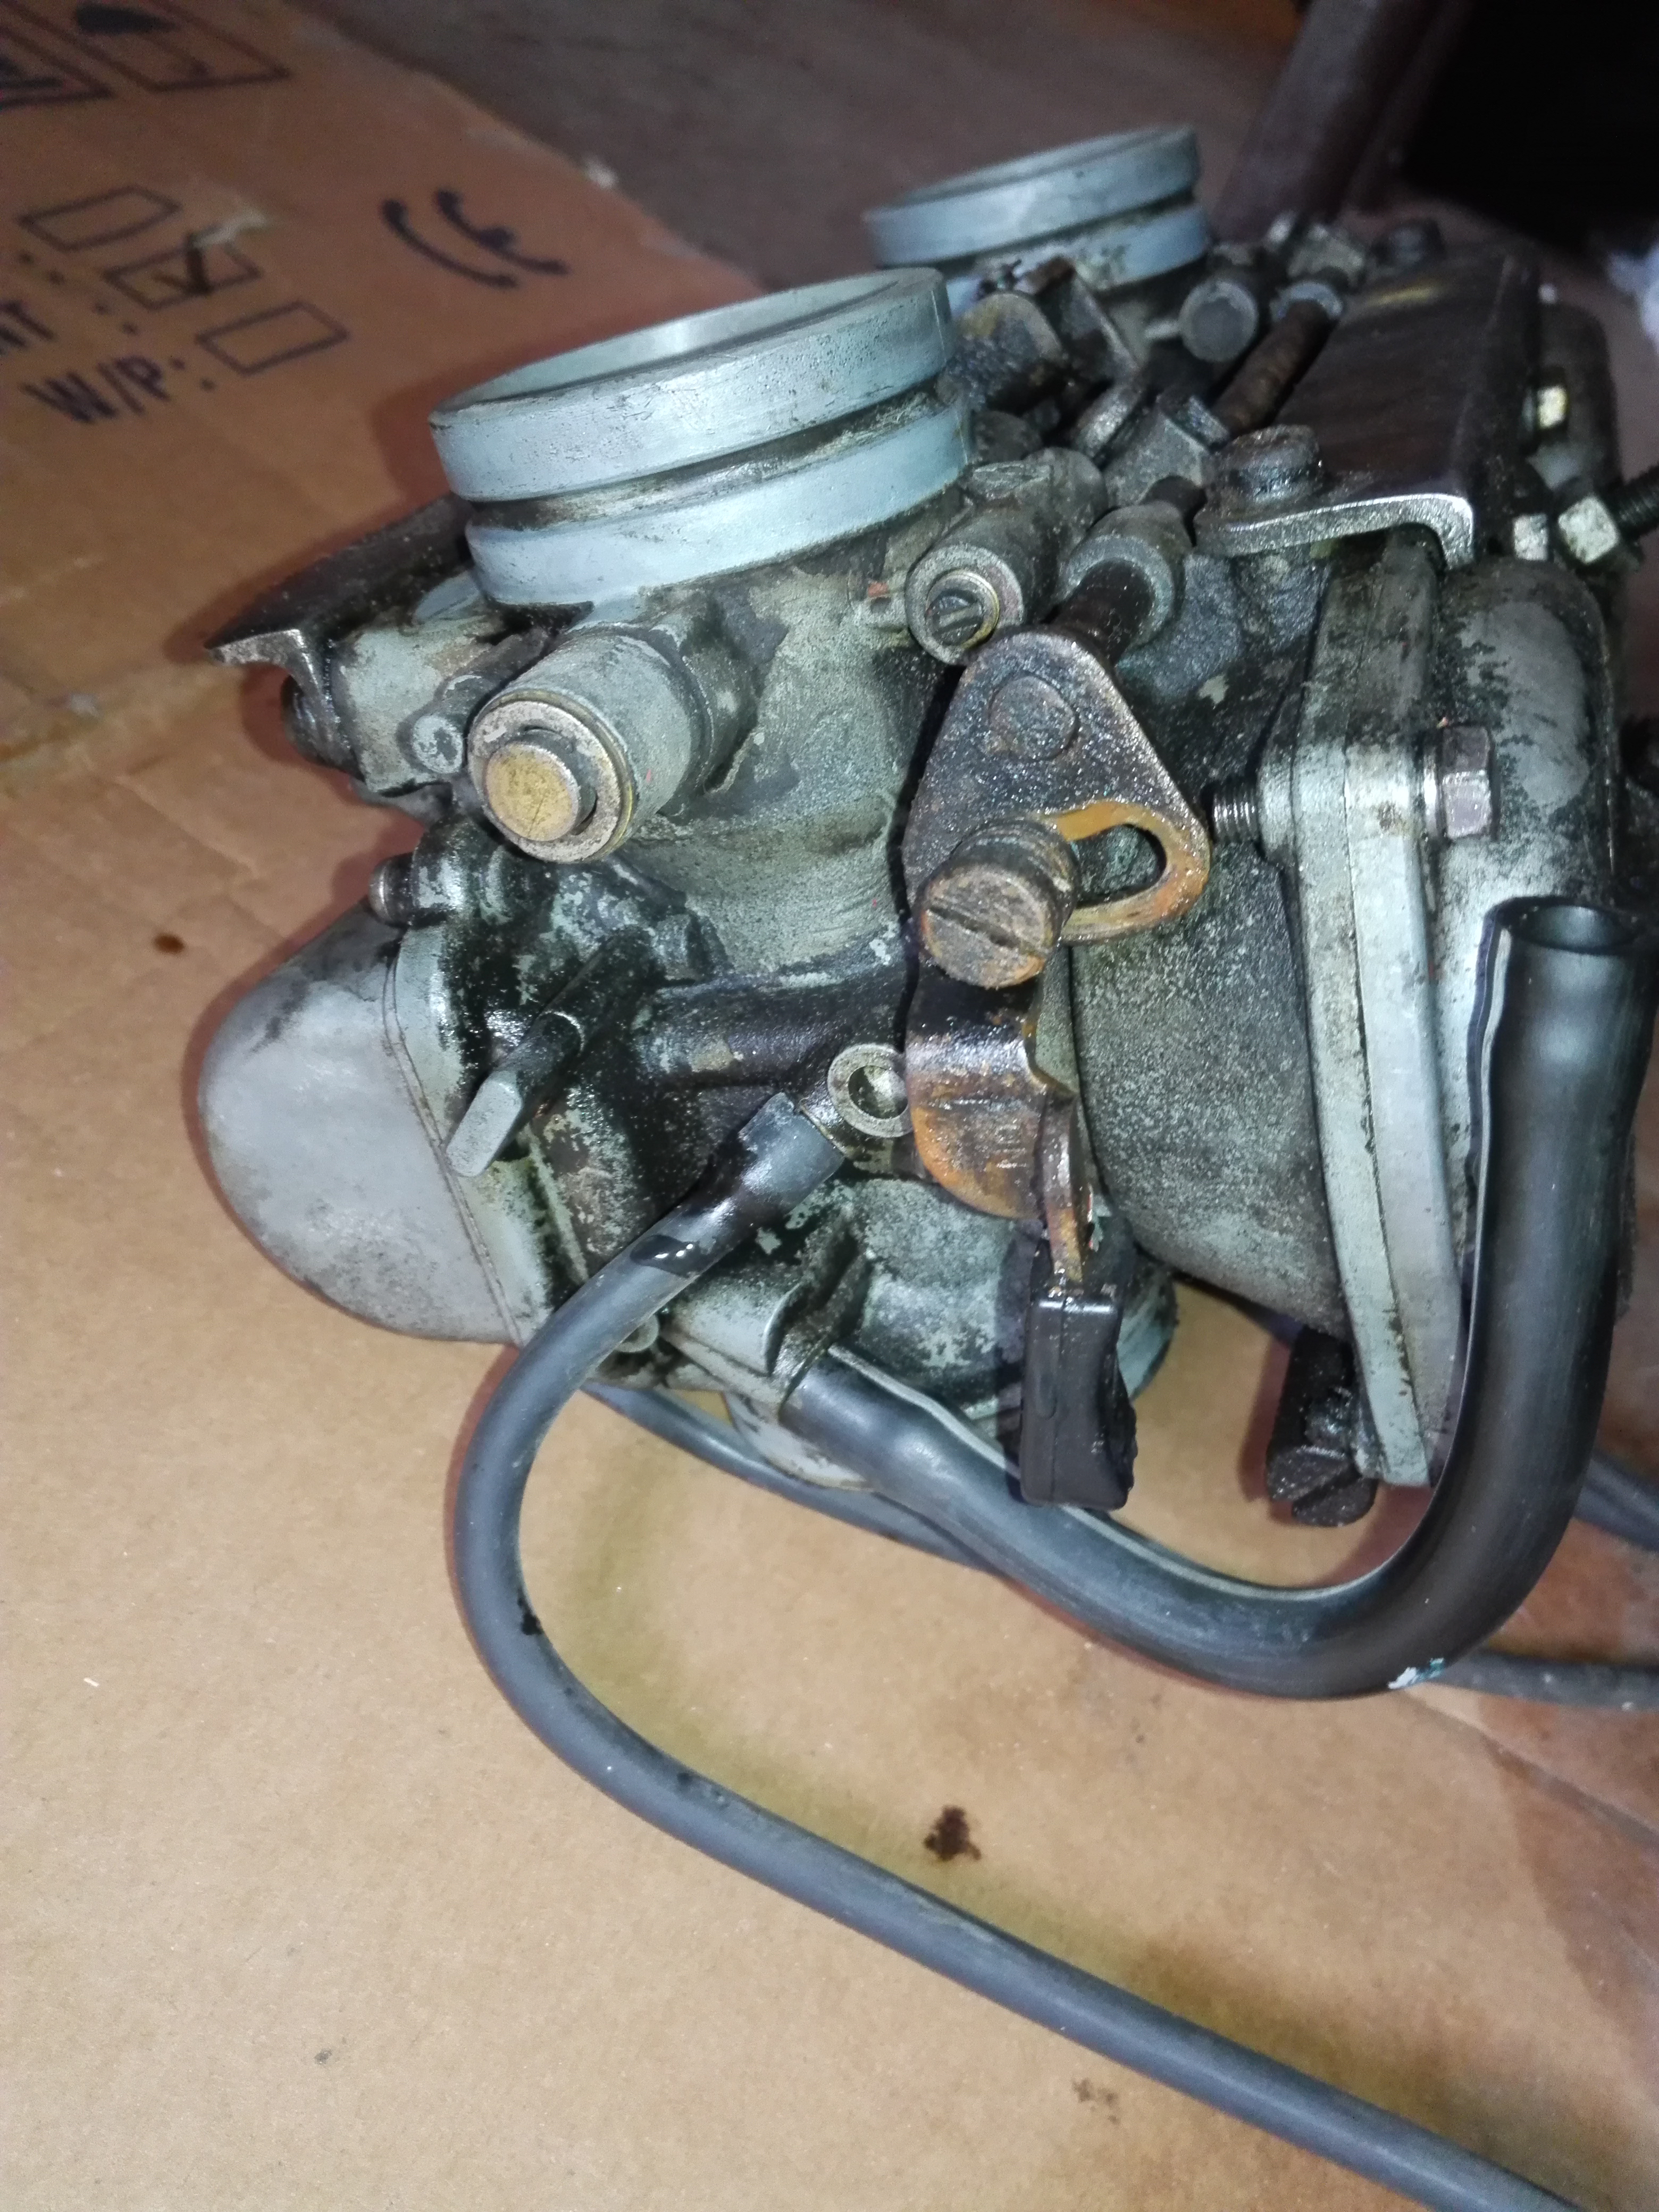
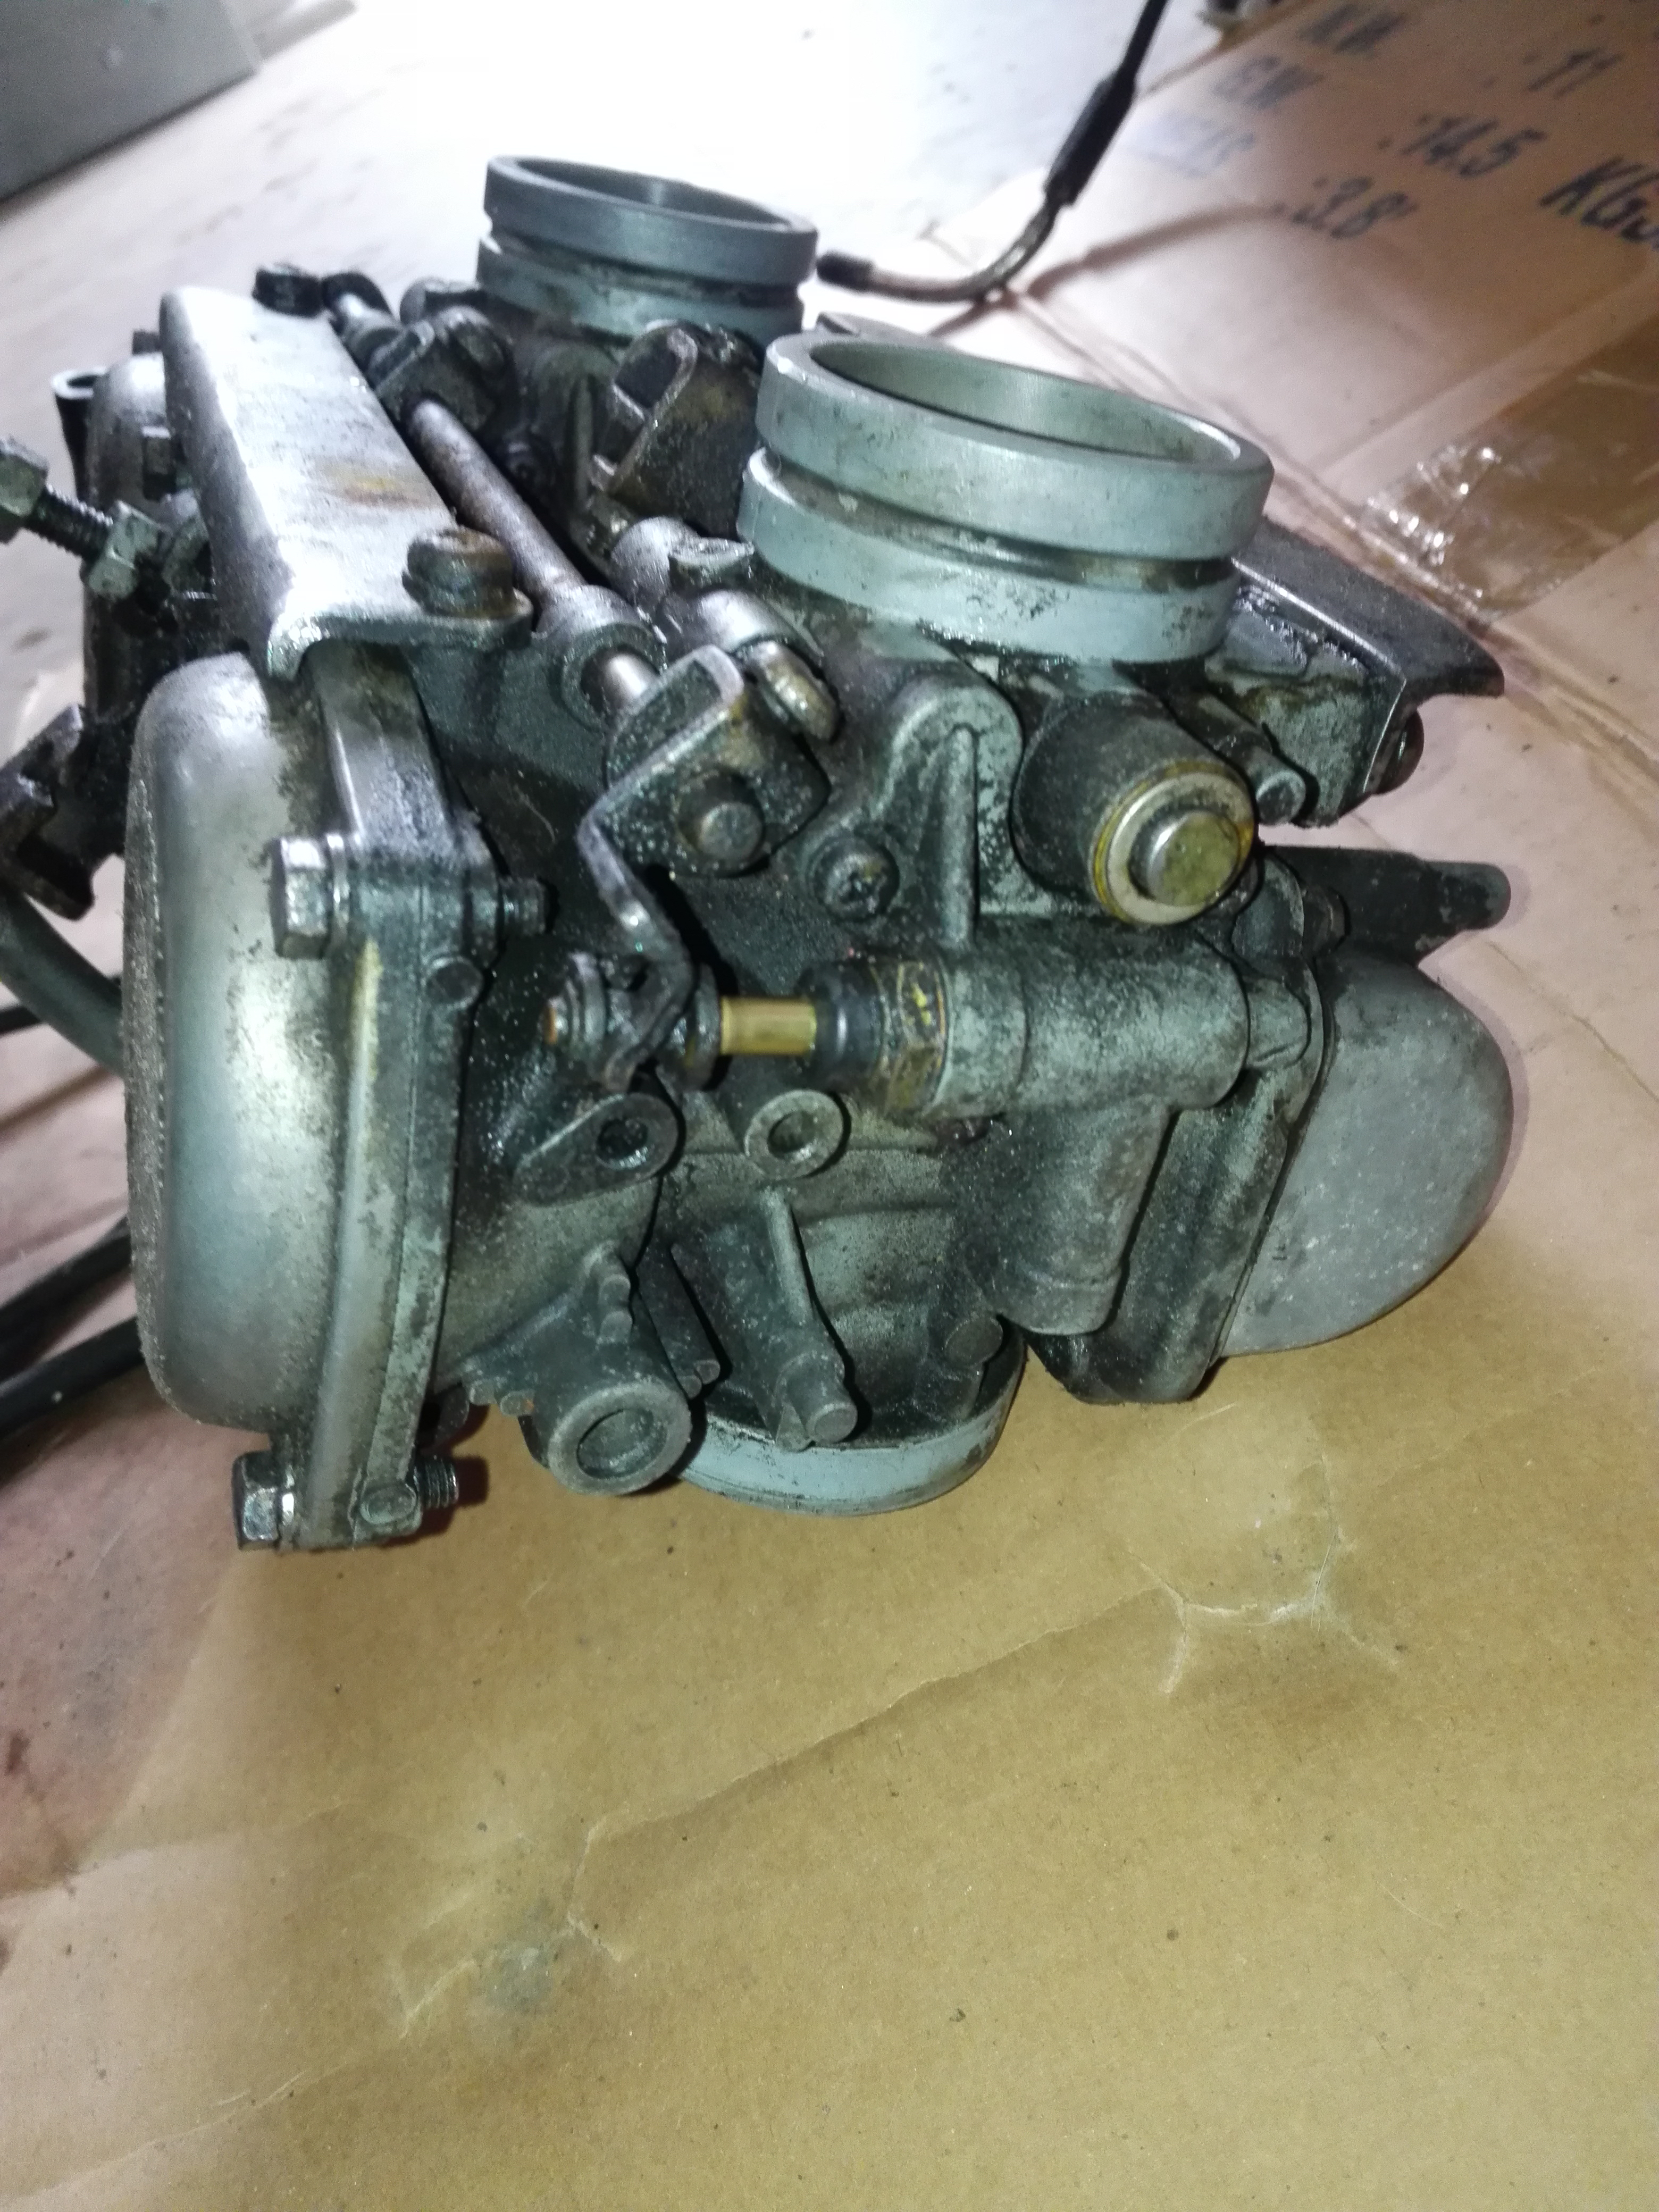
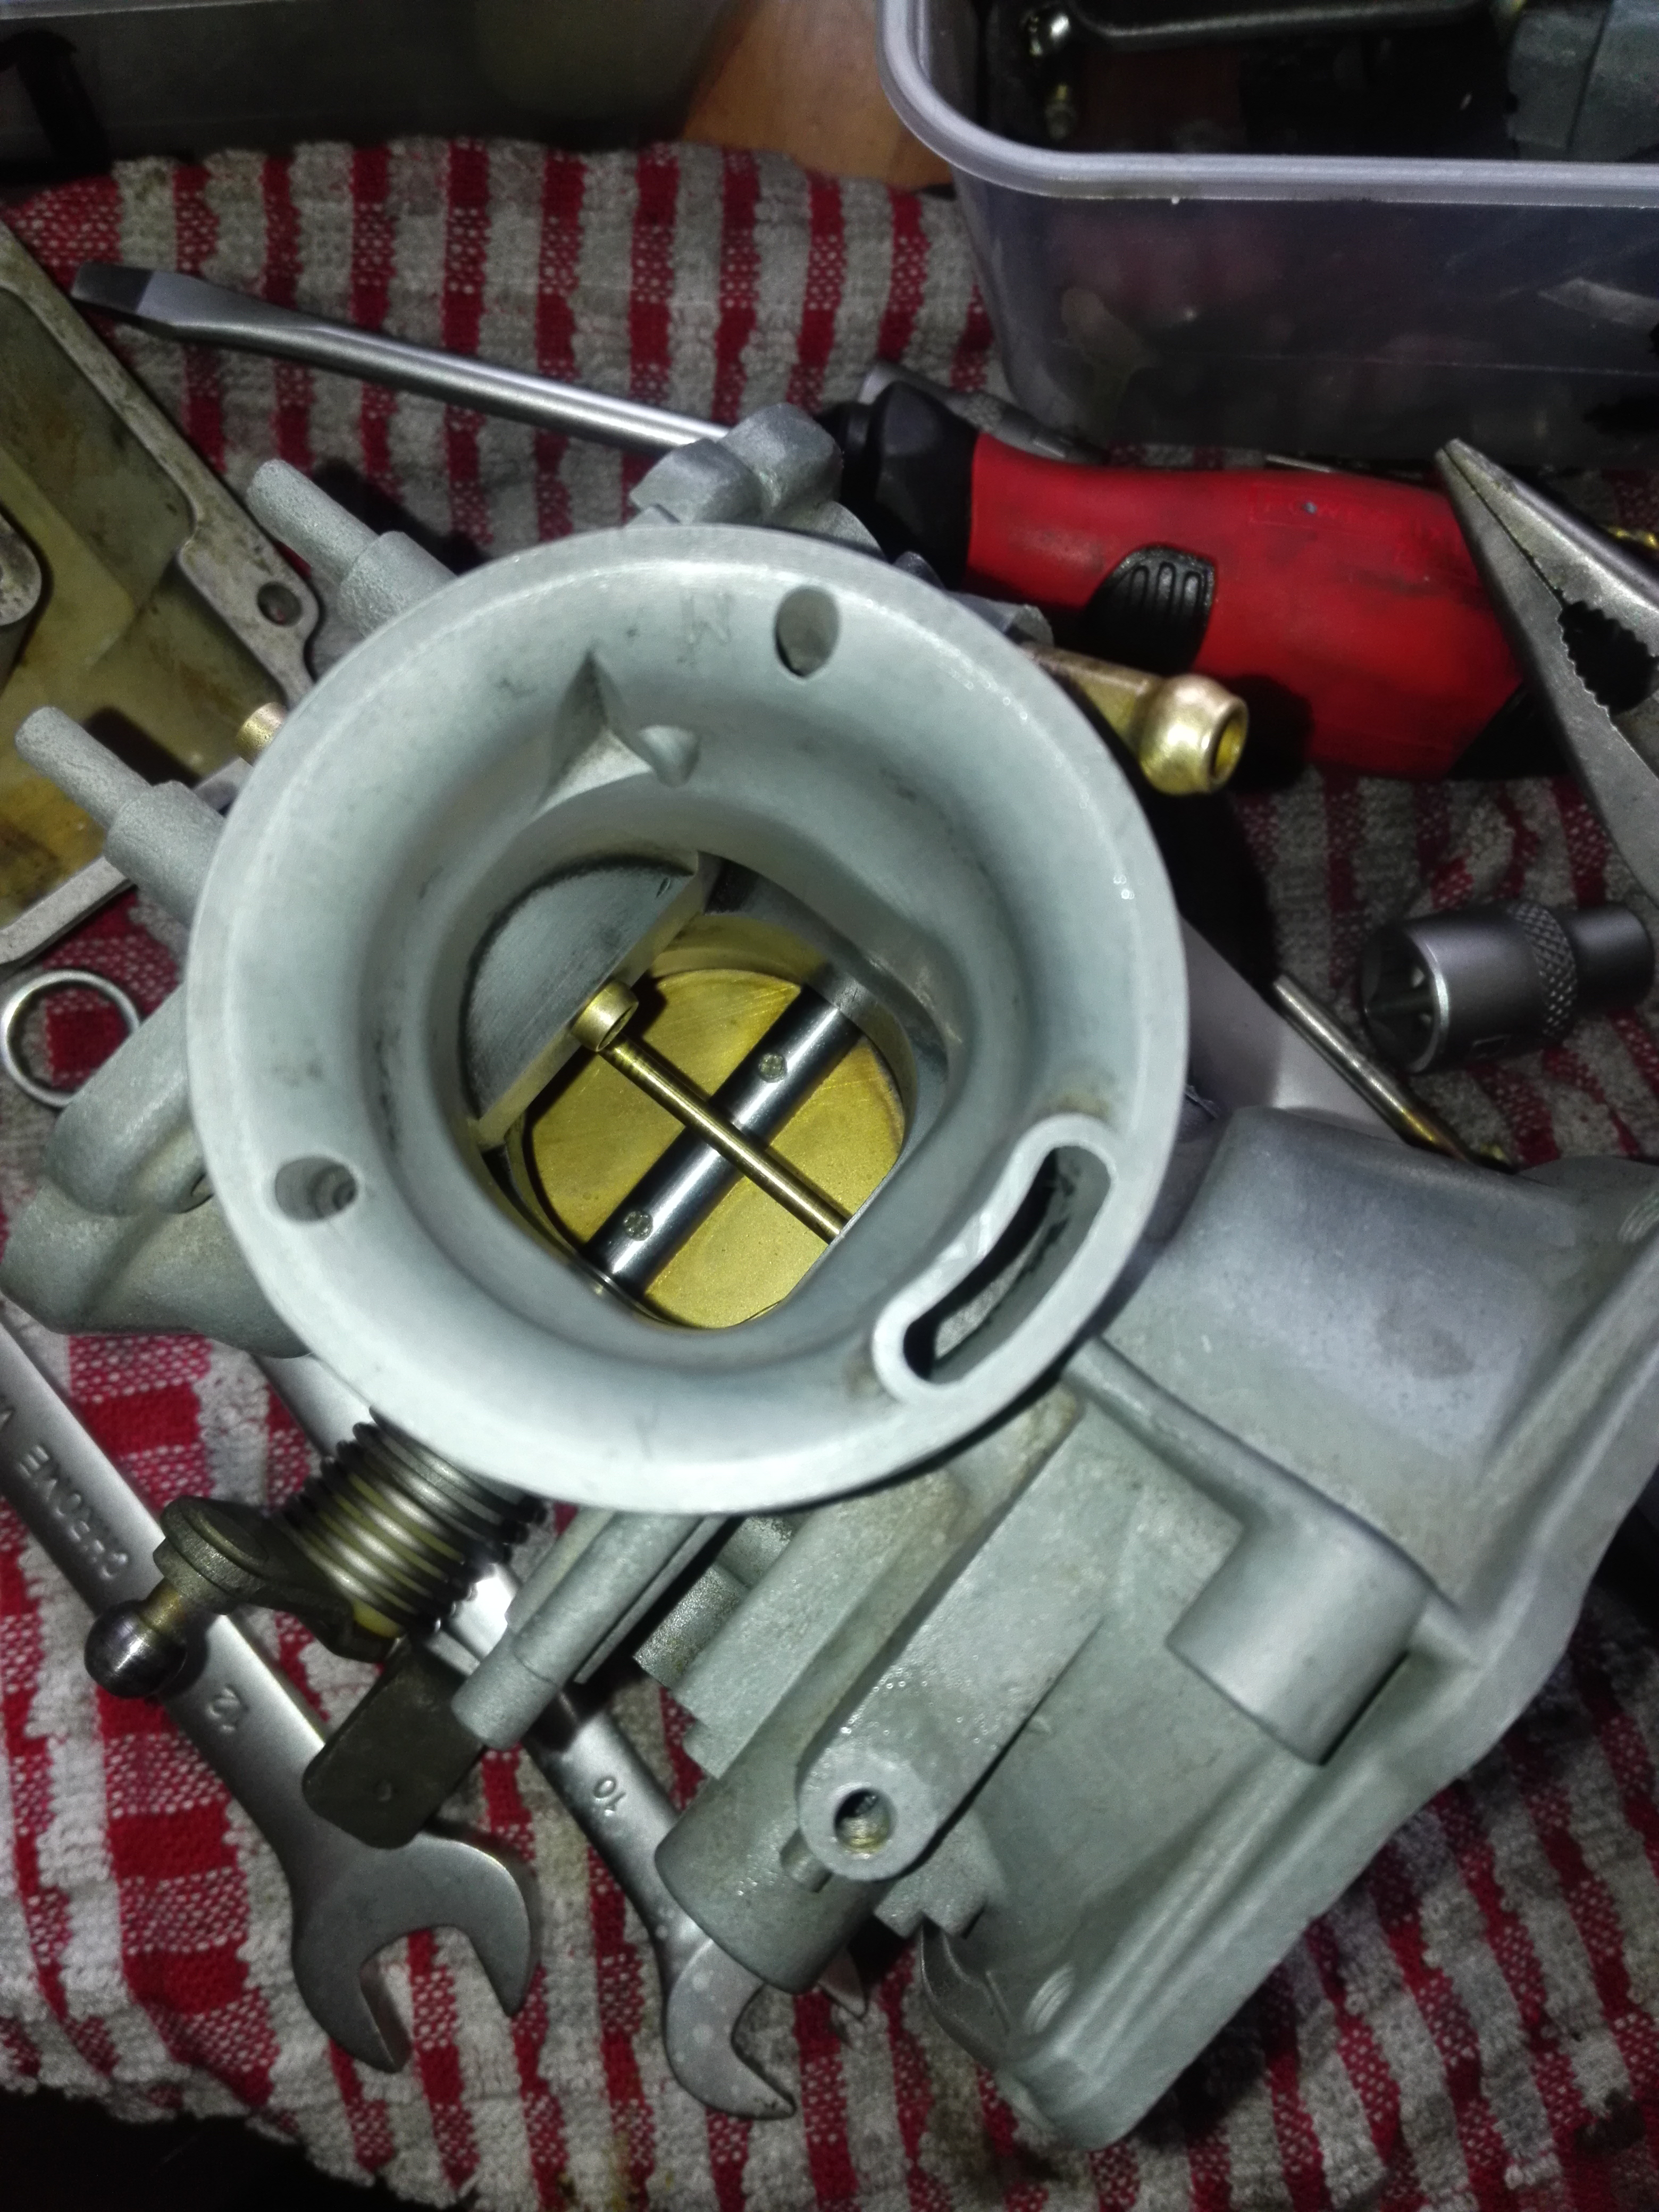
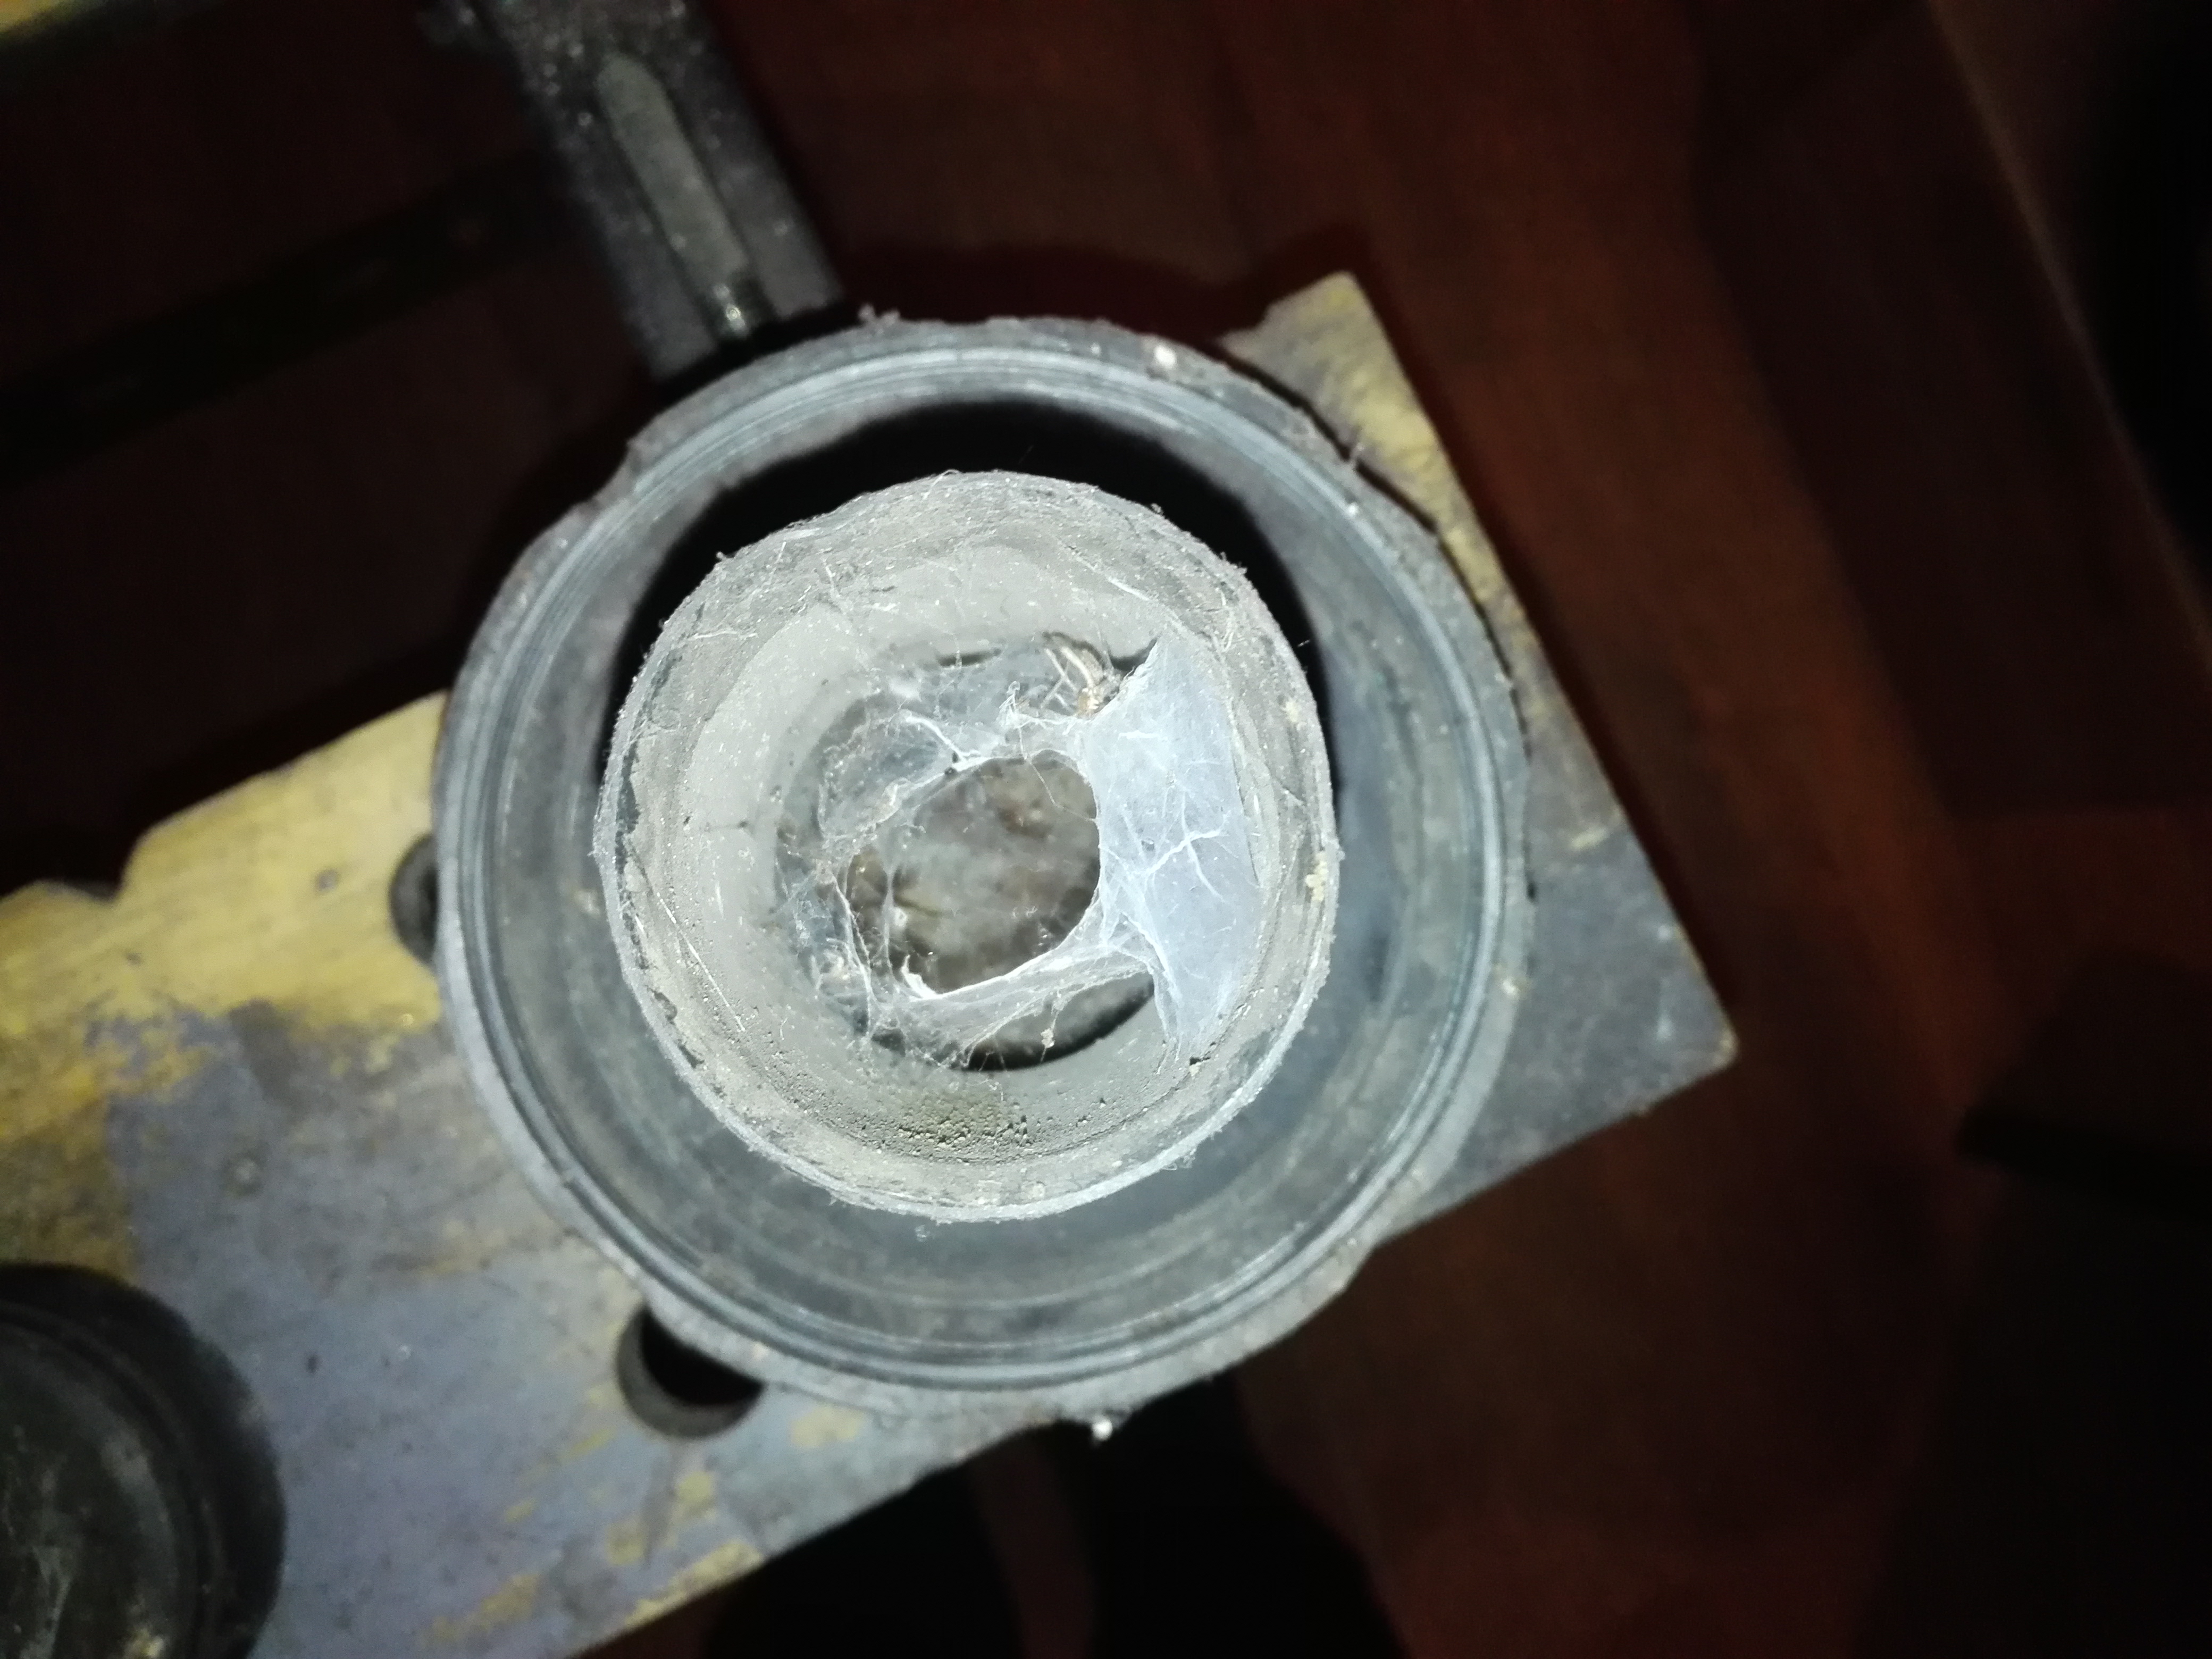
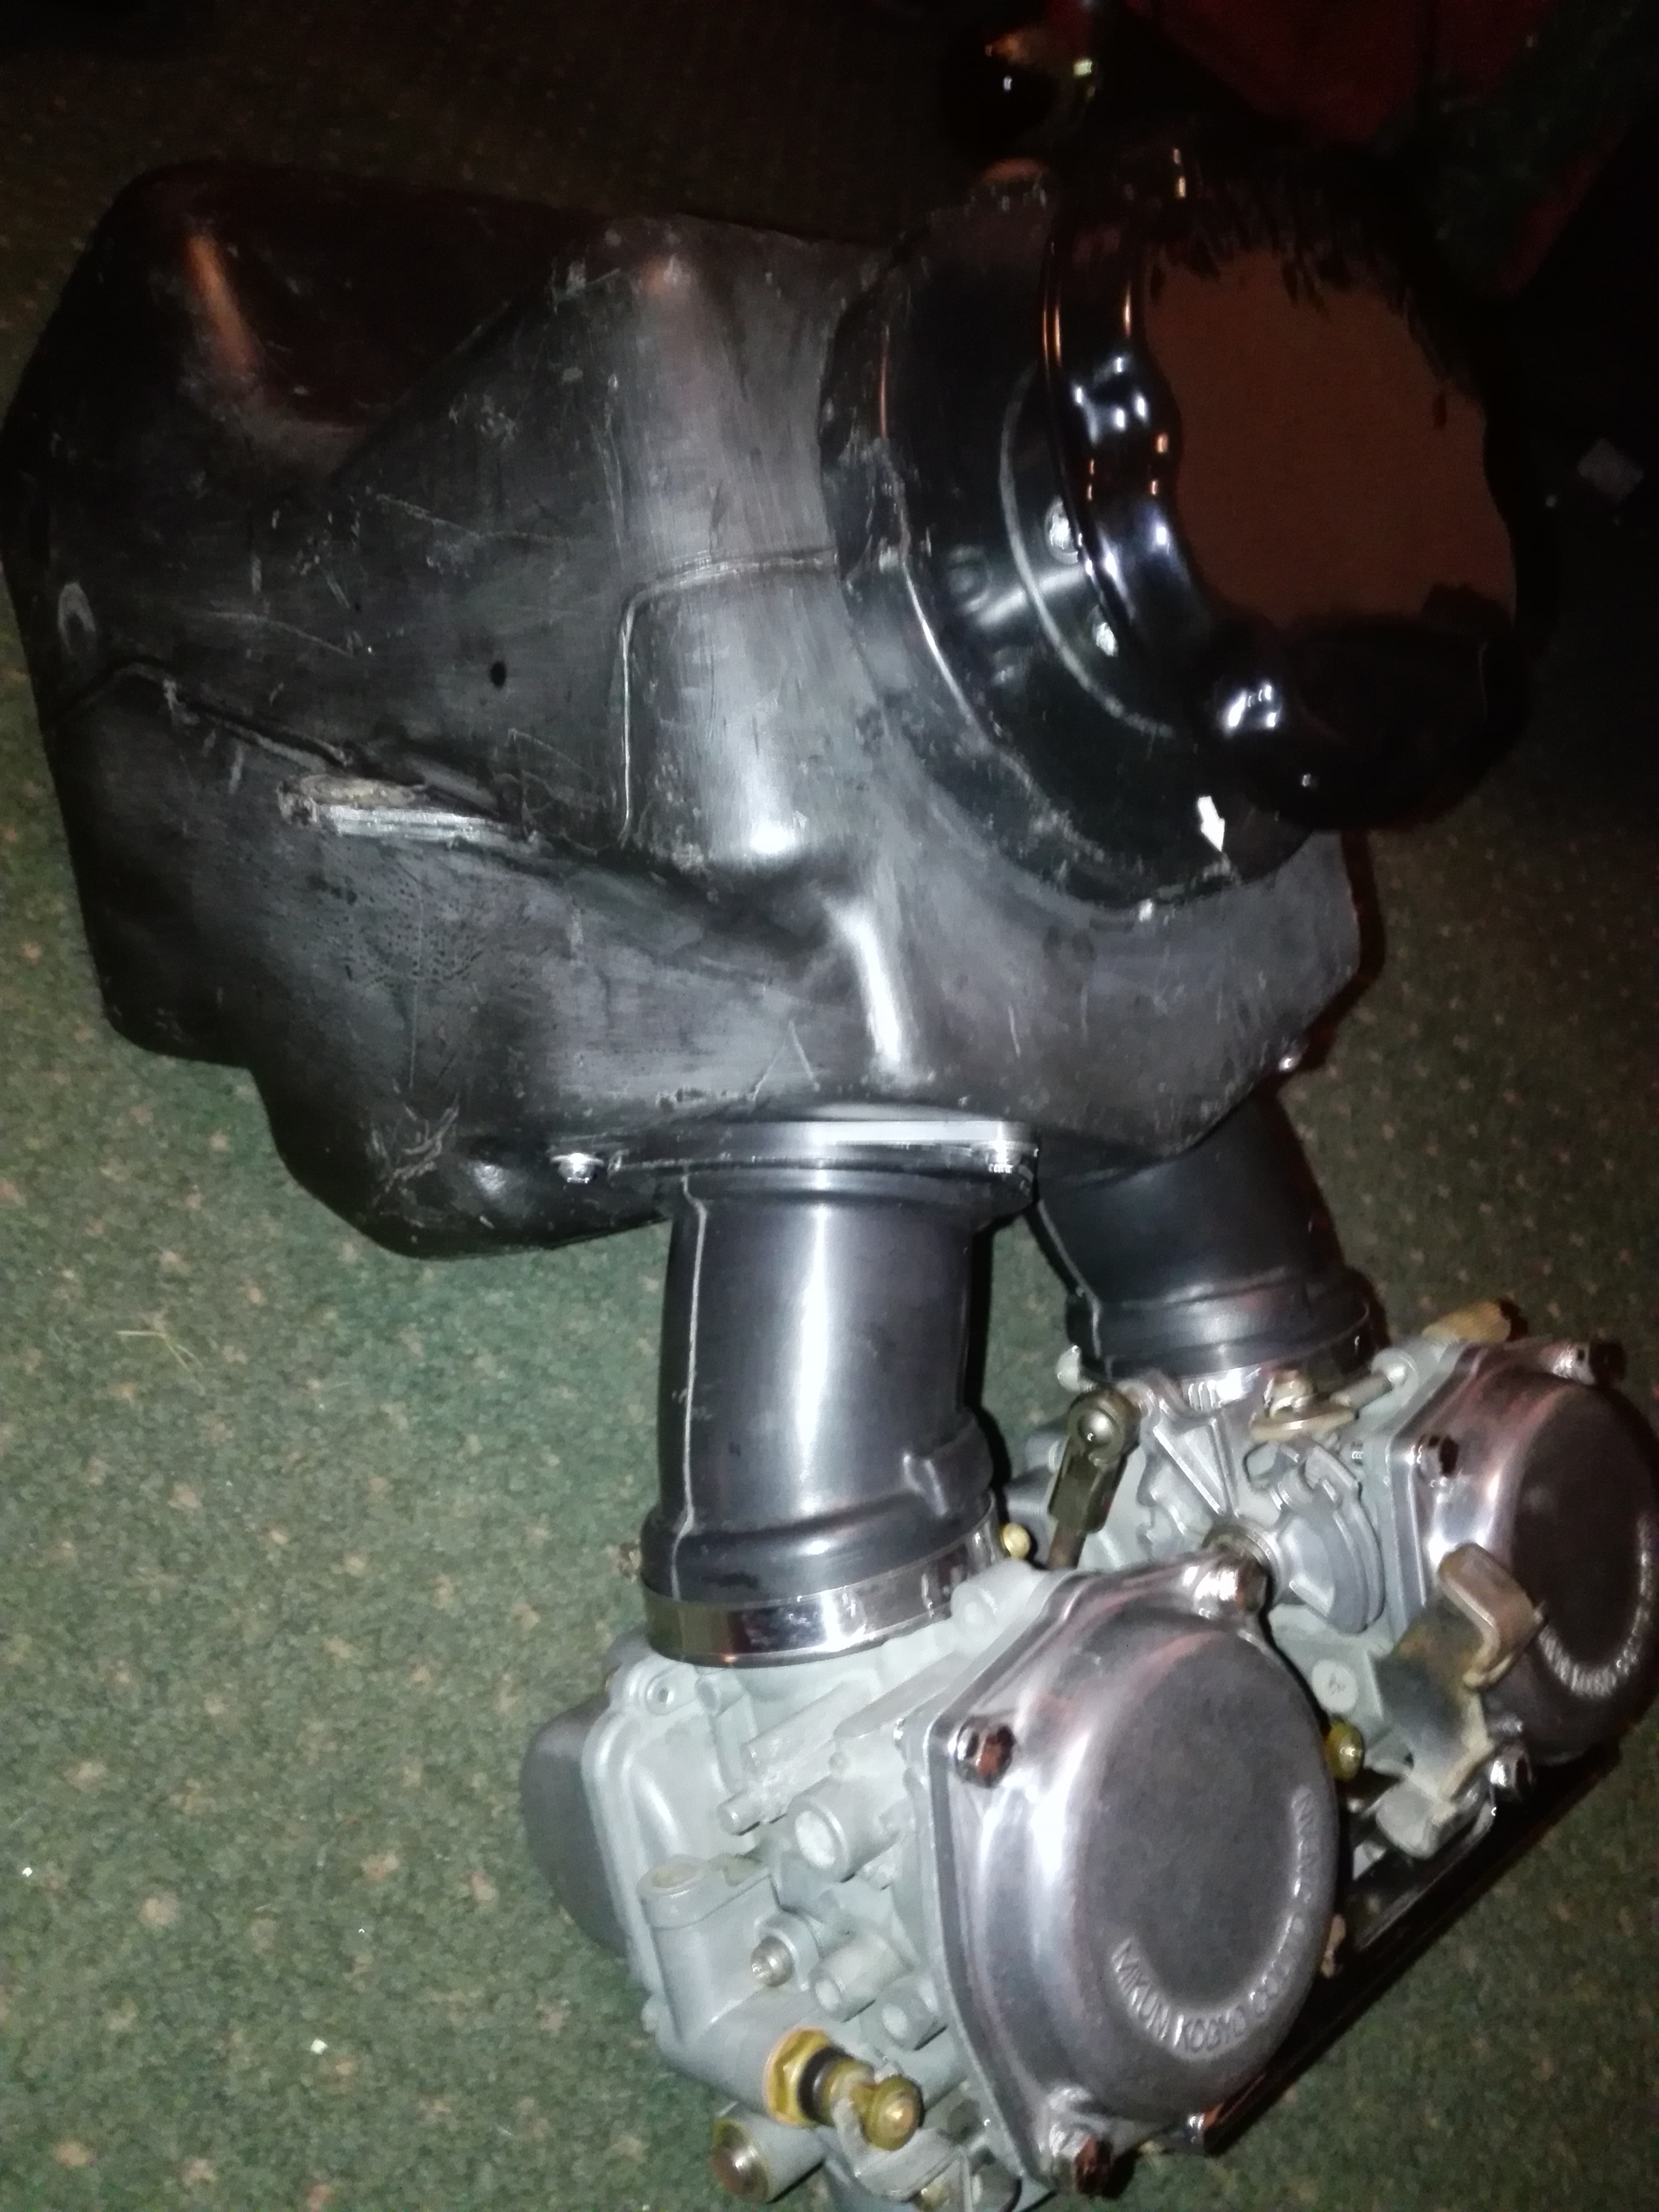
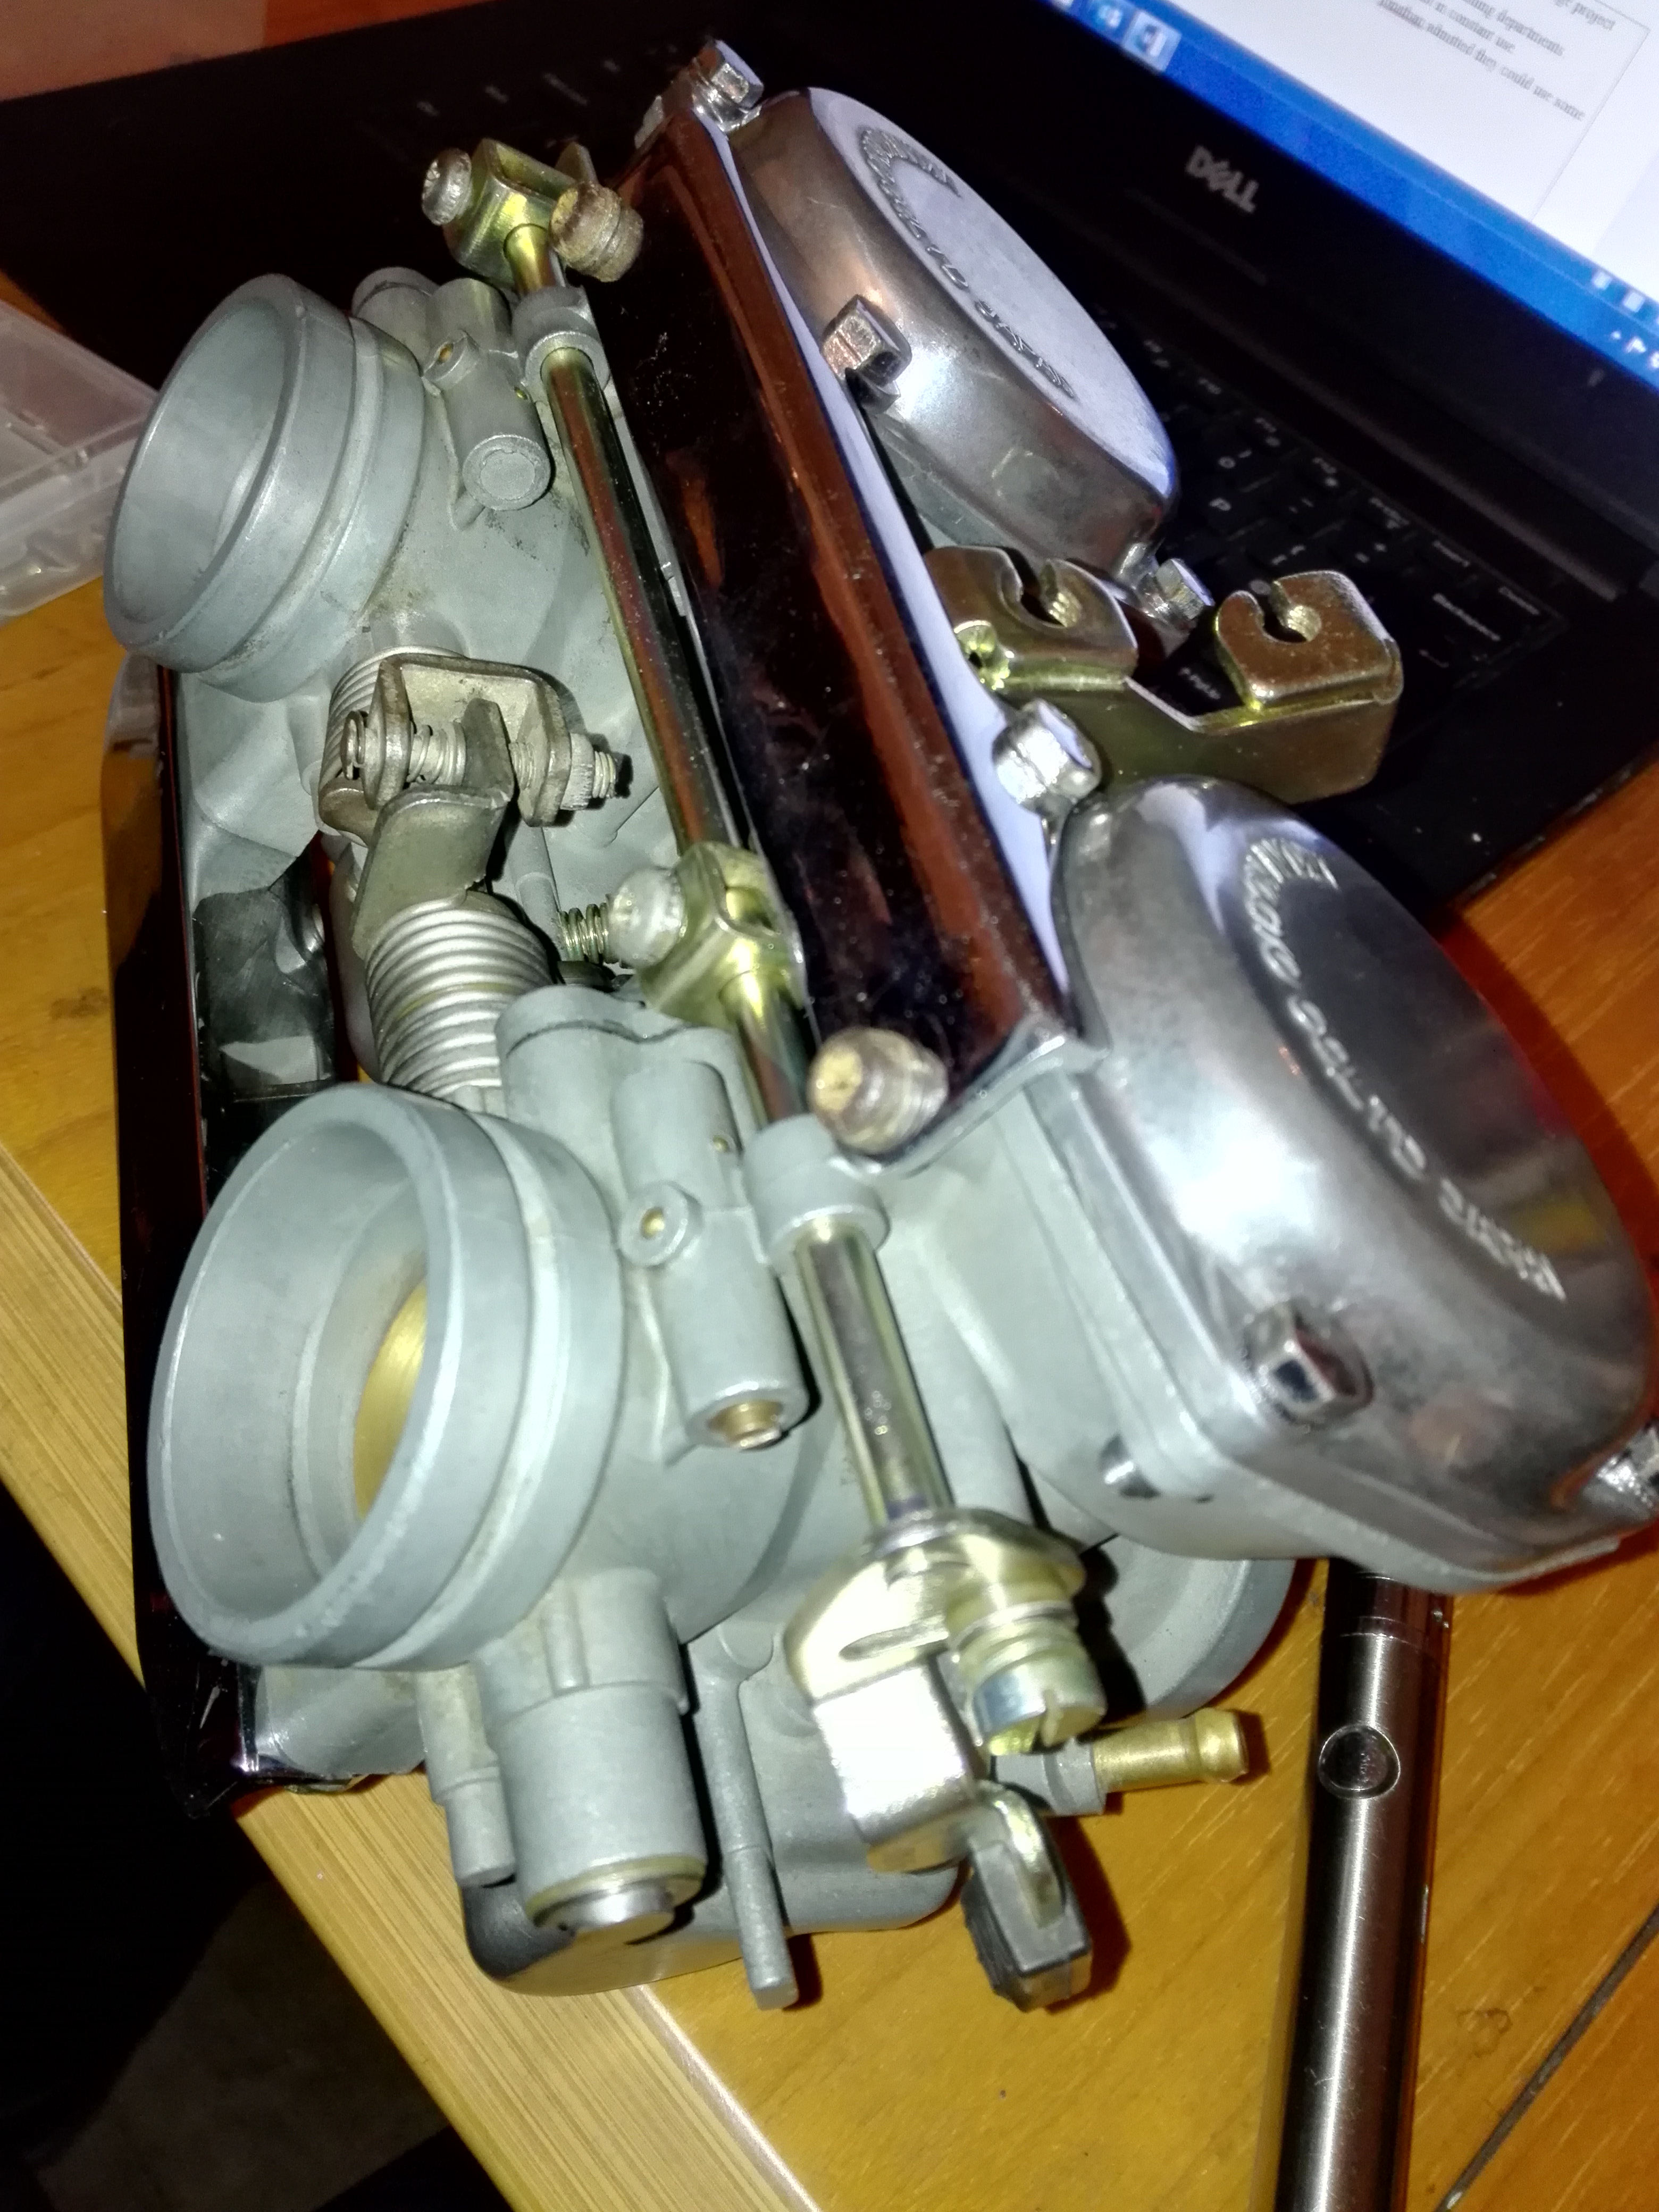
18th September 2018 at 9:47 pm #23793Ownthesky2010ParticipantCarbs as they came off the bike. Pretty grotty and I was worried about what they would look like inside as I have no idea how long this bike has been standing.

After a brushing down in a bucket of petrol
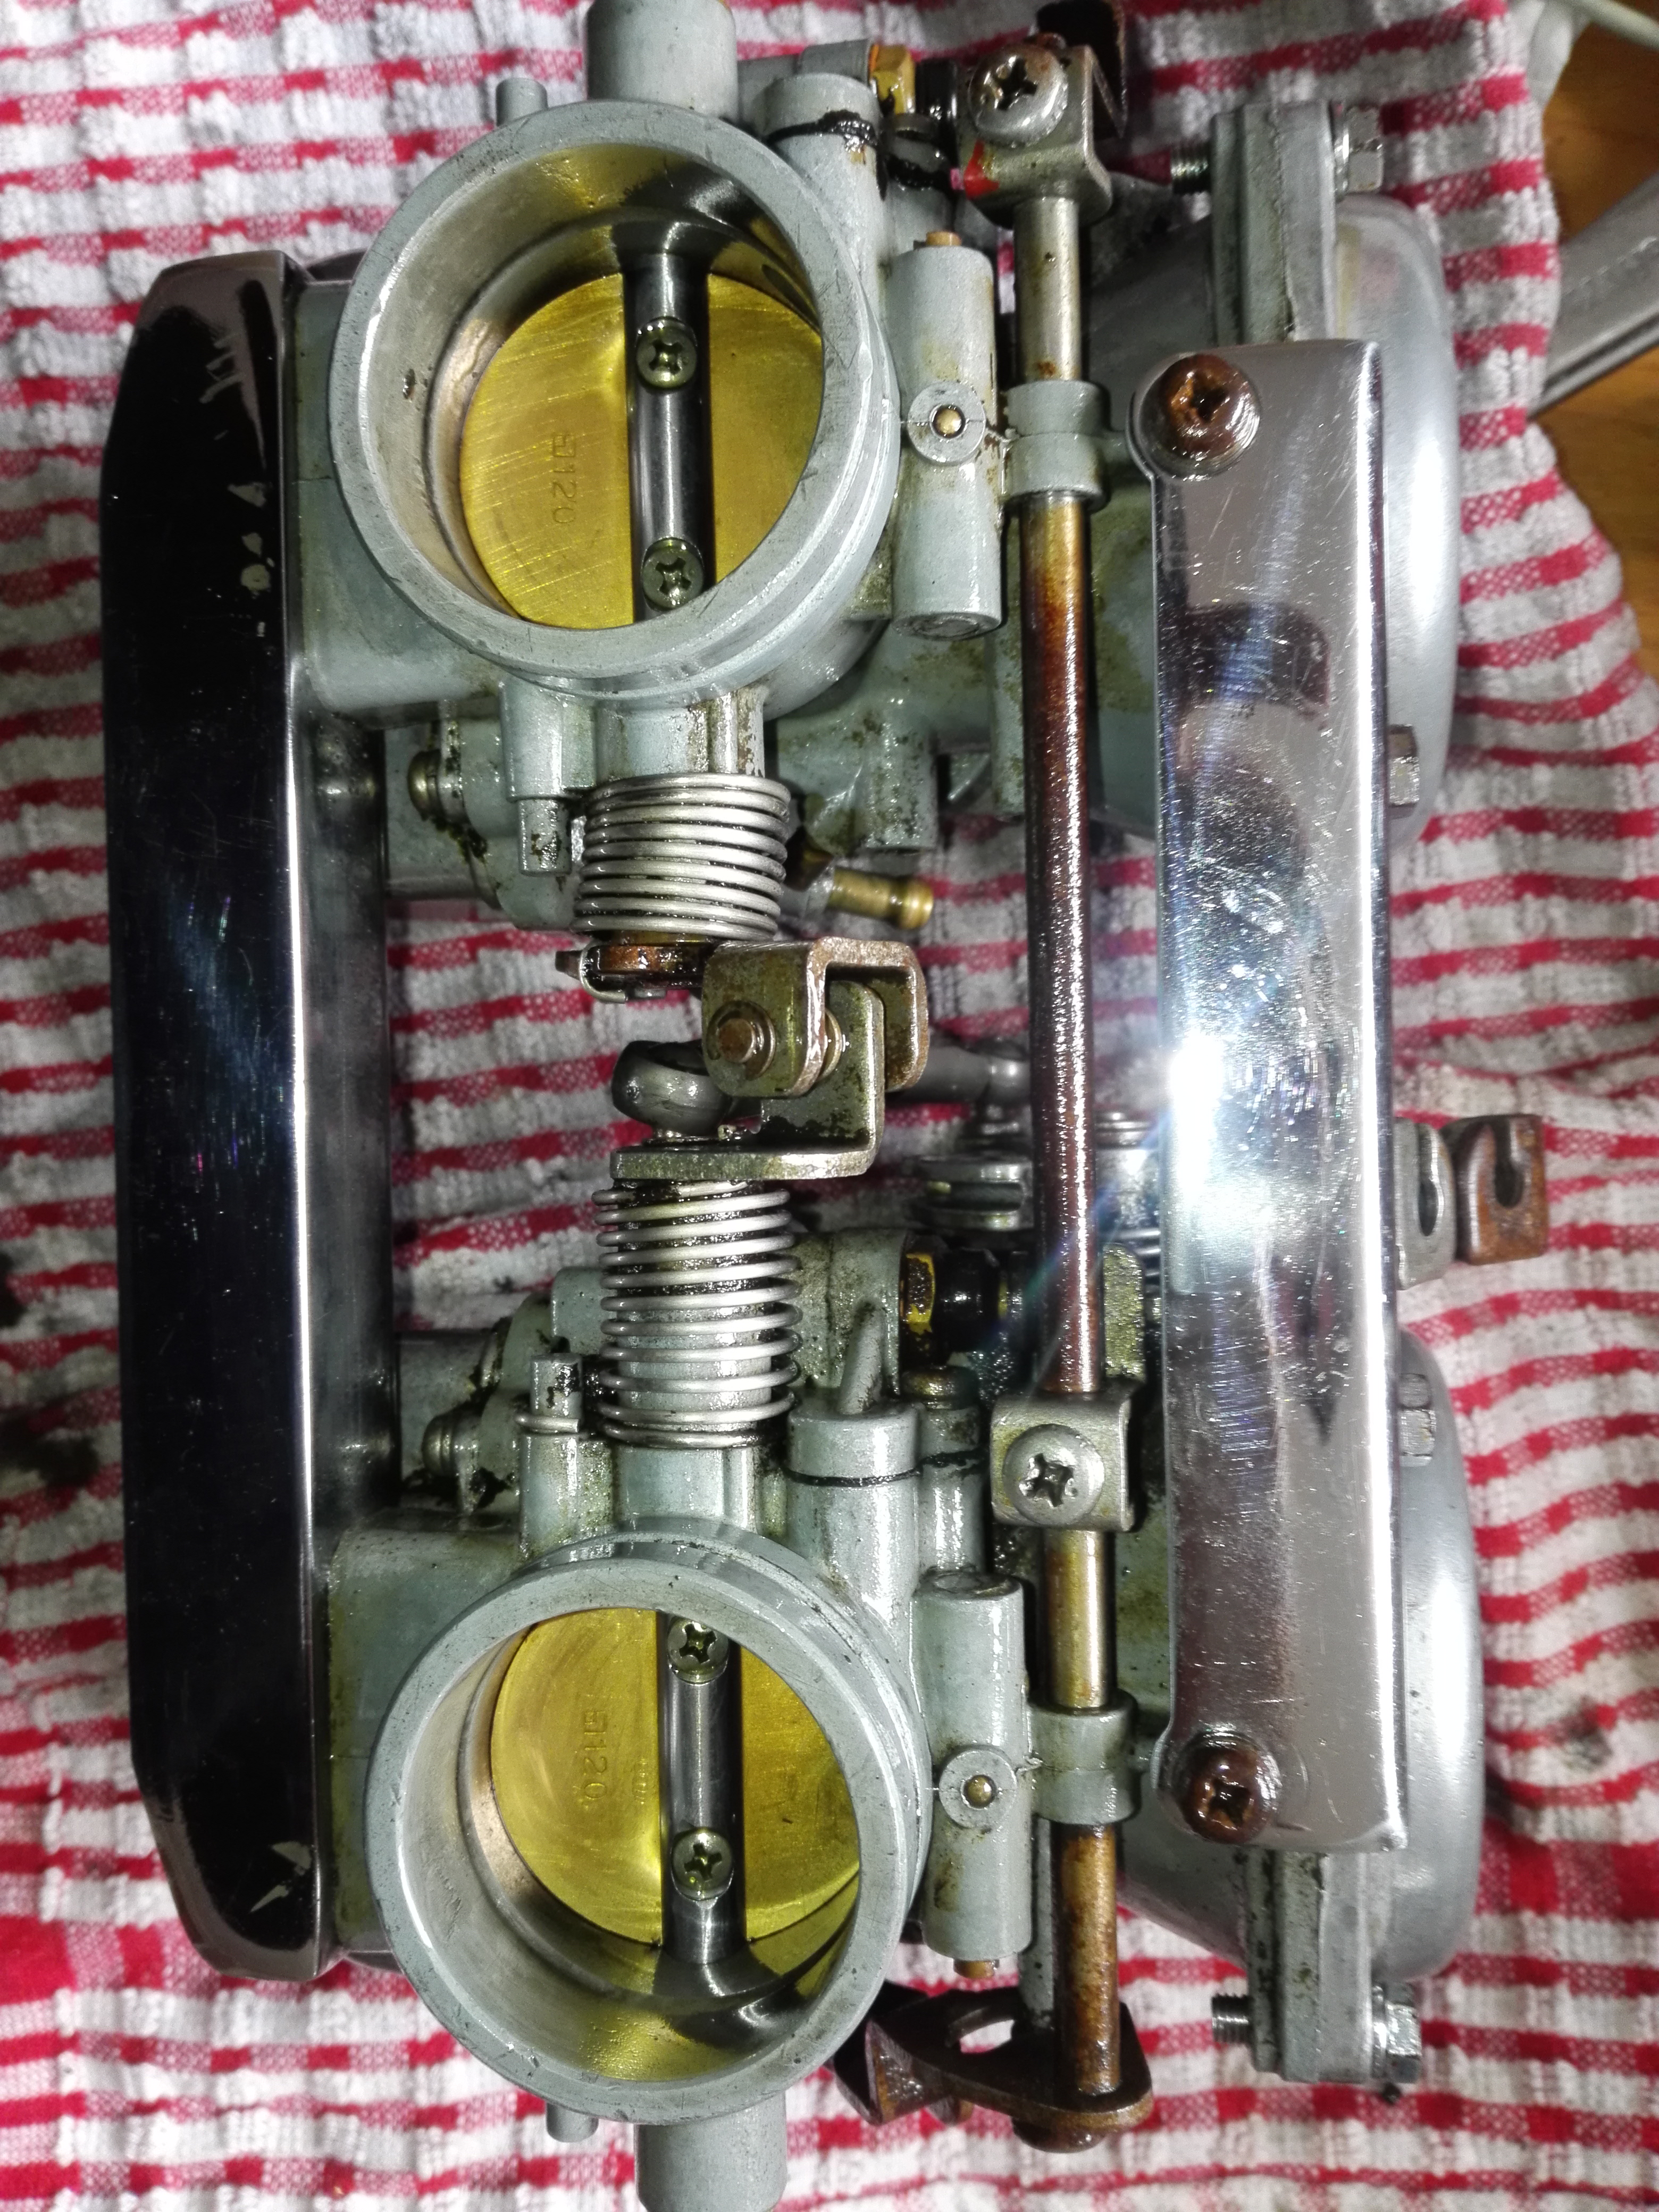
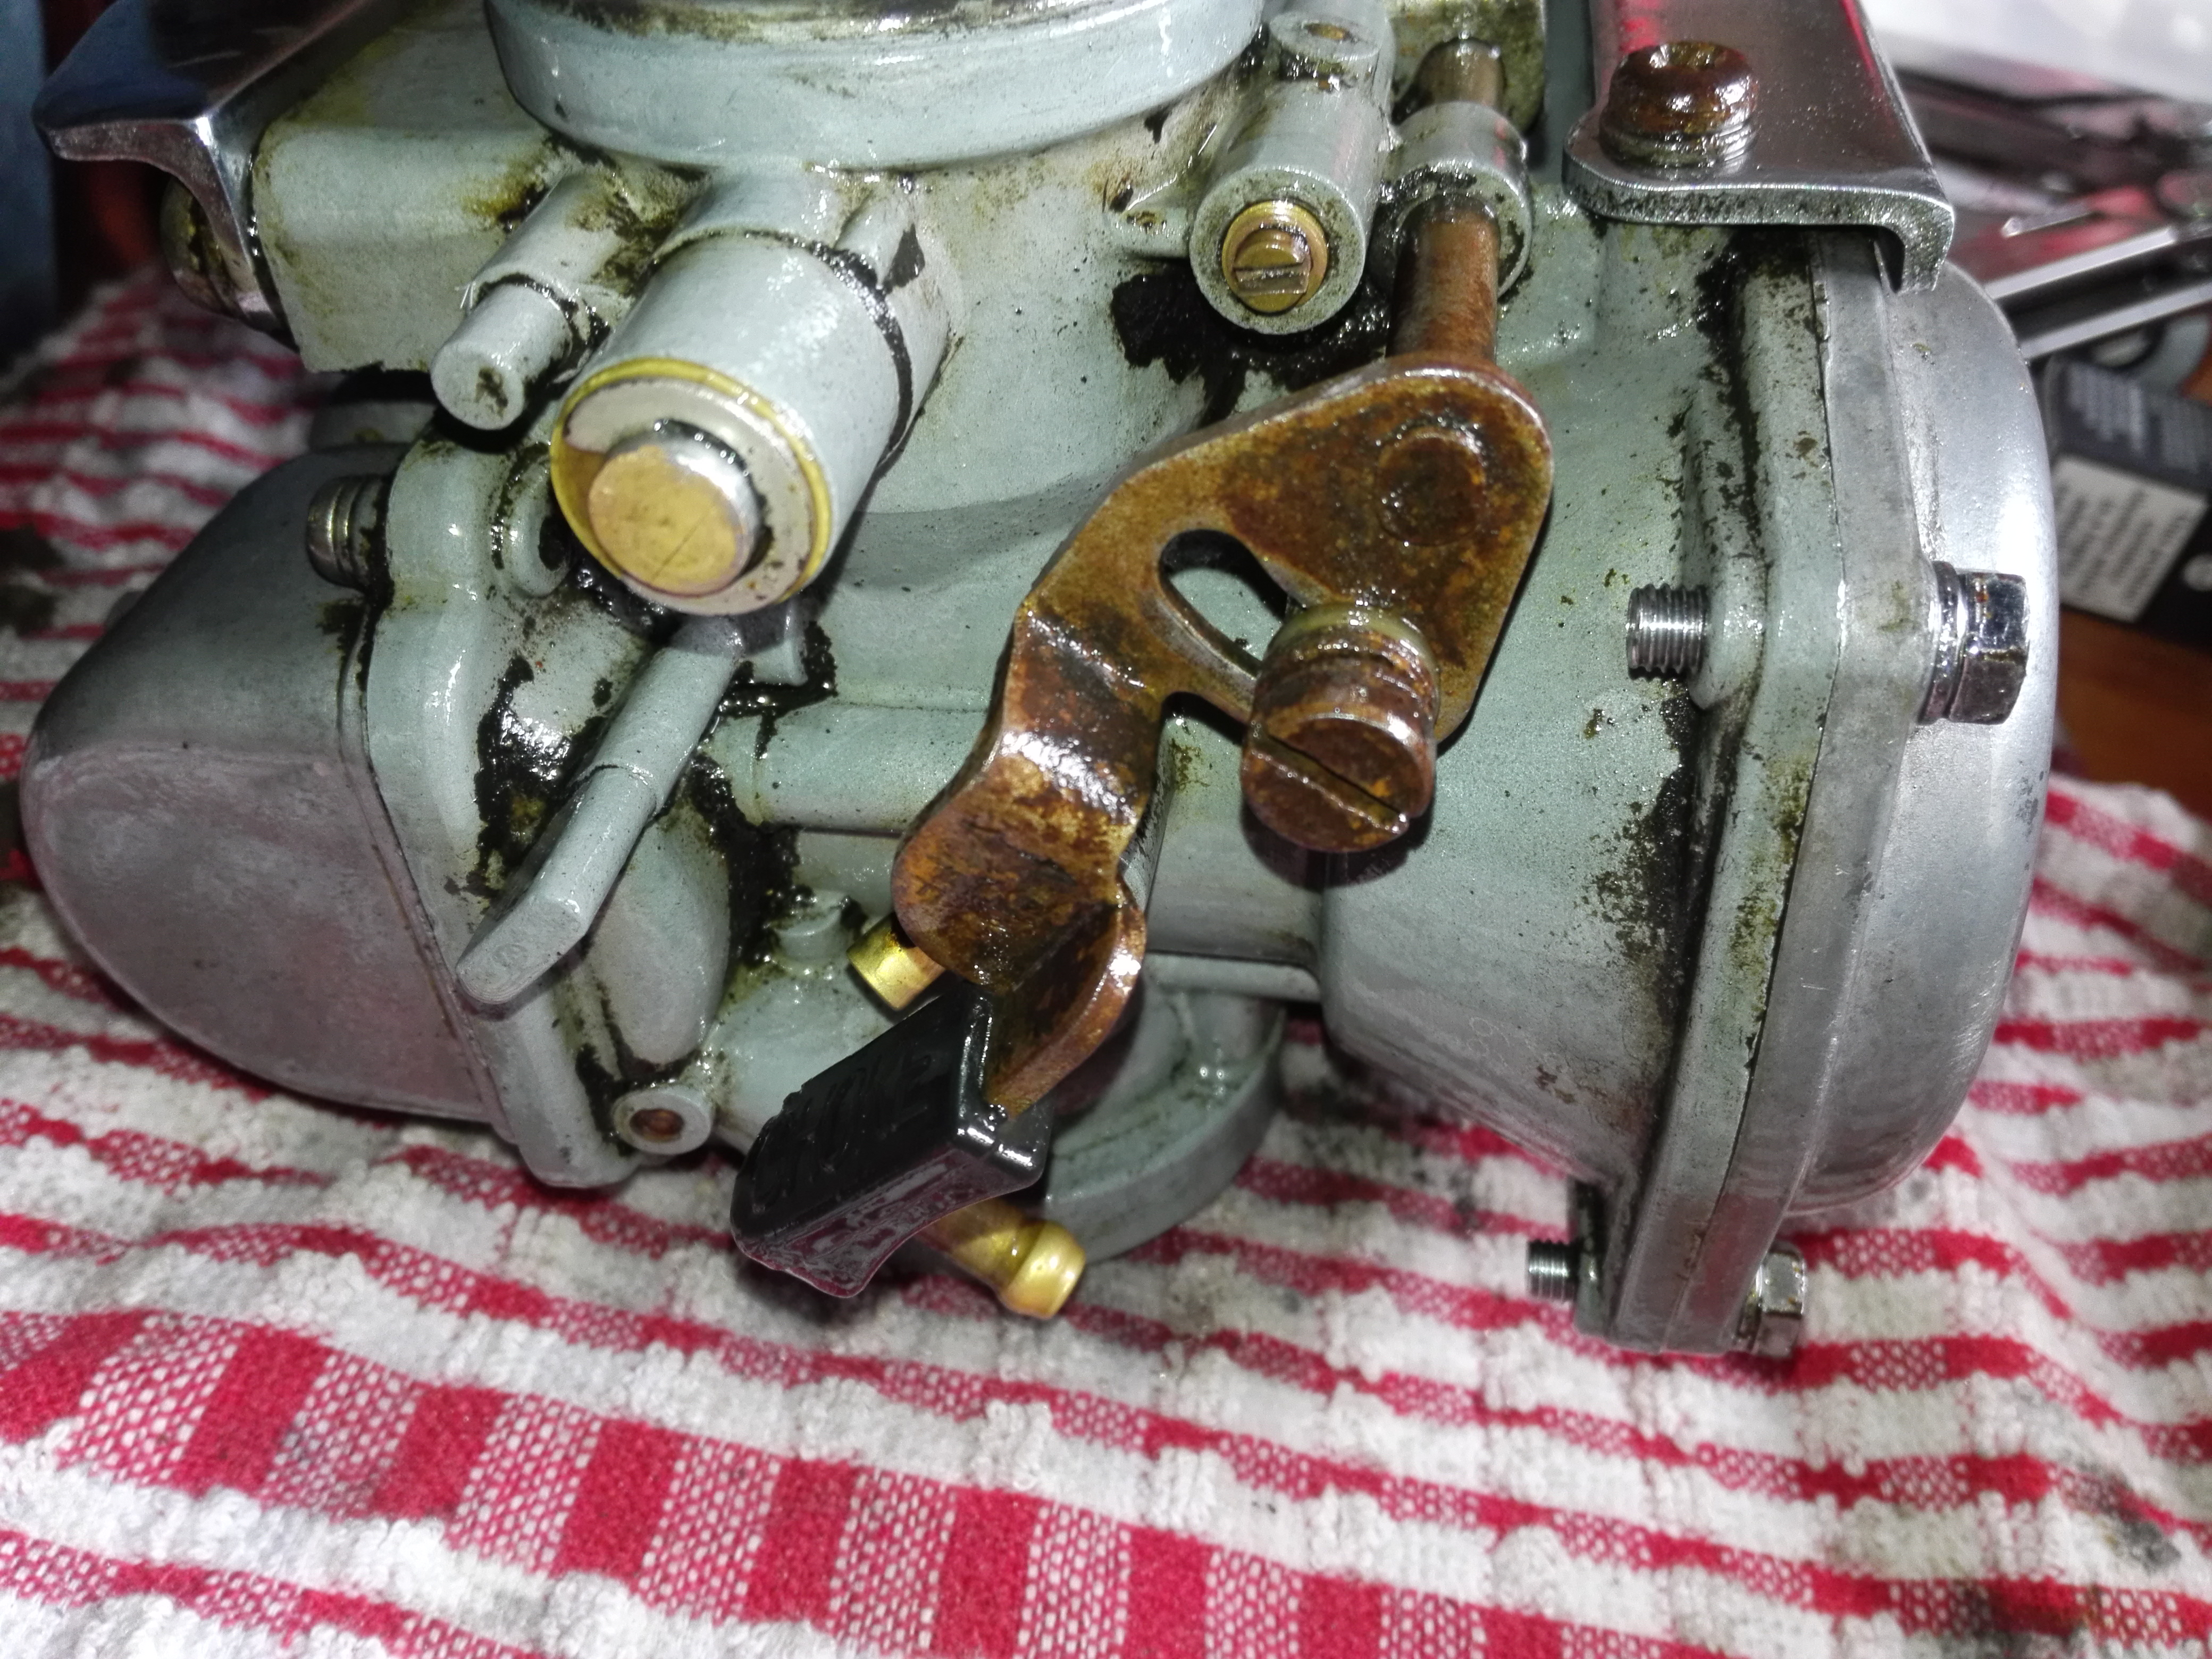
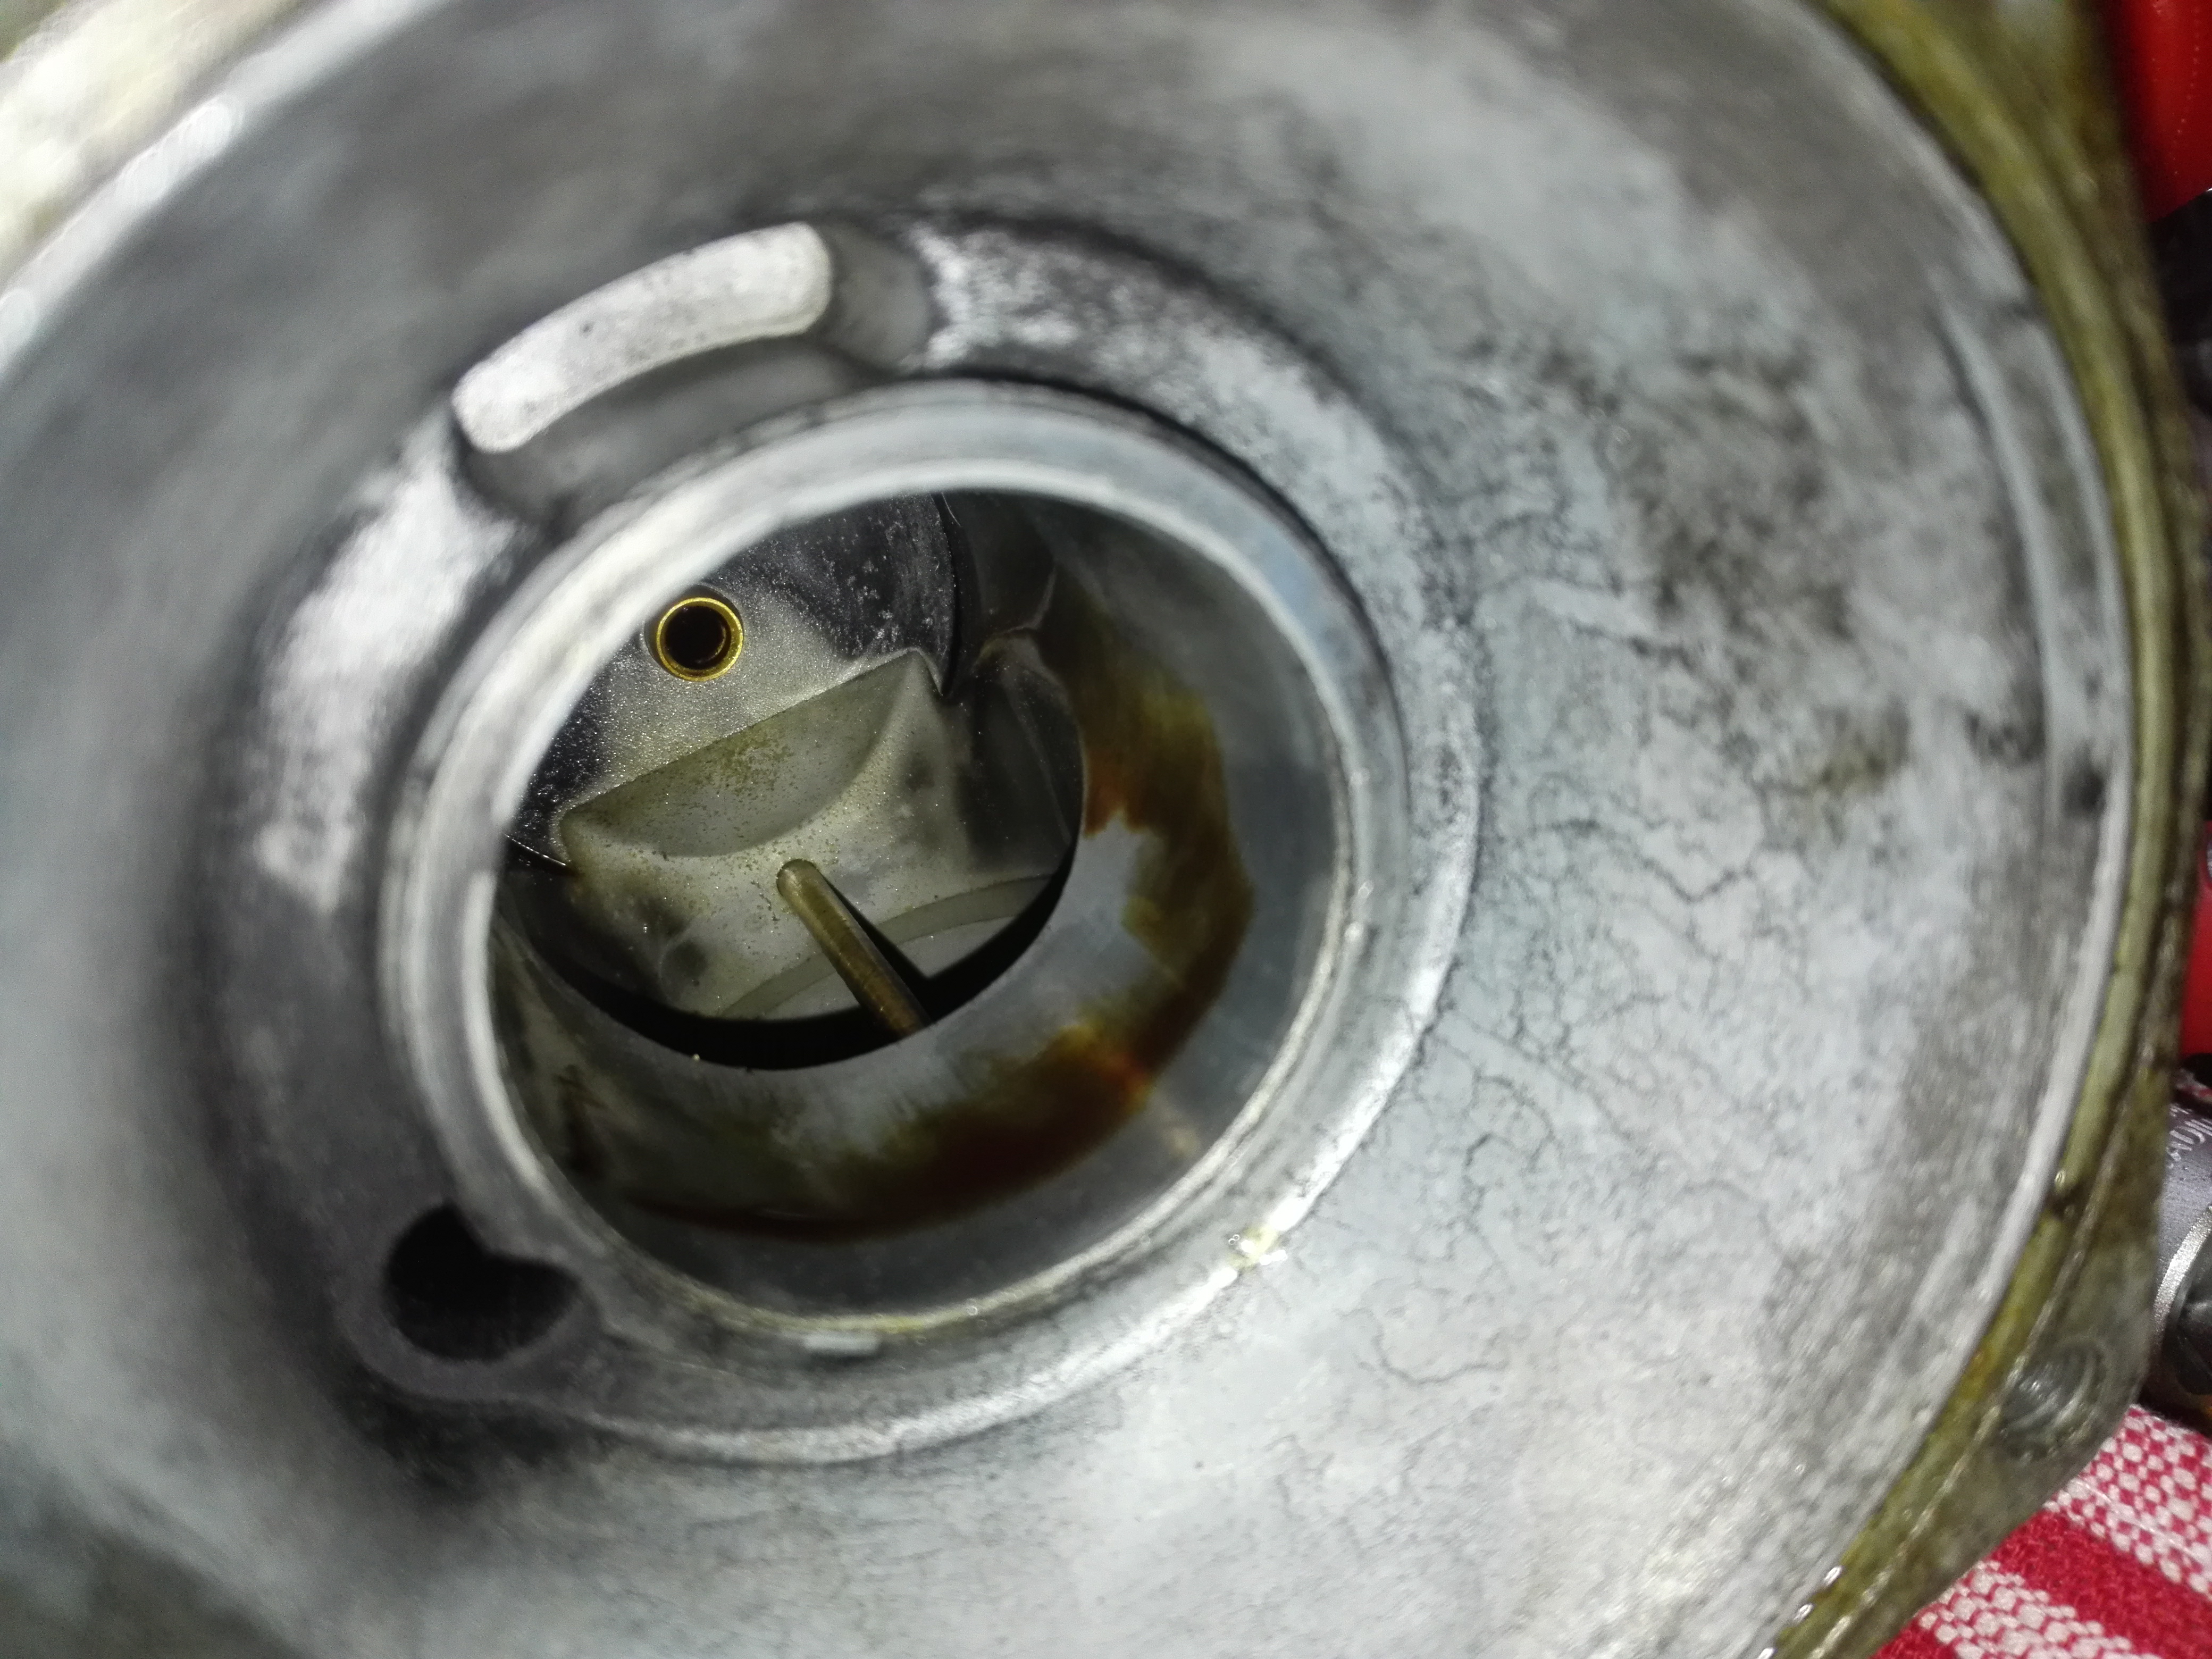
I opened them up and I think these are the worst I have seen
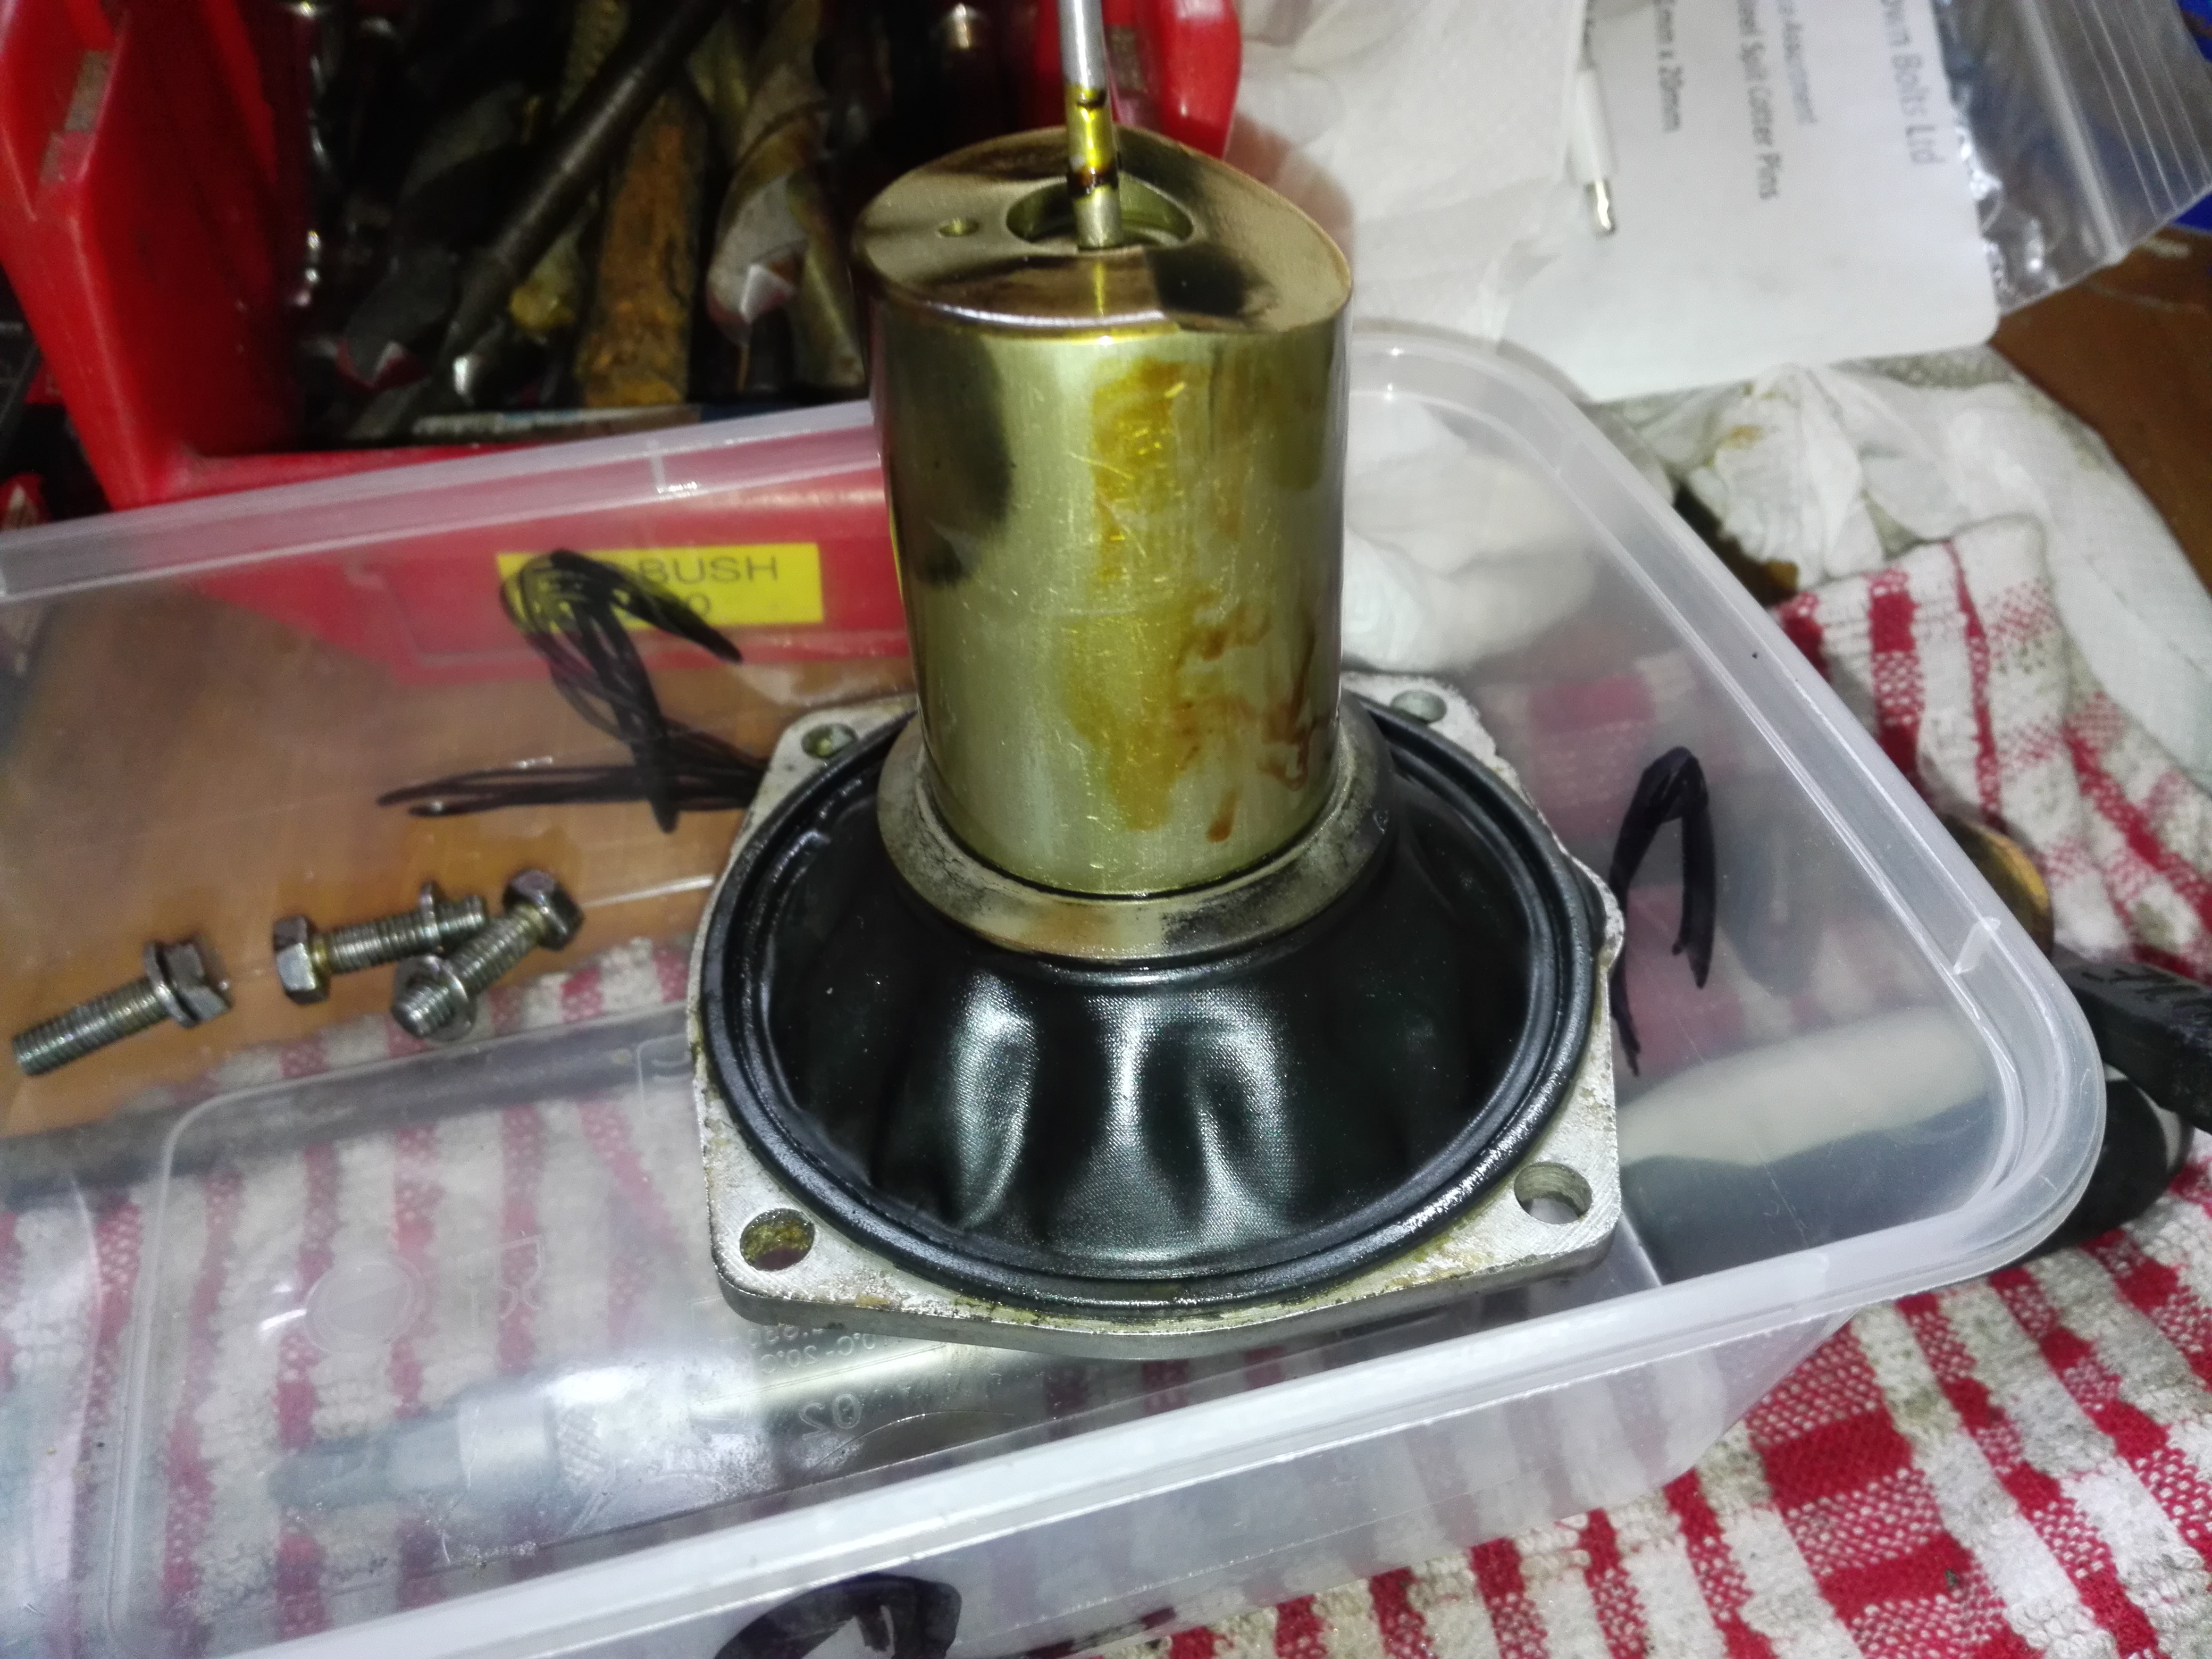


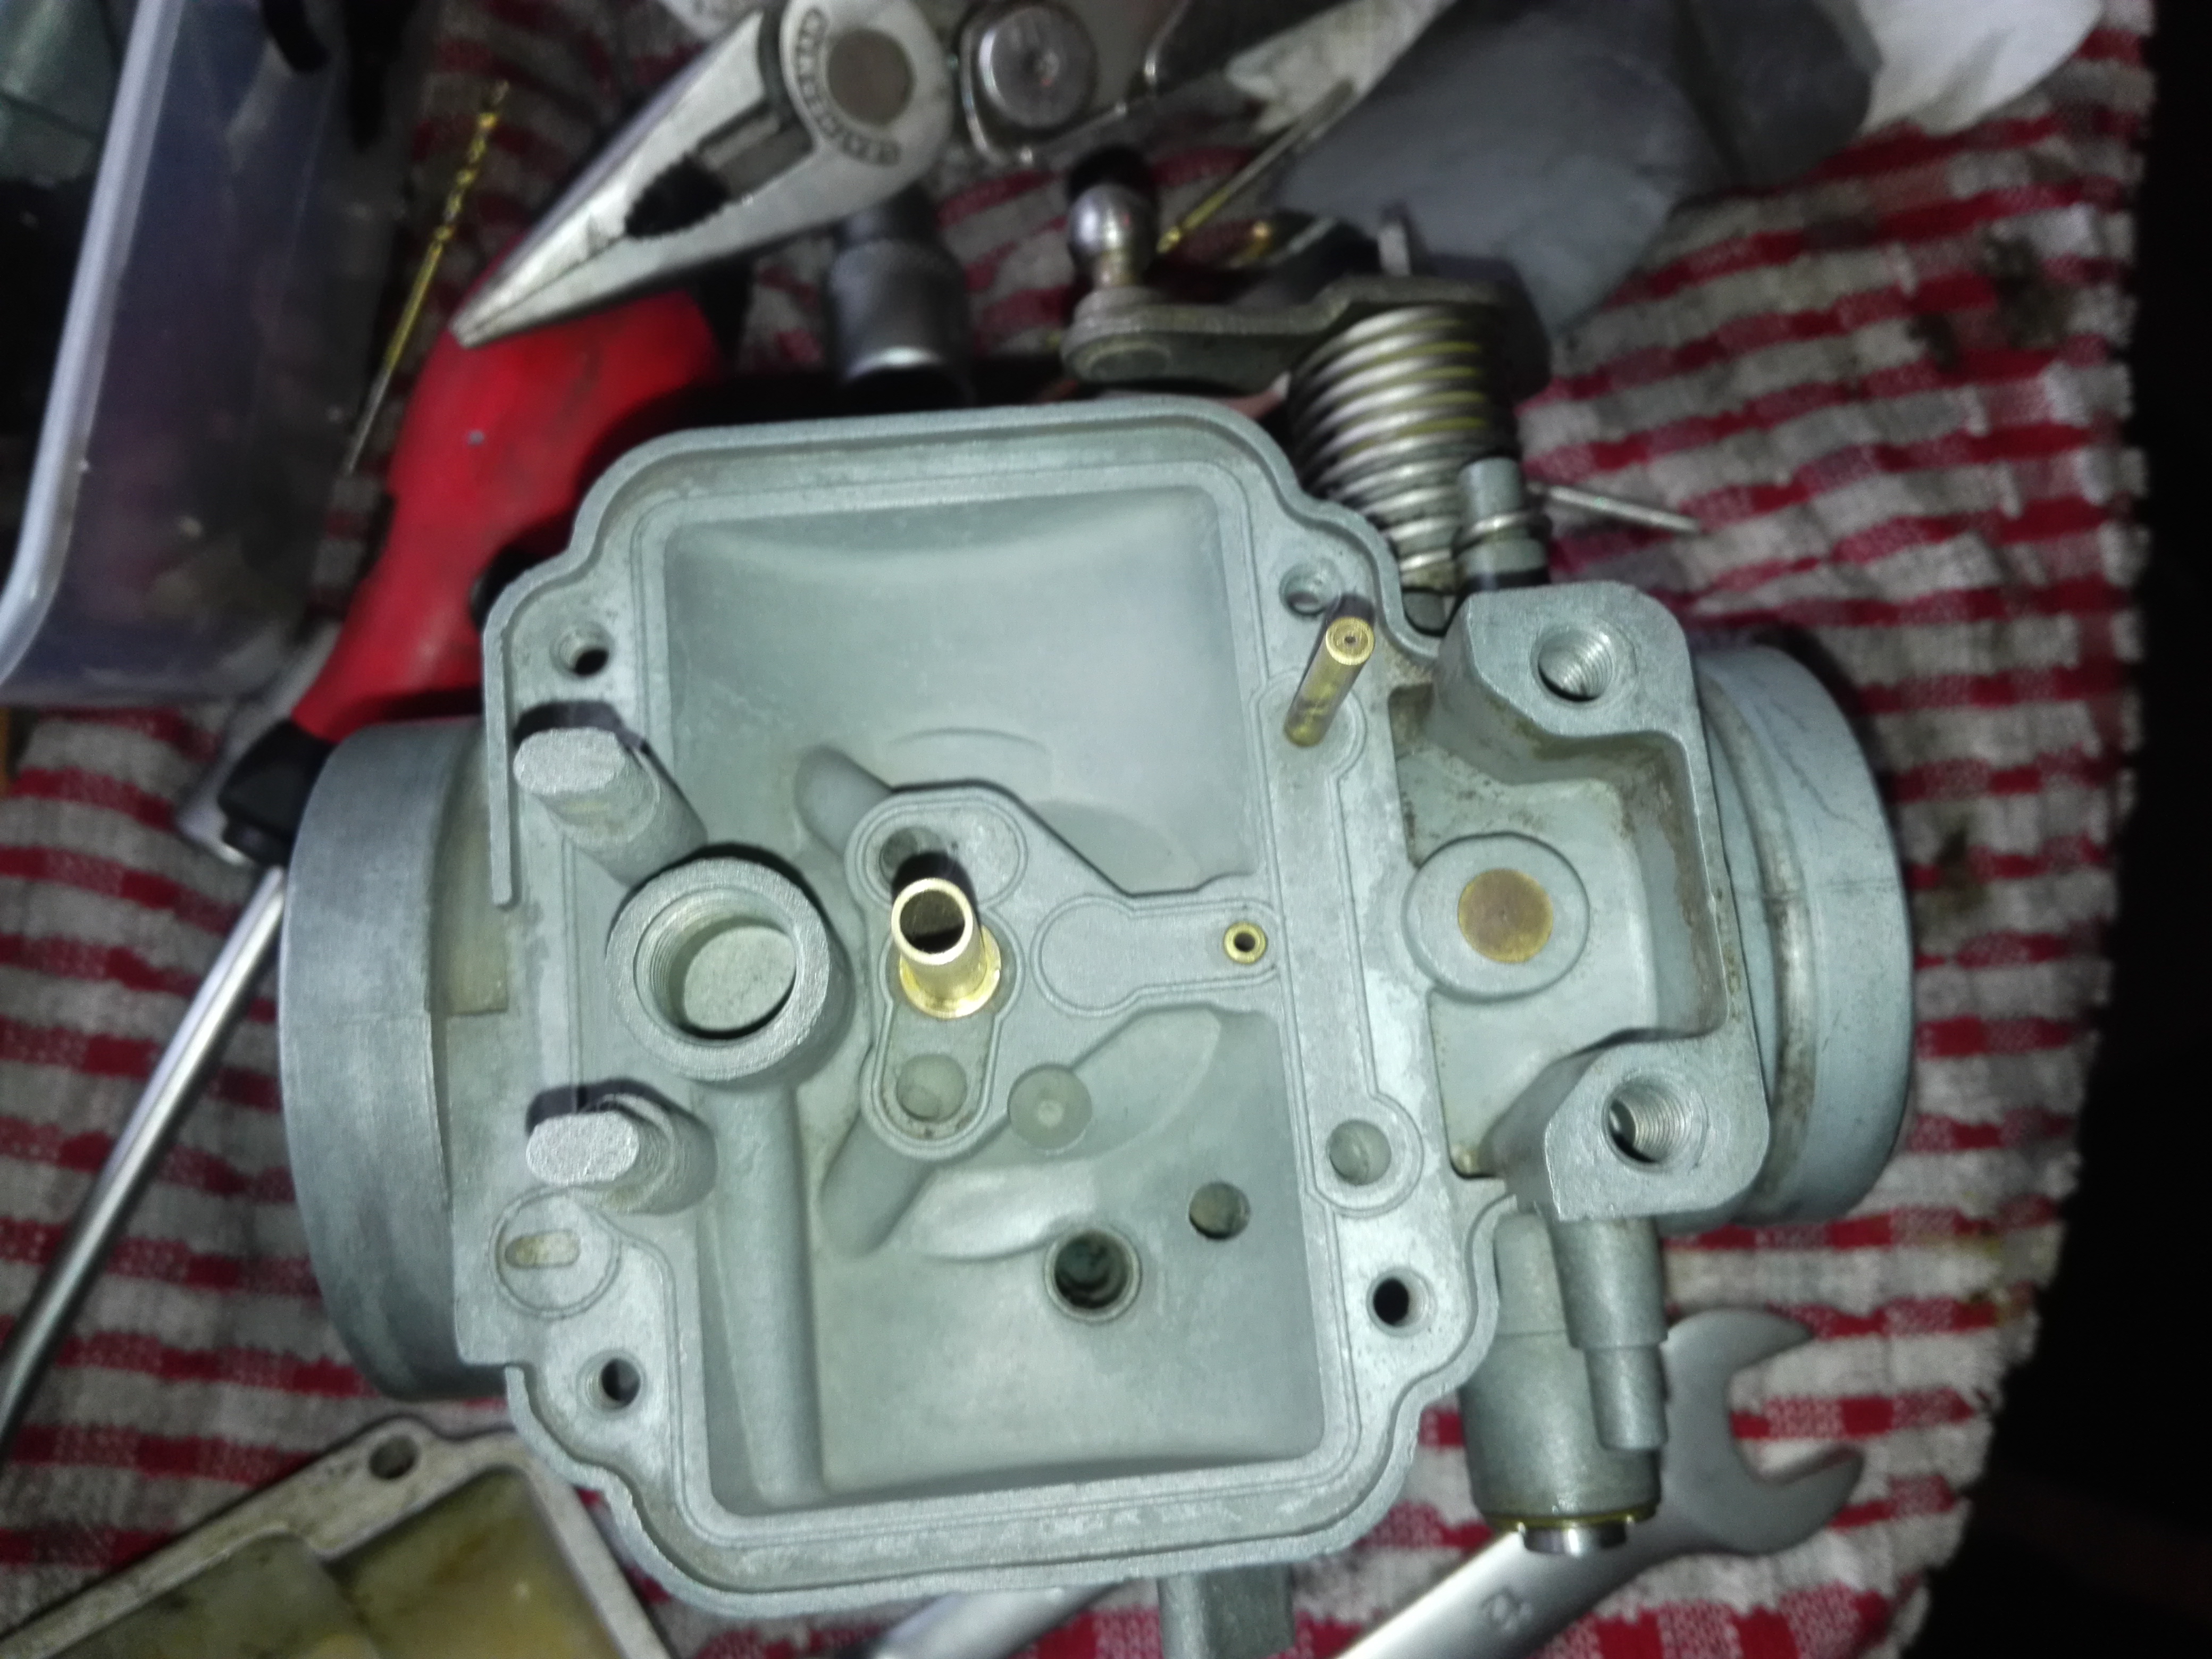
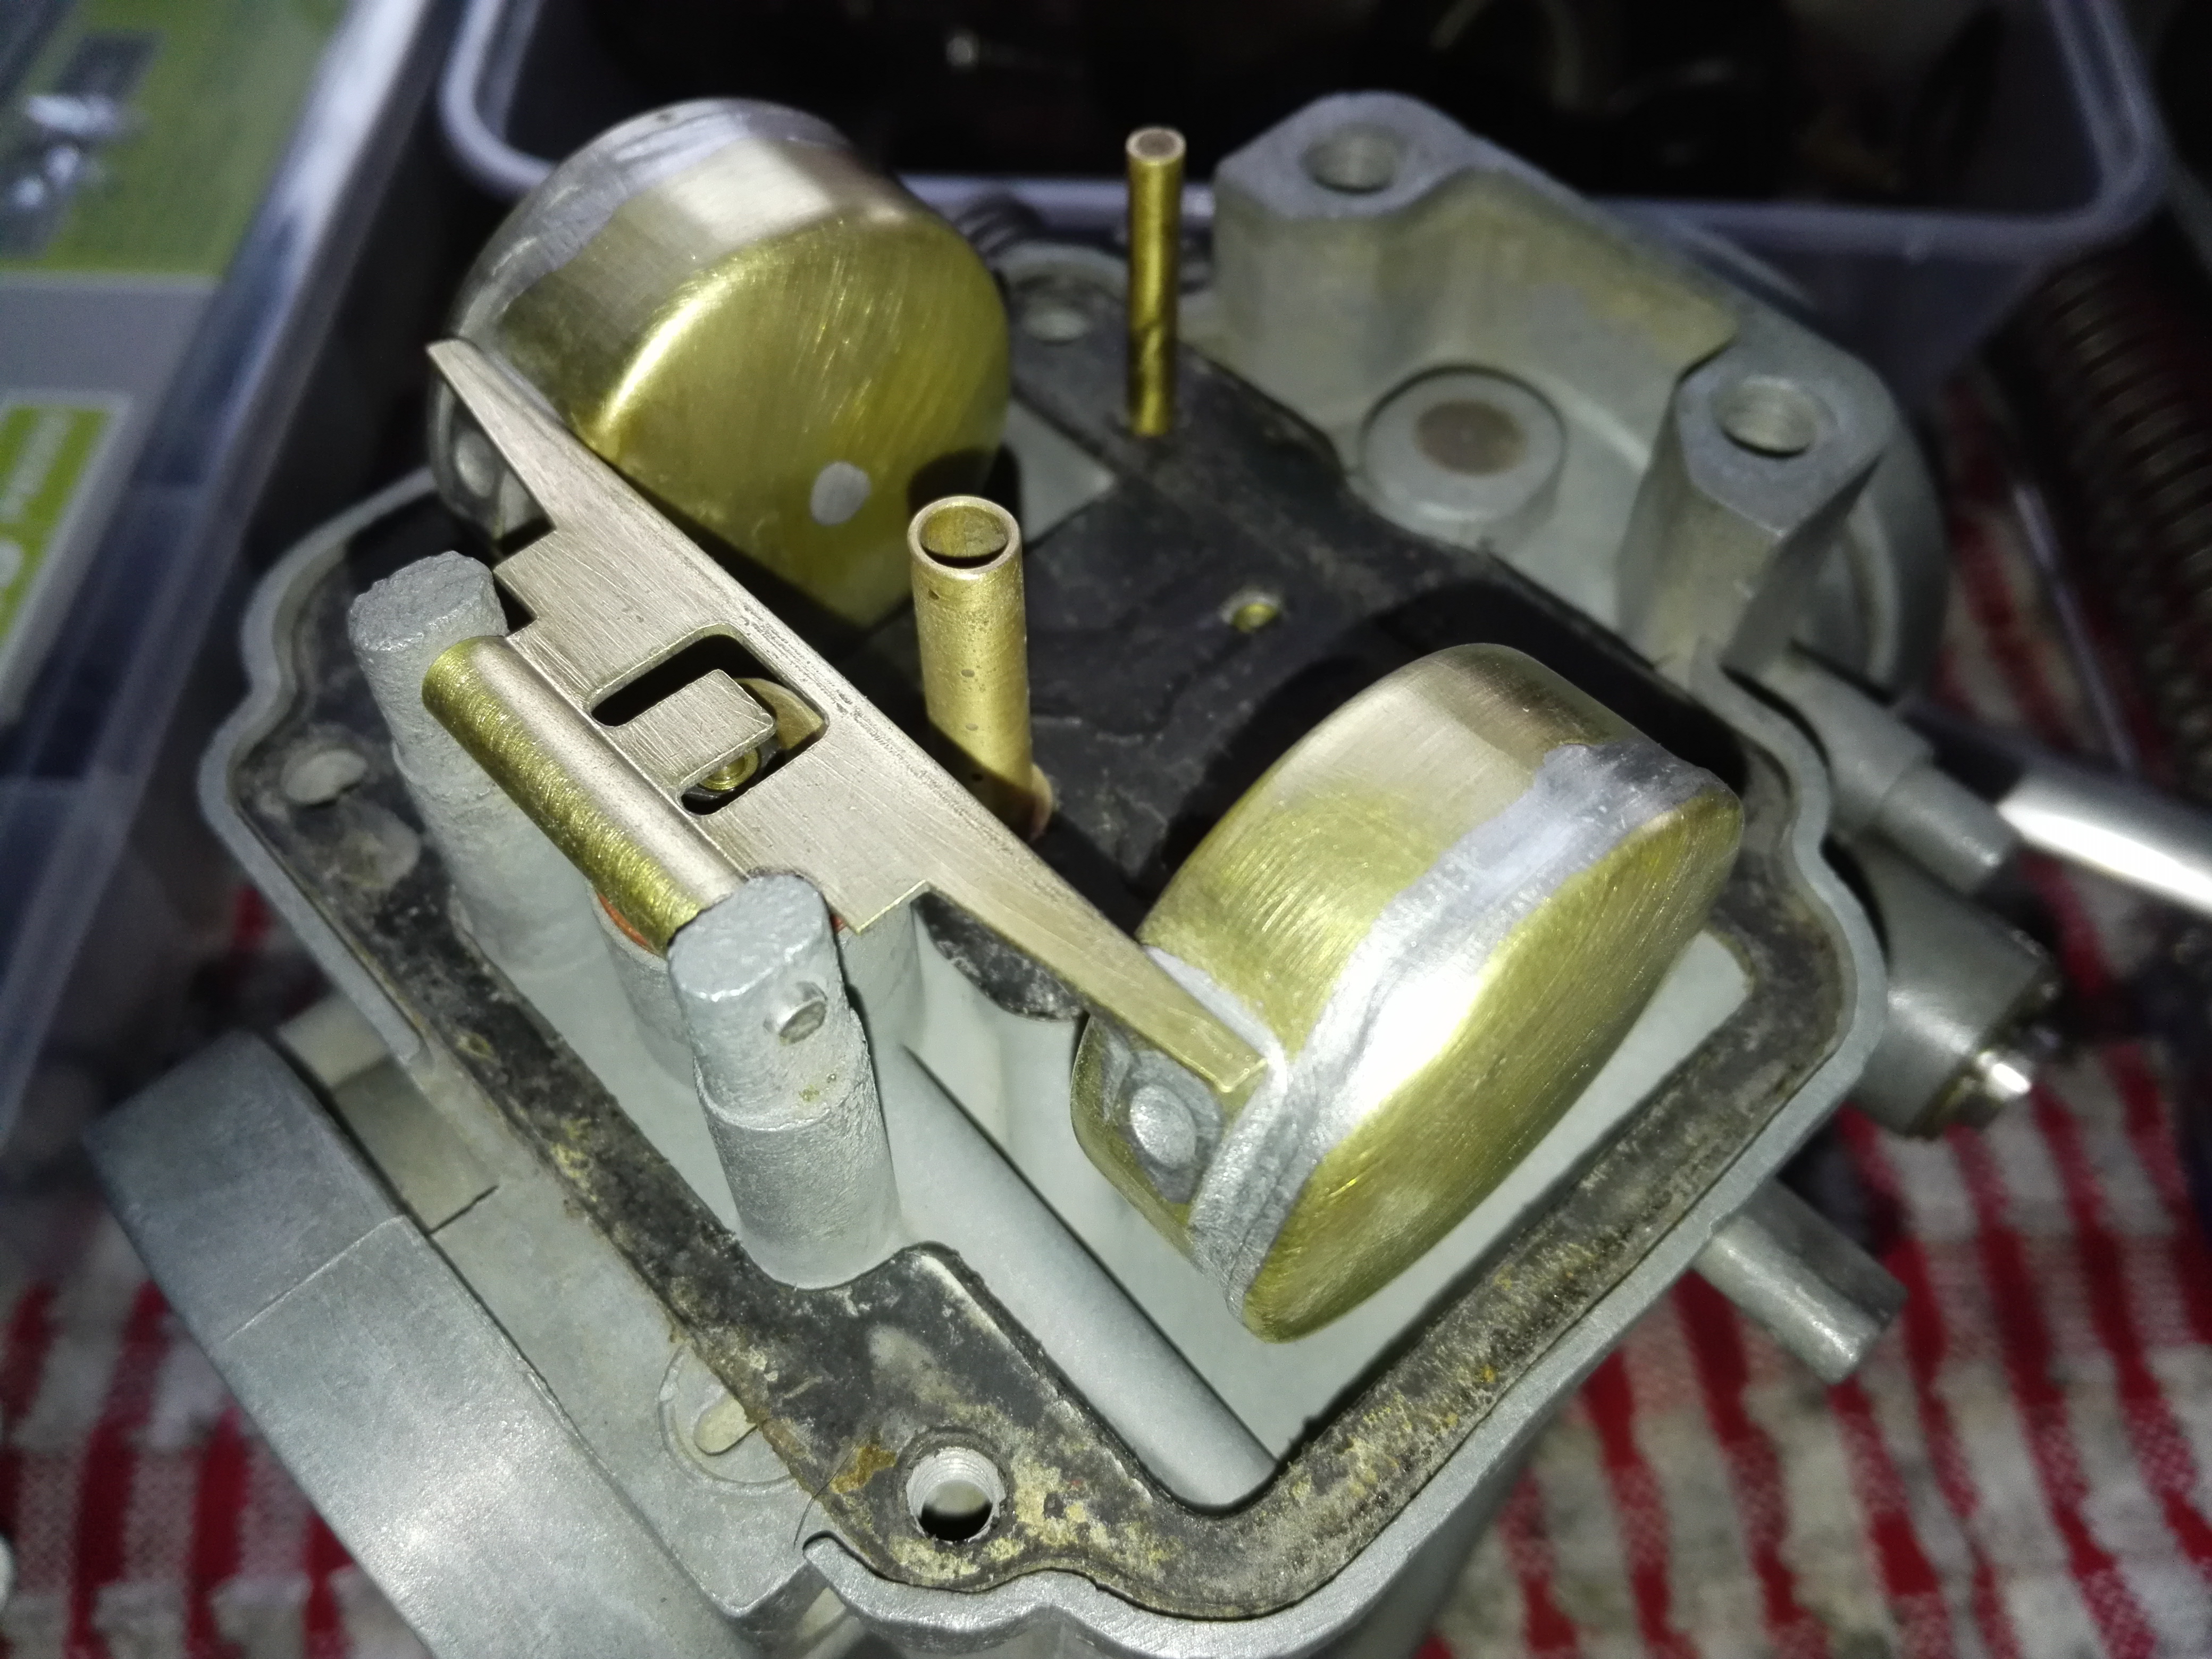
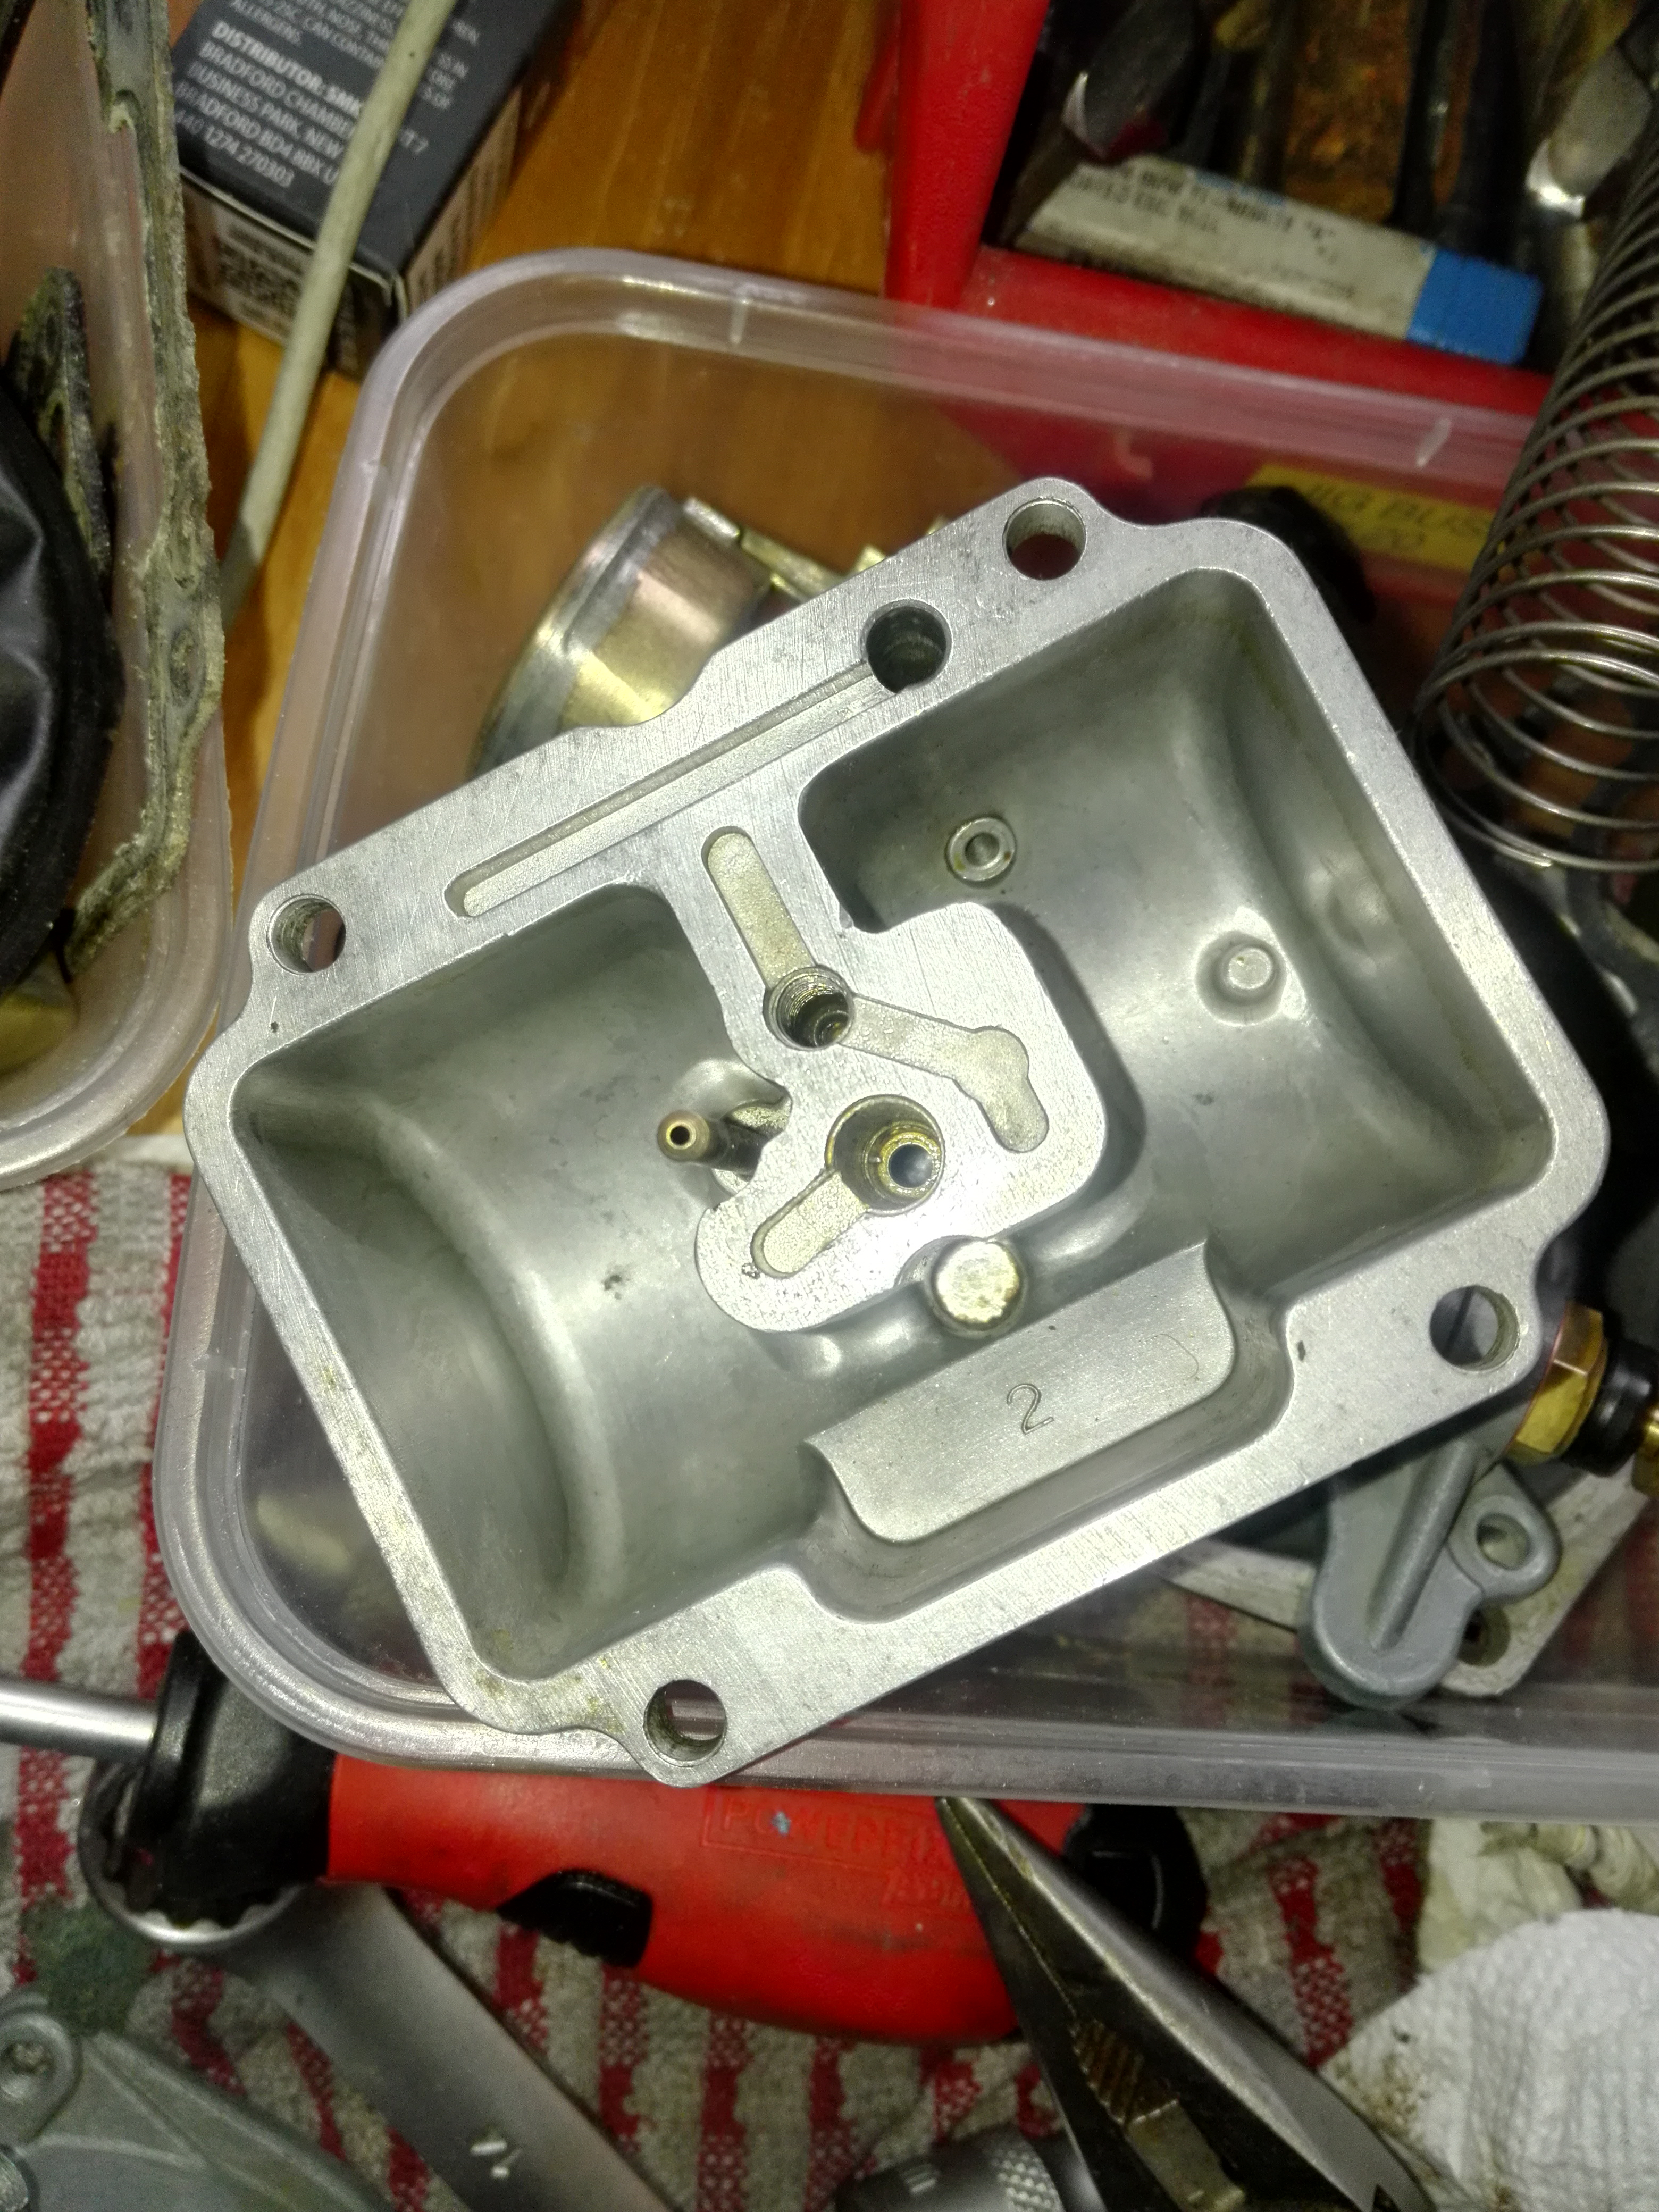
Once I had stripped all the rubber parts and separated them they got washed in a bucket of paint thinner. I buy the thinner from Aldi whenever I see it there as its only about £3 per liter and its super useful. I managed to remove all the jets and small parts without damaging anything. The needle and seats were seized up and so were the floats but I was careful.
Most of the cleaning was with thinner and scotch brite. The diaphragms were both in good condition and just needed alight clean with petrol but I noticed the mixture screws were in completely different positions. It also had .45mm pilot jets which I believe should be .40mm. This might be due to the pod filters.


 .
.
 18th September 2018 at 10:31 pm #23805Ownthesky2010Participant
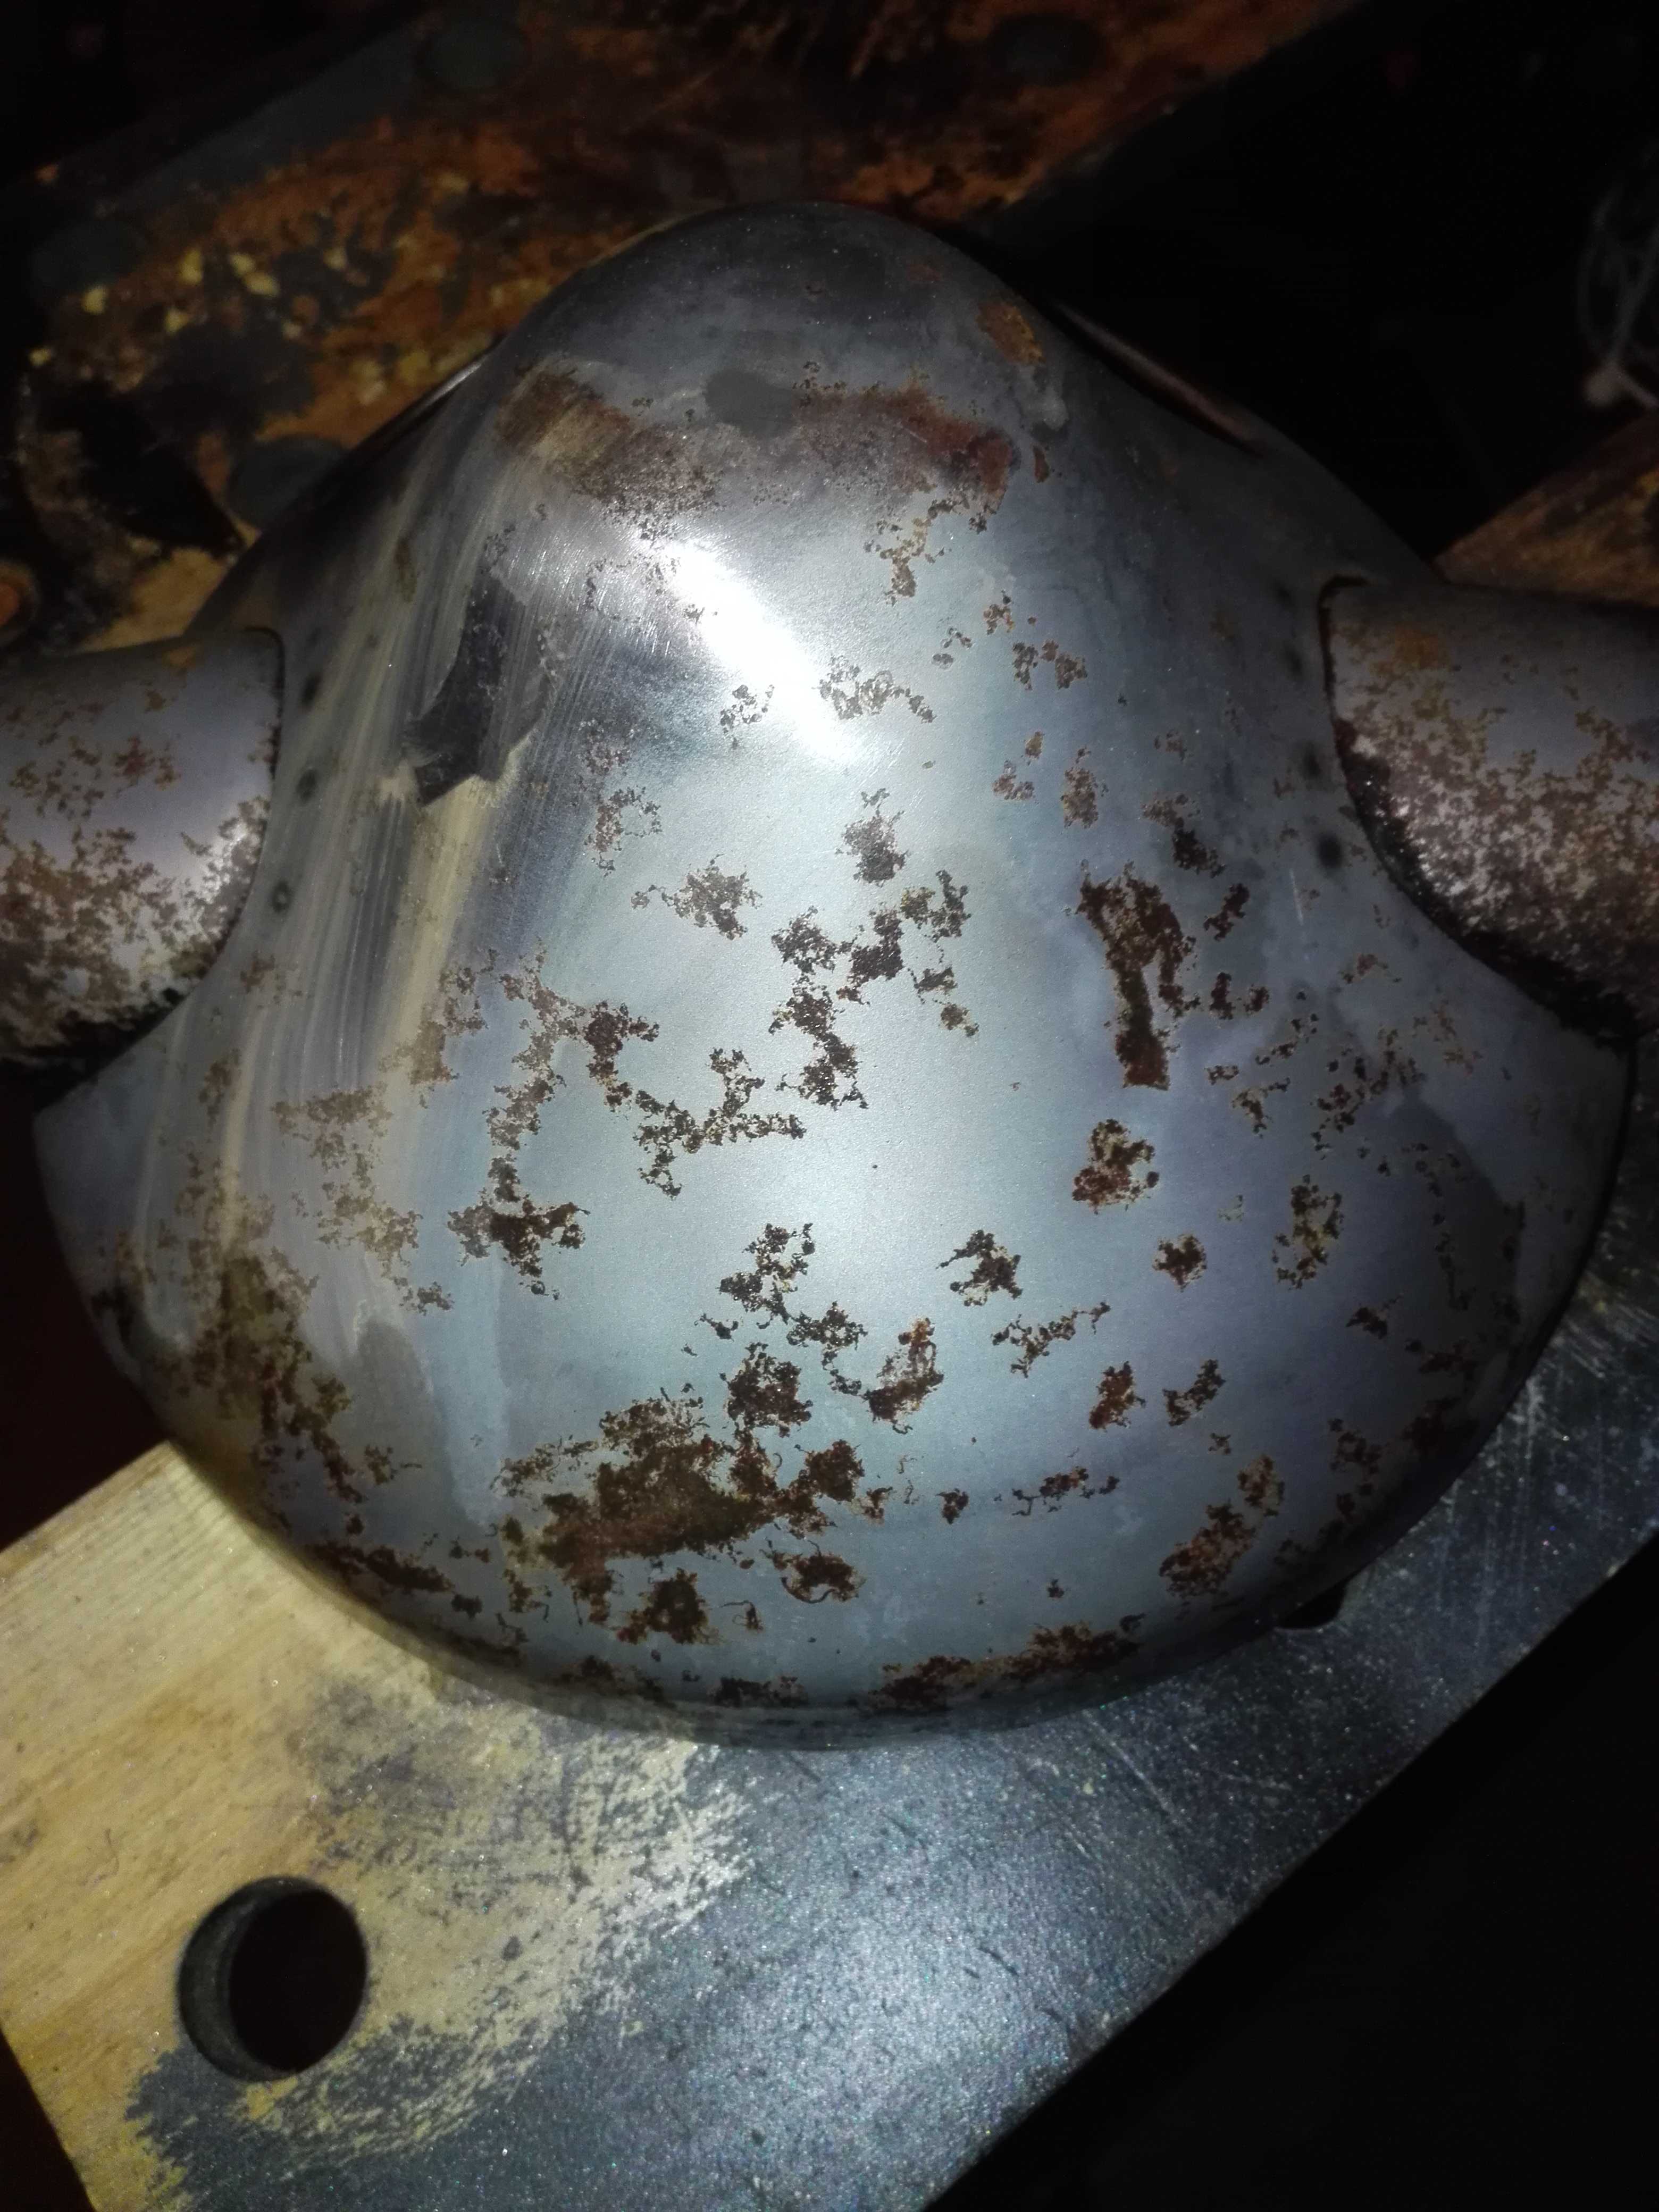
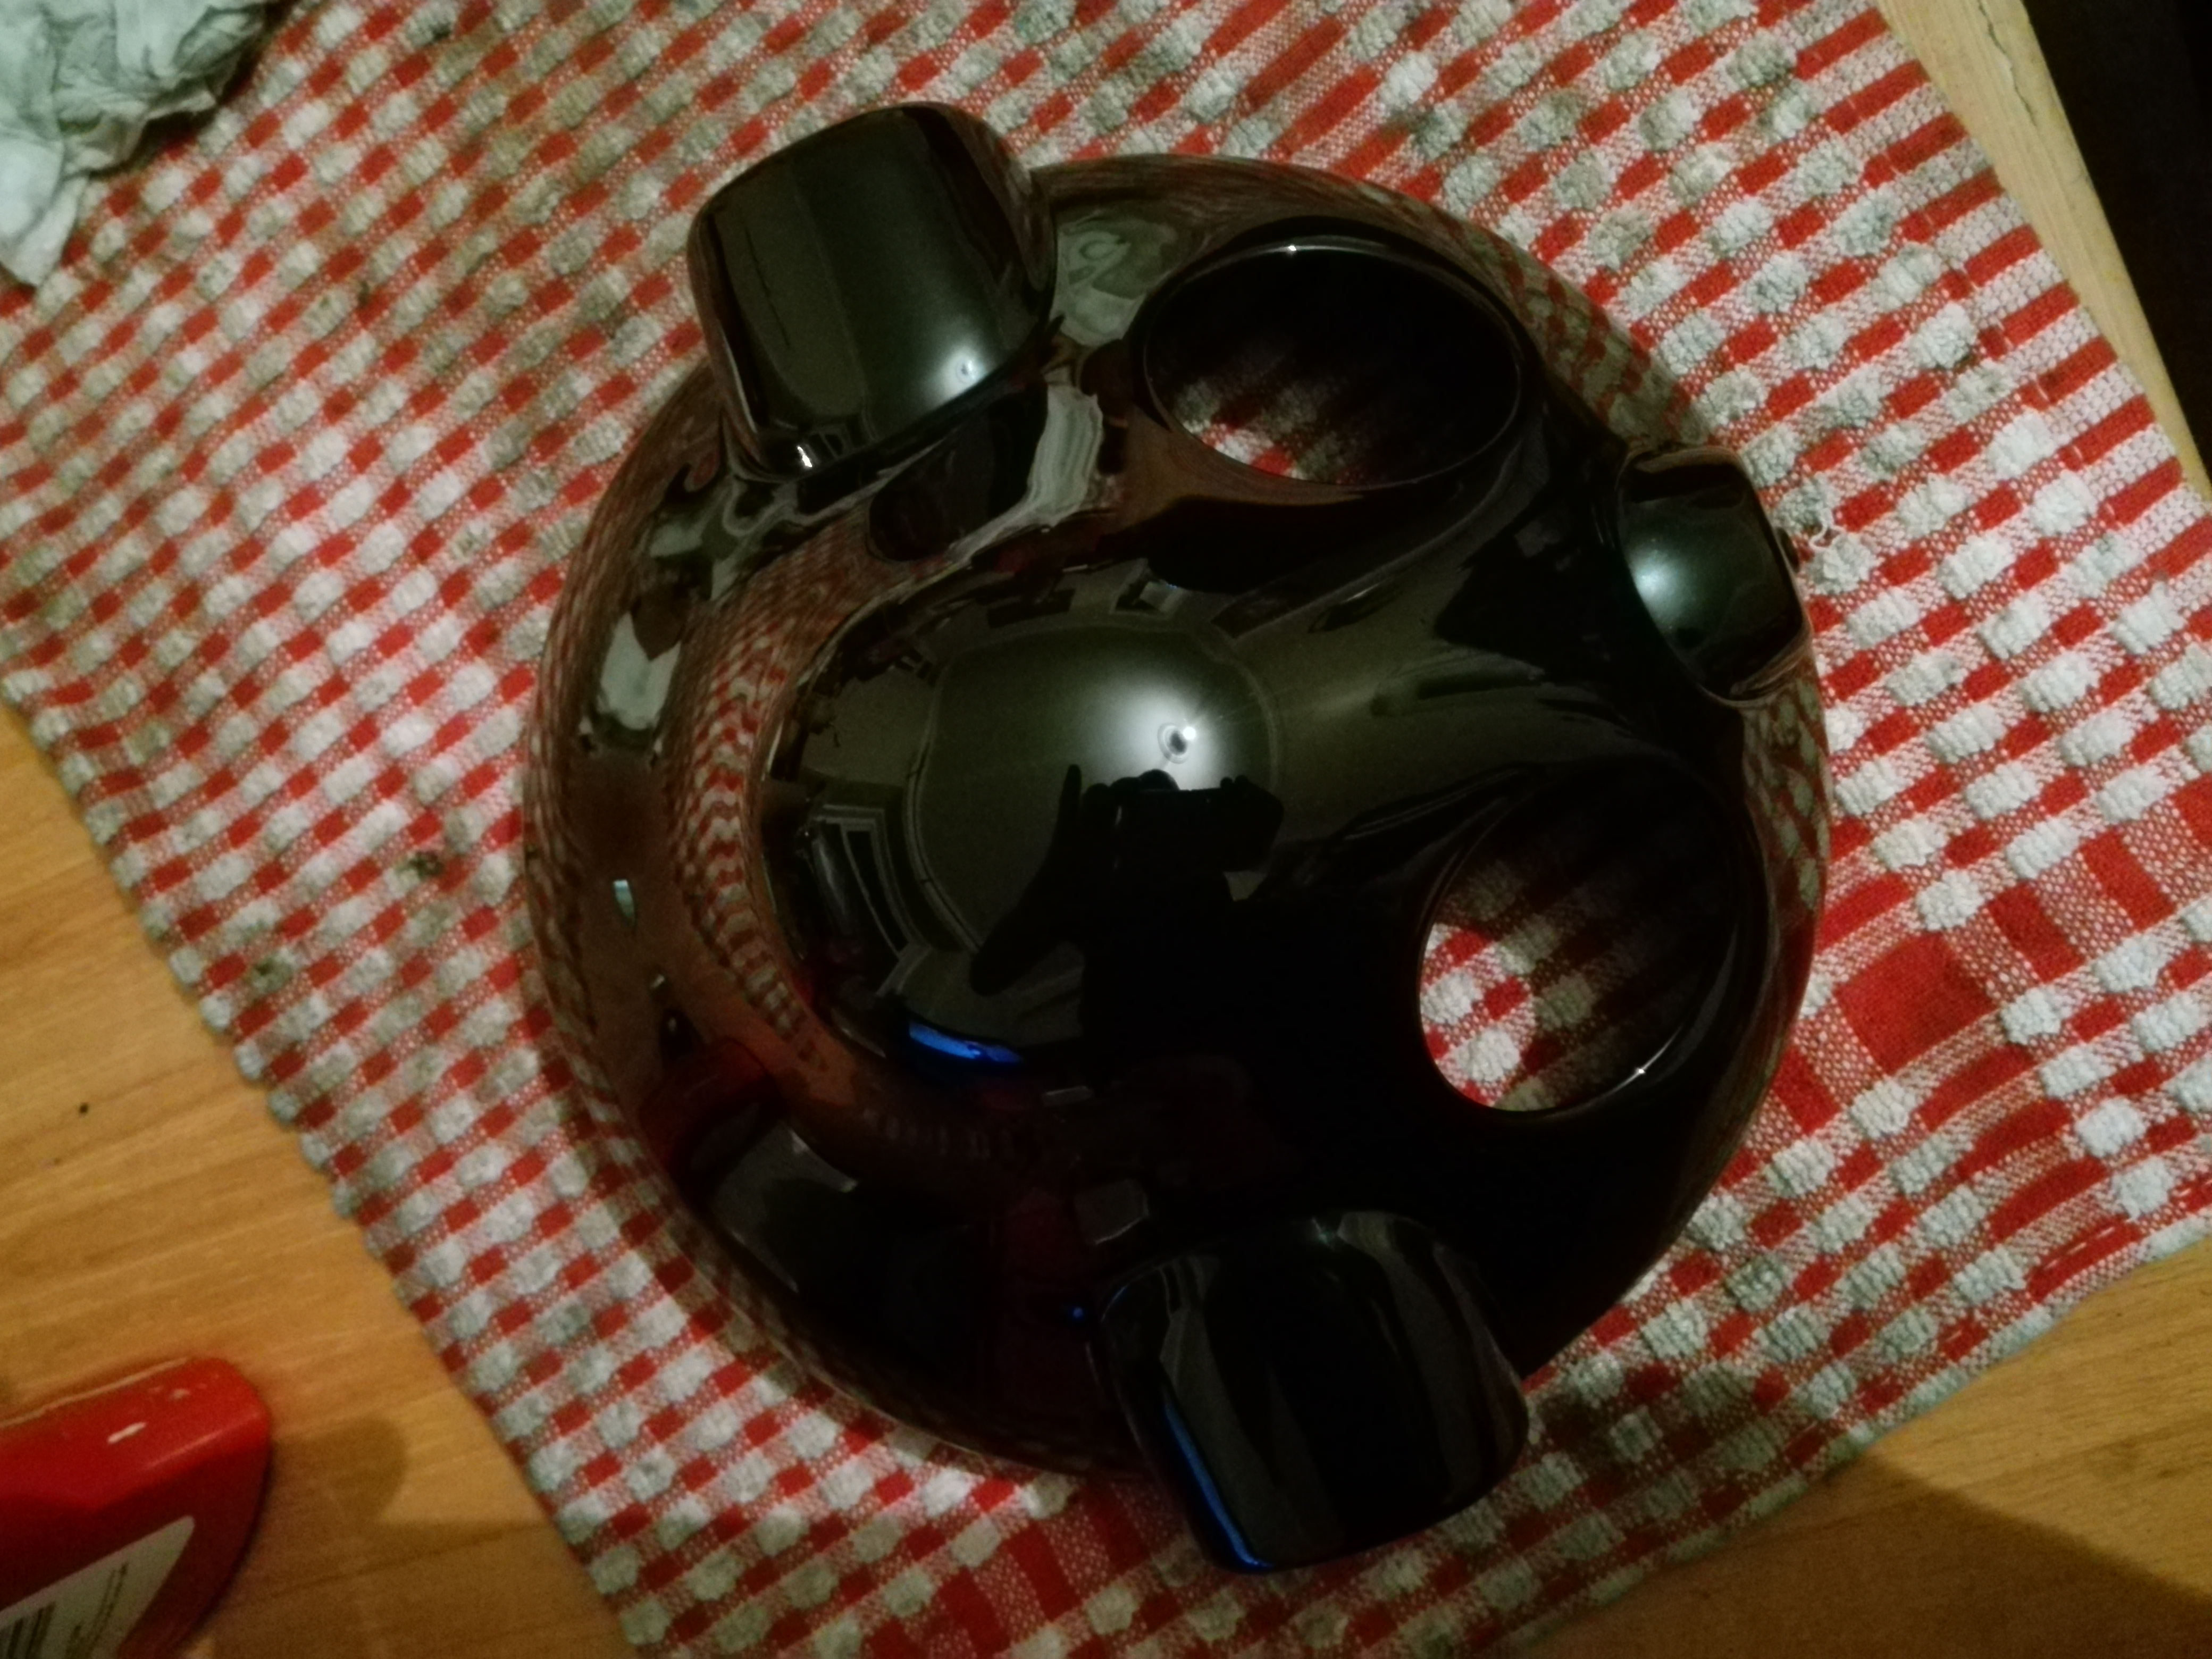
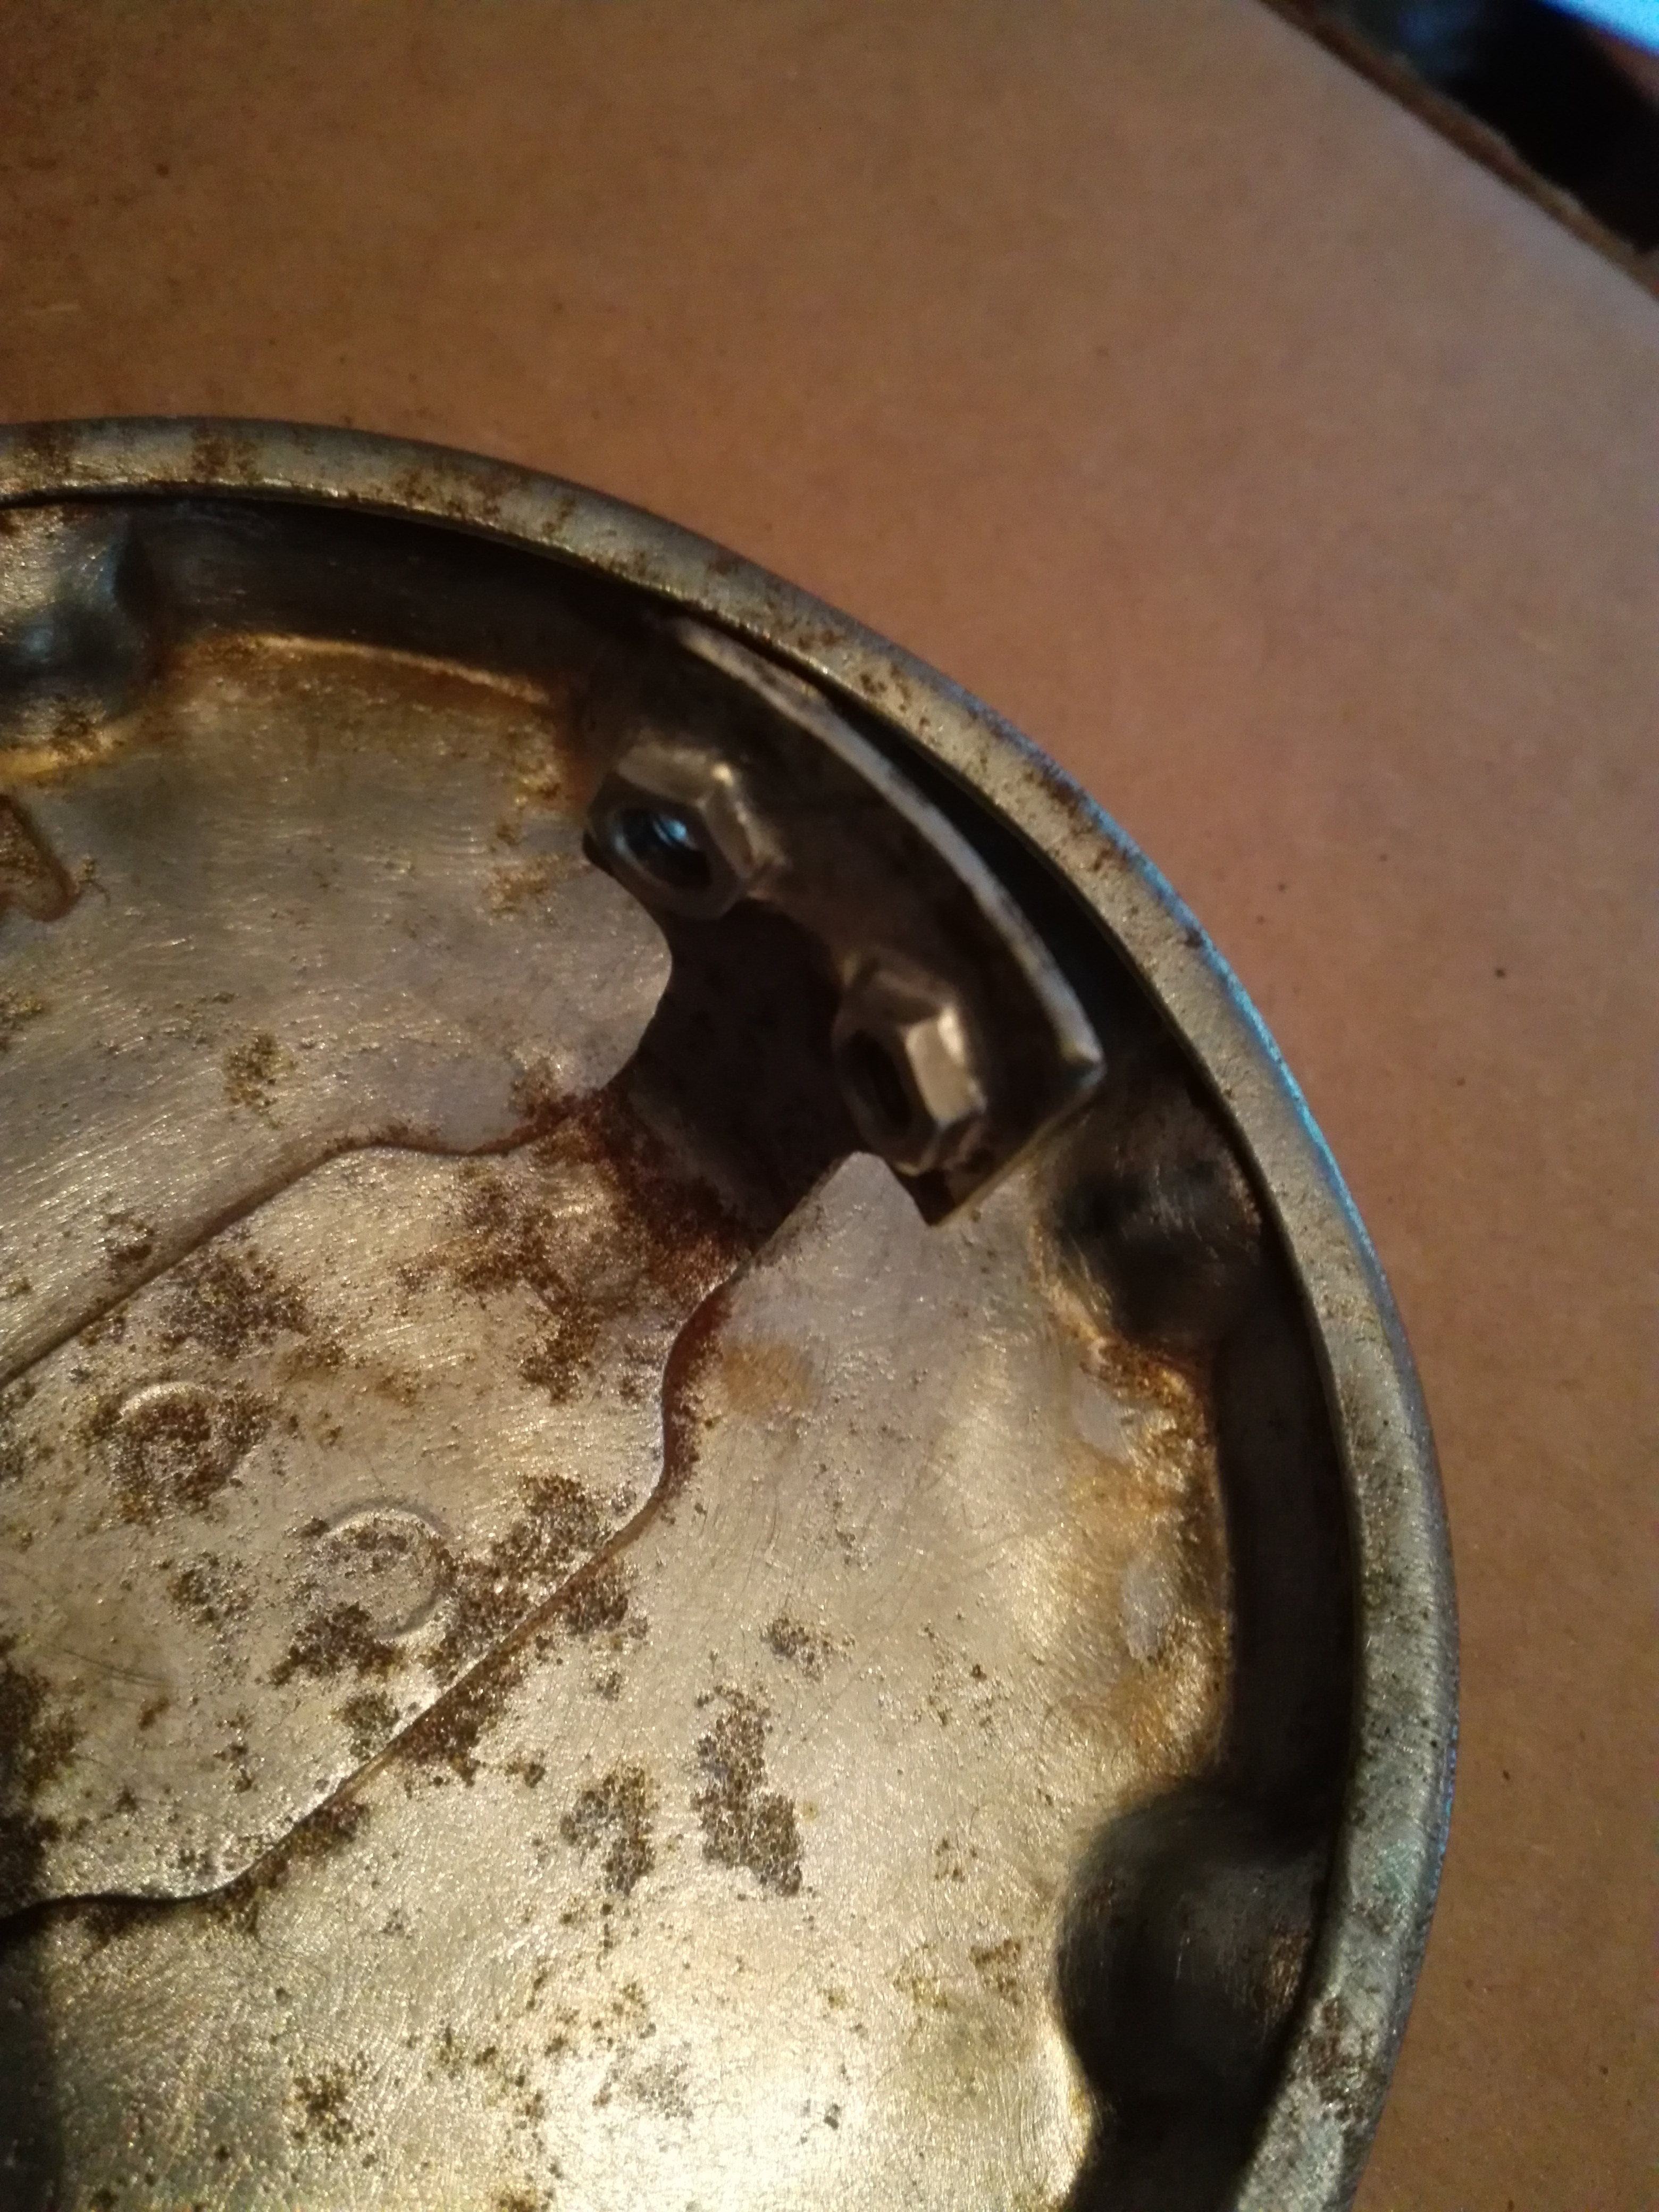
While I was busy with the carbs I also had the headlight shell off the bike to sort out. It was pretty rusty.
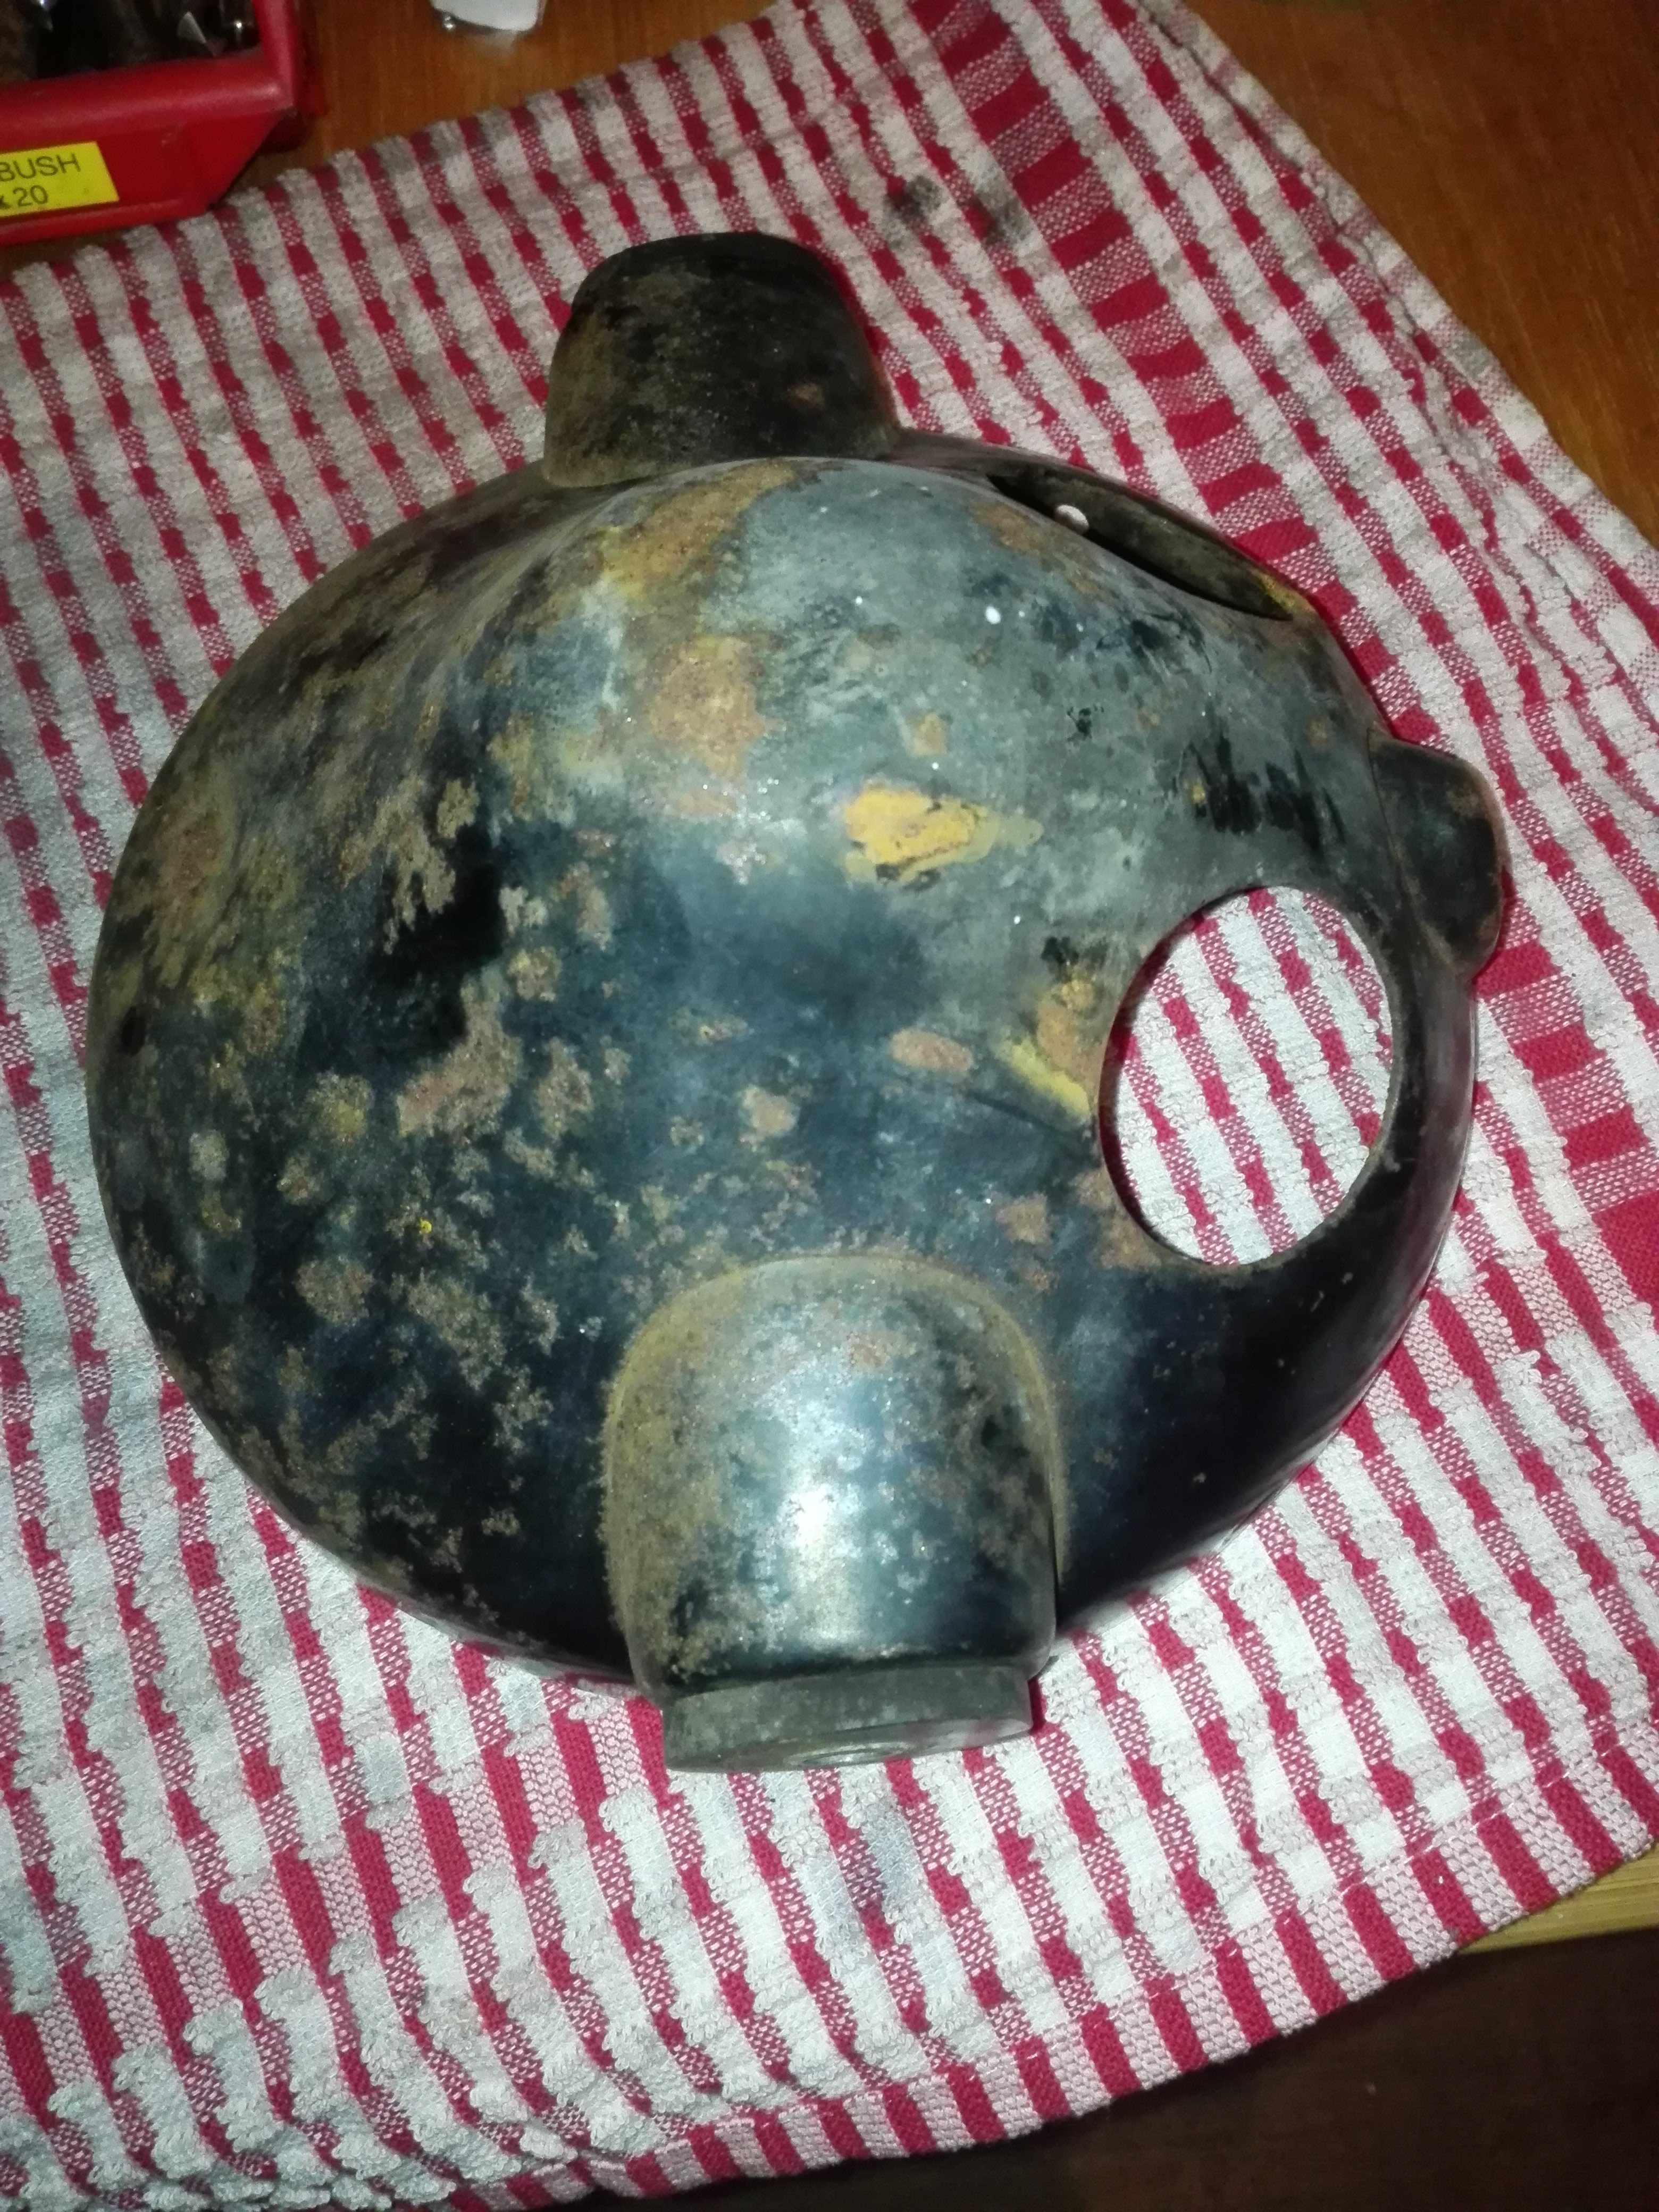
It got the paint stripper treatment and then a wire brushing and a bit of hammering to get rid of a few dents. I filled a couple of spots too but left the spot welds as they were.
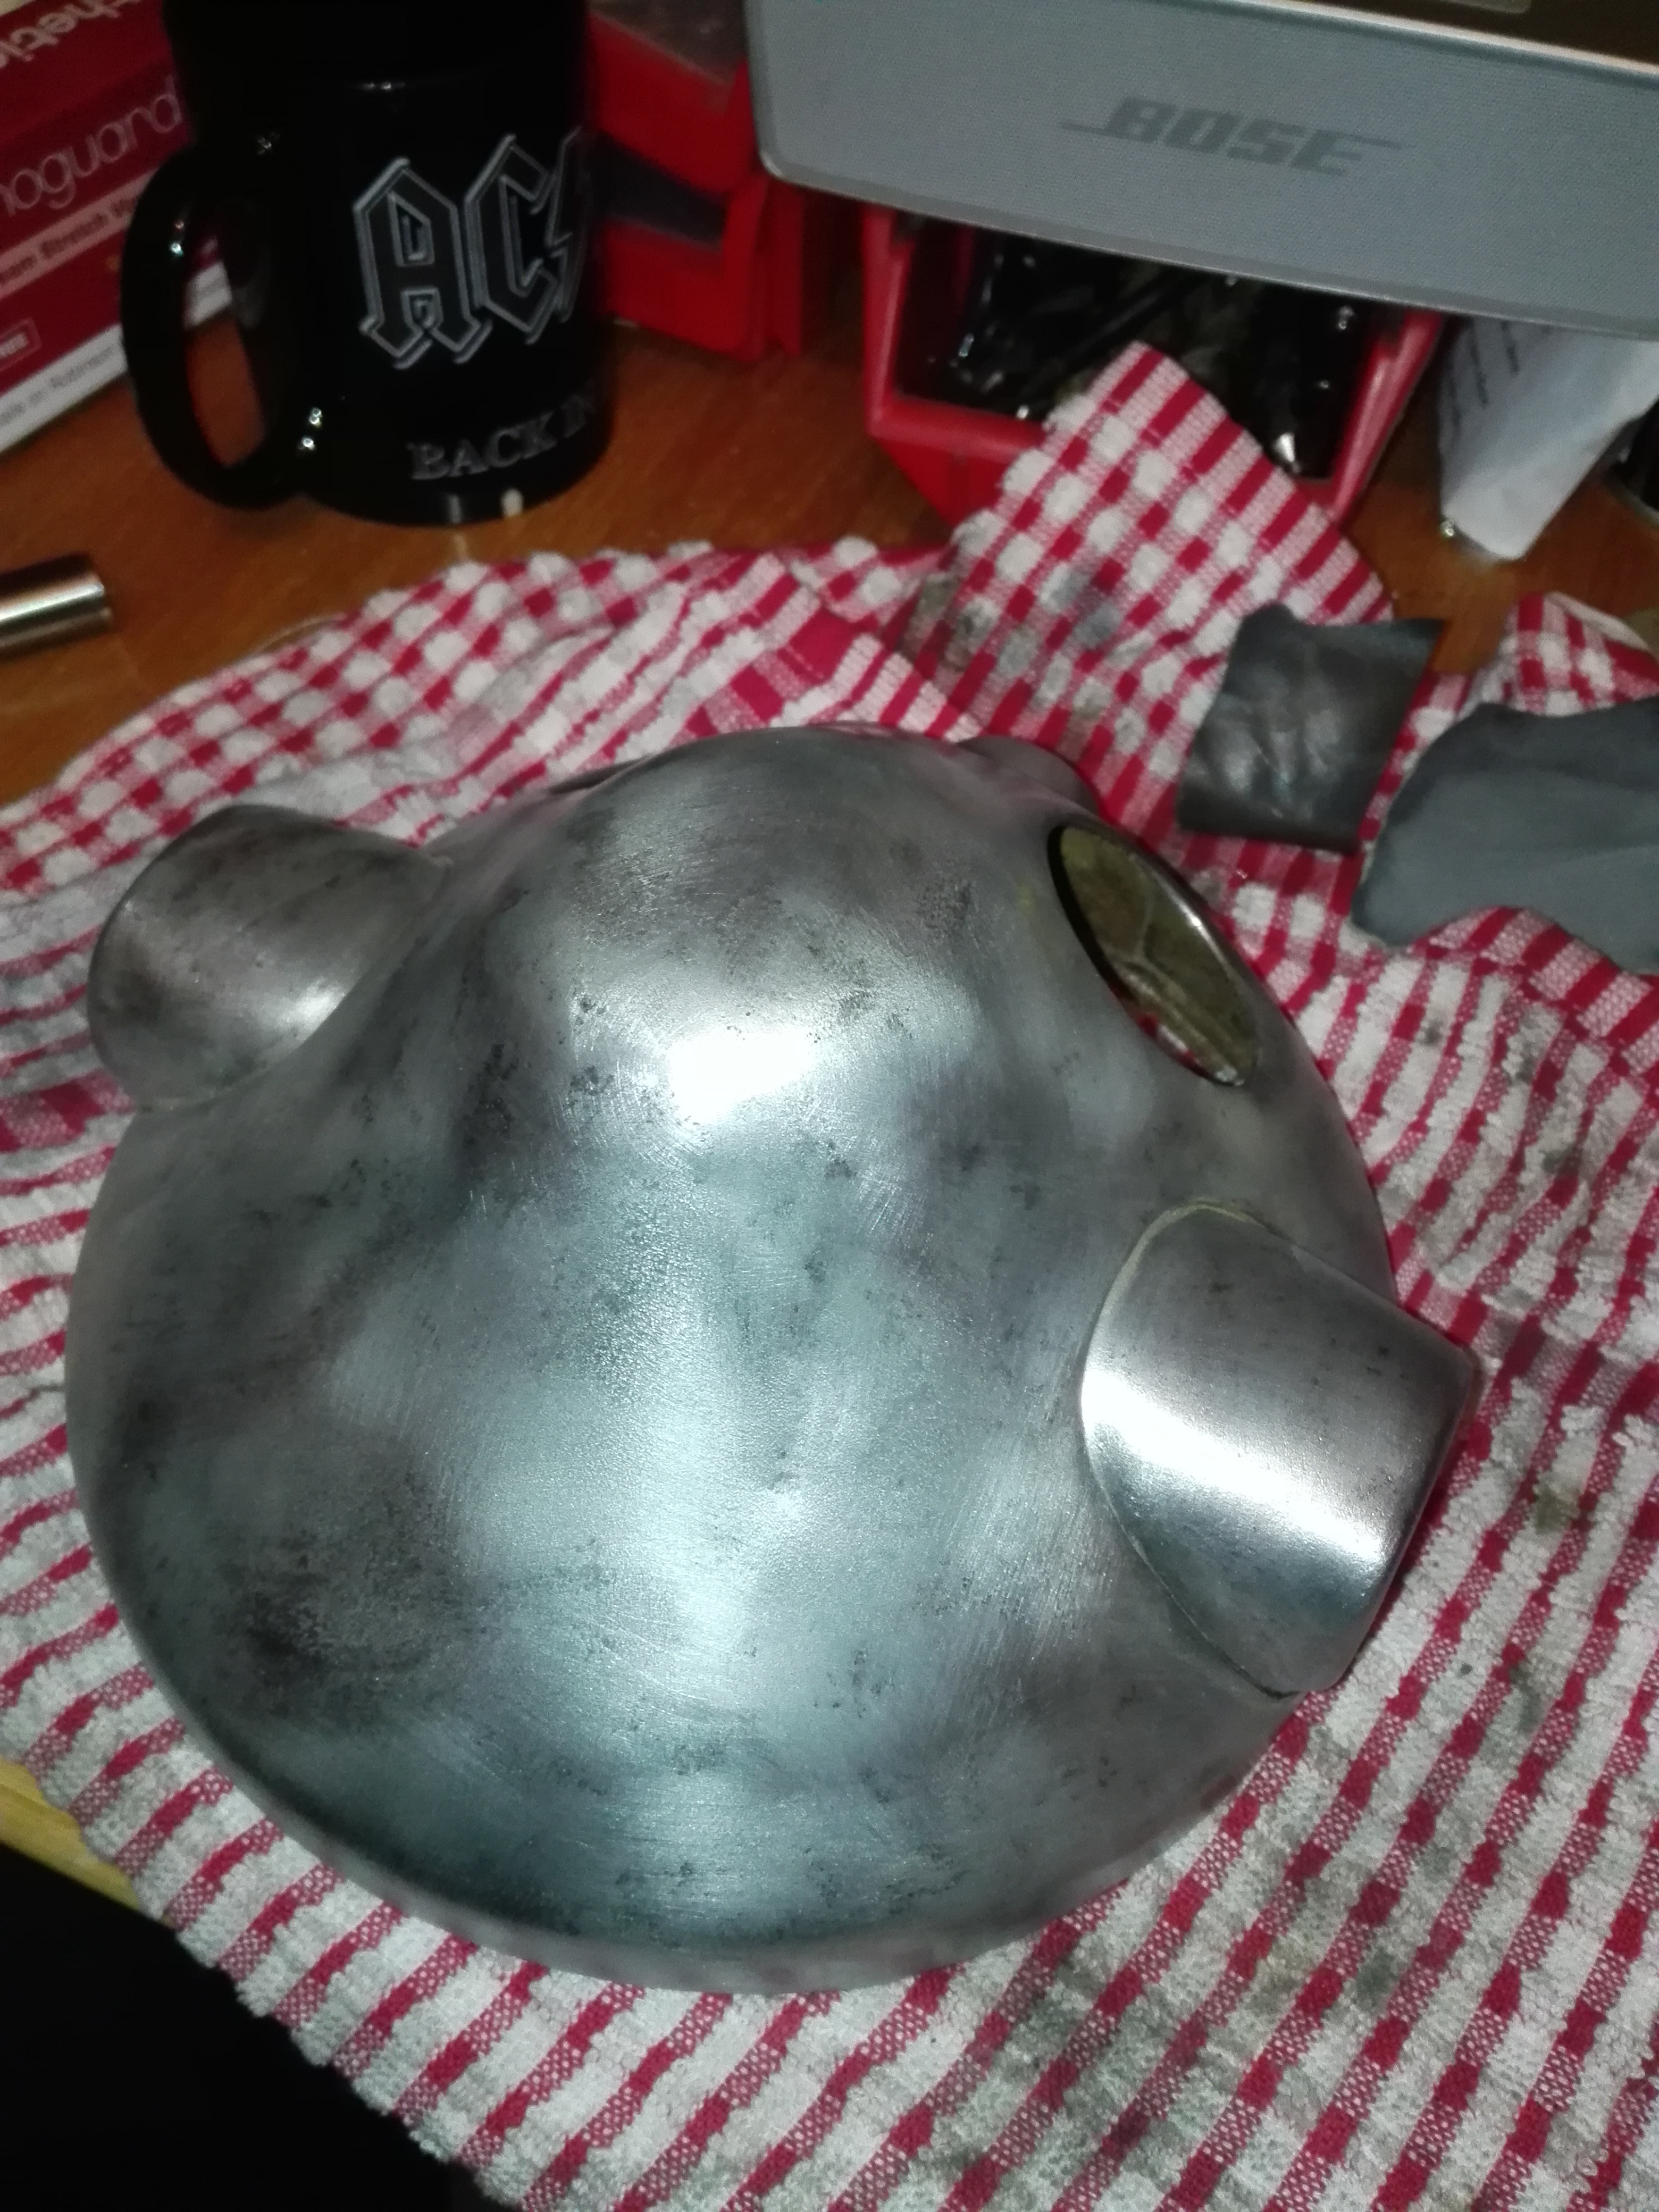
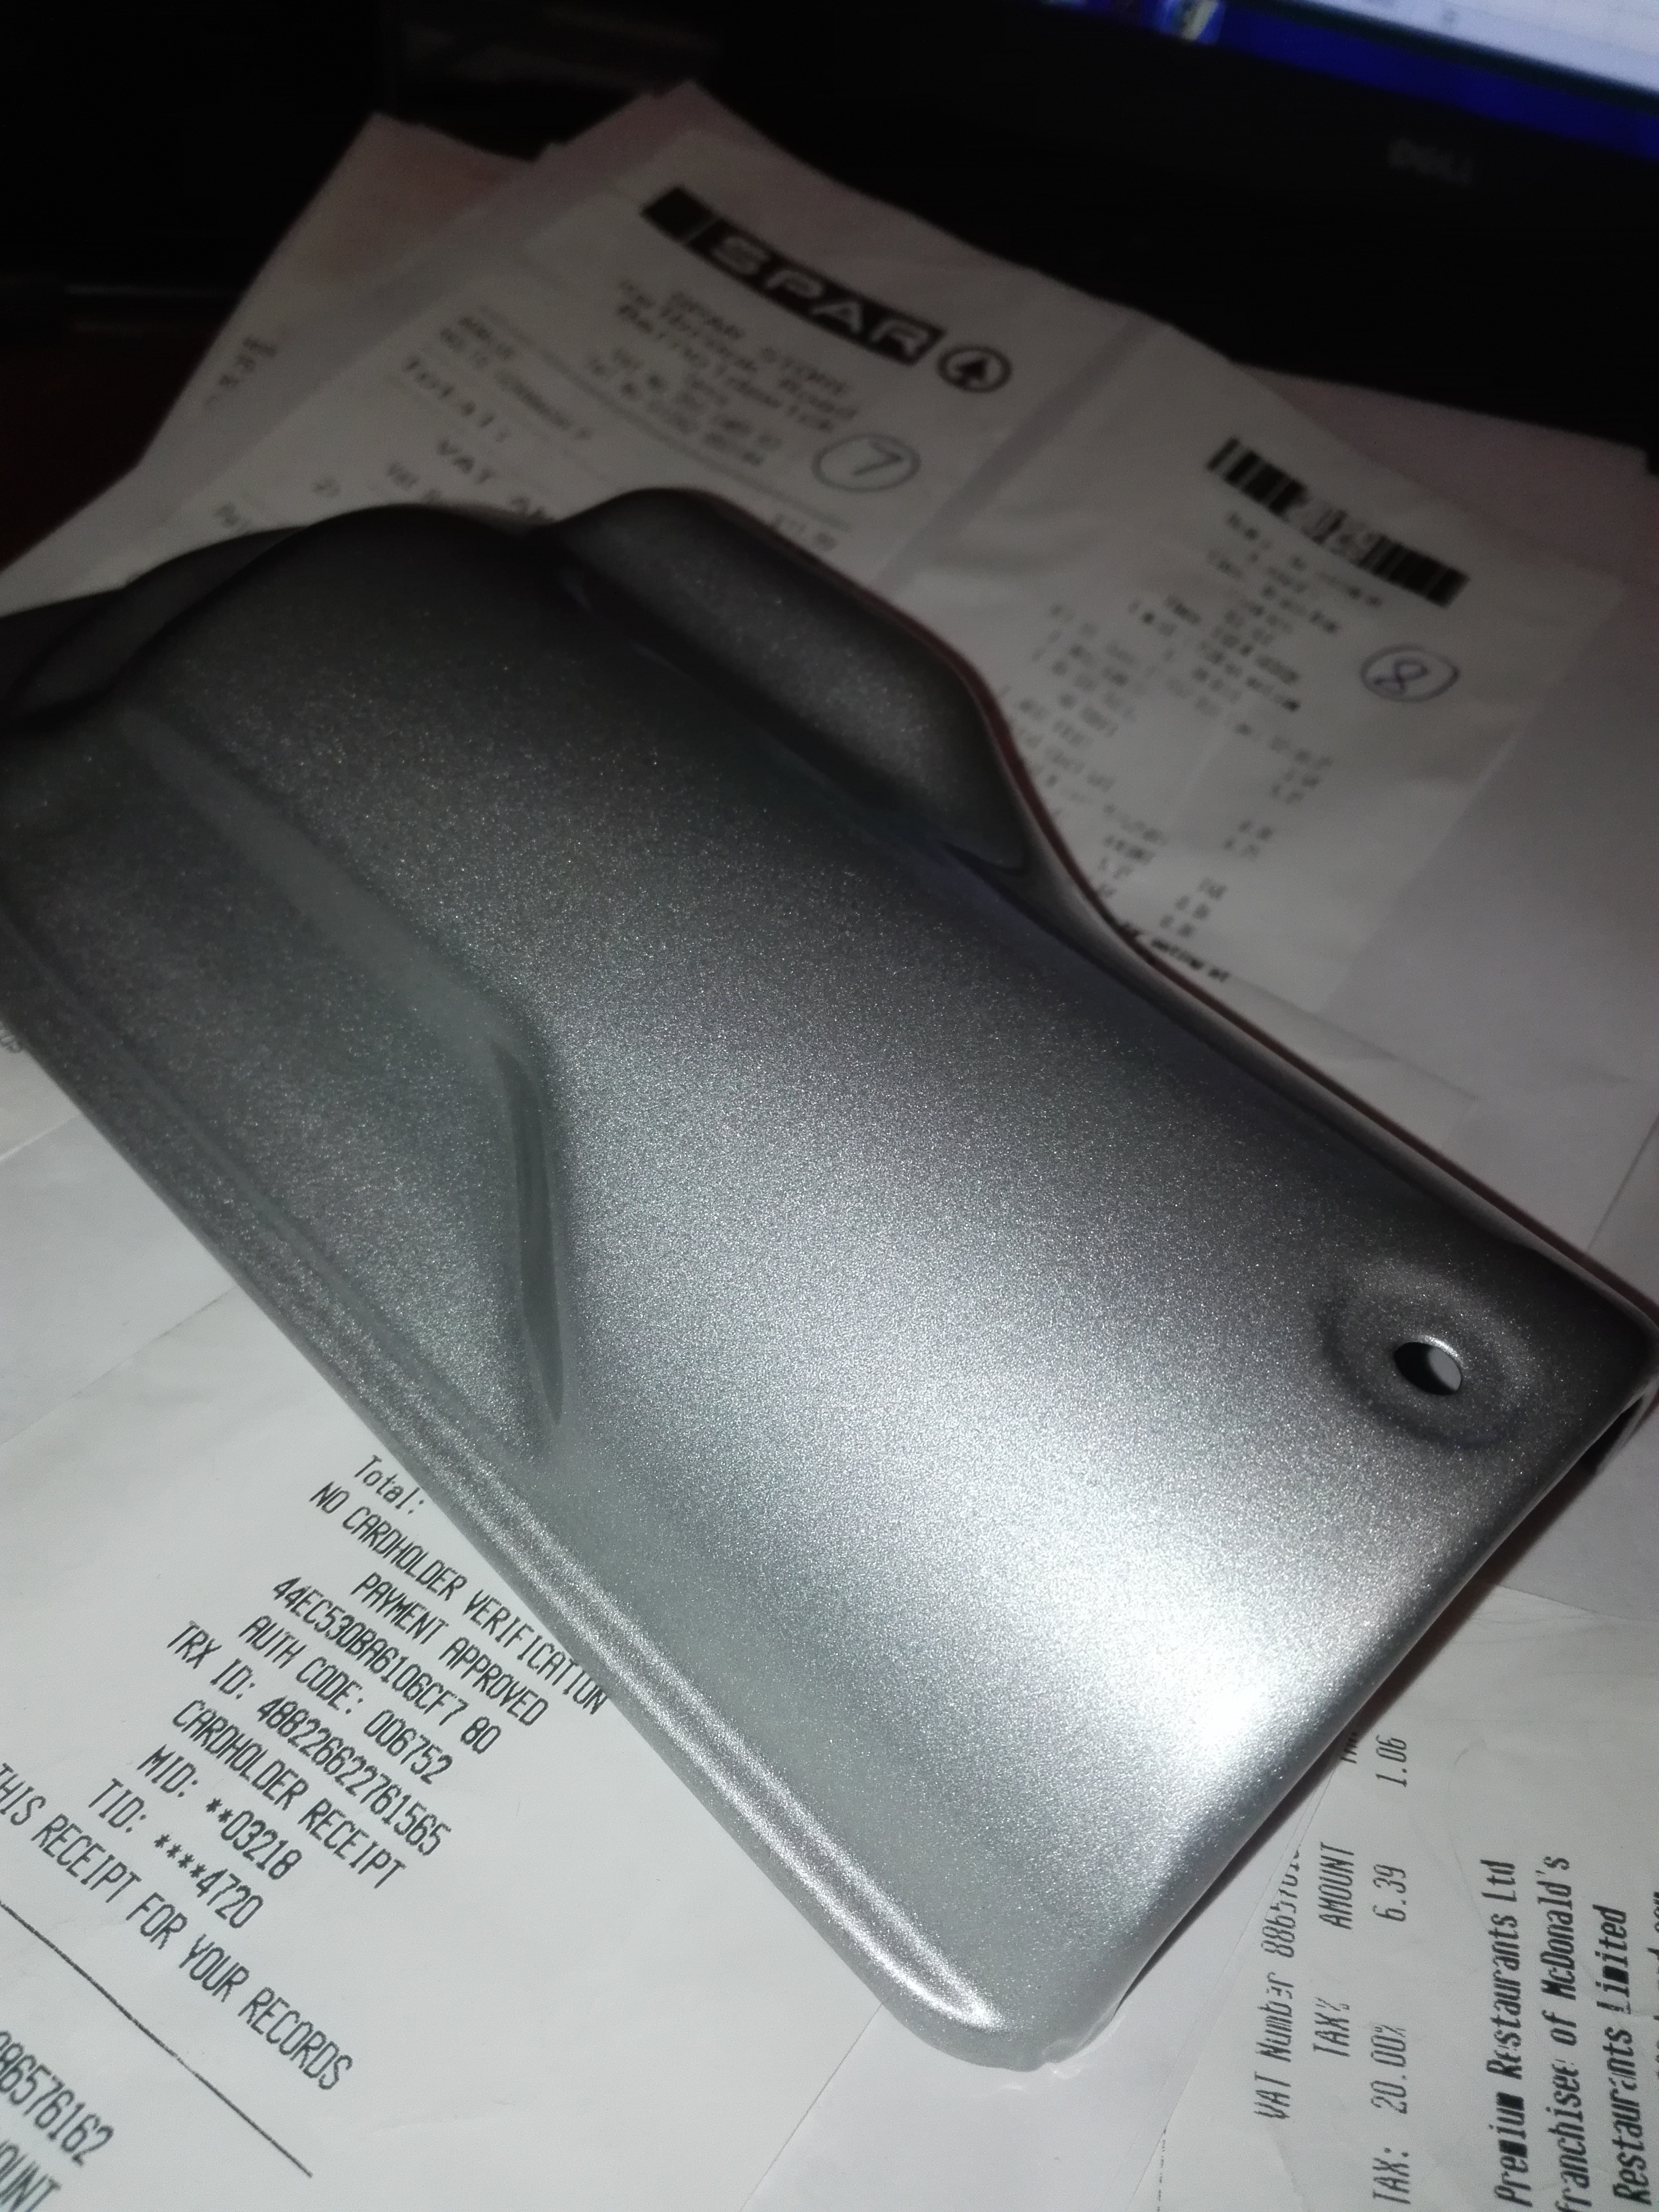
Then time for paint. I like the Aldi metal spray paint as it can be applied without primer. Its got a sort of oily texture and it goes very flat. It takes weeks to dry if you put it on thick but I bake in the oven at gas mark 2 between coats and then overnight on the keep warm setting and its nice and hard in the morning. I always get a bit of dust on everything but this paint will cut and polish well too. Its only £3 per can and the best rattle can I have used. The Lidl stuff seem the same.
Just before the final coat
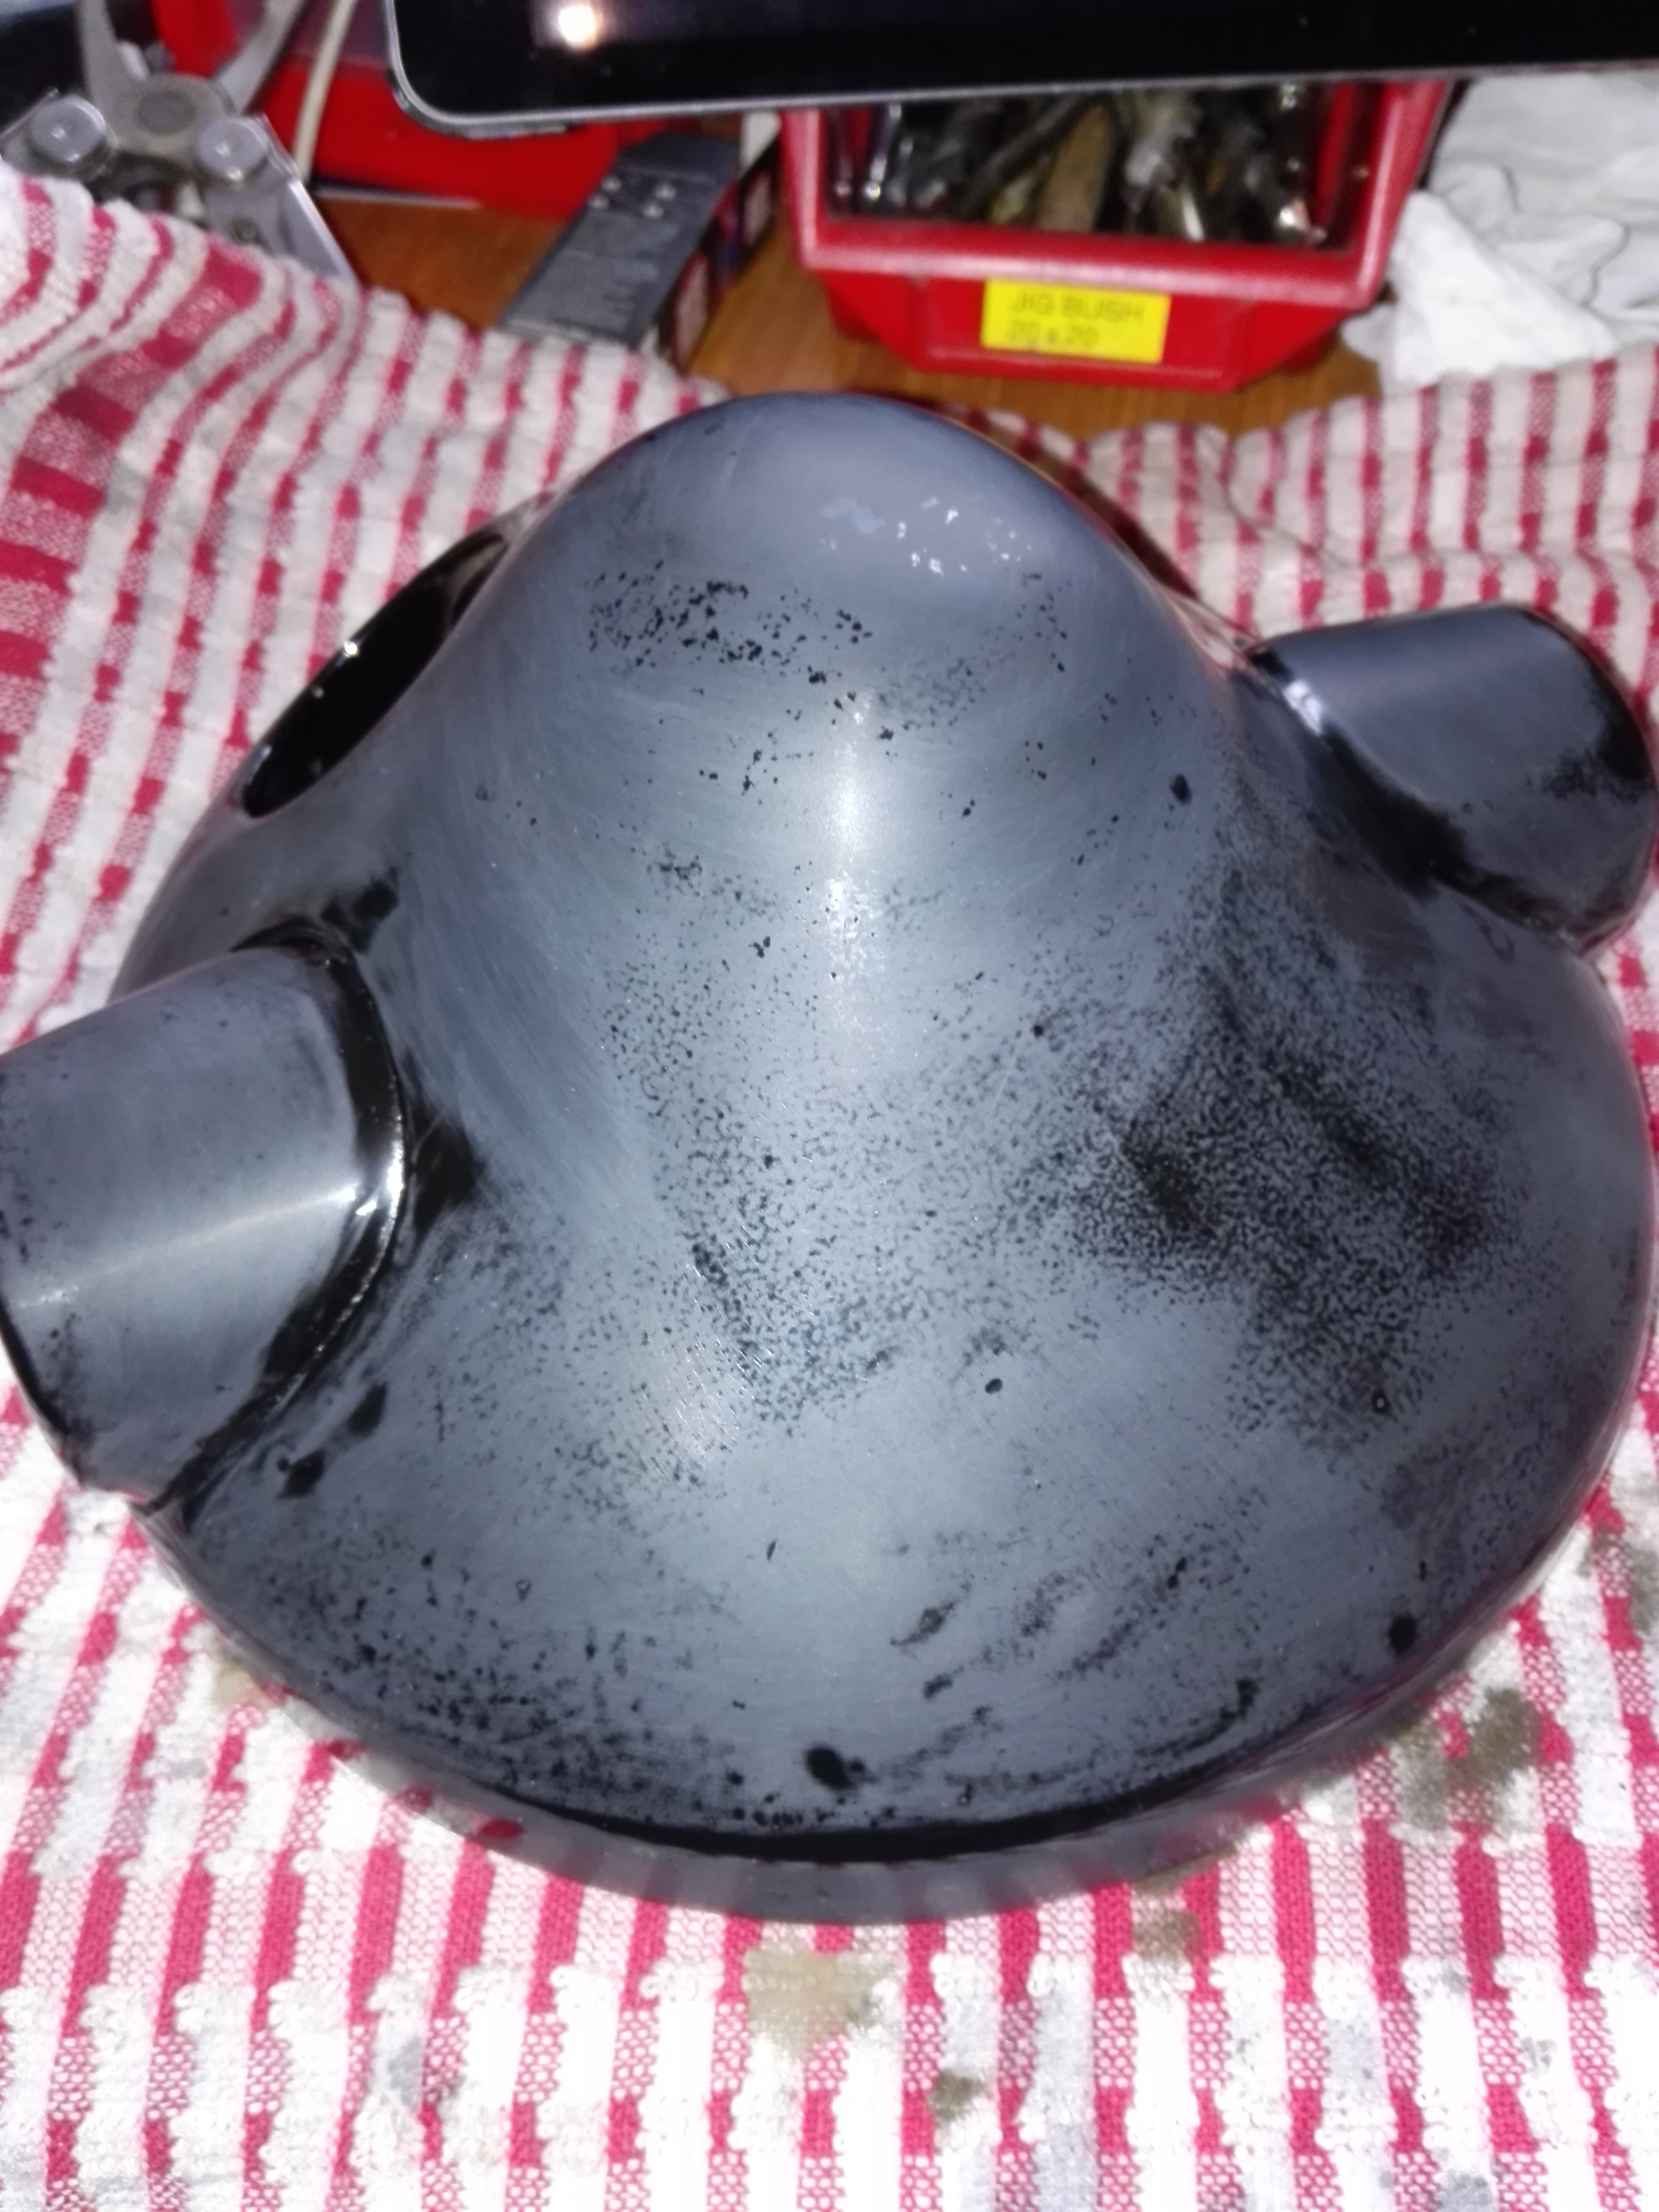
Final coat done and ready for the oven

Fully dried now. Glass hard and very flat as you can see. Any waviness is from the base metal, not the finish.
Aldi have always had a silver in this range but its actually more of a grey so I don’t like it but recently I found a new silver there and once I tried it I went back and got 10 cans of the stuff. I’m planning to use it for the engine. I painted a starter cover for my other project, a GS550 cafe racer, with it to test the finish and its a good as the black. I figured that if I can bake it dry at 140 degrees C it should be ok on an engine.

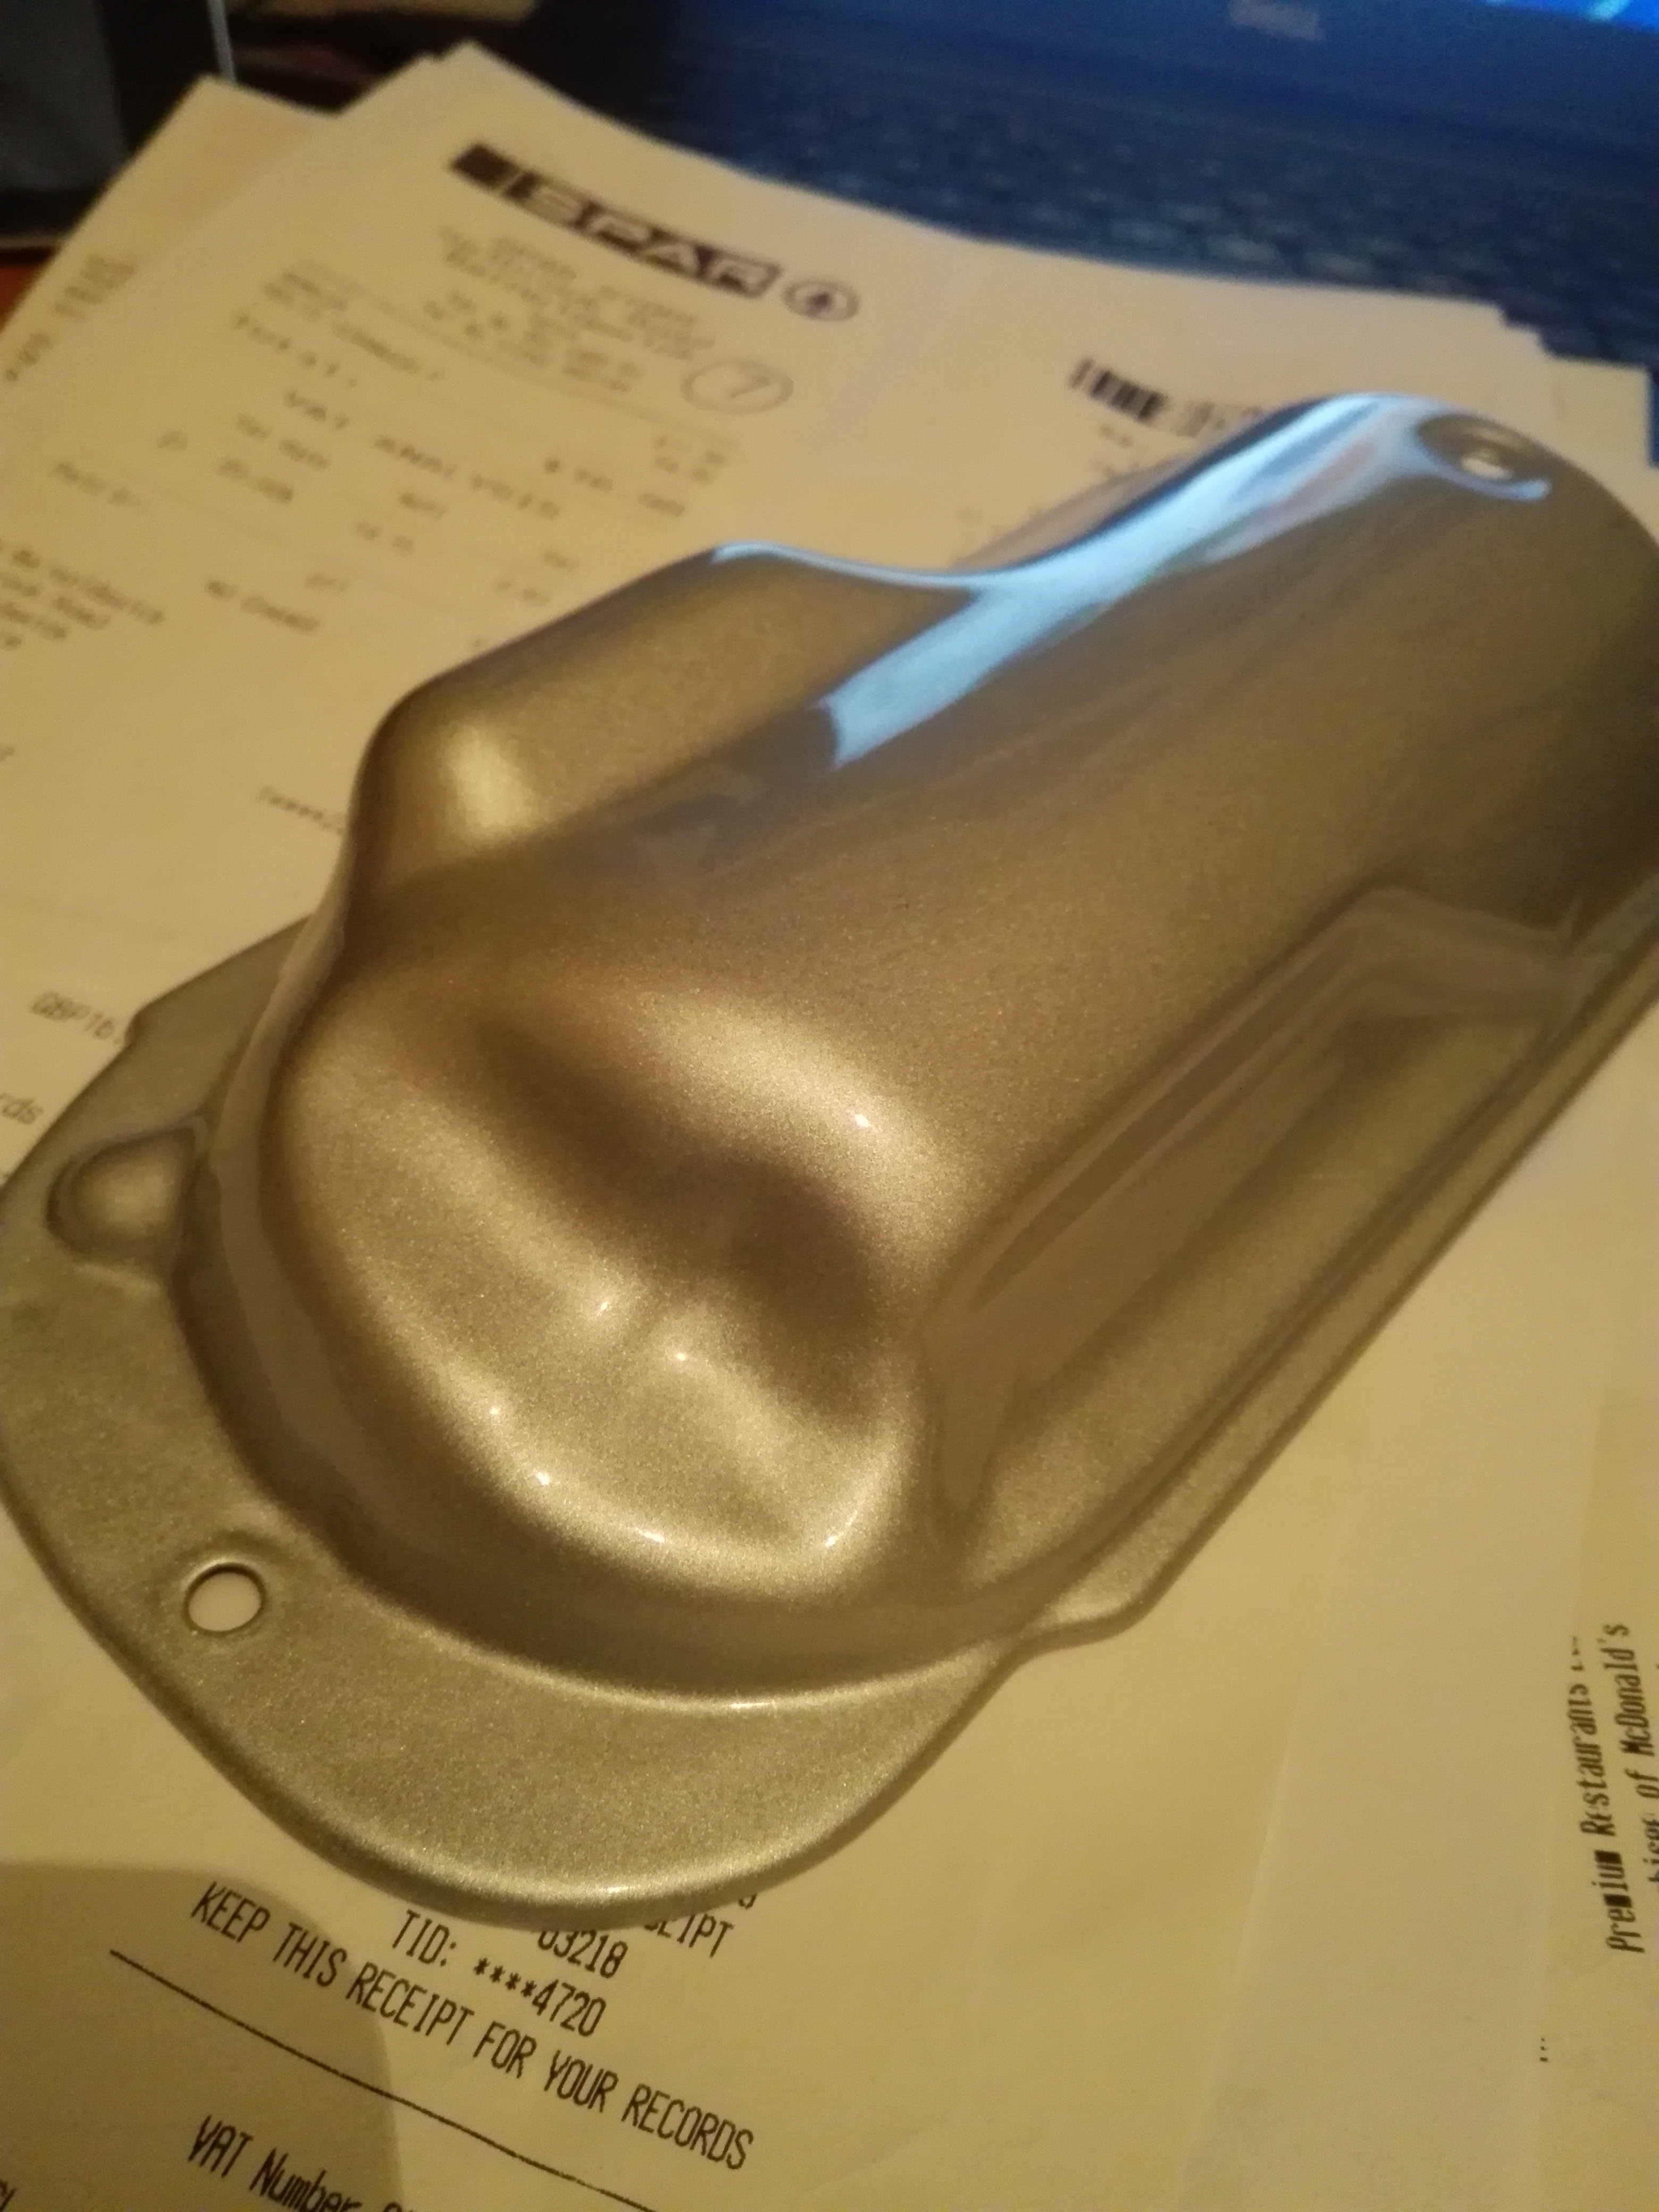
With the flash you can see the colour better. Its quite a coarse grained metallic.
 18th September 2018 at 10:55 pm #23814Ownthesky2010Participant
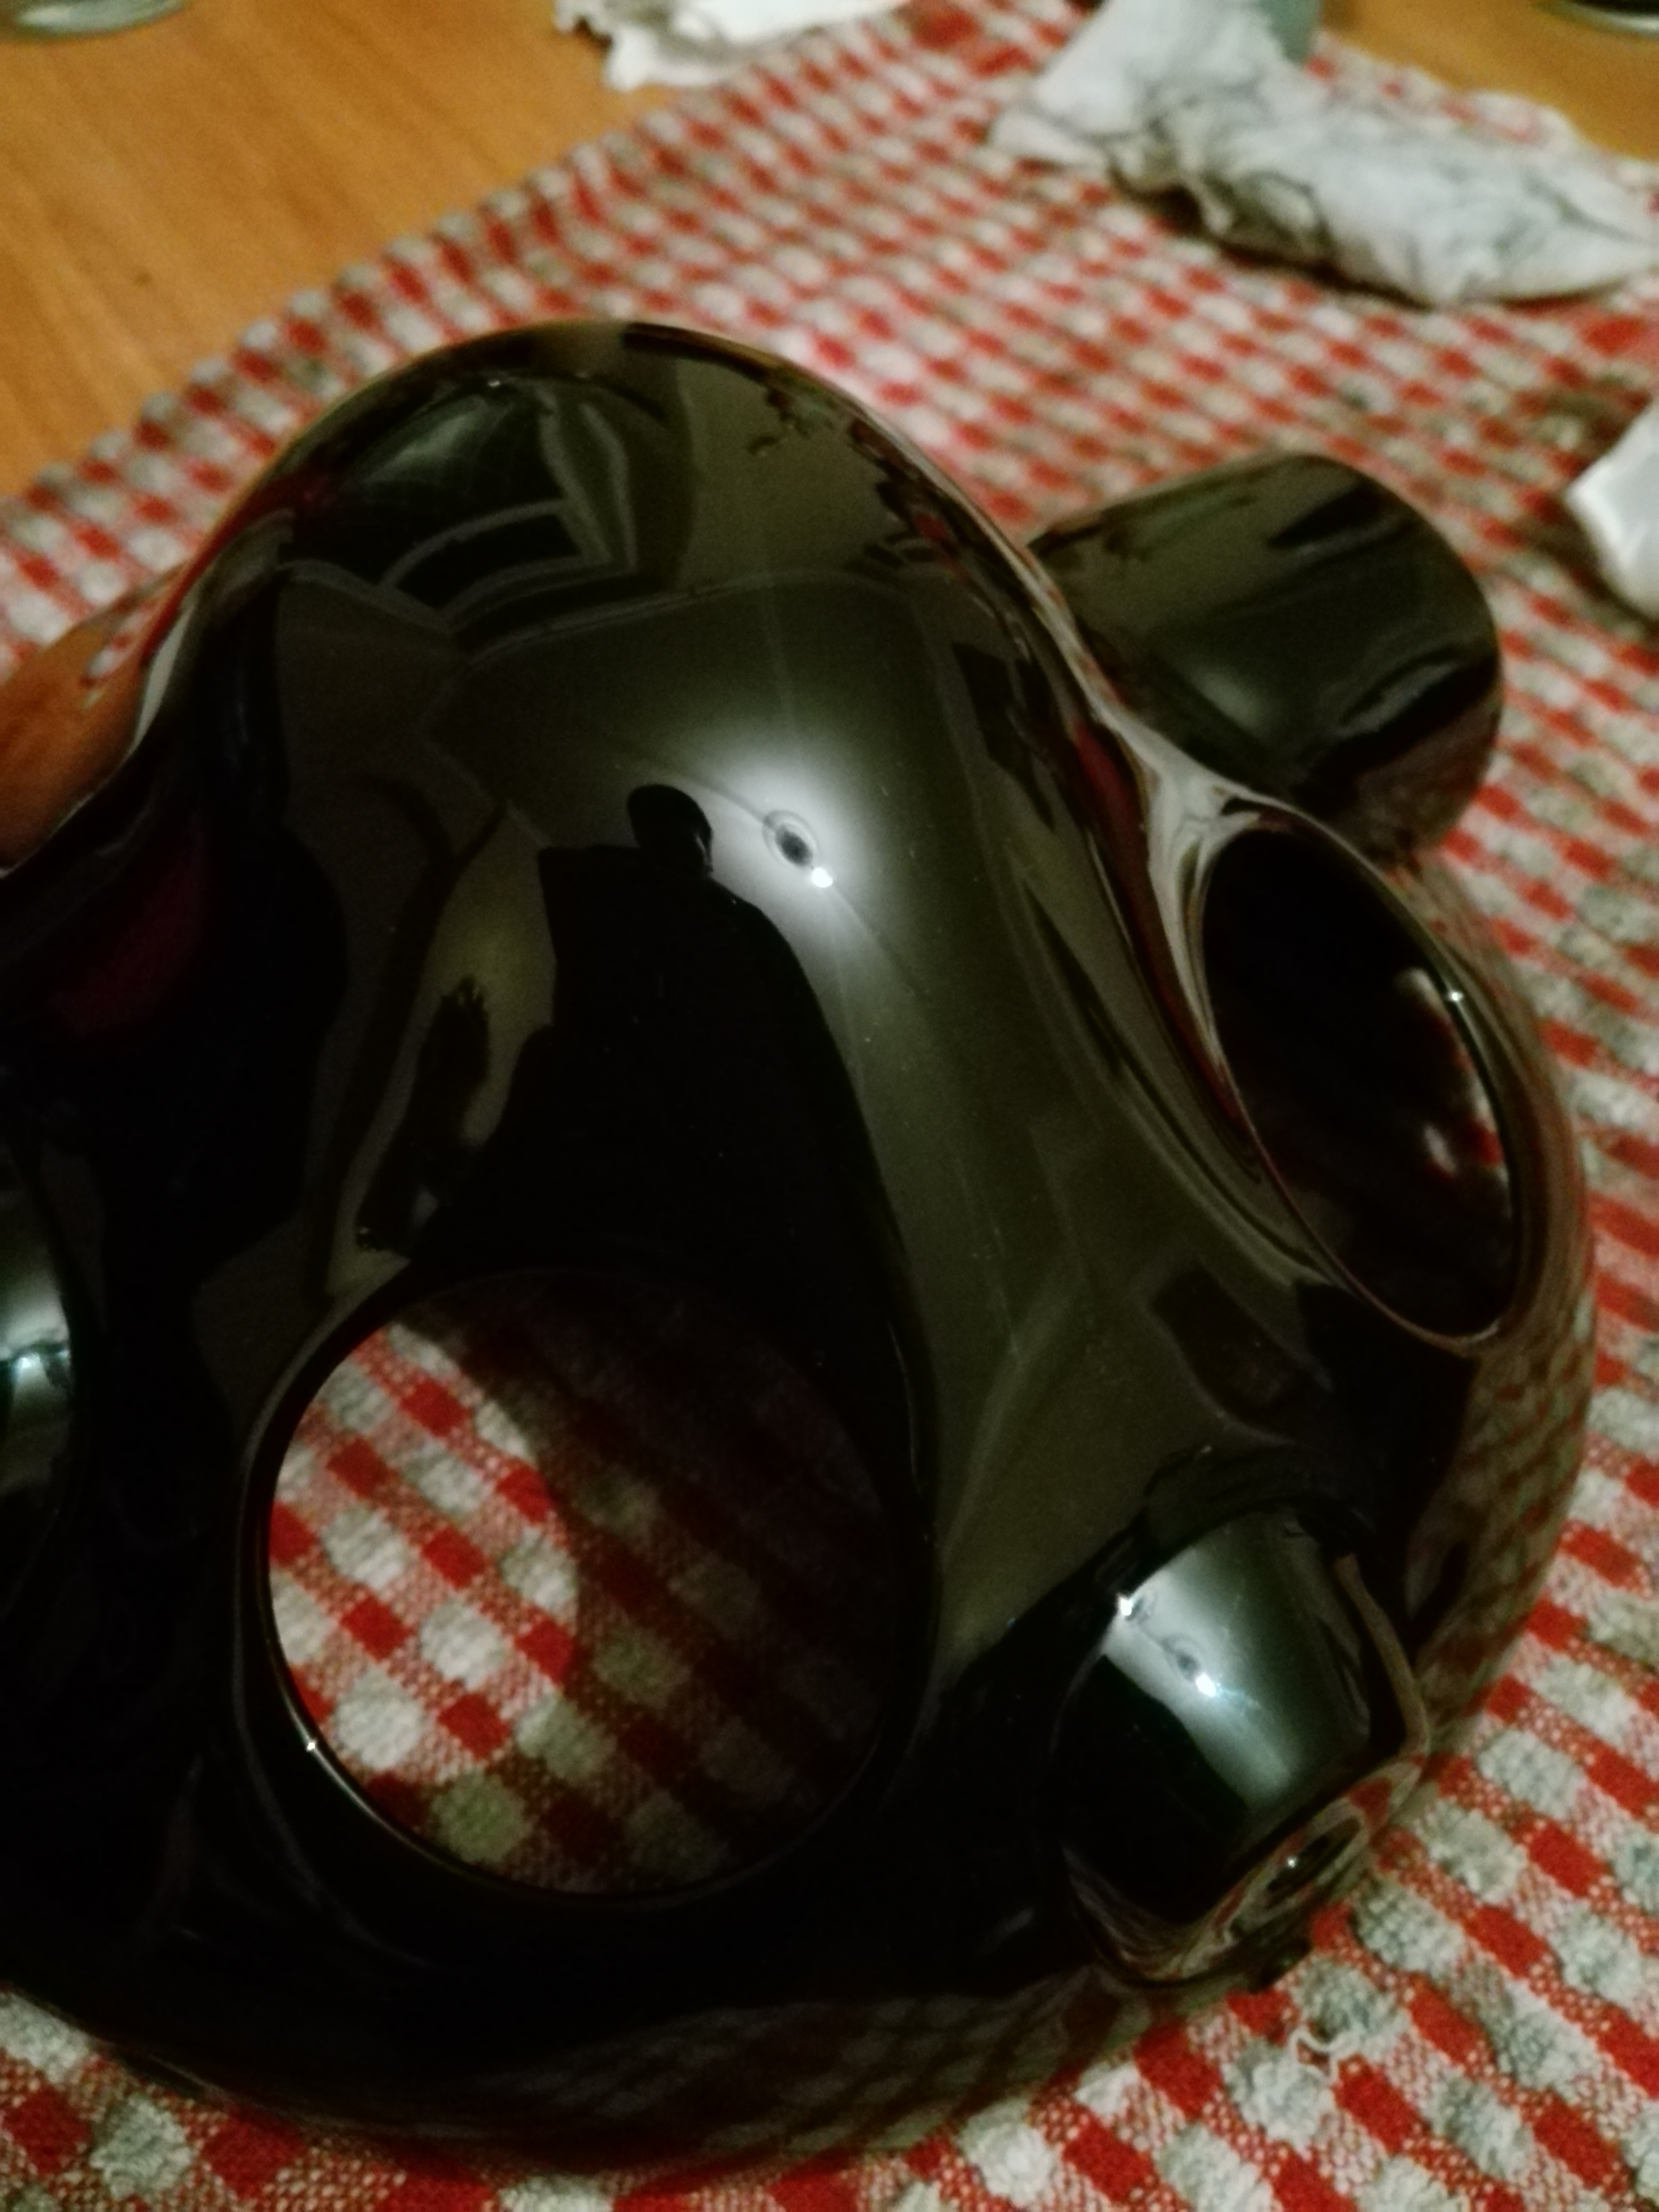
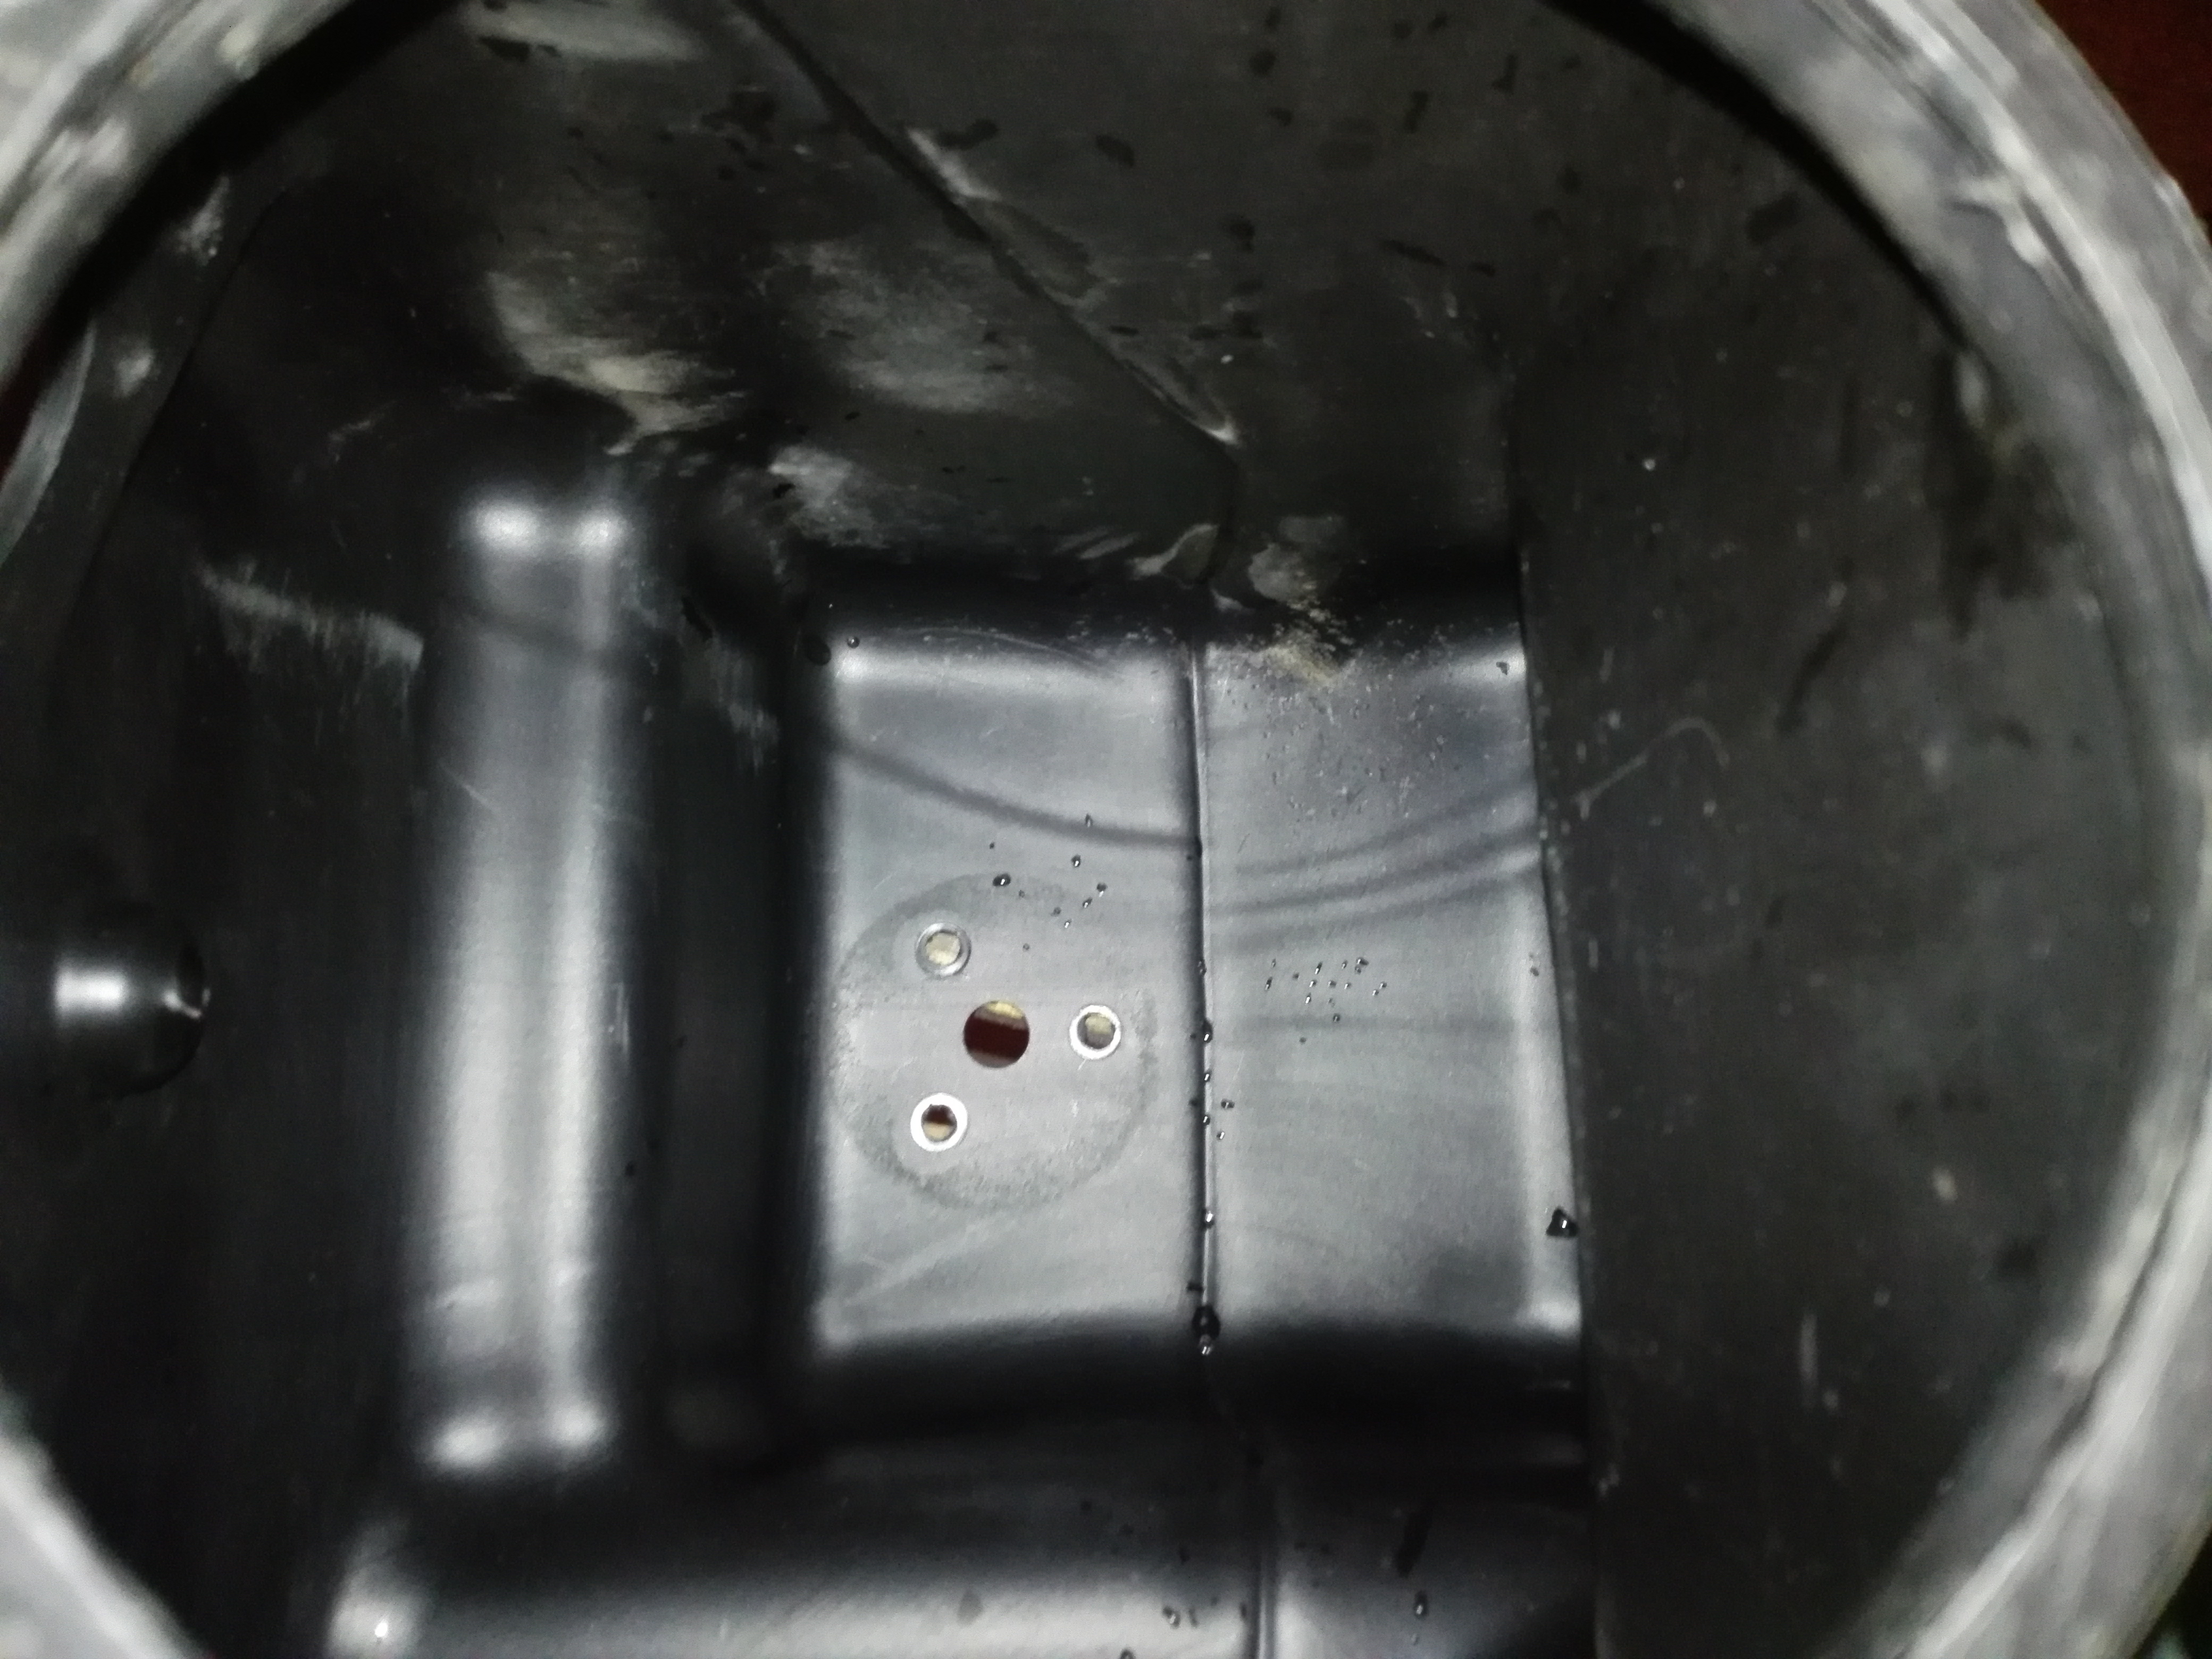
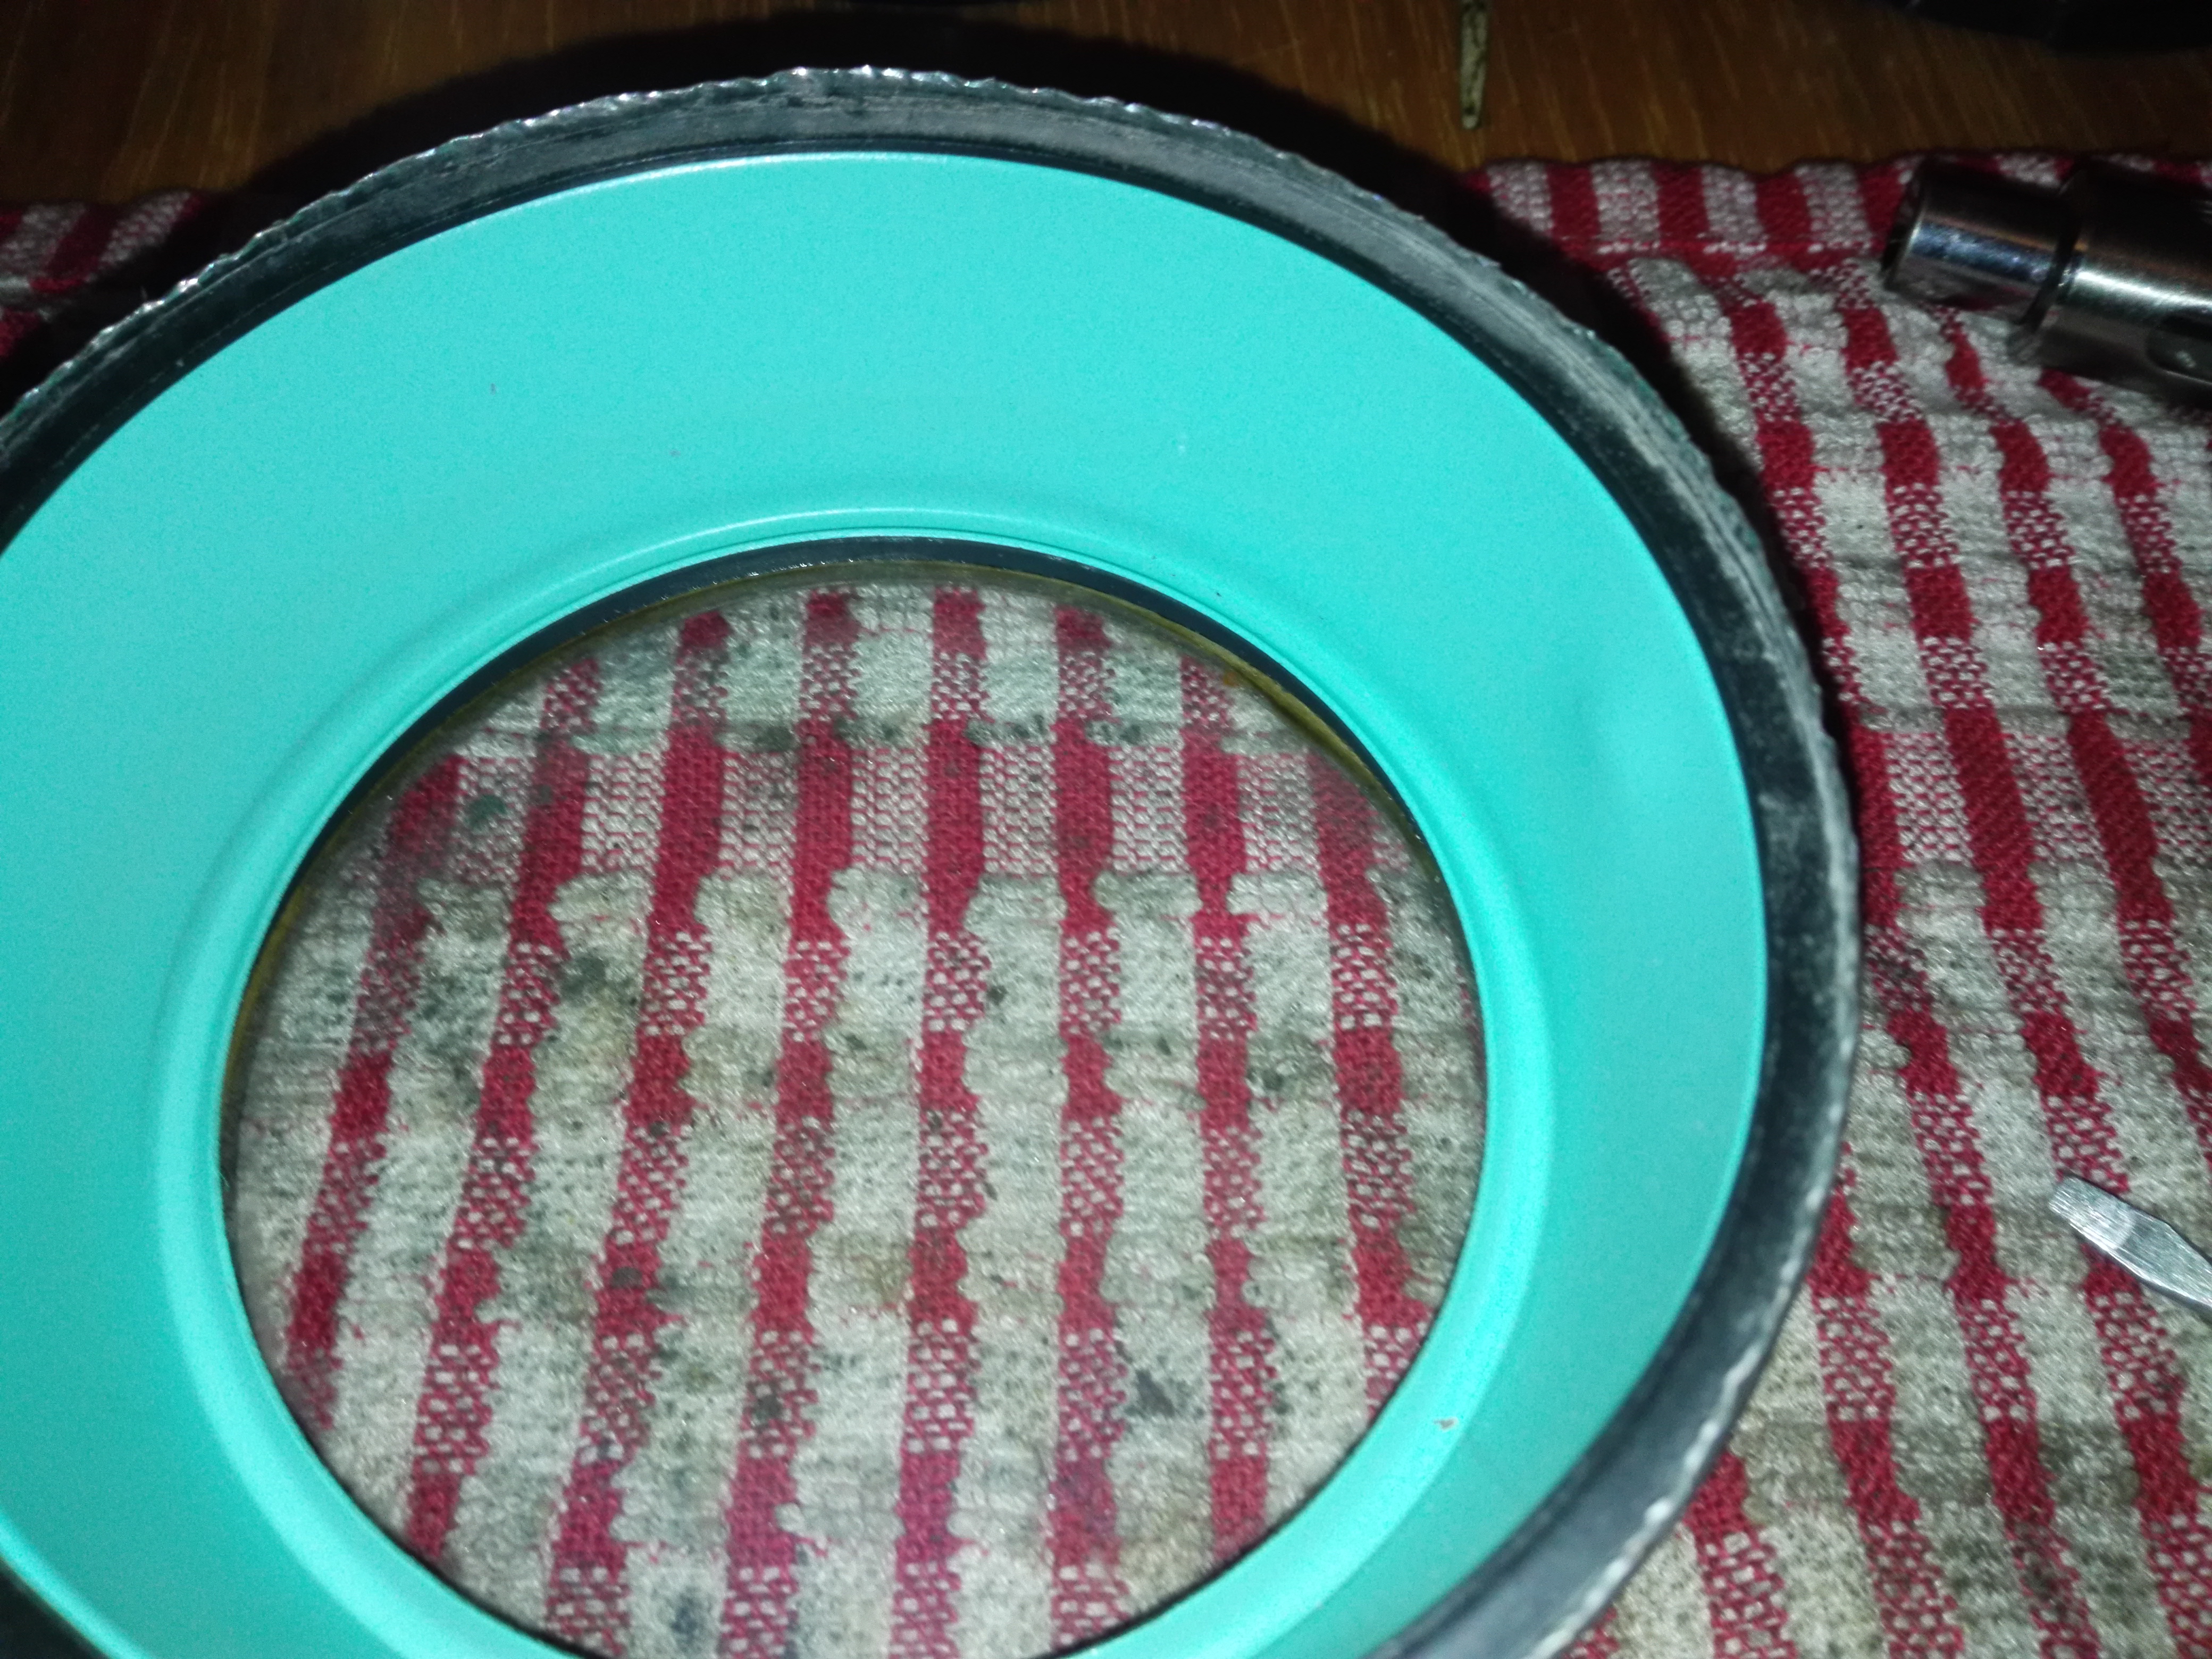
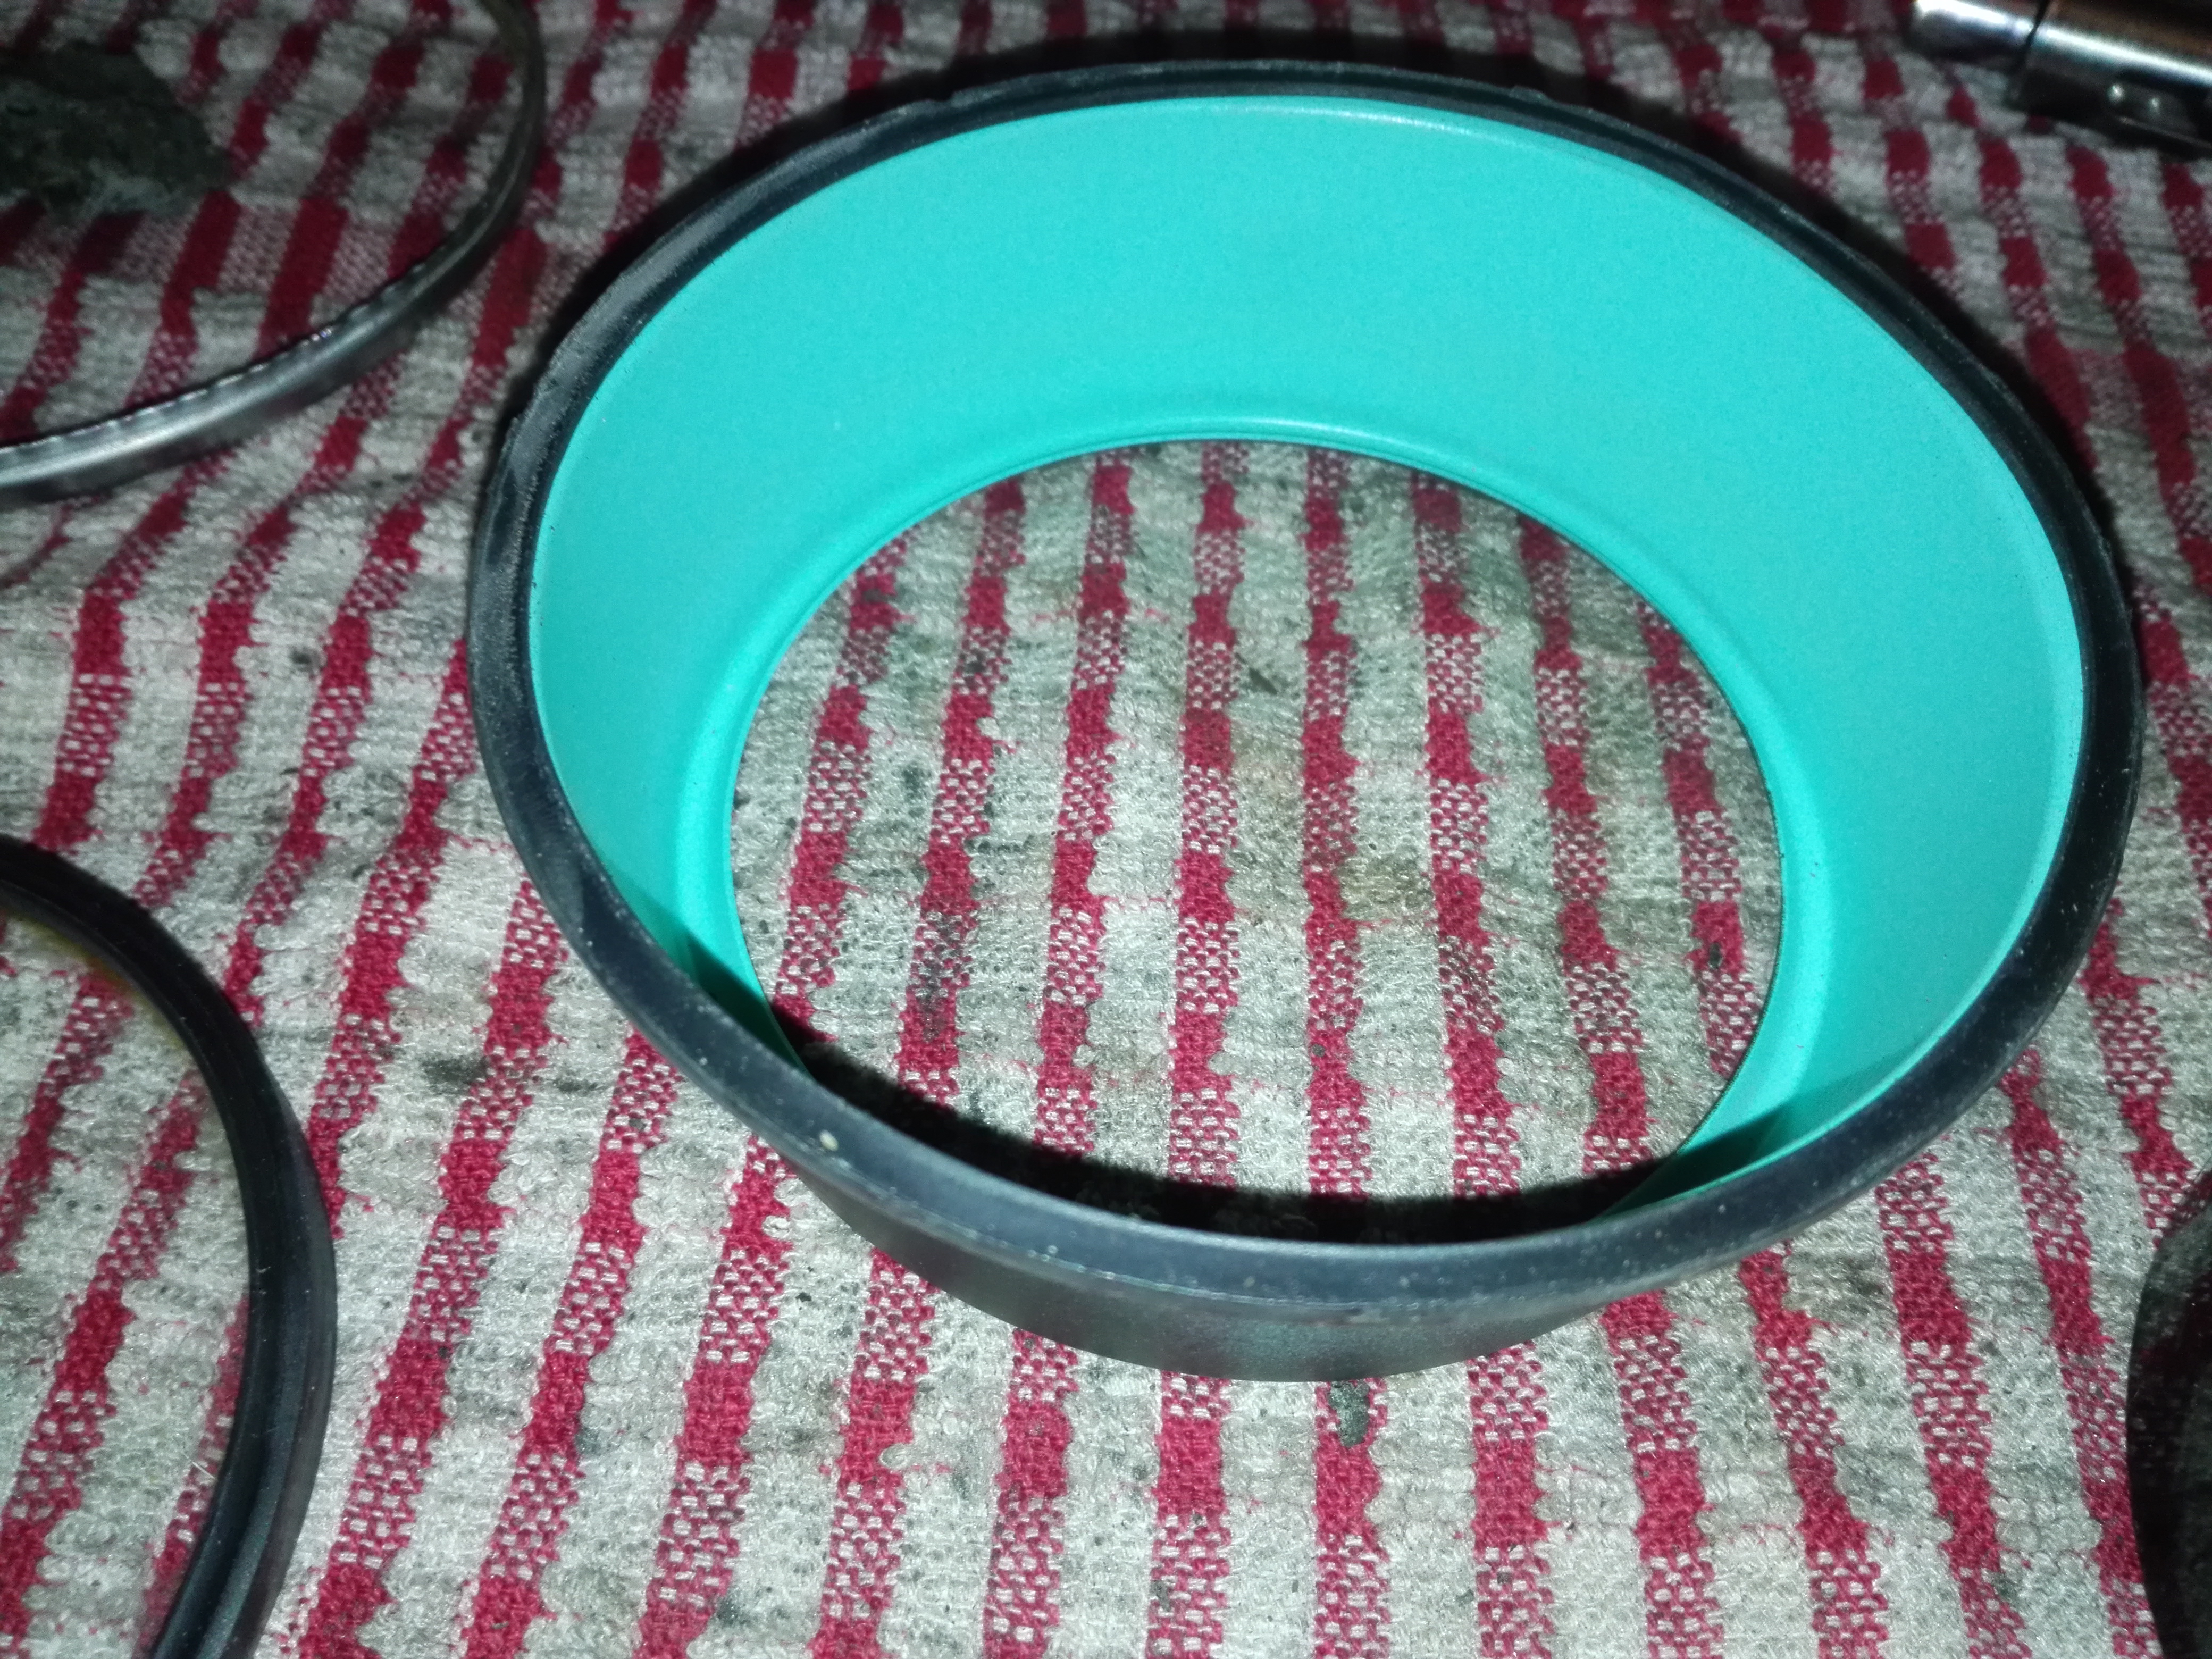
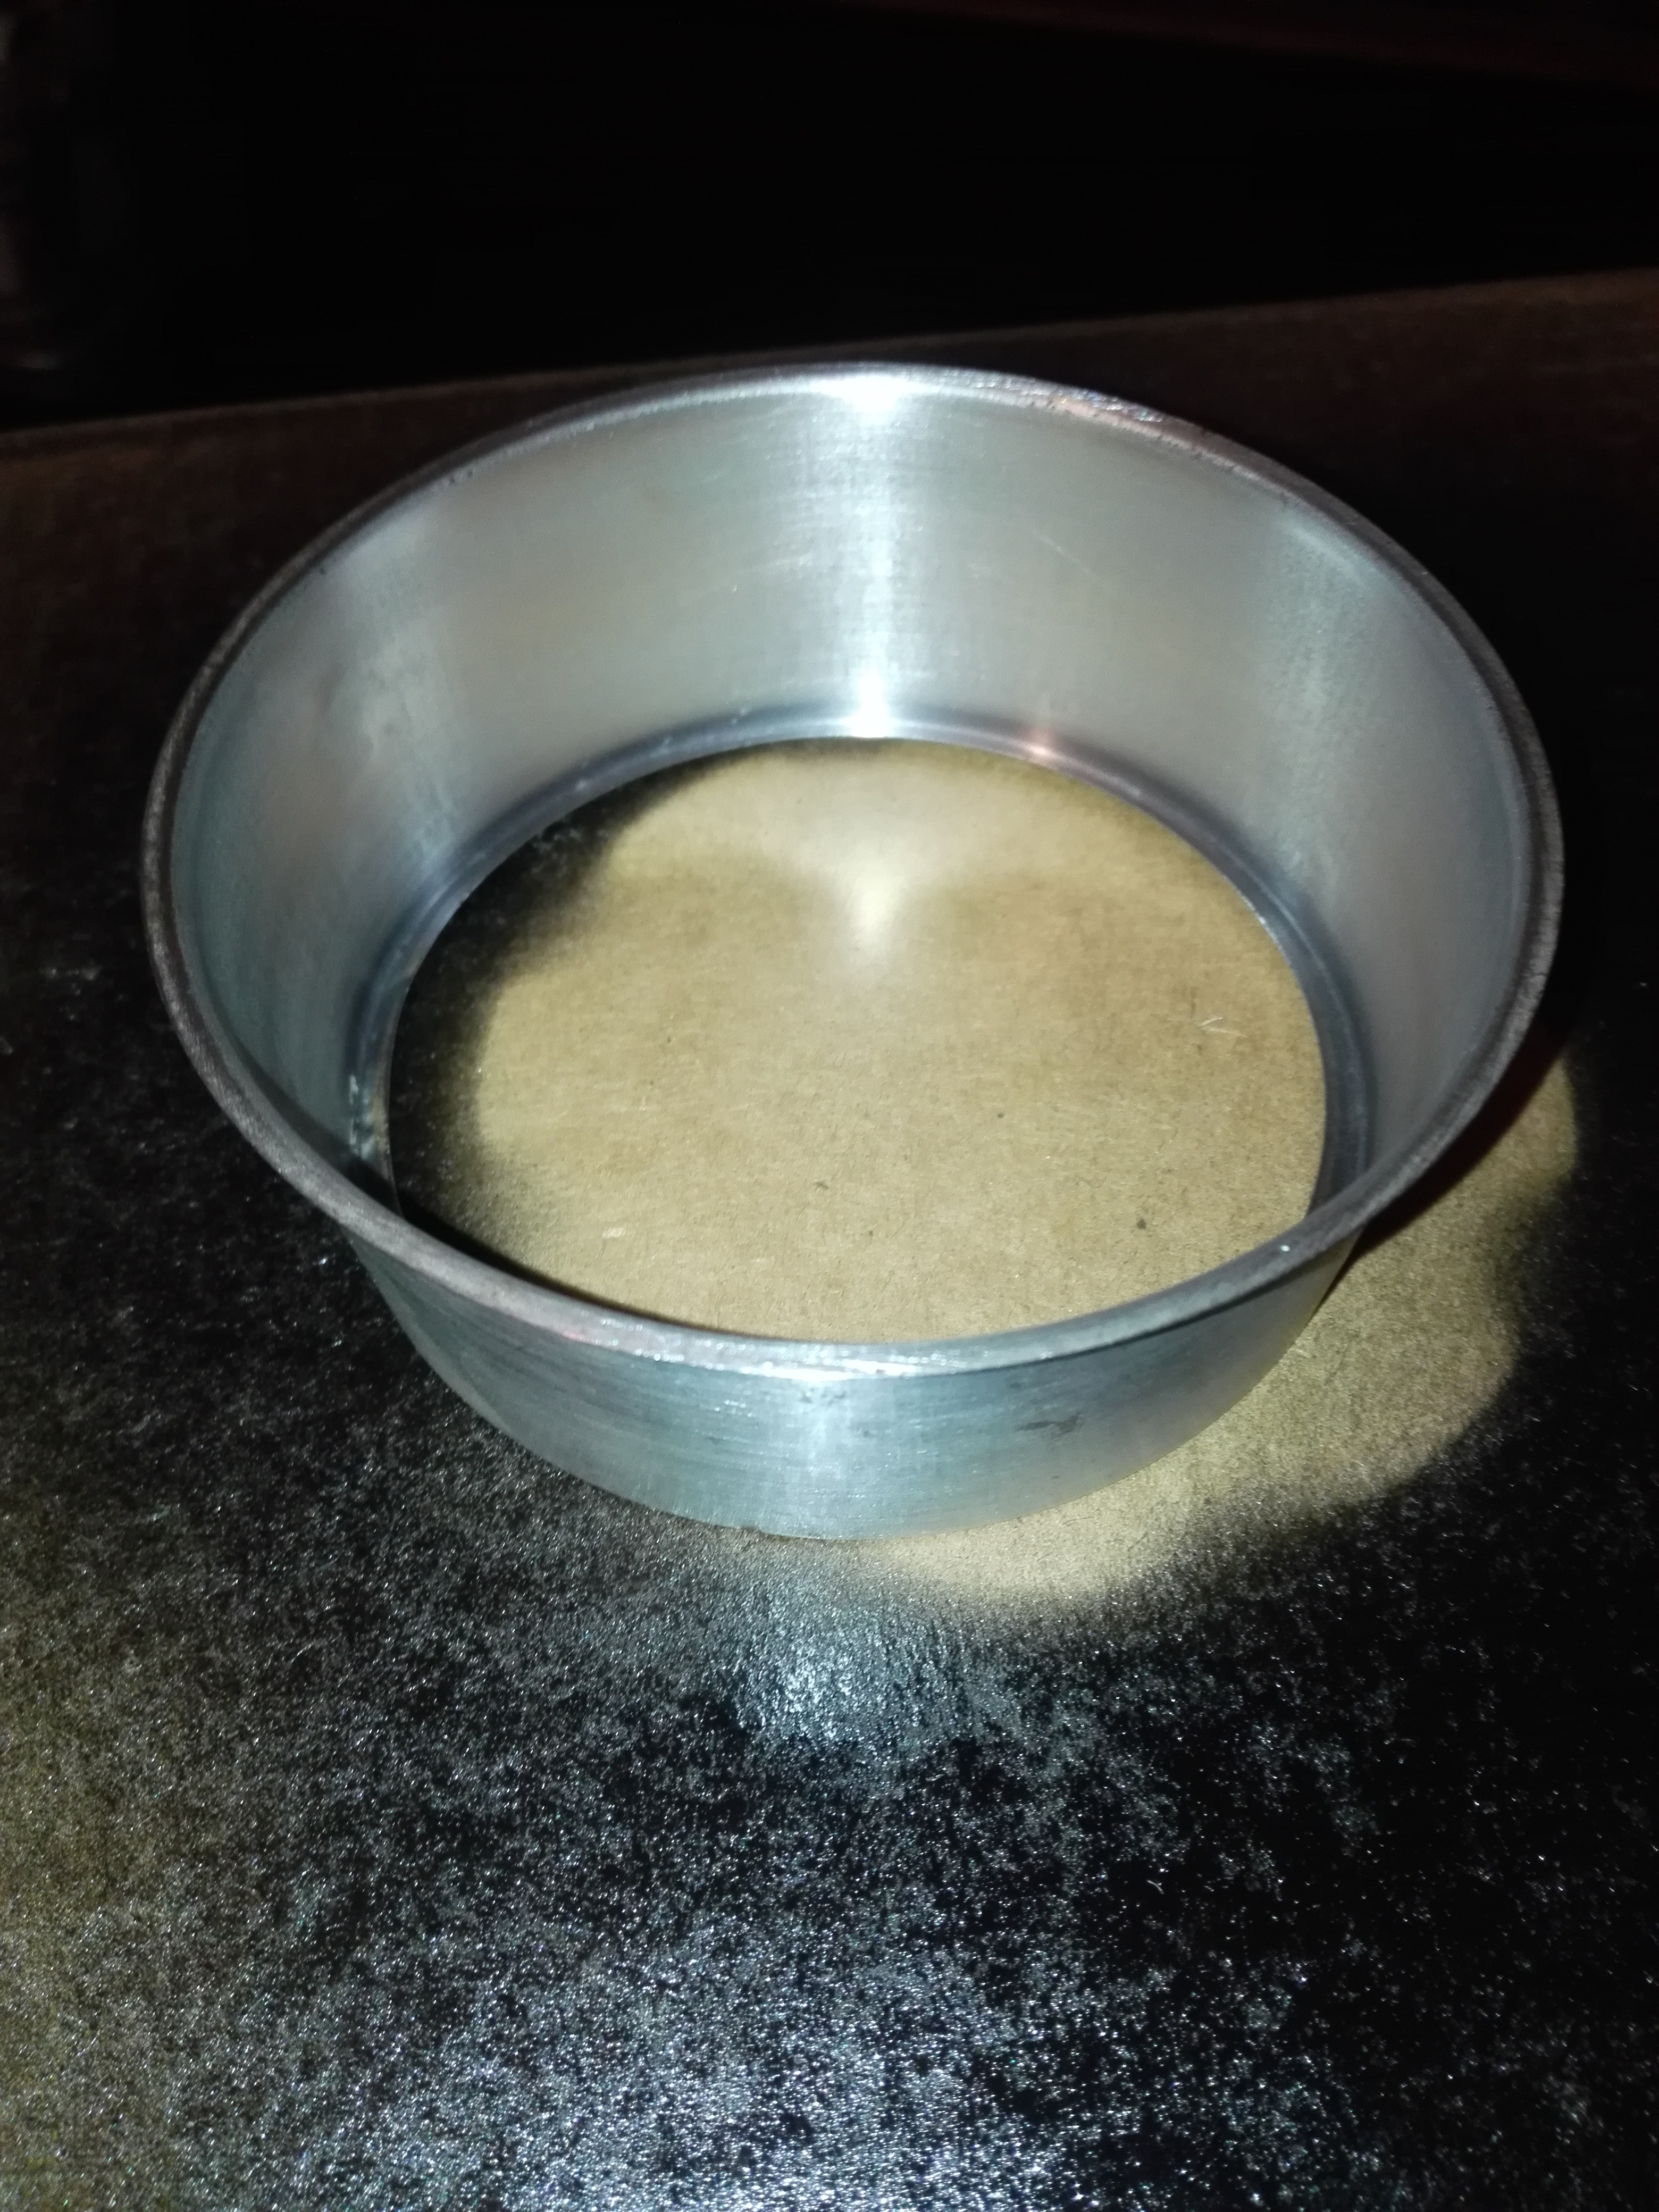
This is the state of the airbox. I was glad it was included and I want to use it. I was also very relieved to find the rubbers inside. There was quite a lot of overspray on it but it will clean up ok I think.
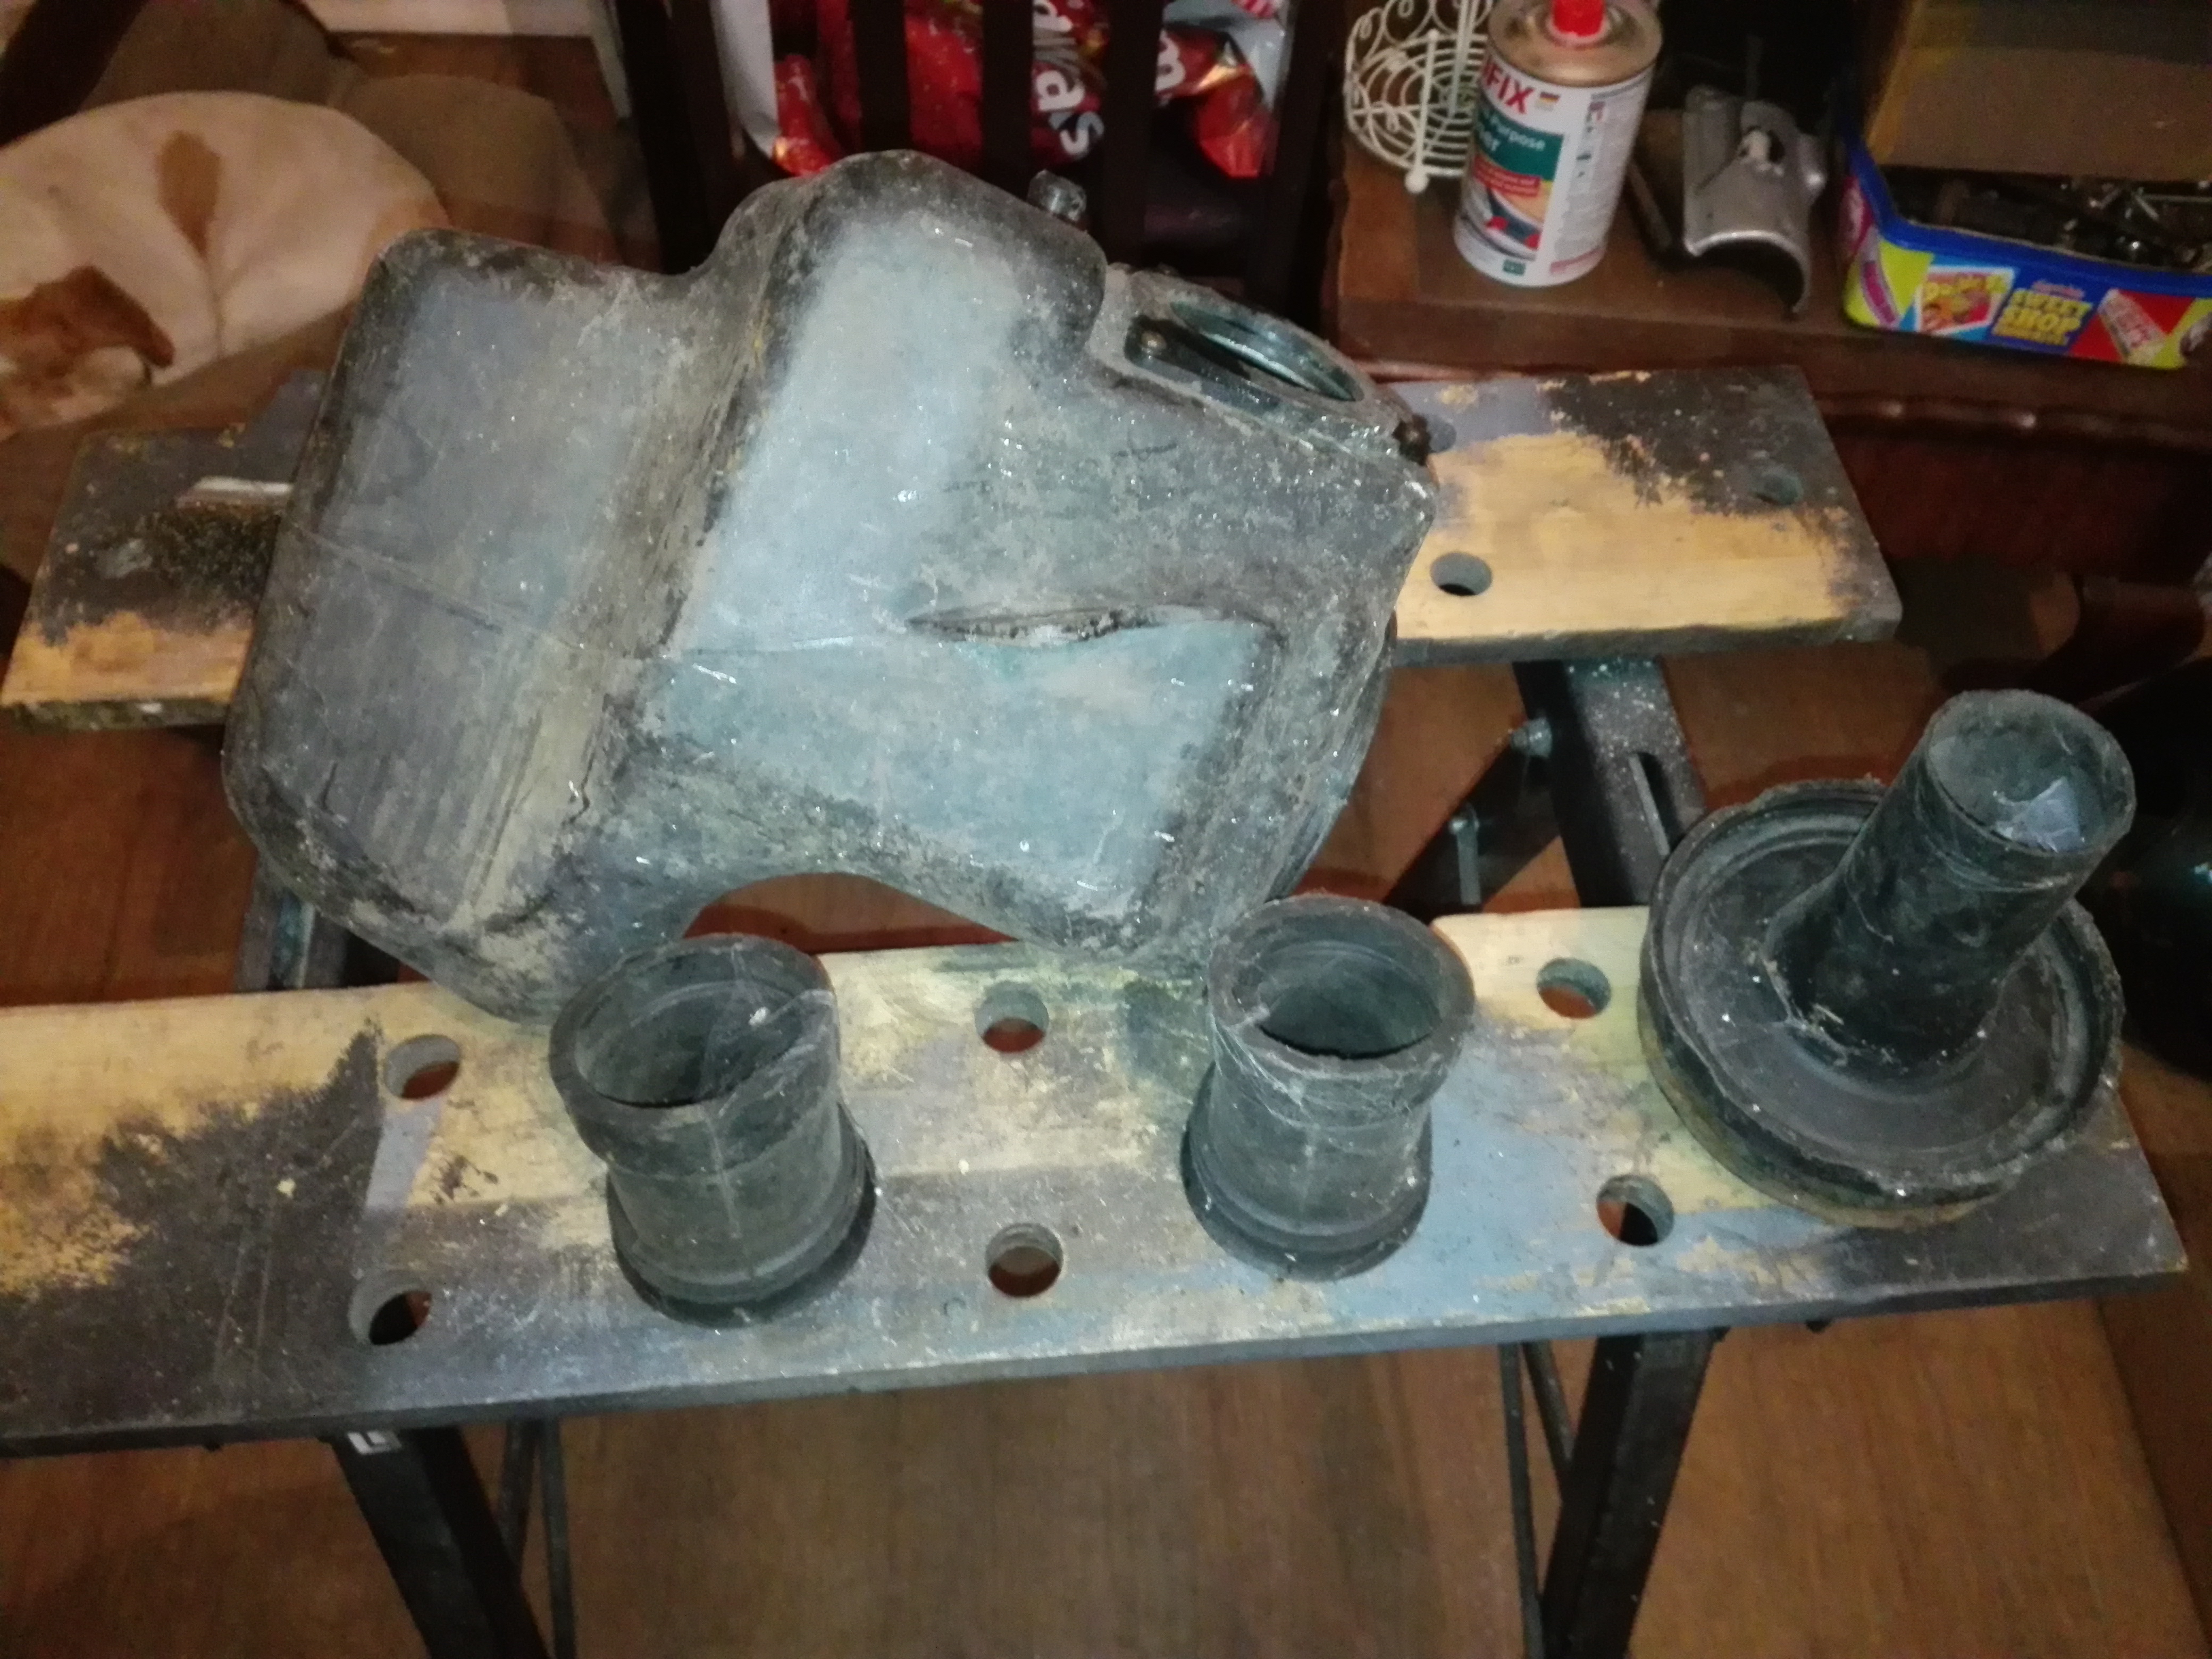

I was relieved to find the rubbers still soft.
I drilled out the rivets on the metal top as it was very rusty and I wanted to respray it. I ended up wire brushing it but its an awkward shape so I left it in acid overnight and tried again in the morning. The acid definitely helped.

I soldered on some captive nuts to put it all back together. I will post some pics once its painted.
 21st September 2018 at 9:27 pm #23816
 KaptainkwakKeymaster
Hello Ownthesky
This is a great thread. I really love seeing how enthusiastic people can get when starting a project of this magnitude. The bike didn’t look as bad as it is turning out to be.
I am very impressed with the kick start mod. Did you make the pin yourself? And those carbs!!! I agree they are horrendous. Have you cleaned it all with thinners?
Paint wise I have just been put on to POR15 aluminium. One of our members painted his engine 10 years ago and it’s still looking new. Not cheap but well worth the money.
Many parts are still available new and I get a good discount at Zpower so shout up if you need anything. You will get a discount from Phil if you mention me and the club. I also have quite a decent stock of new and 2nd hand stuff so again ask.
Keep it up and the posting.
Cheers
KK
11th October 2018 at 6:30 pm #23852Ownthesky2010ParticipantHi KaptainKwak
I am fortunate to have worked as a machinist and engineer for a while and I have a machine shop at home so I make all sorts of bits for bikes as well as other things including a couple of model engines of my own design.
If I can find any photos I might post some of my GS550 project that will be very custom.
I will definitely check out that paint. I have noticed that the more expensive paints tend to go further so it often doesn’t pay to buy cheap paint.
Thanks for the tip regarding Z-power. I have already done a rough costing of some of the bits I will need from there. Mostly I have been matching stuff on ebay so far but quite a lot of parts are unique to only a handful of years of production so not easy to match.
I am struggling to source a new front mudguard at a reasonable price so I’m just keeping an eye on ebay.
I don’t have a big budget for this project so I’m trying to fix things rather than replace them.
I will update this soon.
Best regards
Richard
11th October 2018 at 7:35 pm #23906Ownthesky2010ParticipantMore progress
I sorted out the airbox and painted the lid but in order to clean it properly I had to get the air filter shelf out which required drilling one of the bolts. All sorted now and nice and clean inside.

I just need to clean the outside now. I ordered an air filter that turned out to be too short so I’m waiting for the new one to arrive. I have been struggling with my zinc chromate plating kit but I think I have figured out what I’m doing wrong so I will probably take the steel parts off the carbs and plate them at a later stage.
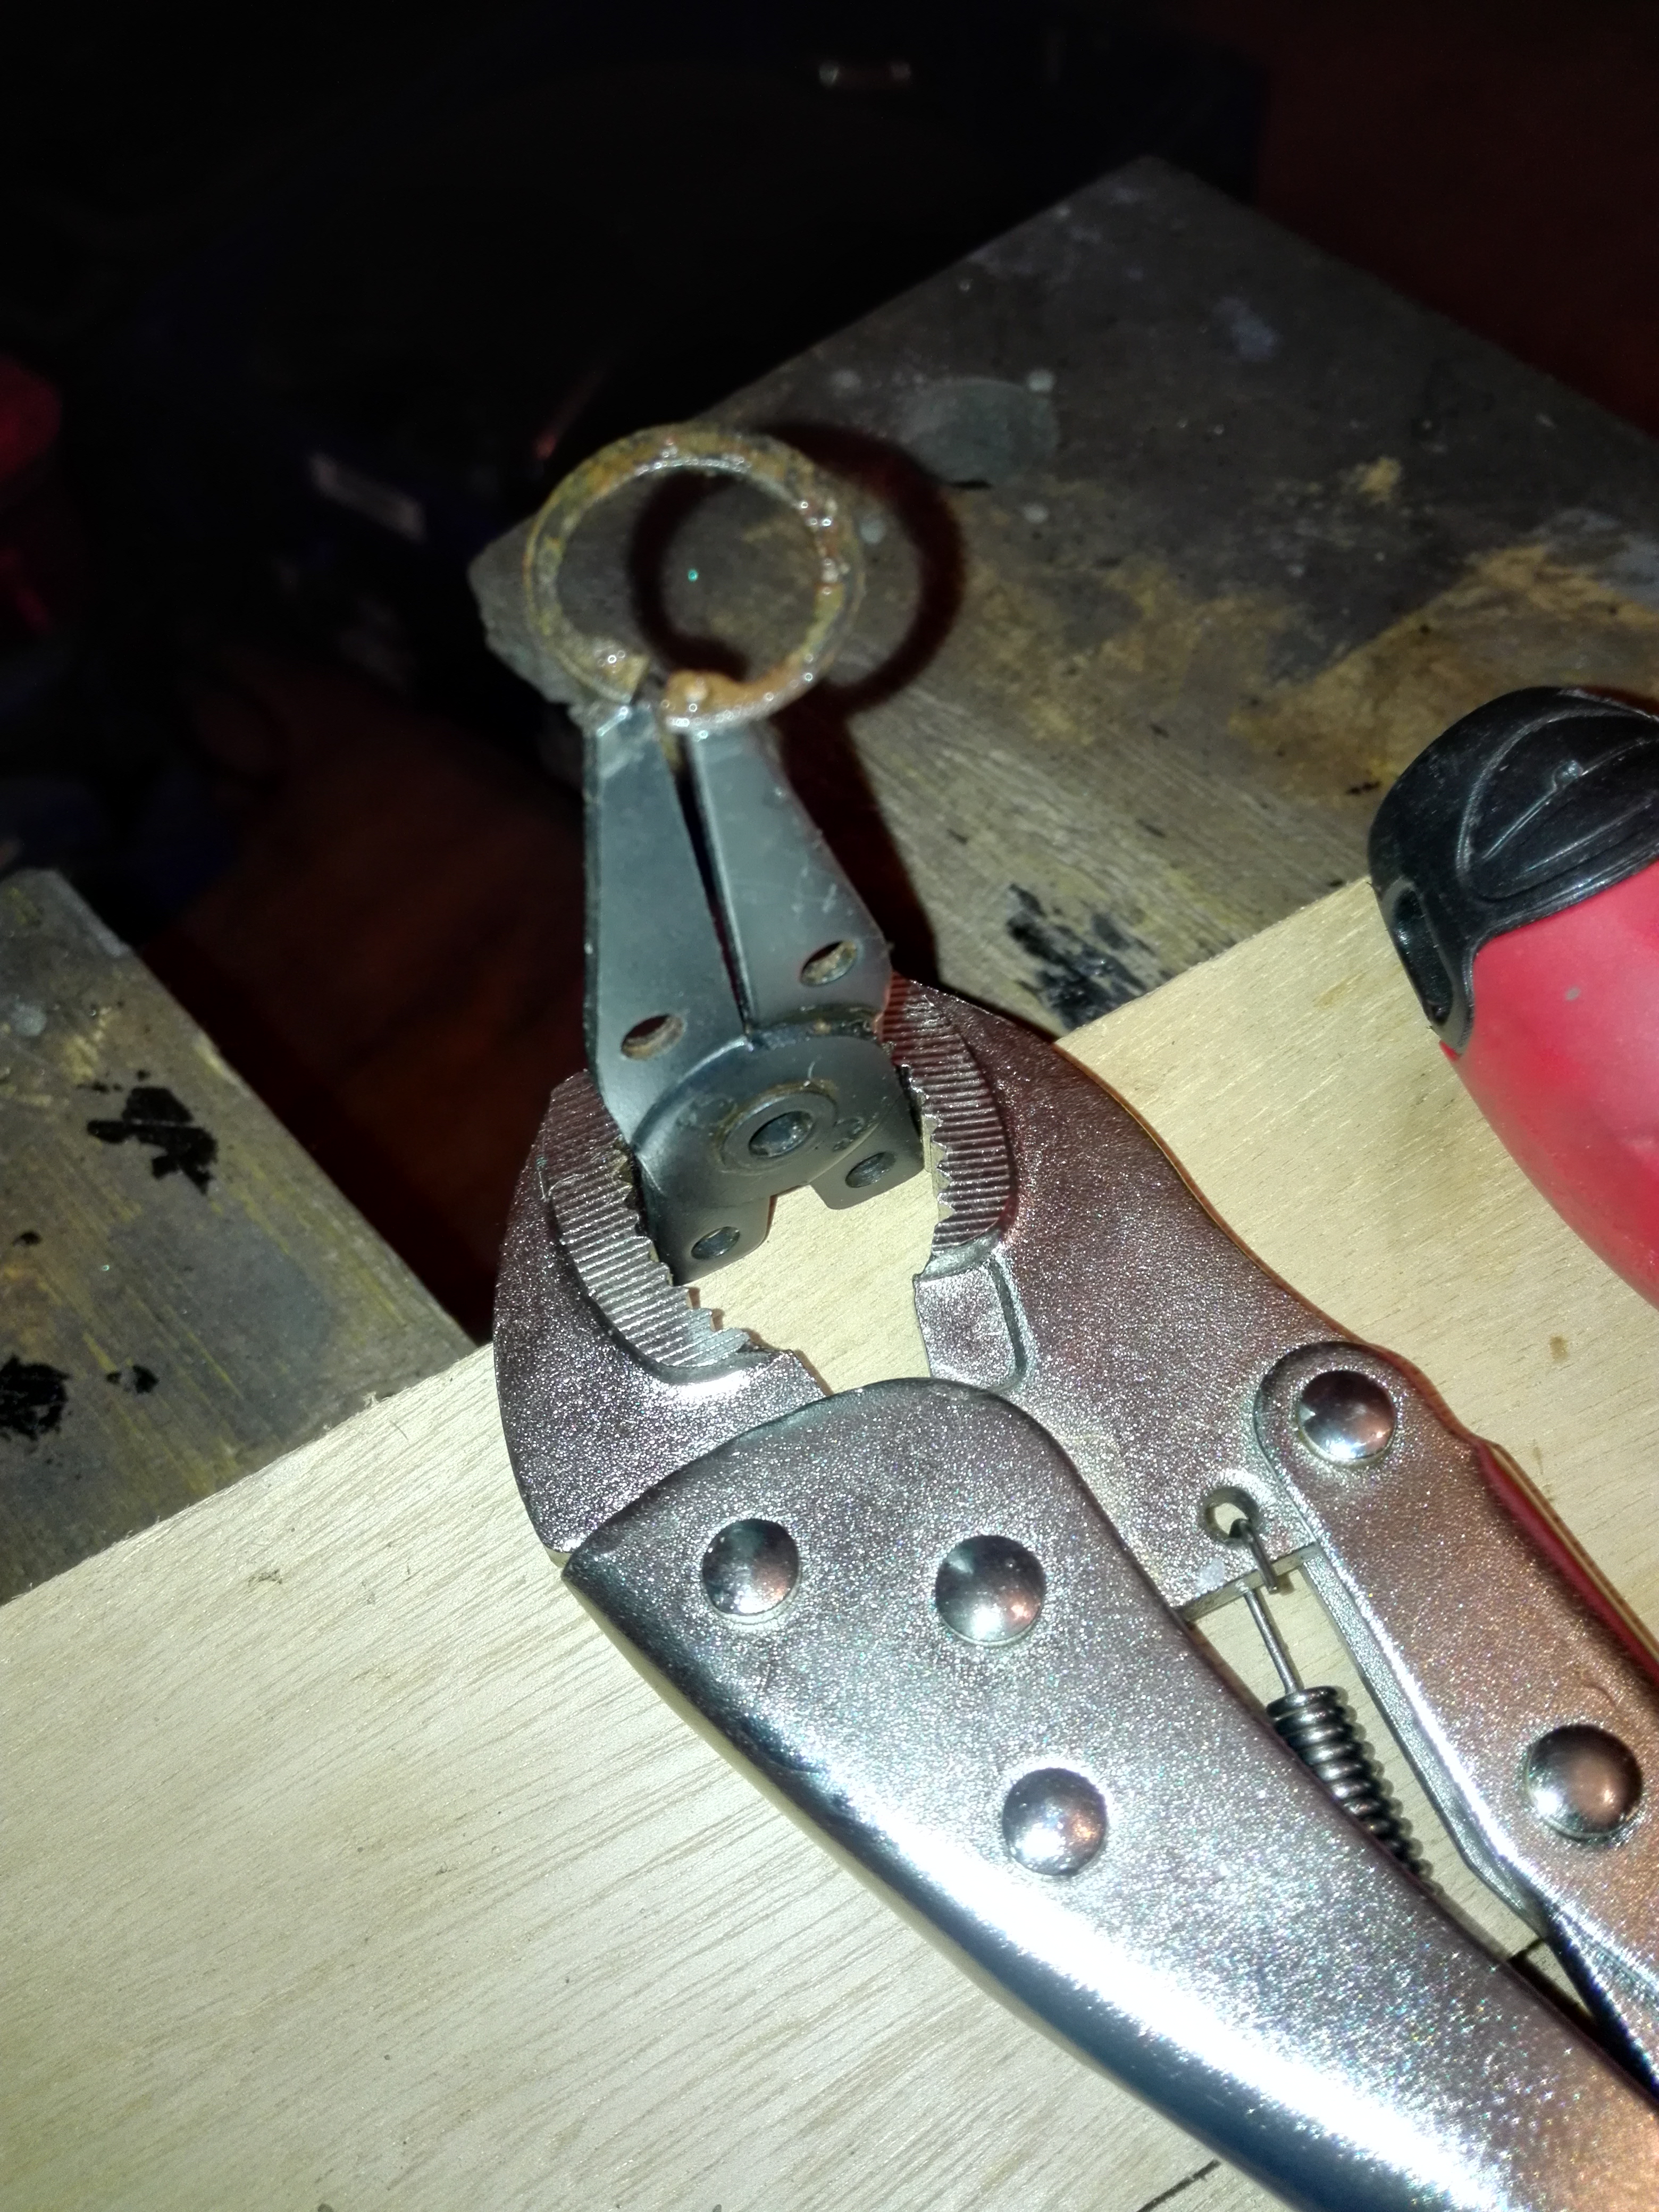
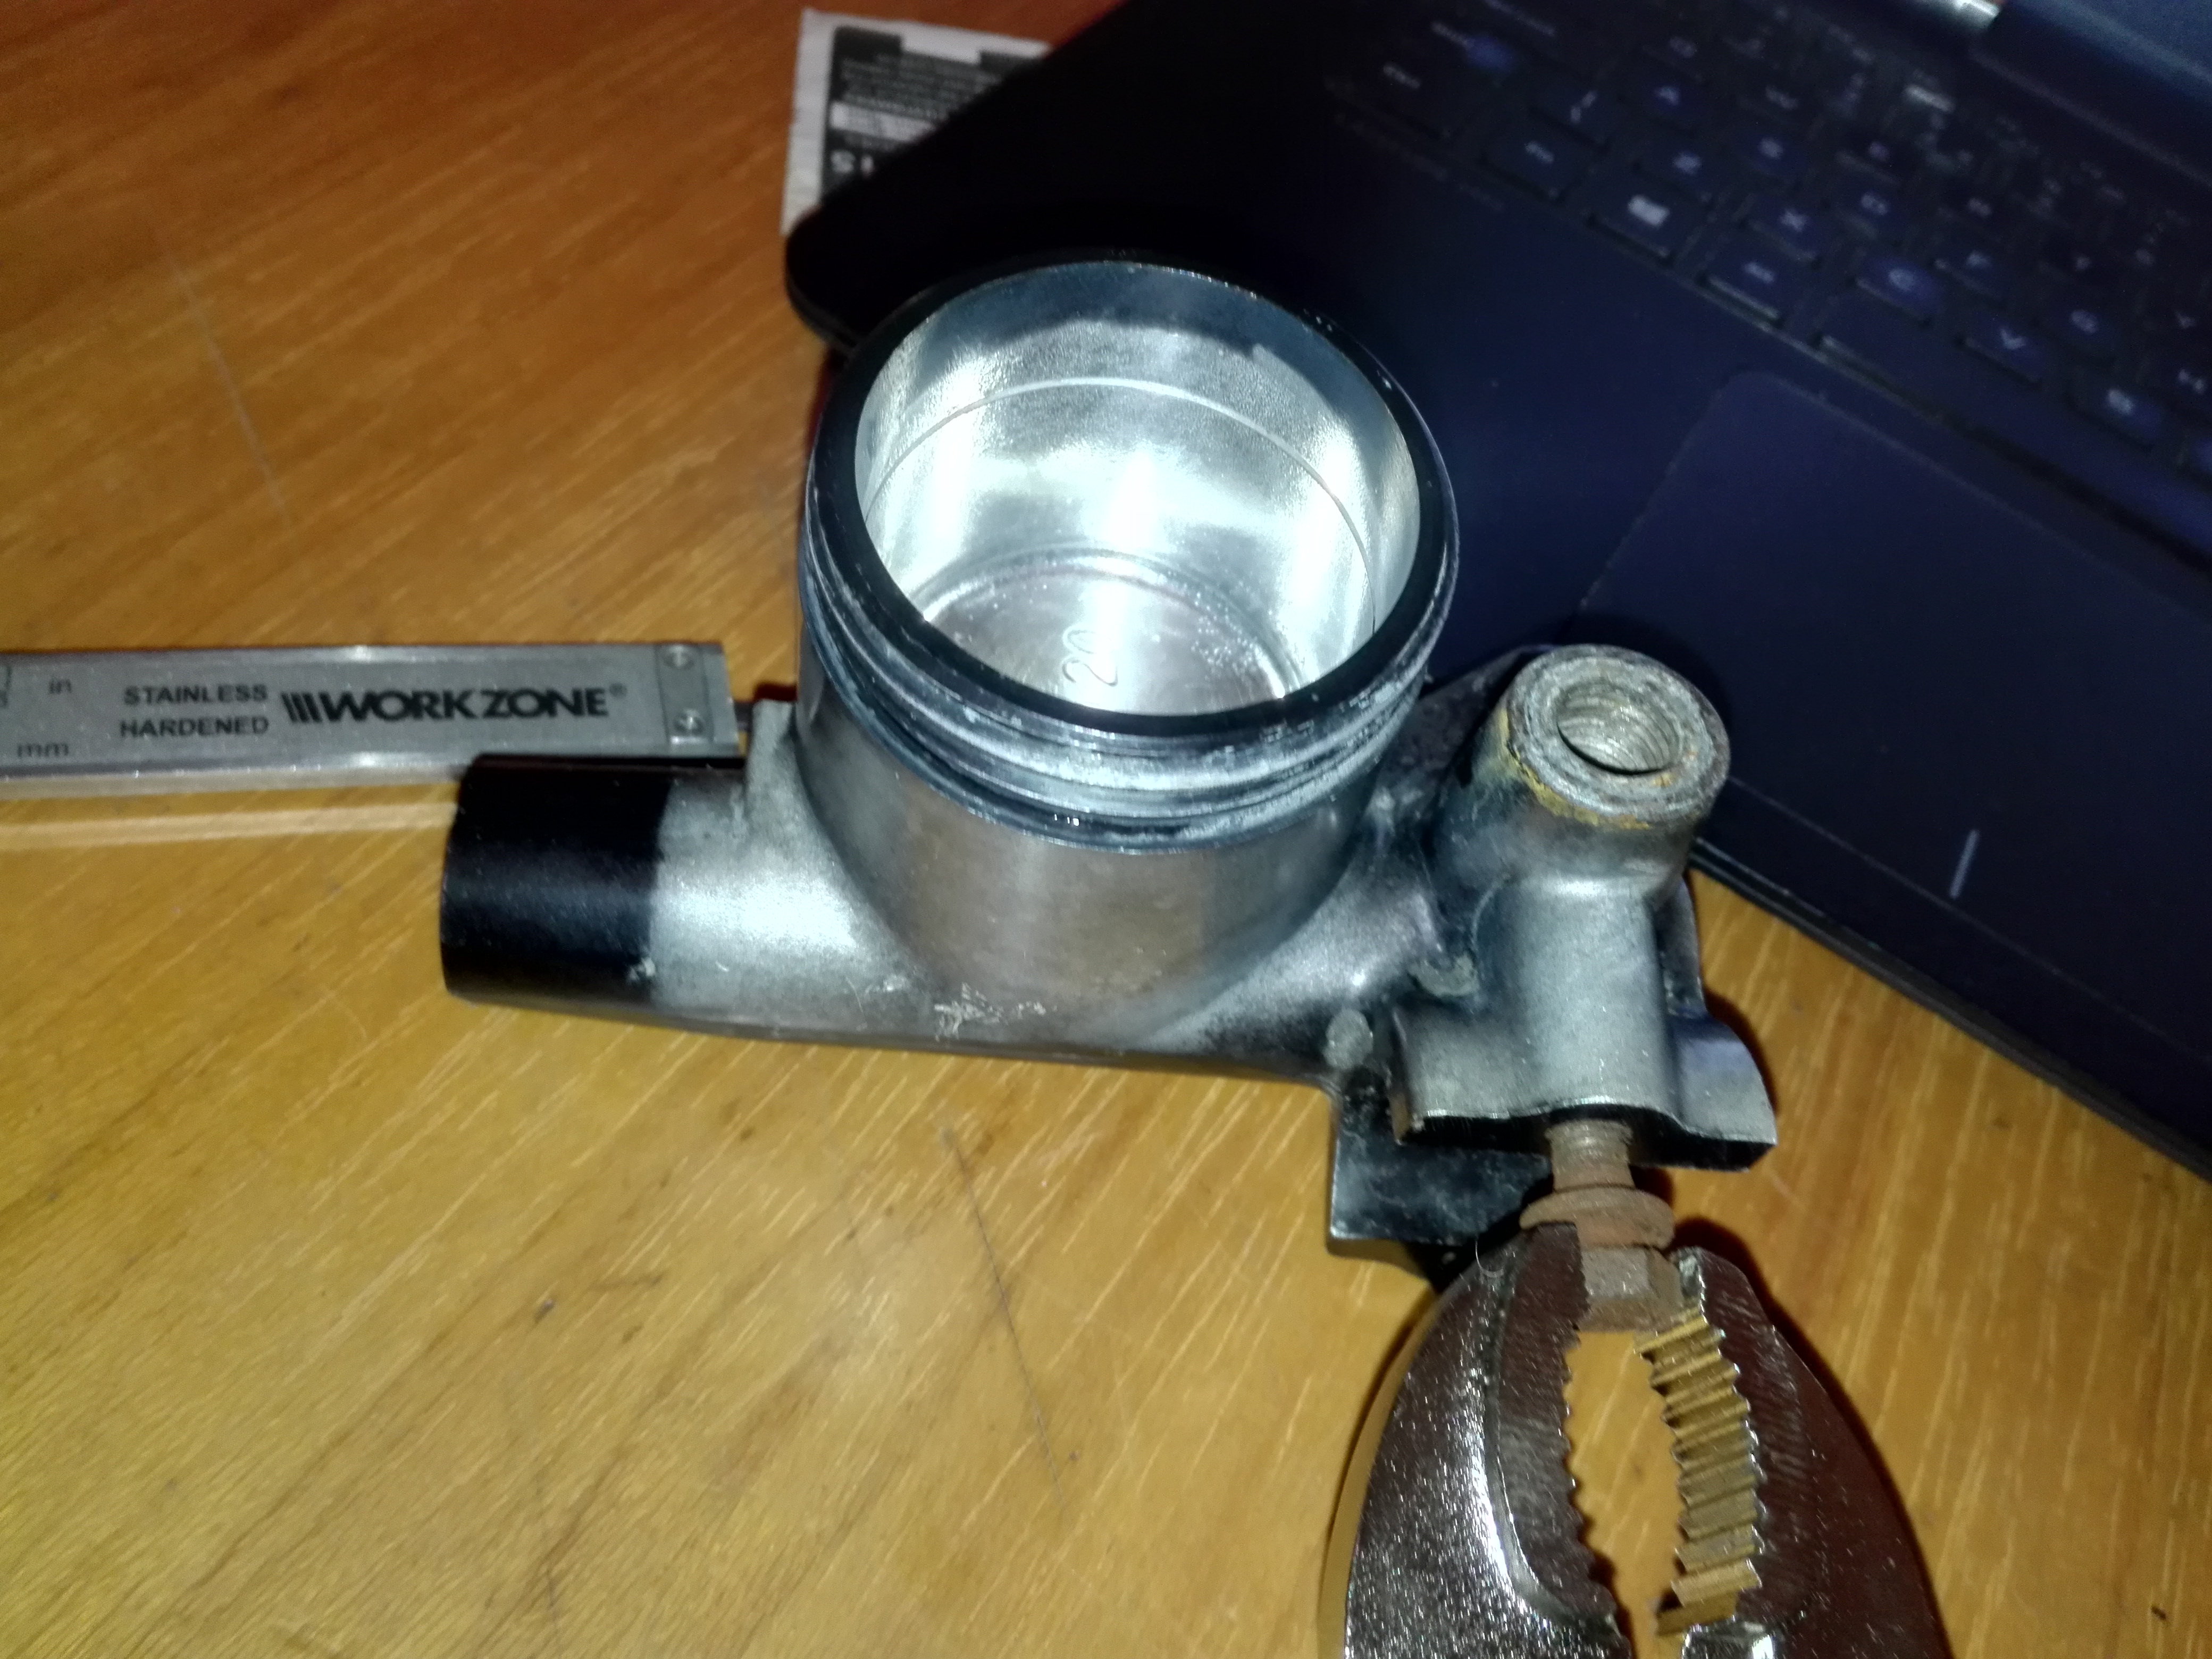
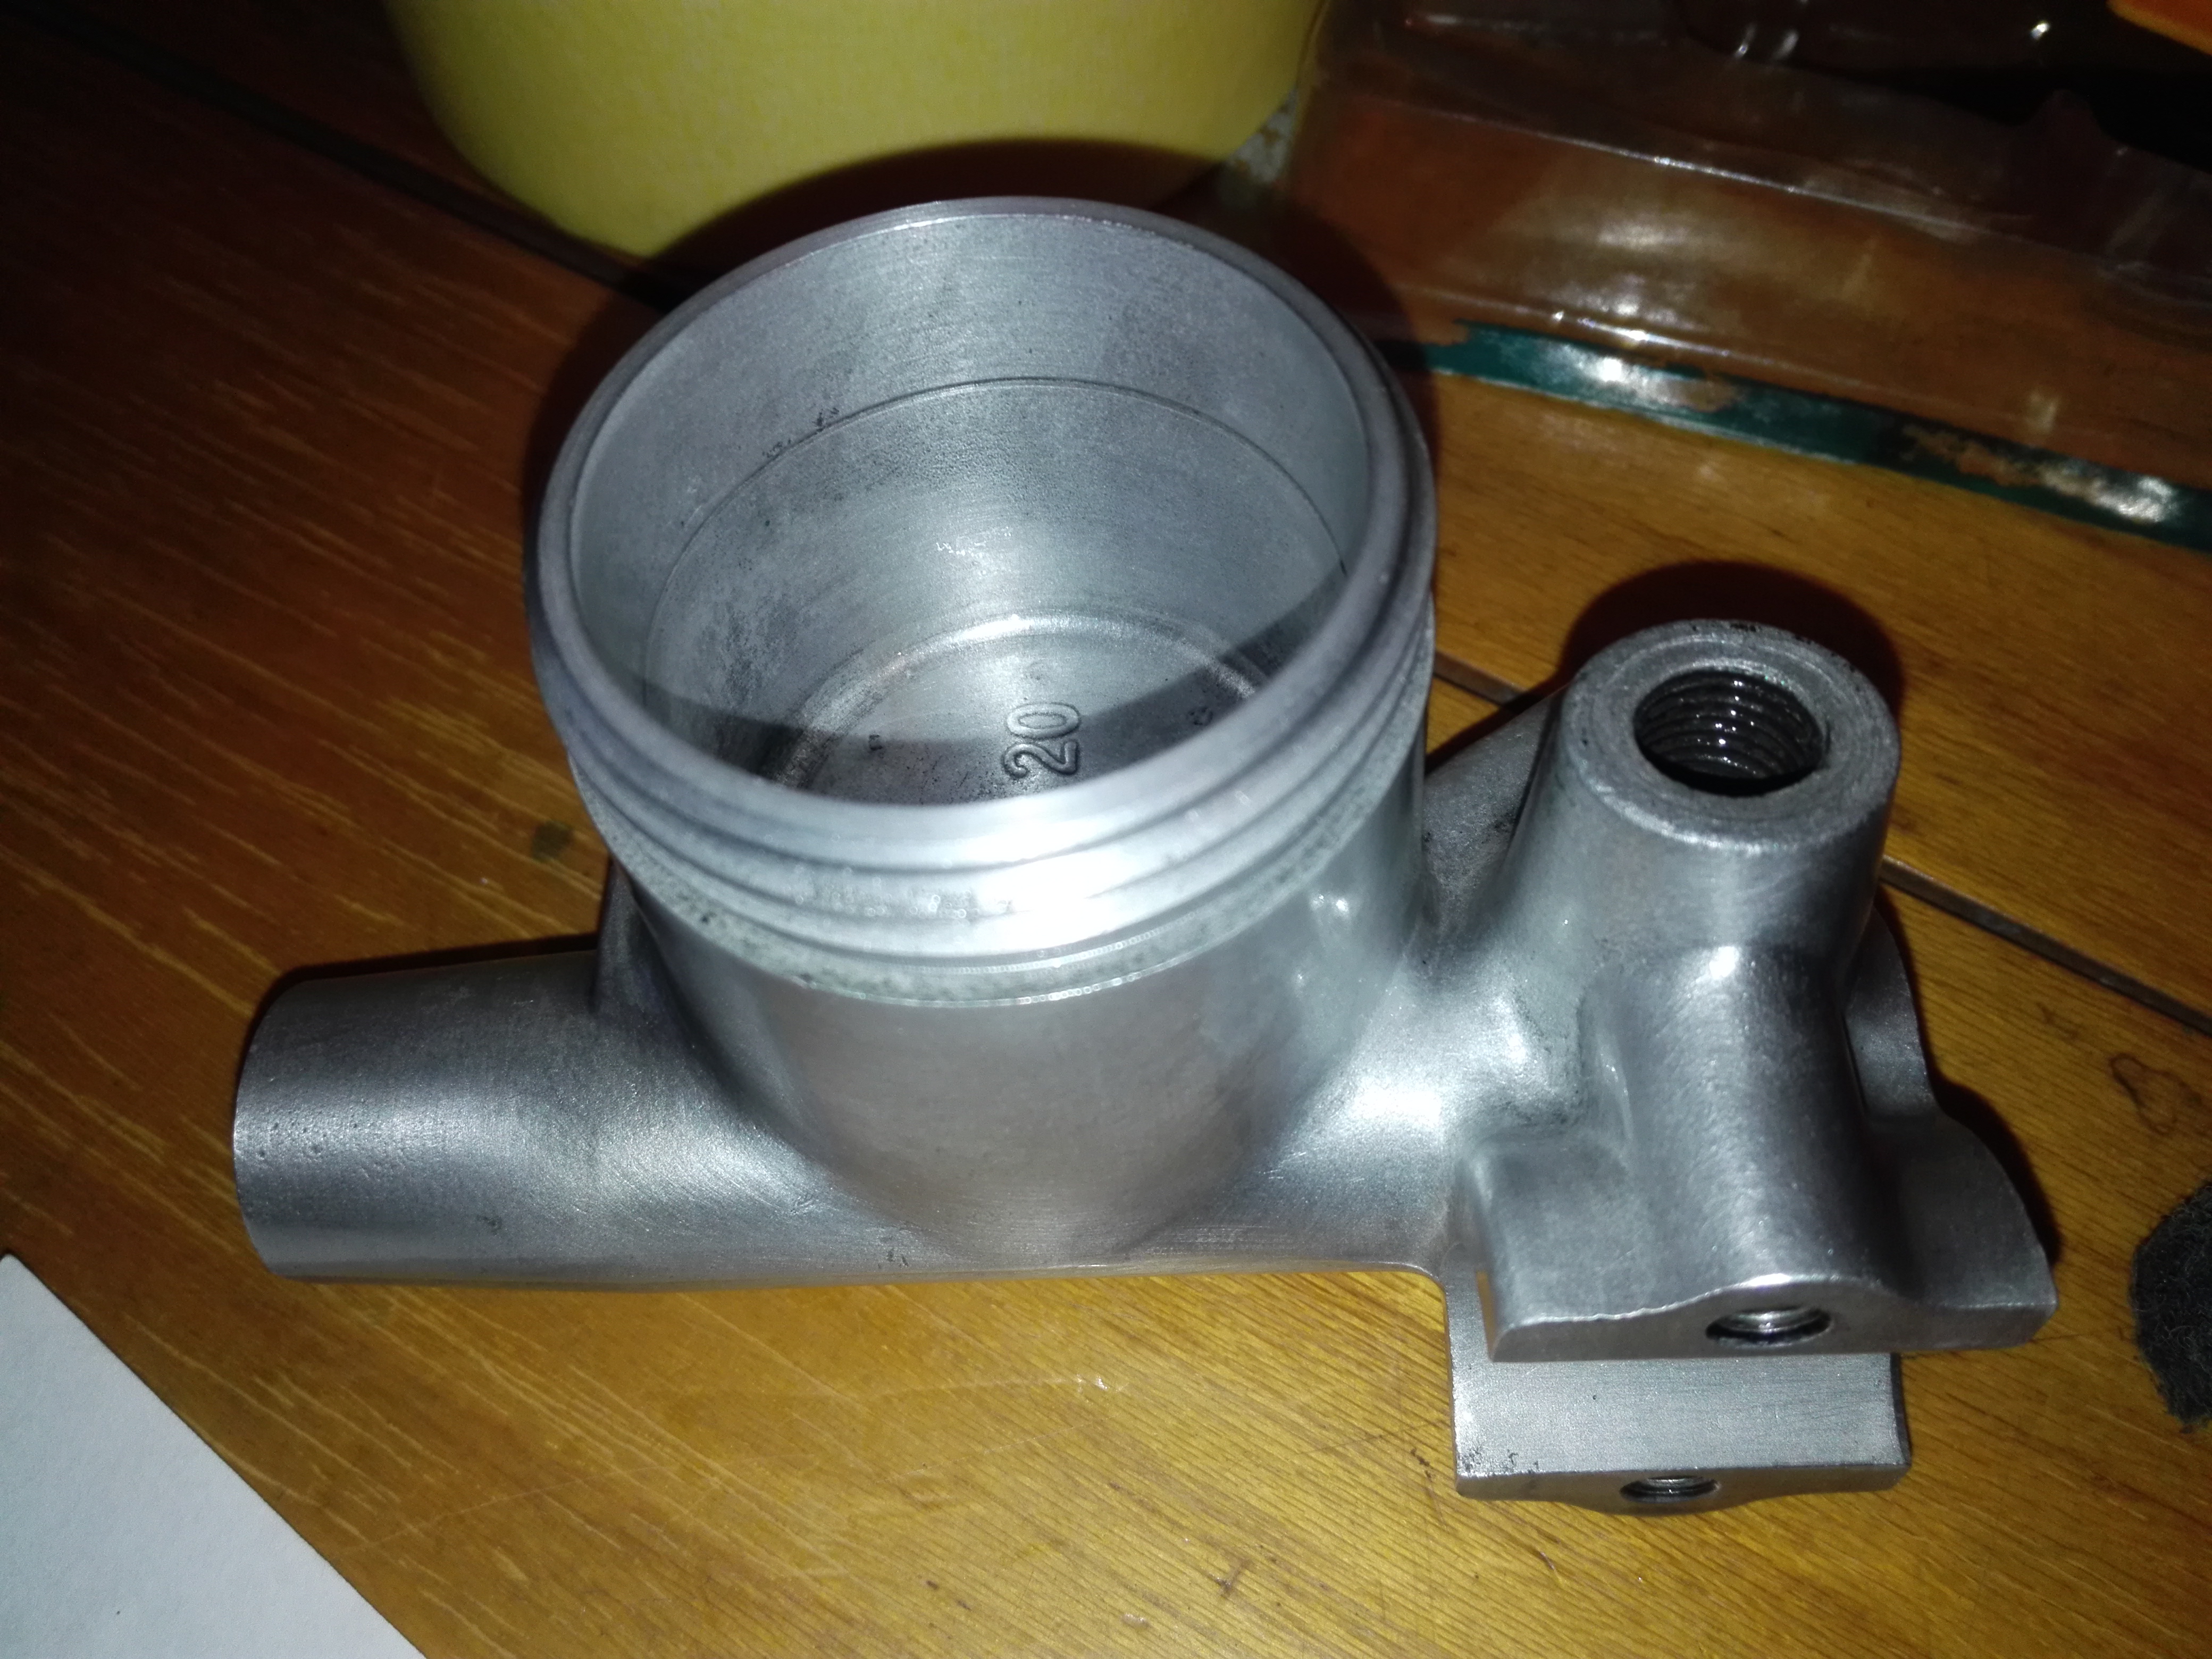
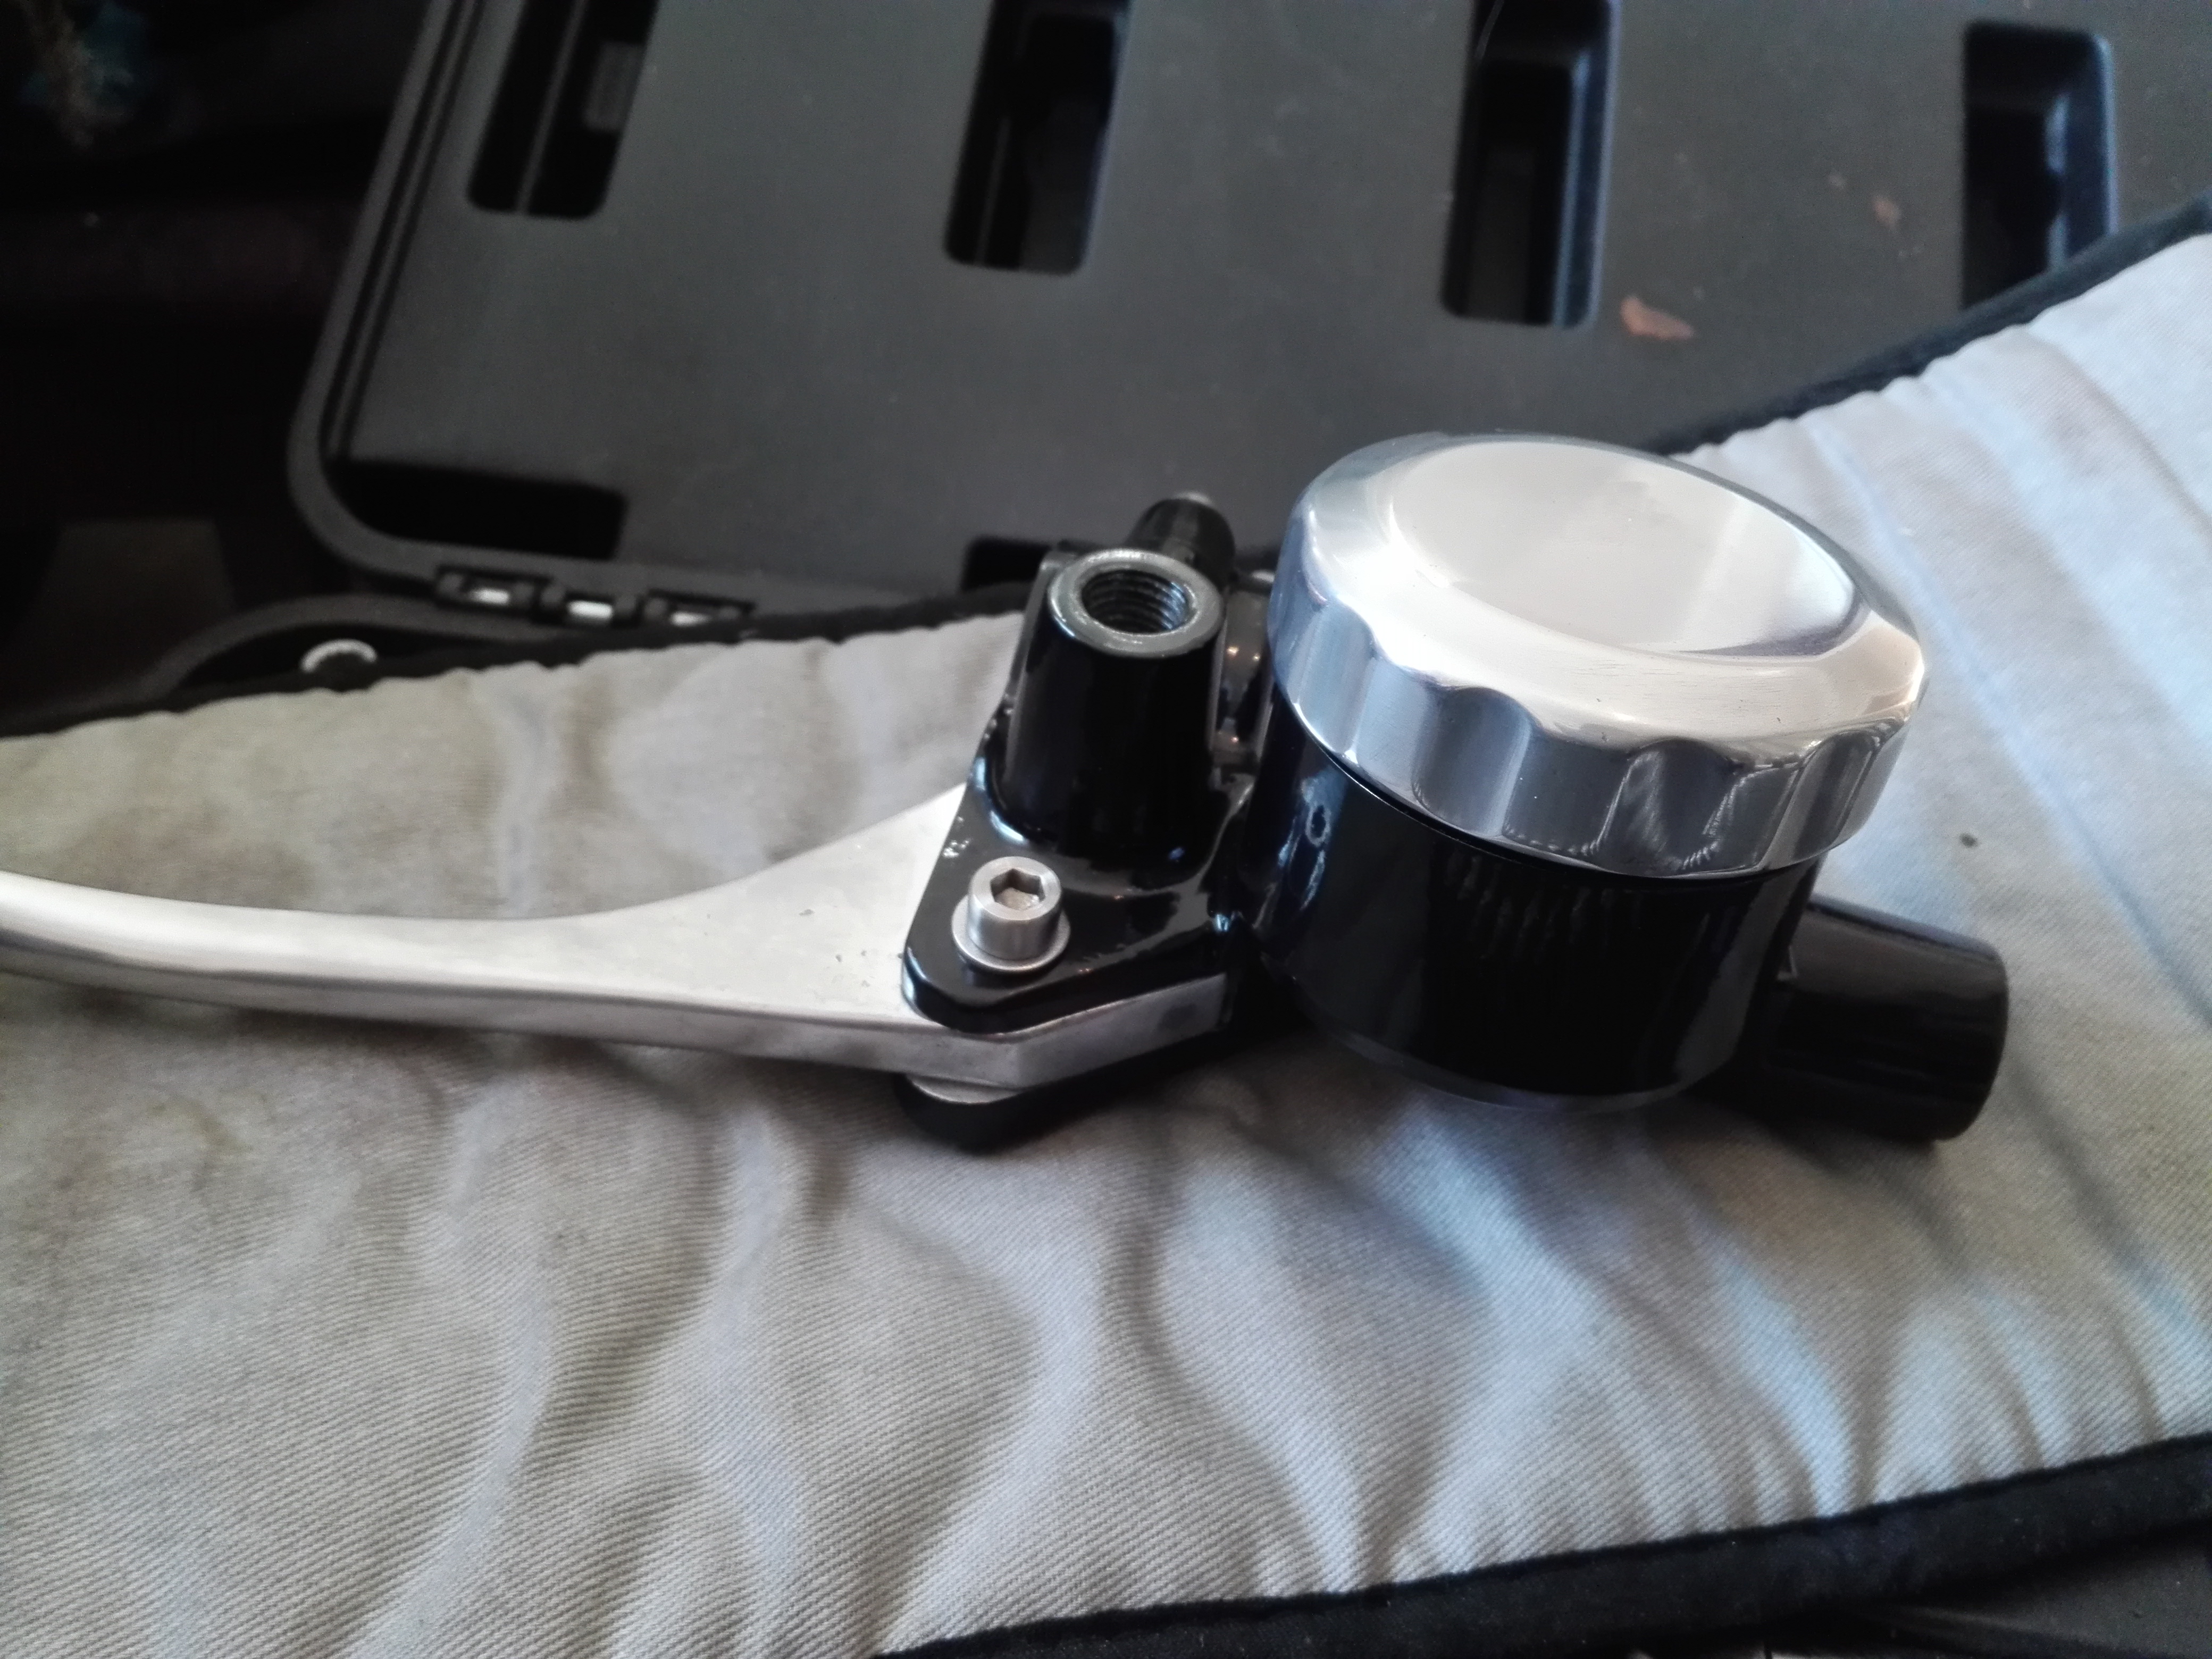
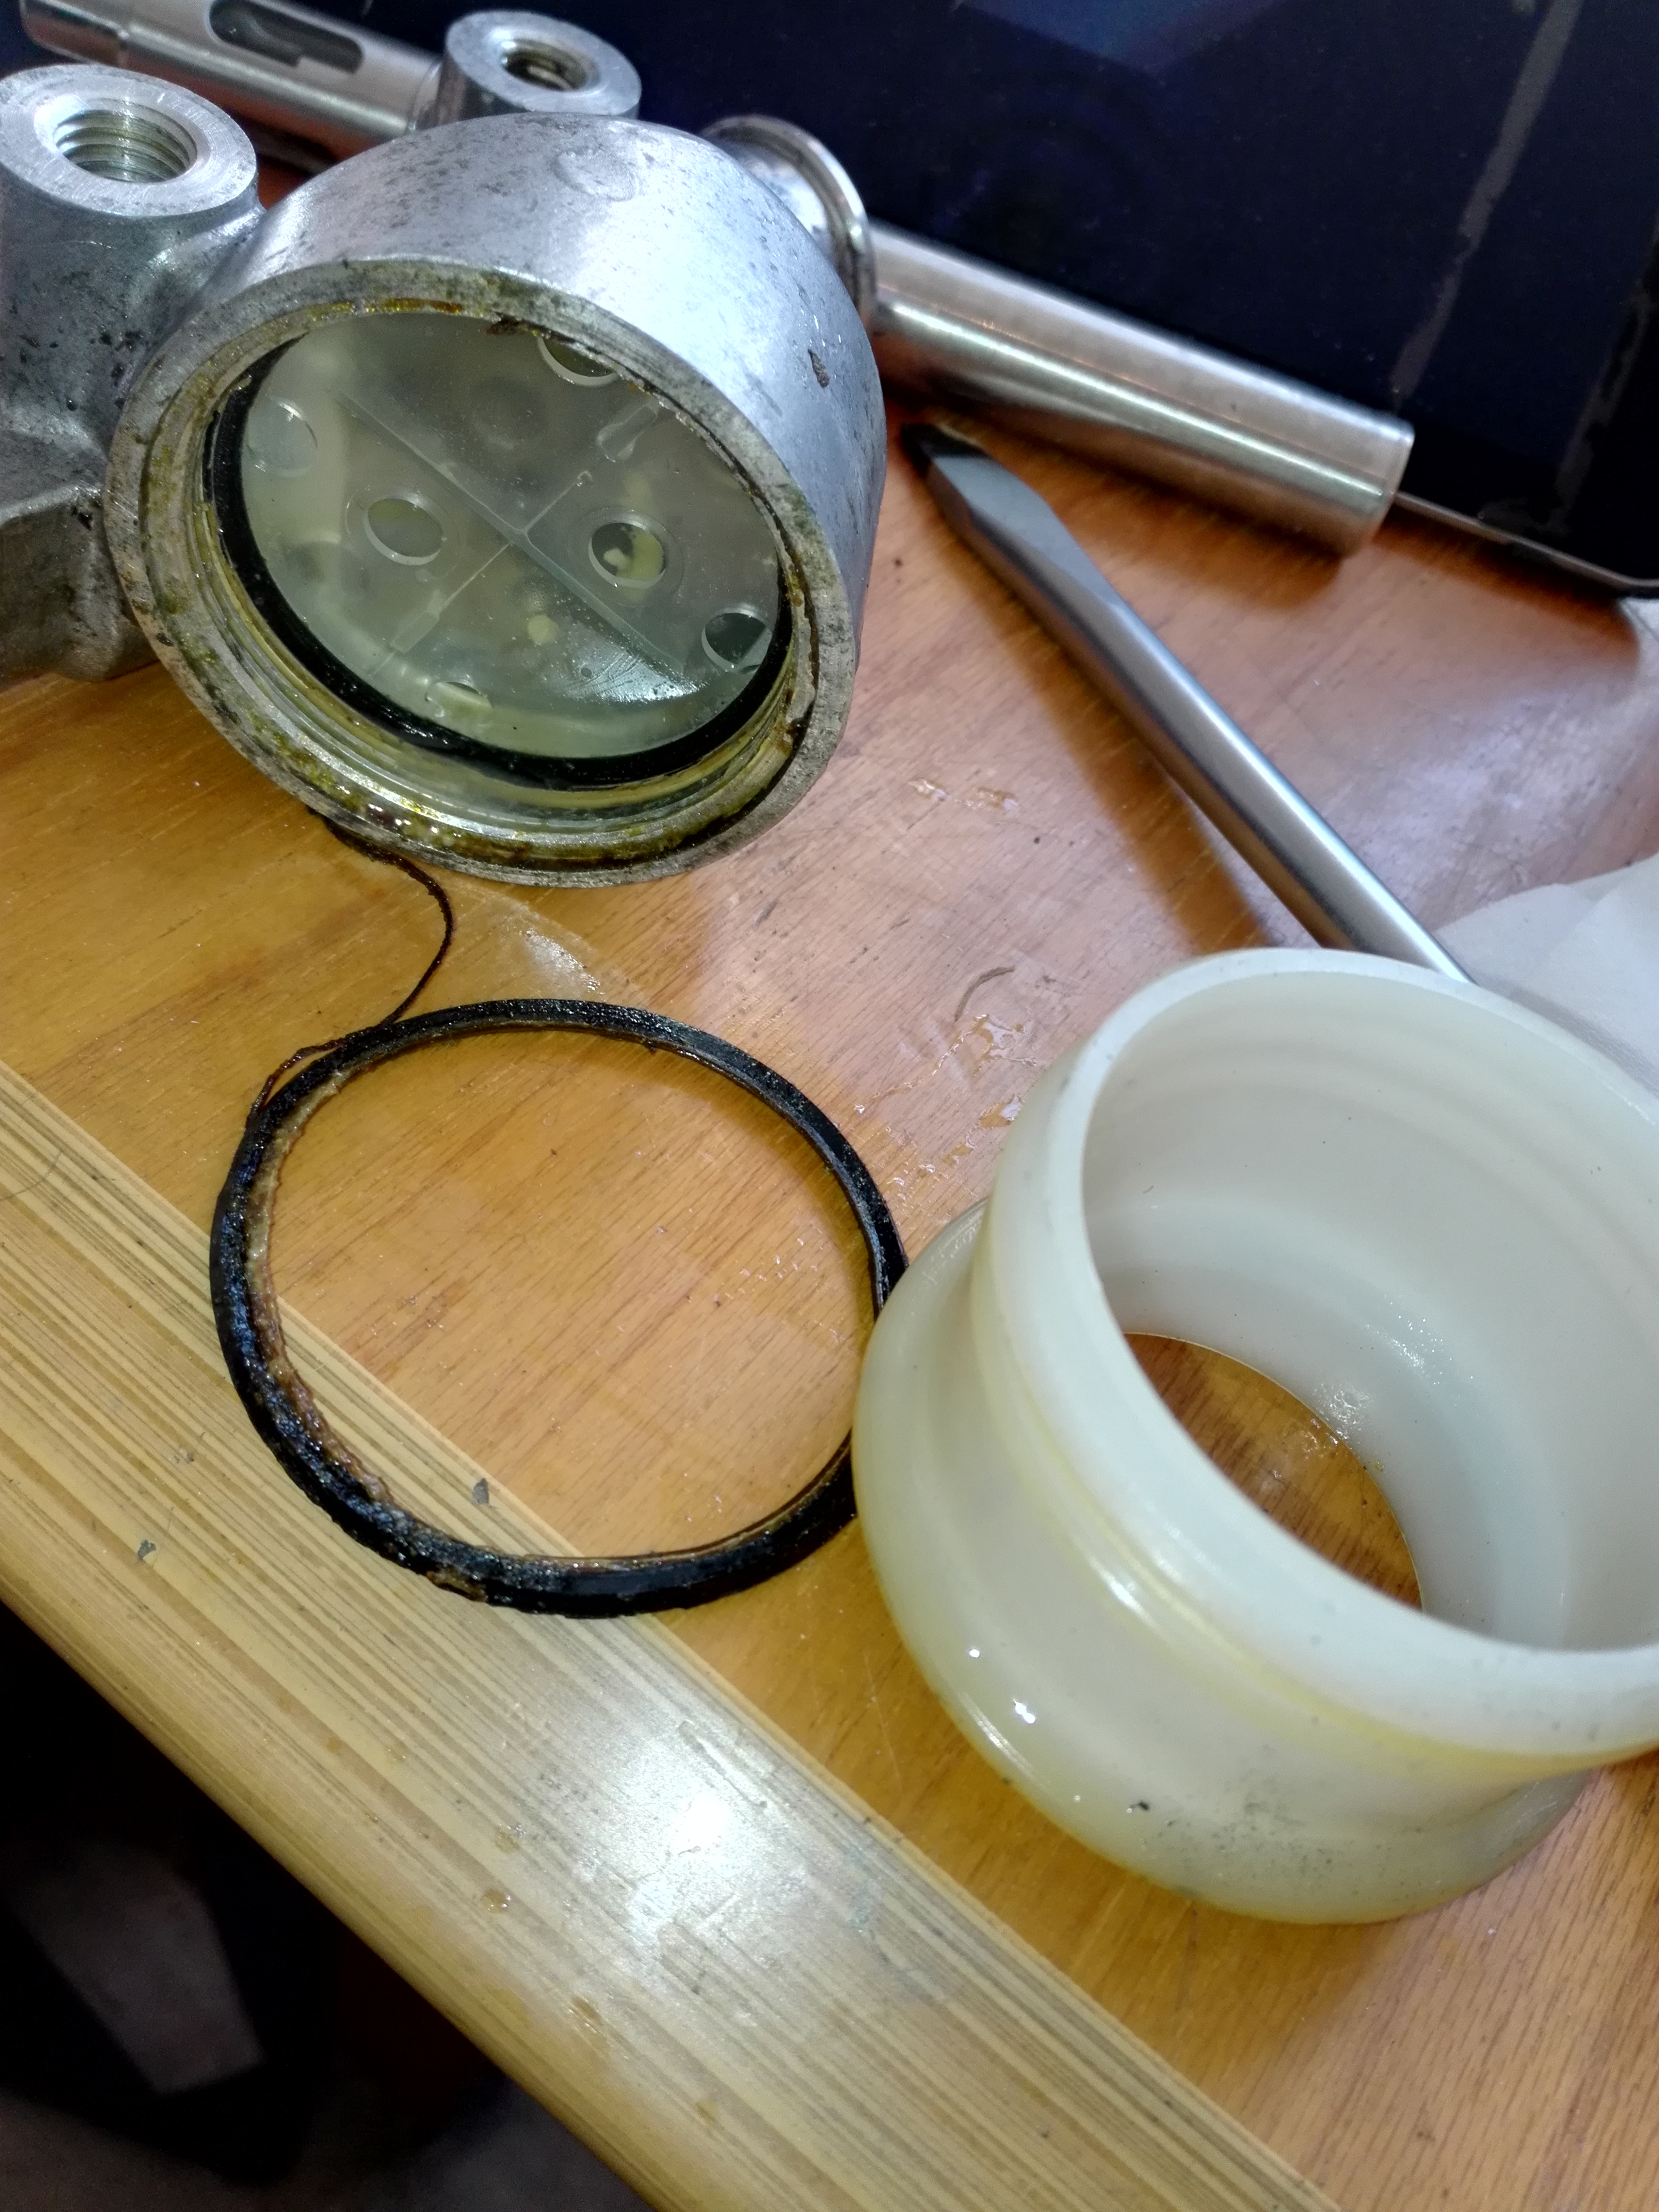
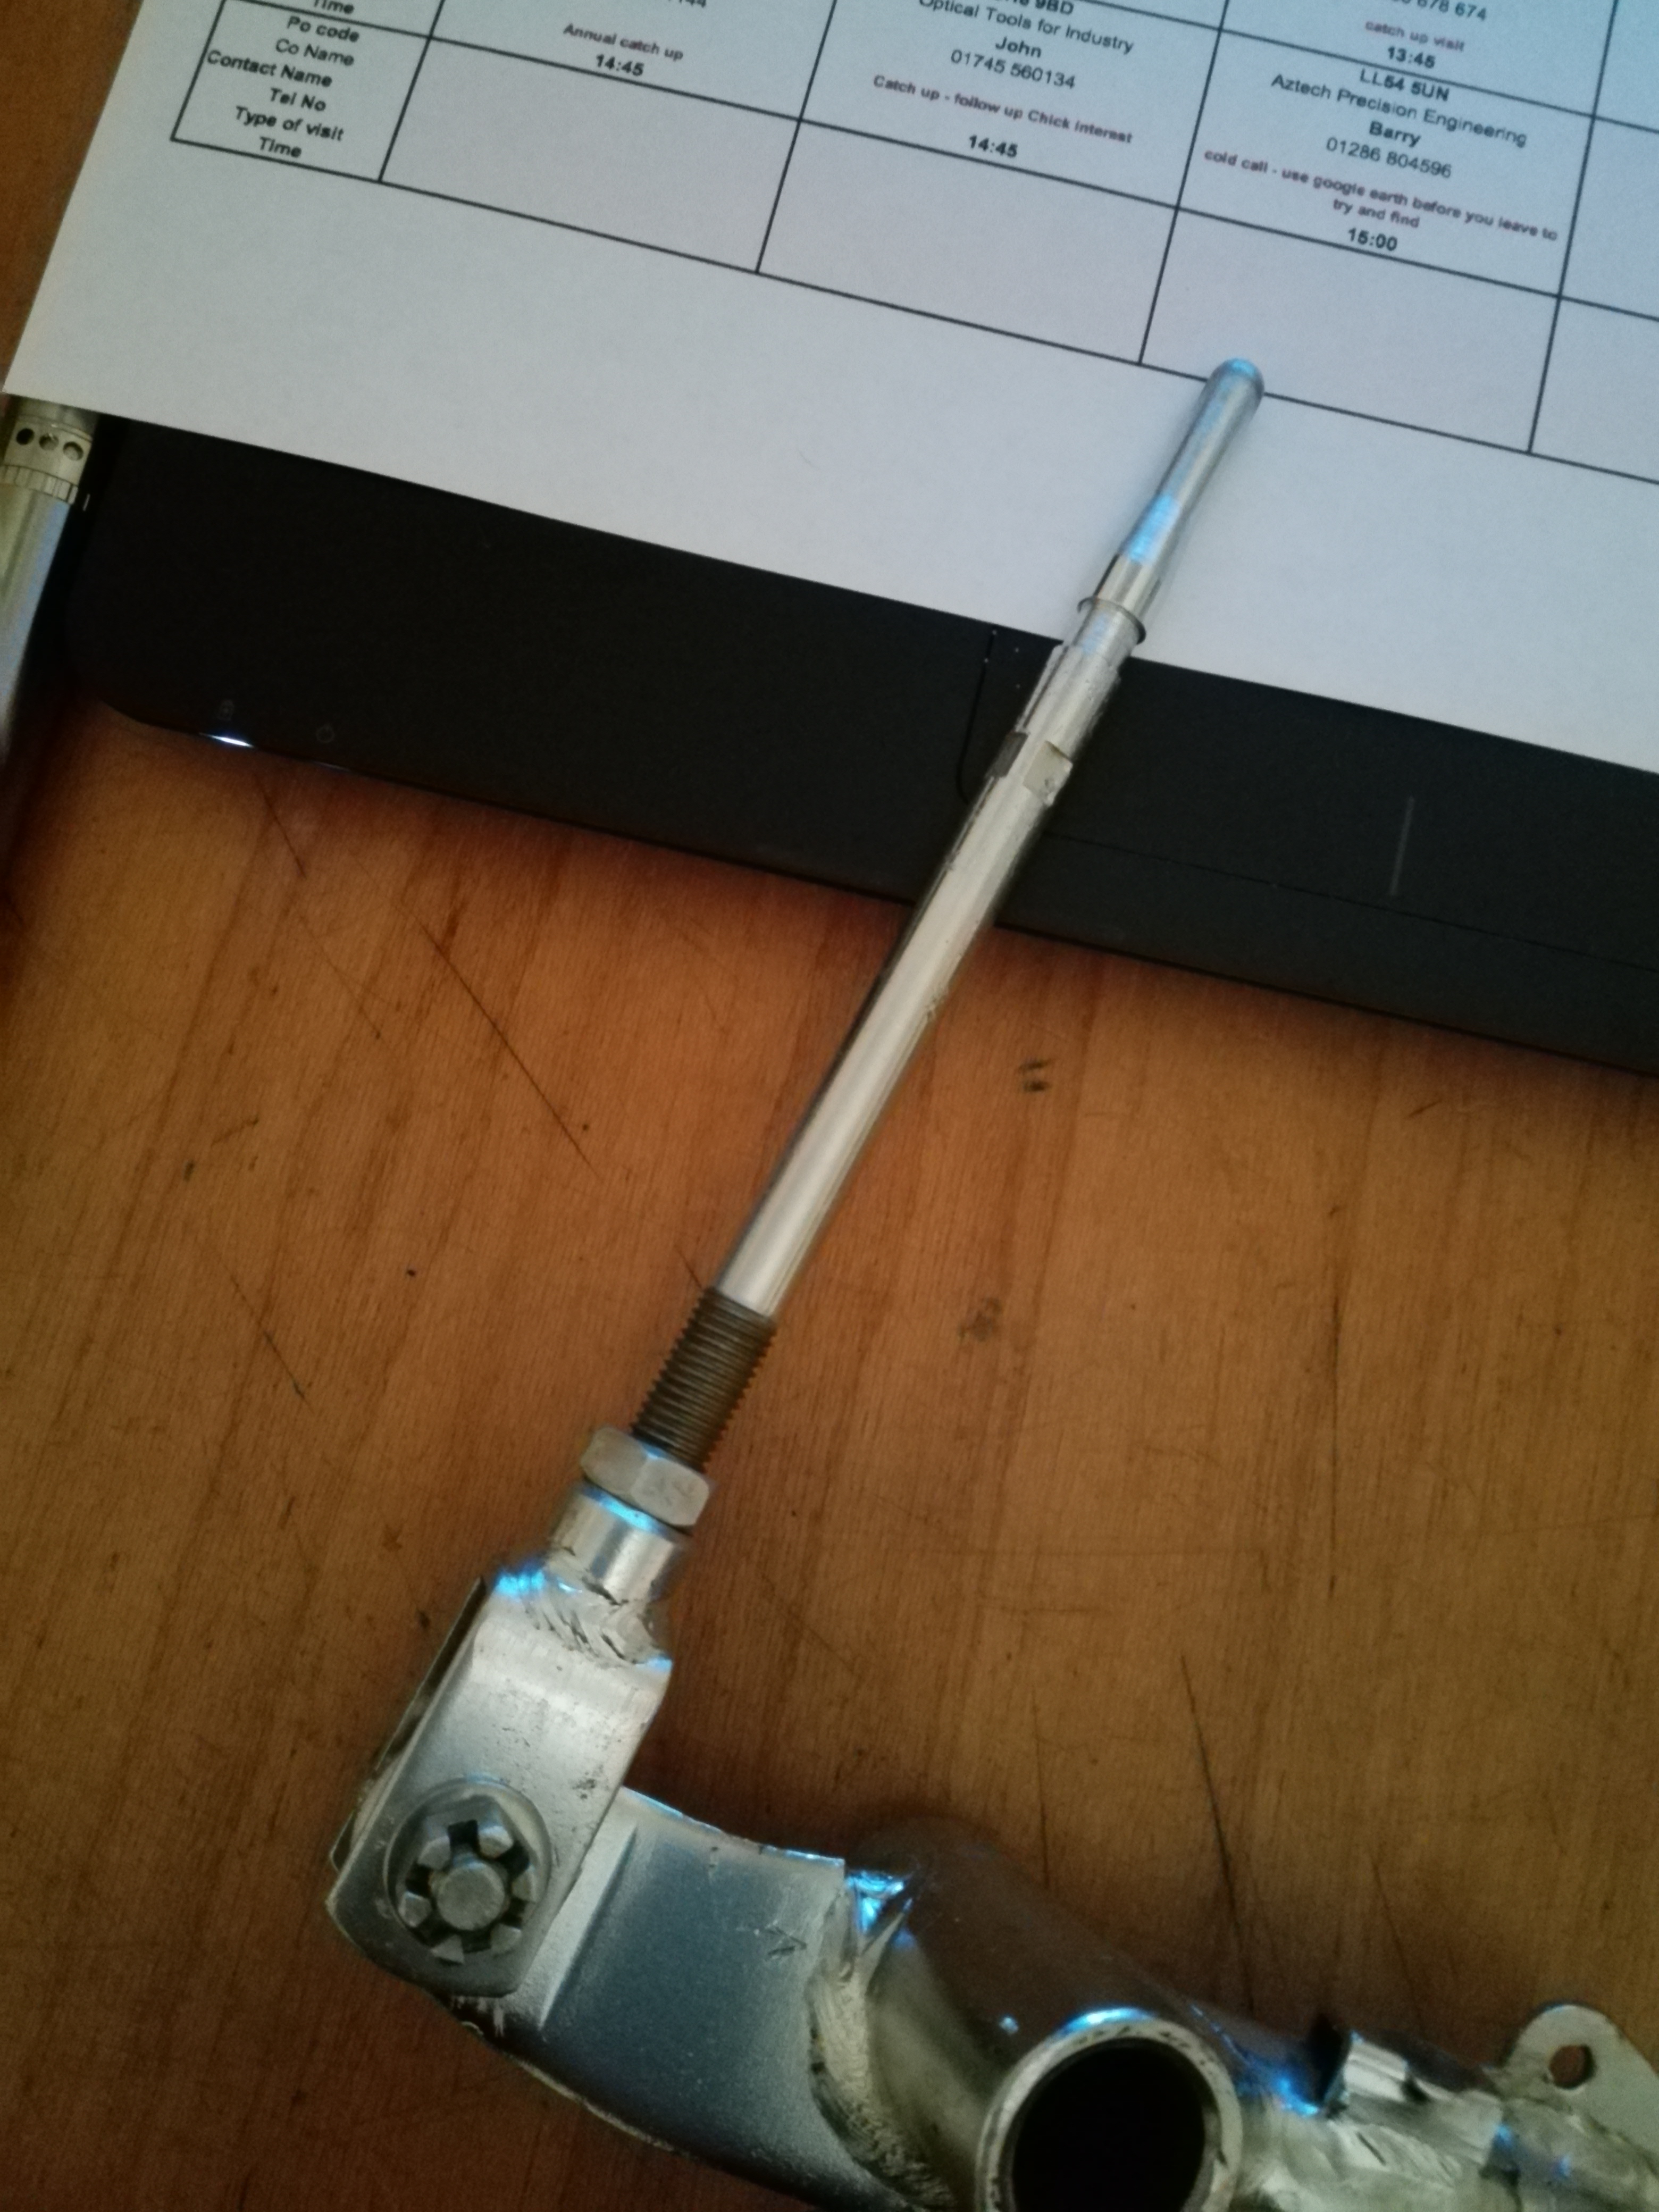
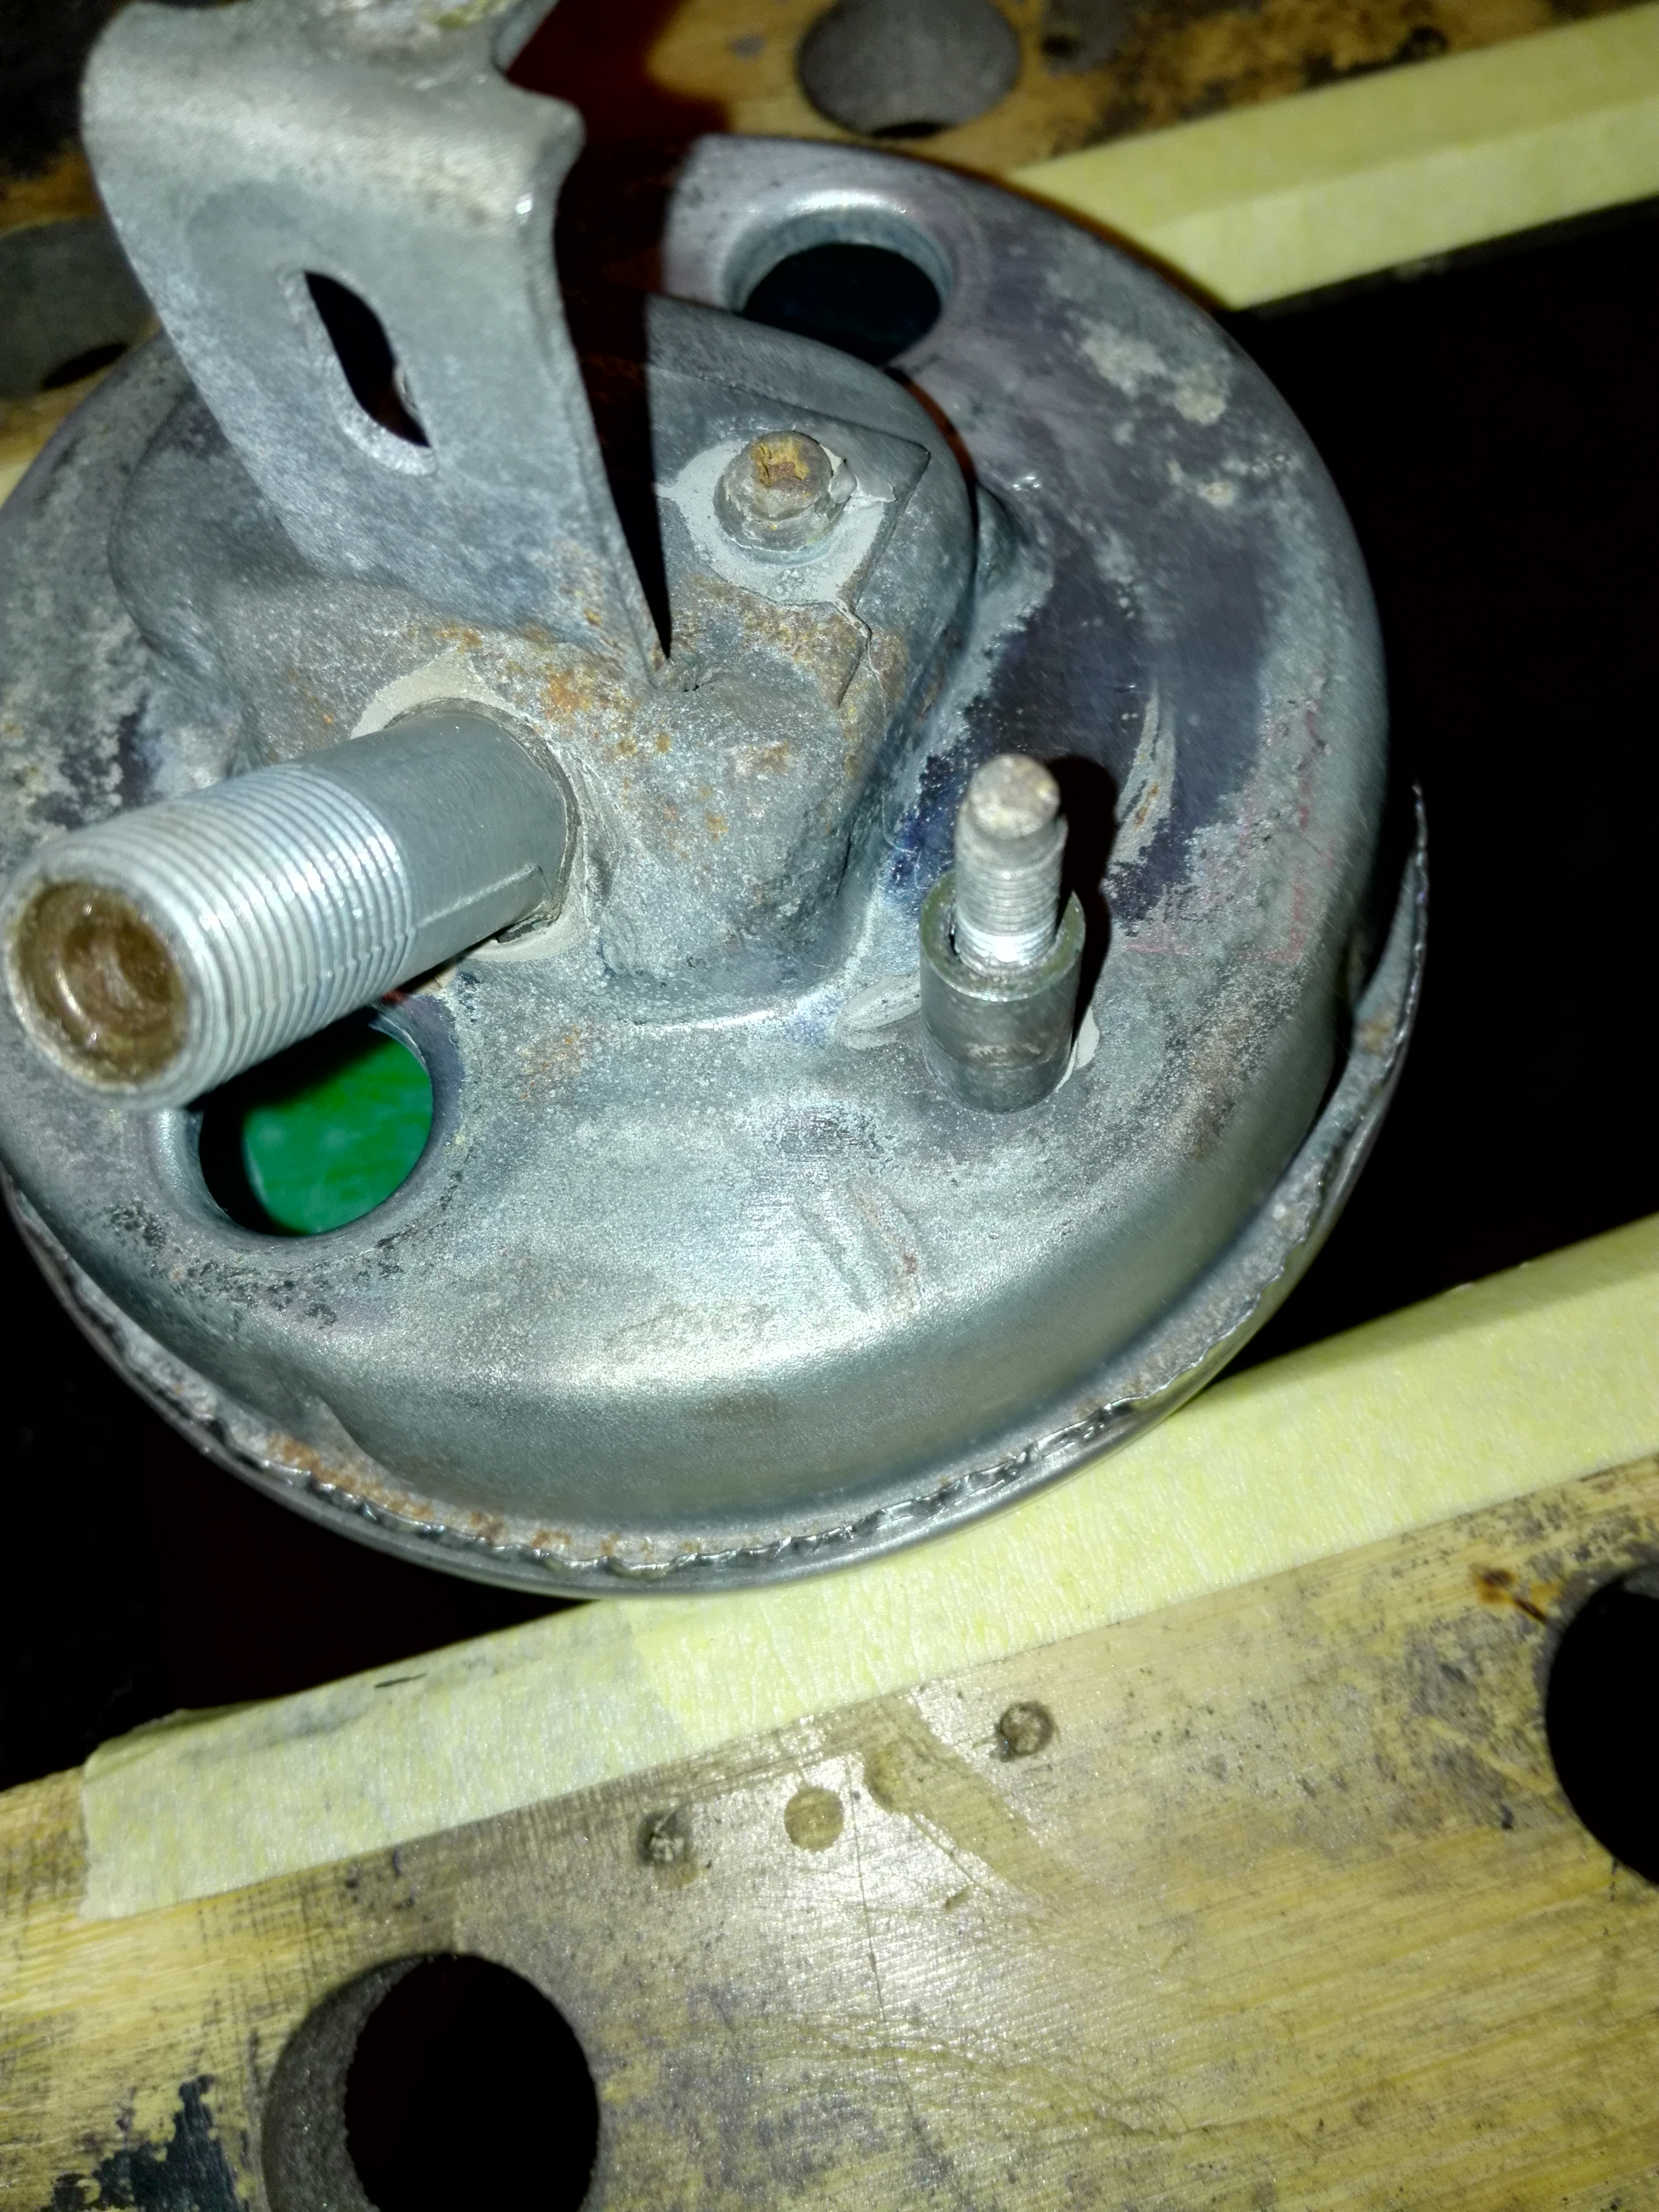
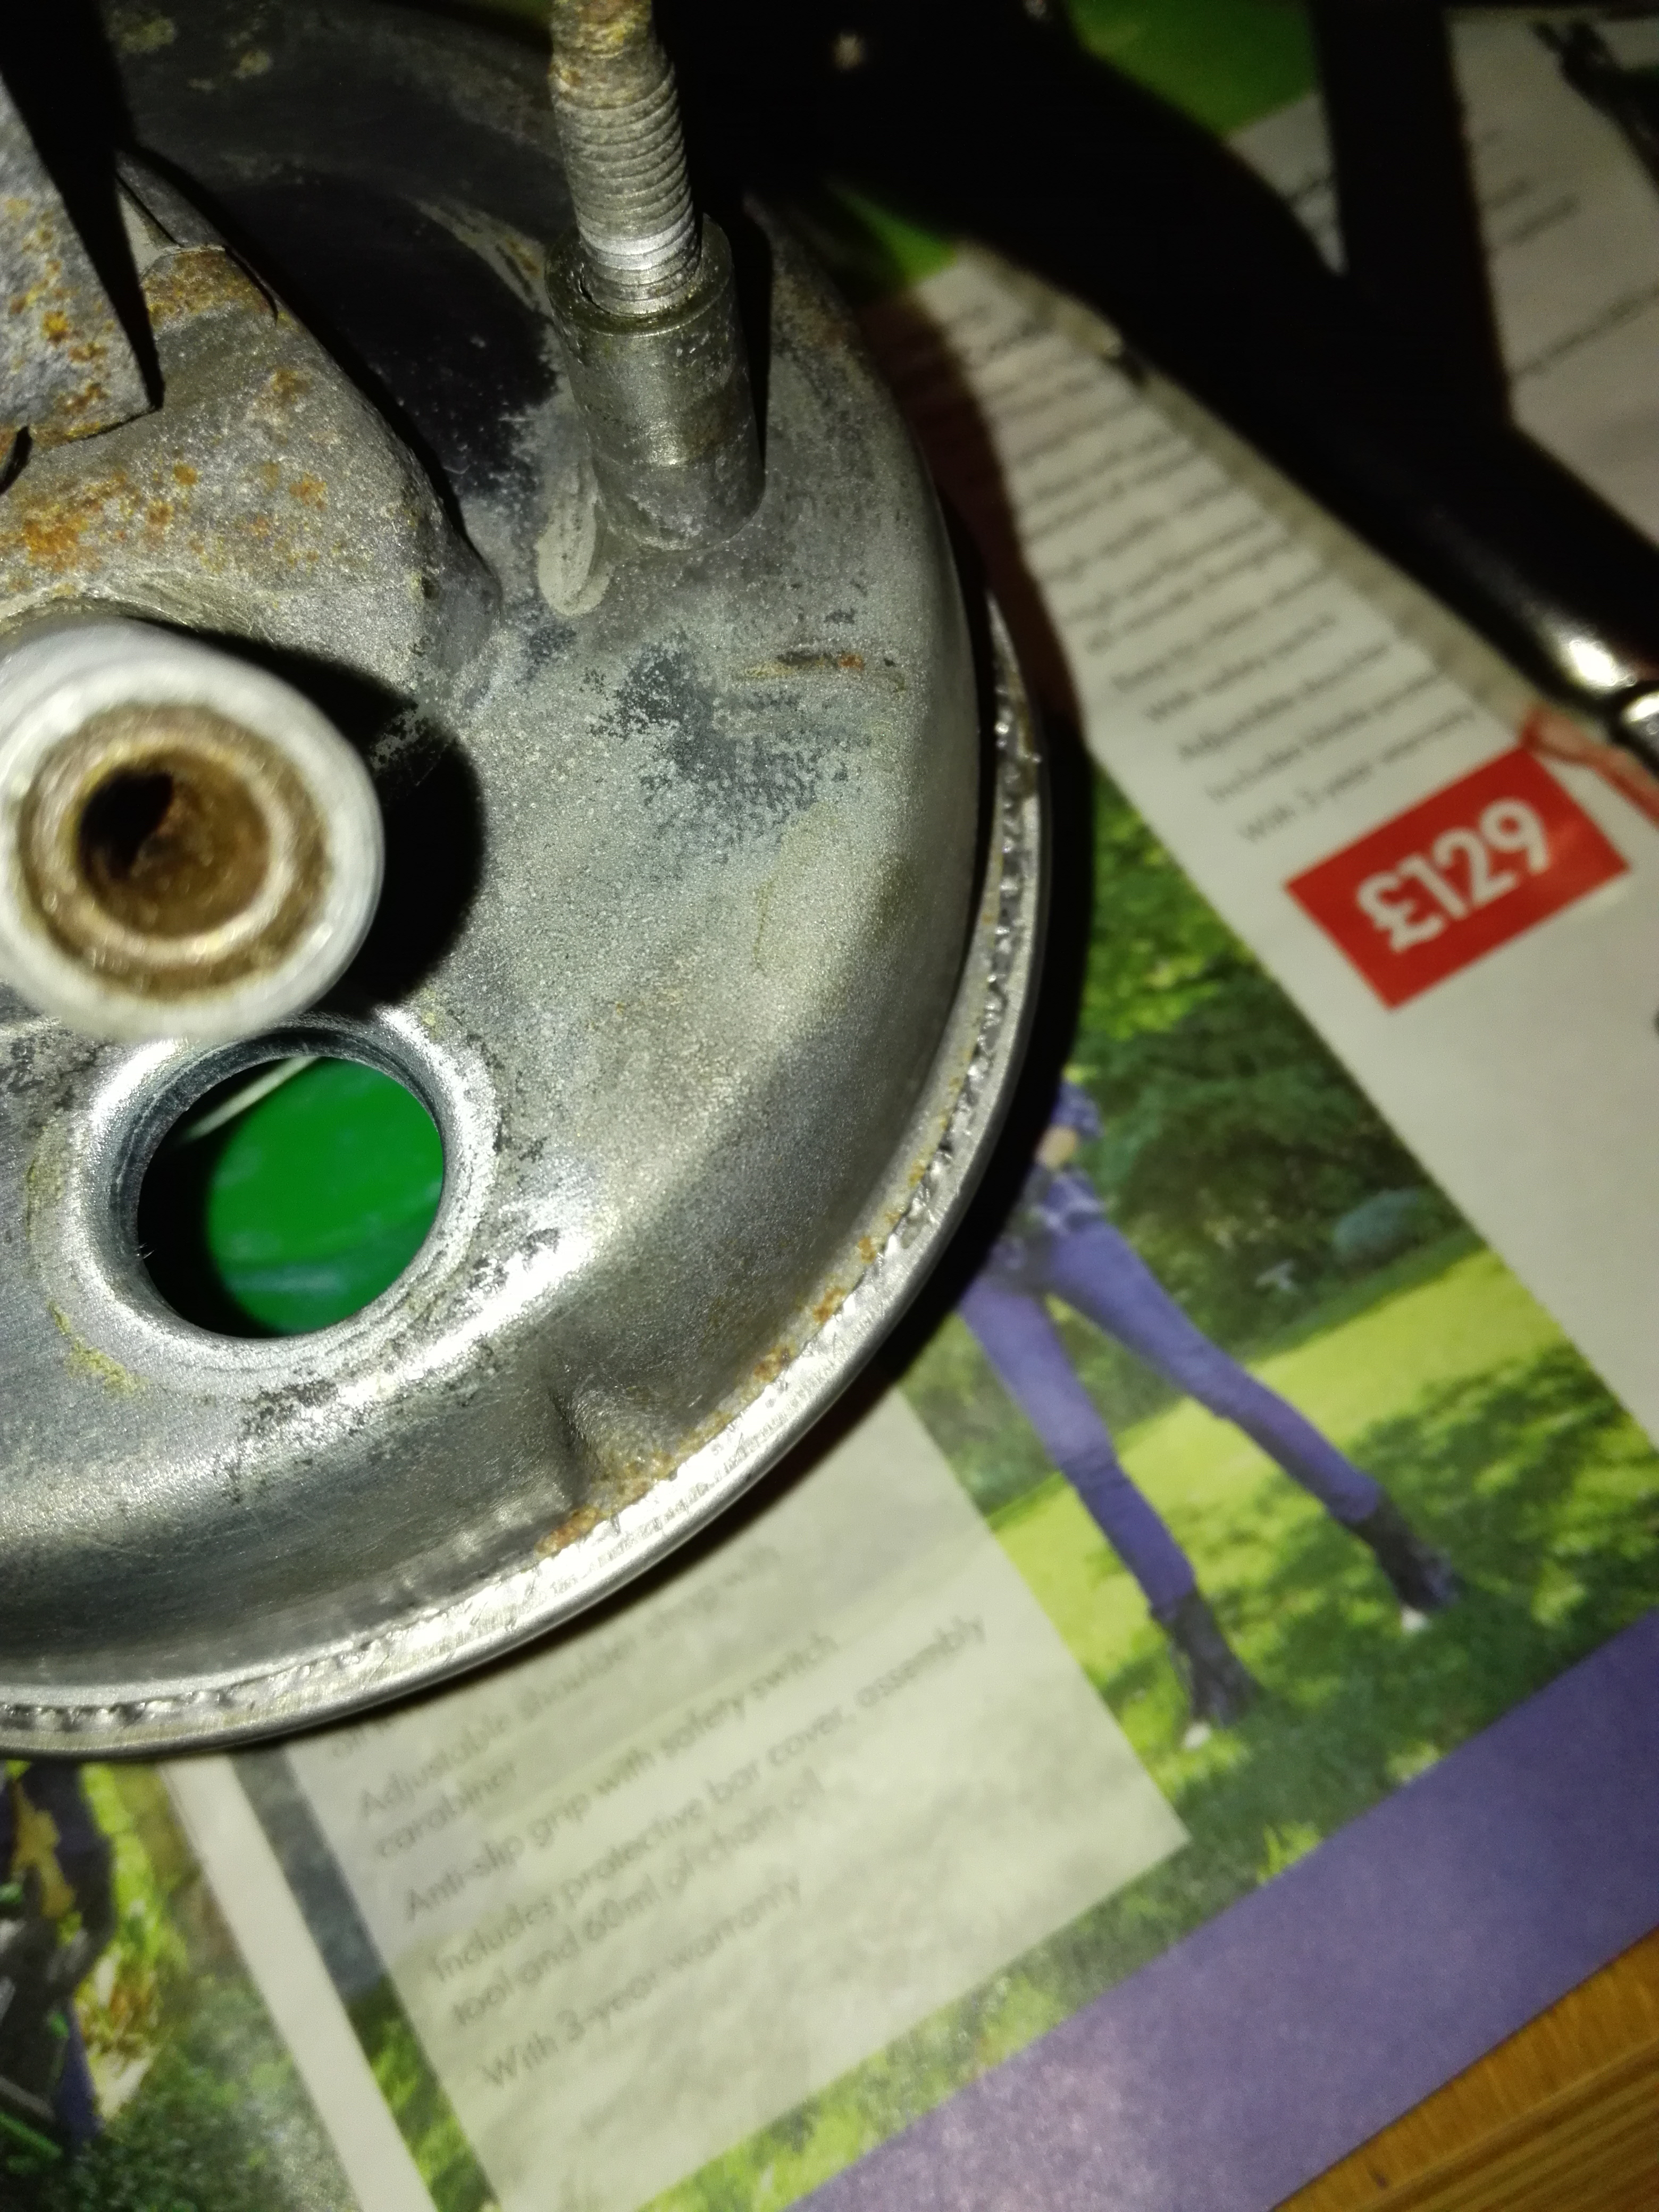
11th October 2018 at 8:10 pm #23907Ownthesky2010ParticipantFront Brakes stripped off and ready for refurb. I think I will replace the hoses as the chromed fittings are rusty. First need to do something about the master cylinder. These are usually anodized rather than painted. Its easy to tell as the top half is sun-bleached and the bottom is still black. Easy to remove with a strong alkaline but it will attack the aluminium too so you have to watch it.
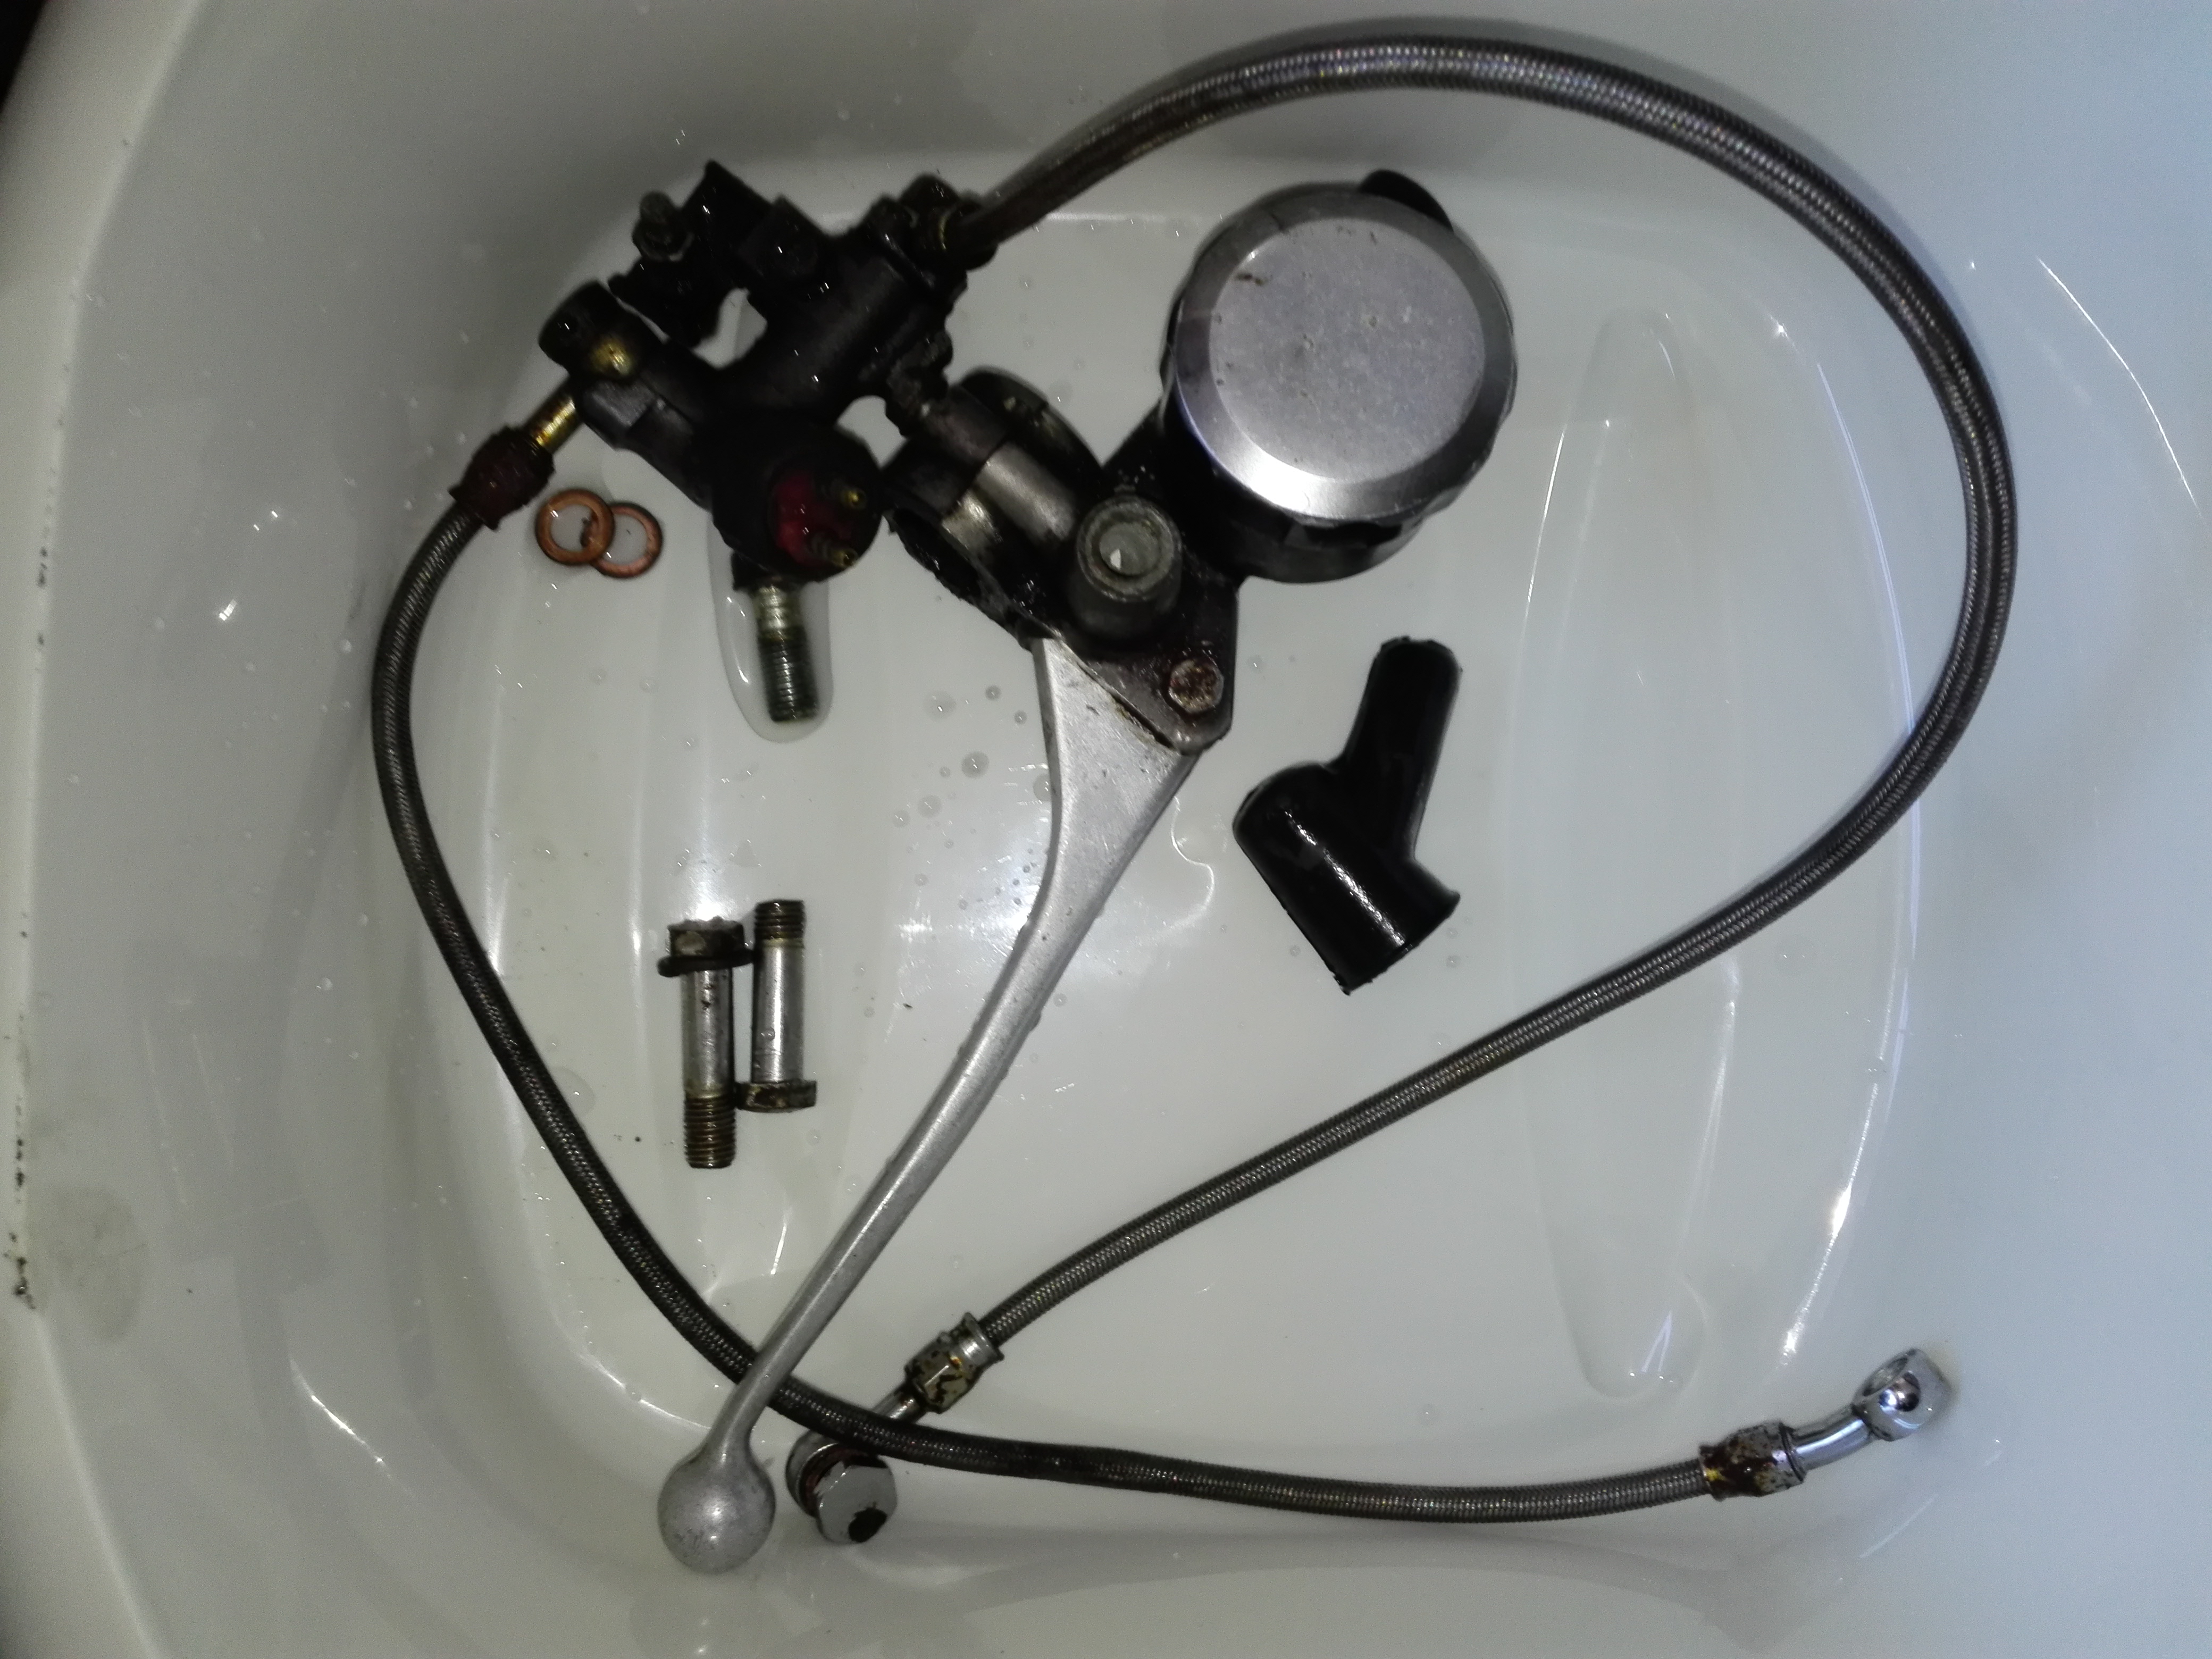
I had to get creative to remove the circlip. Amazingly this worked.
Ready to go into the alkaline, you can clearly see where the rubber cap protected the finish from the sun.
After a good dunking
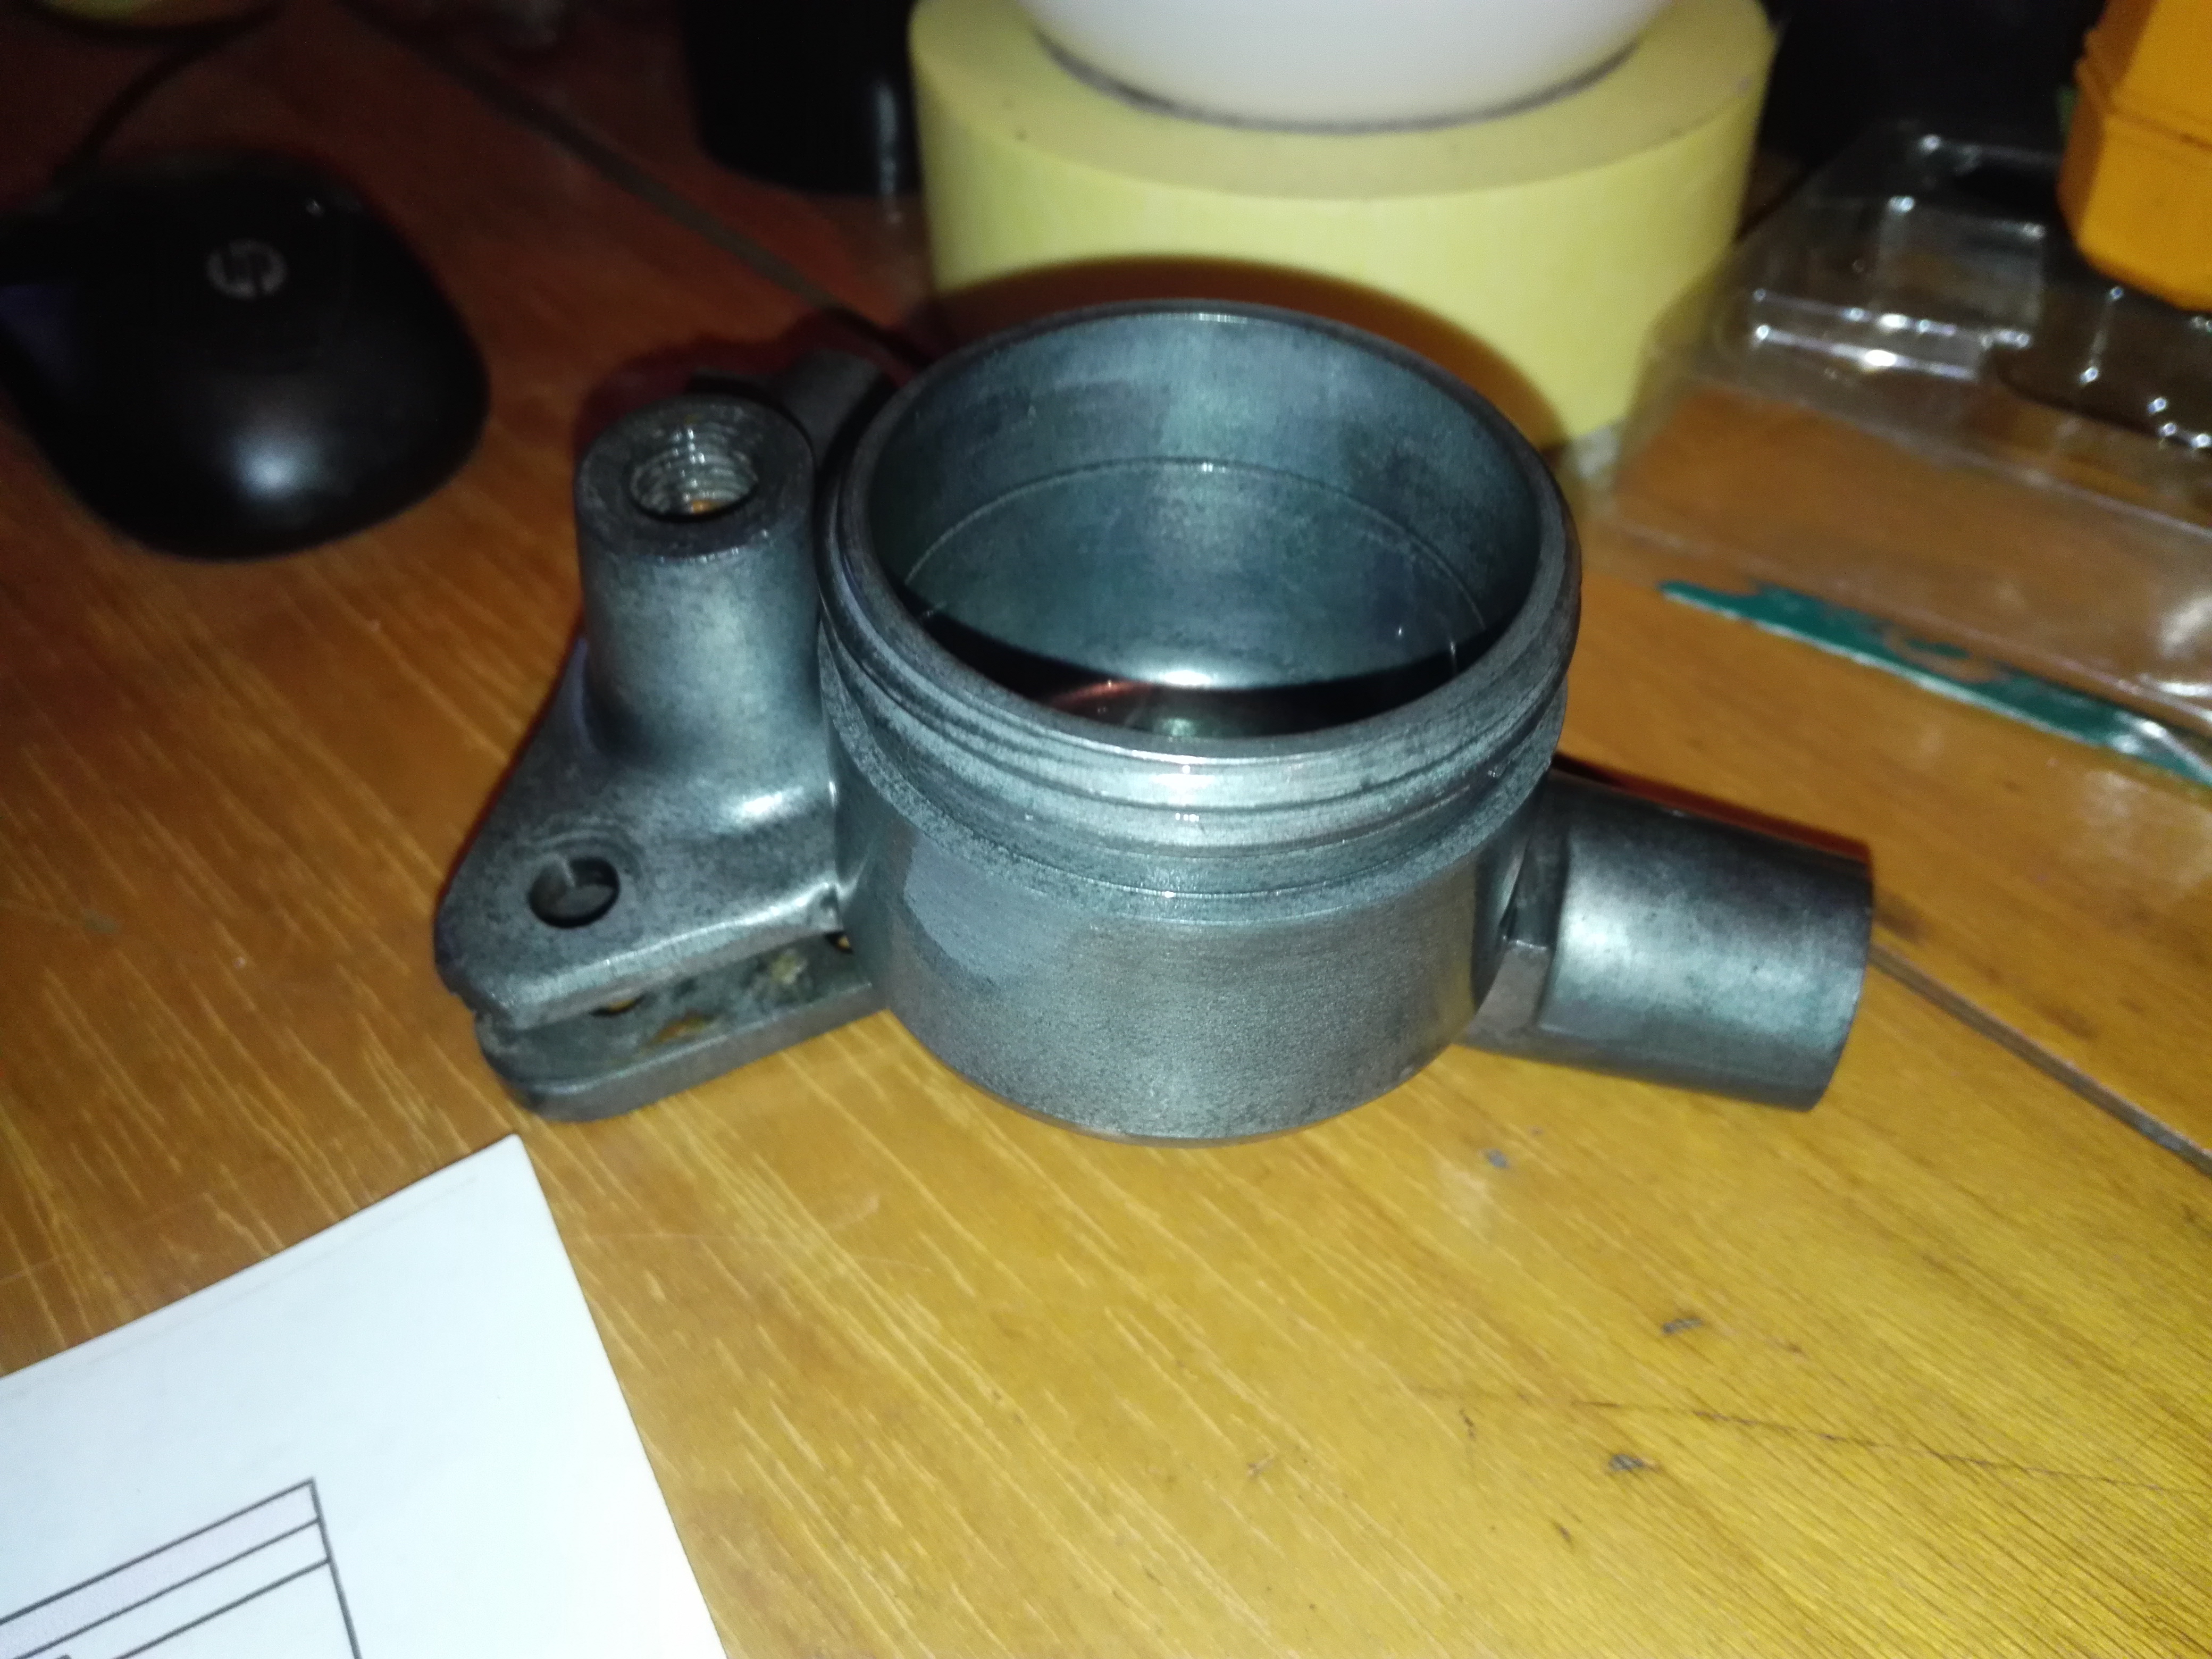
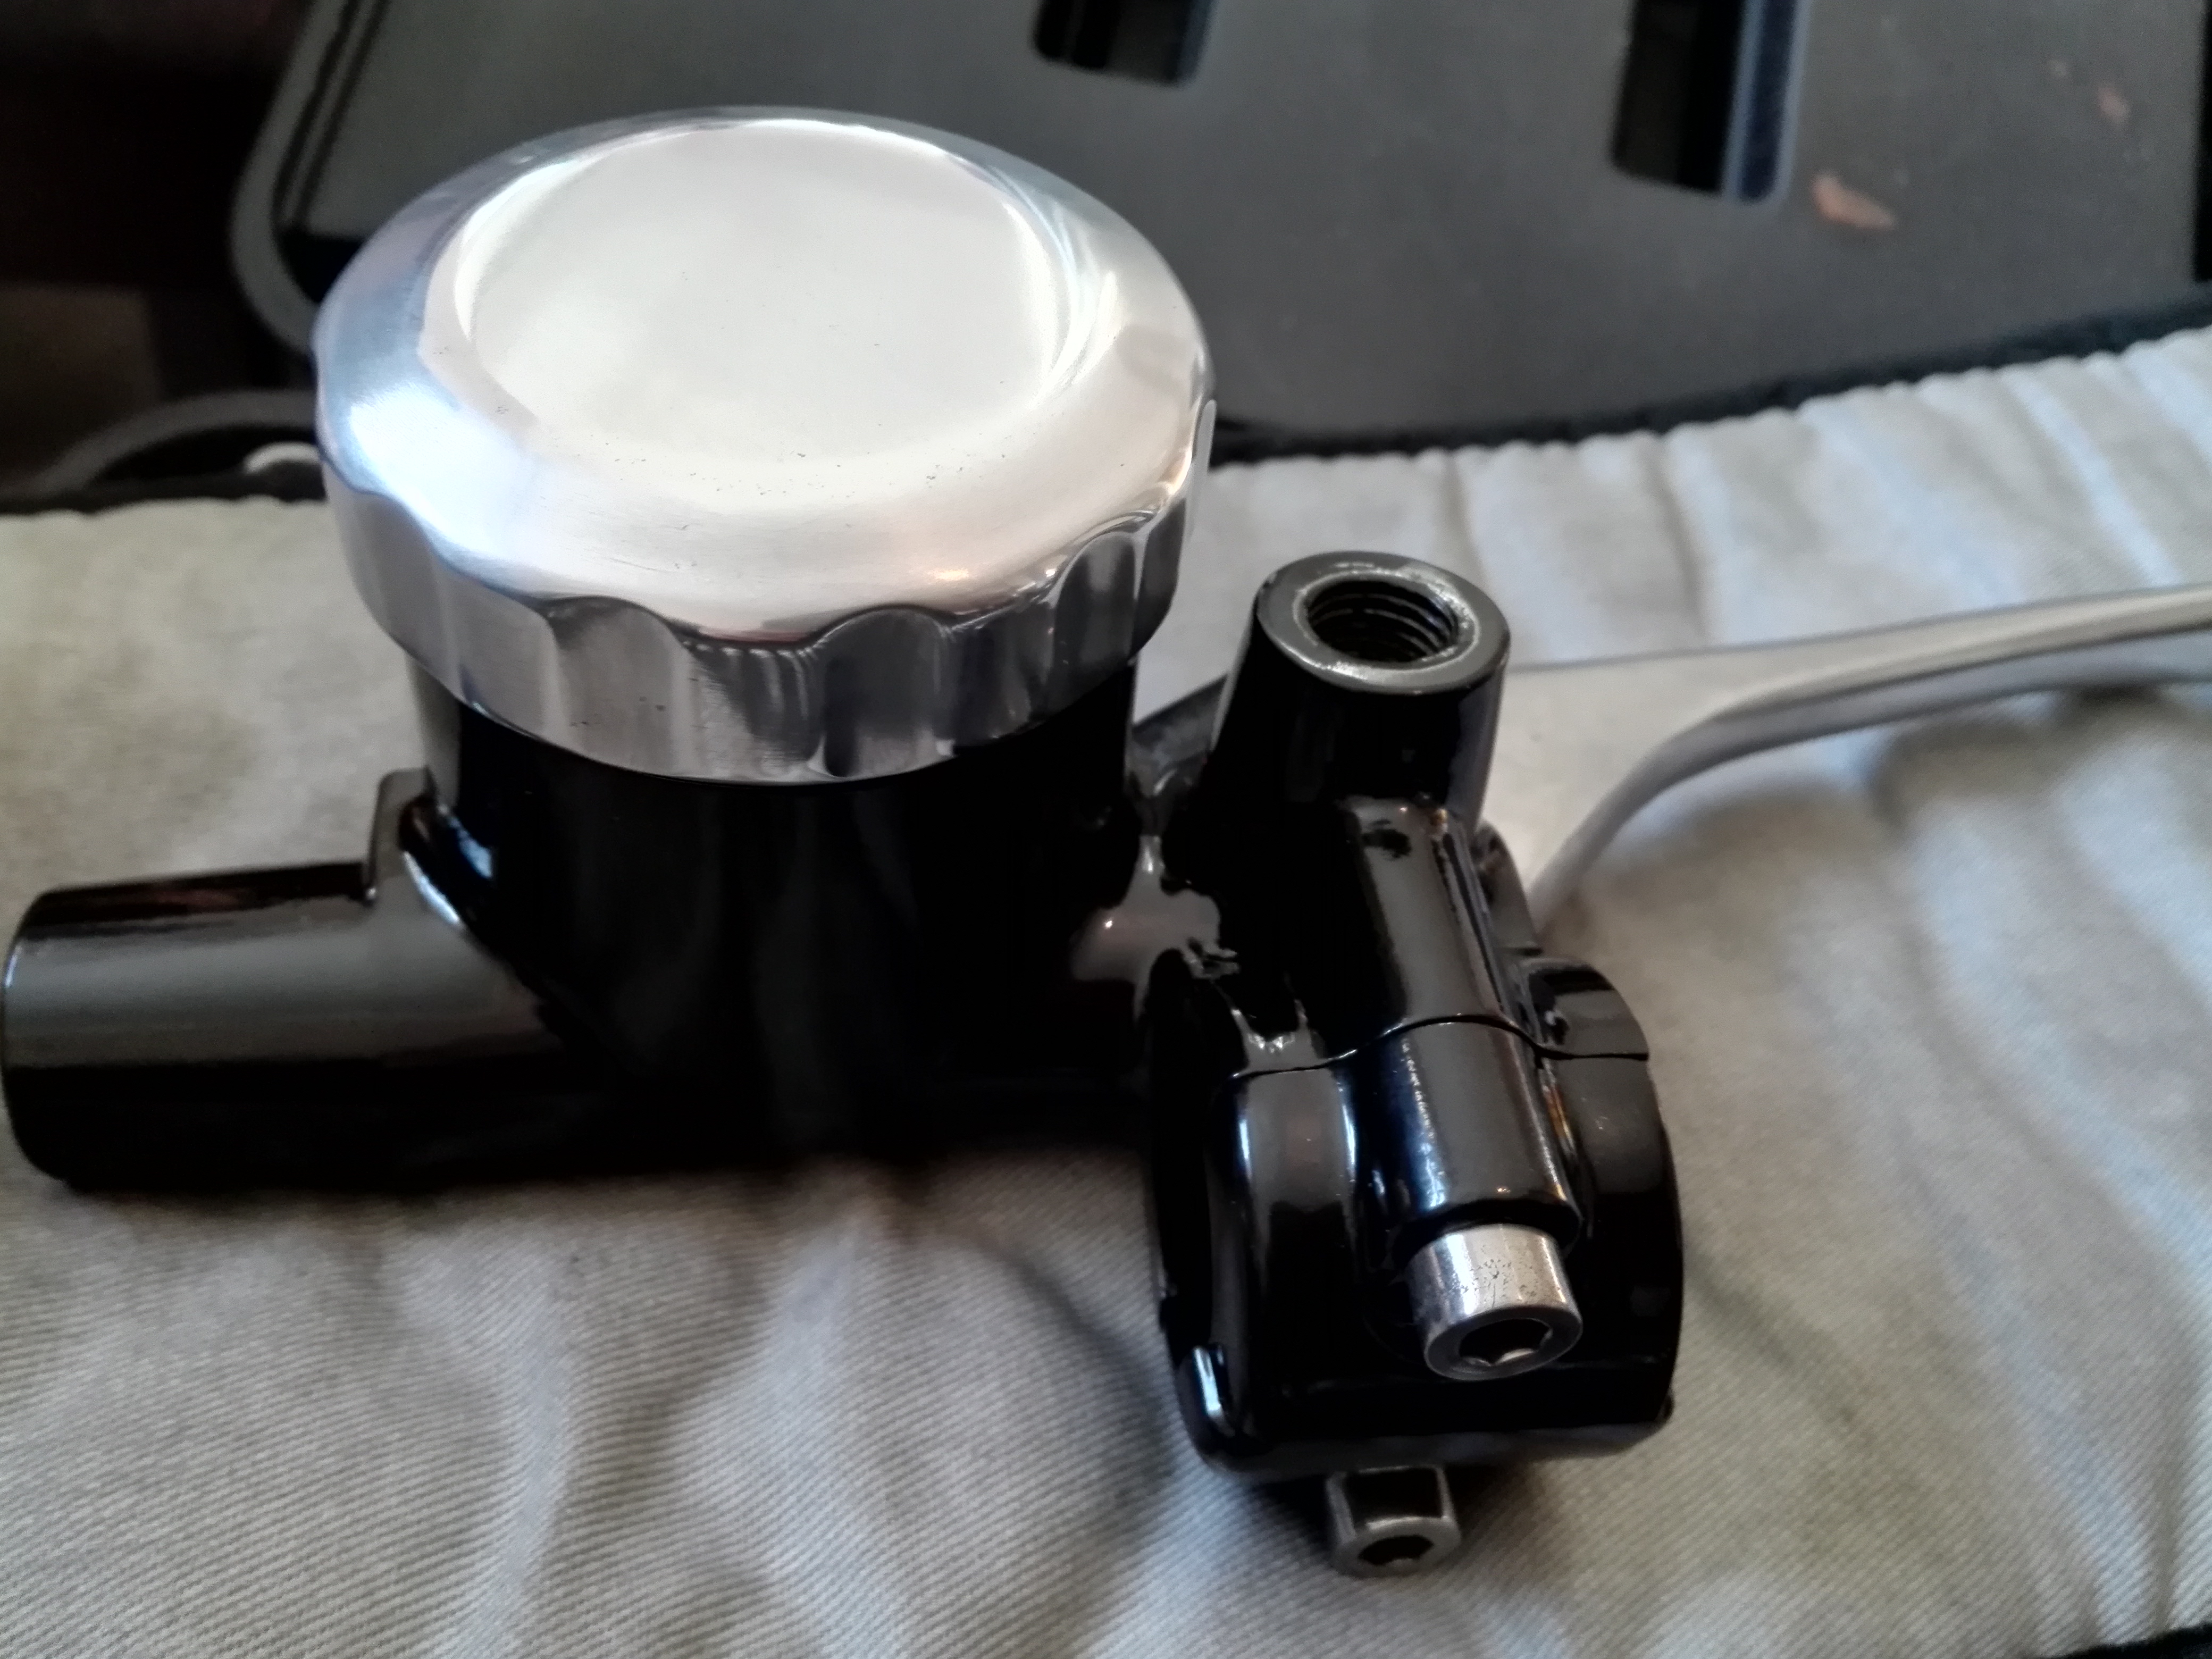
A bit of scotchbrite to smooth everything over.
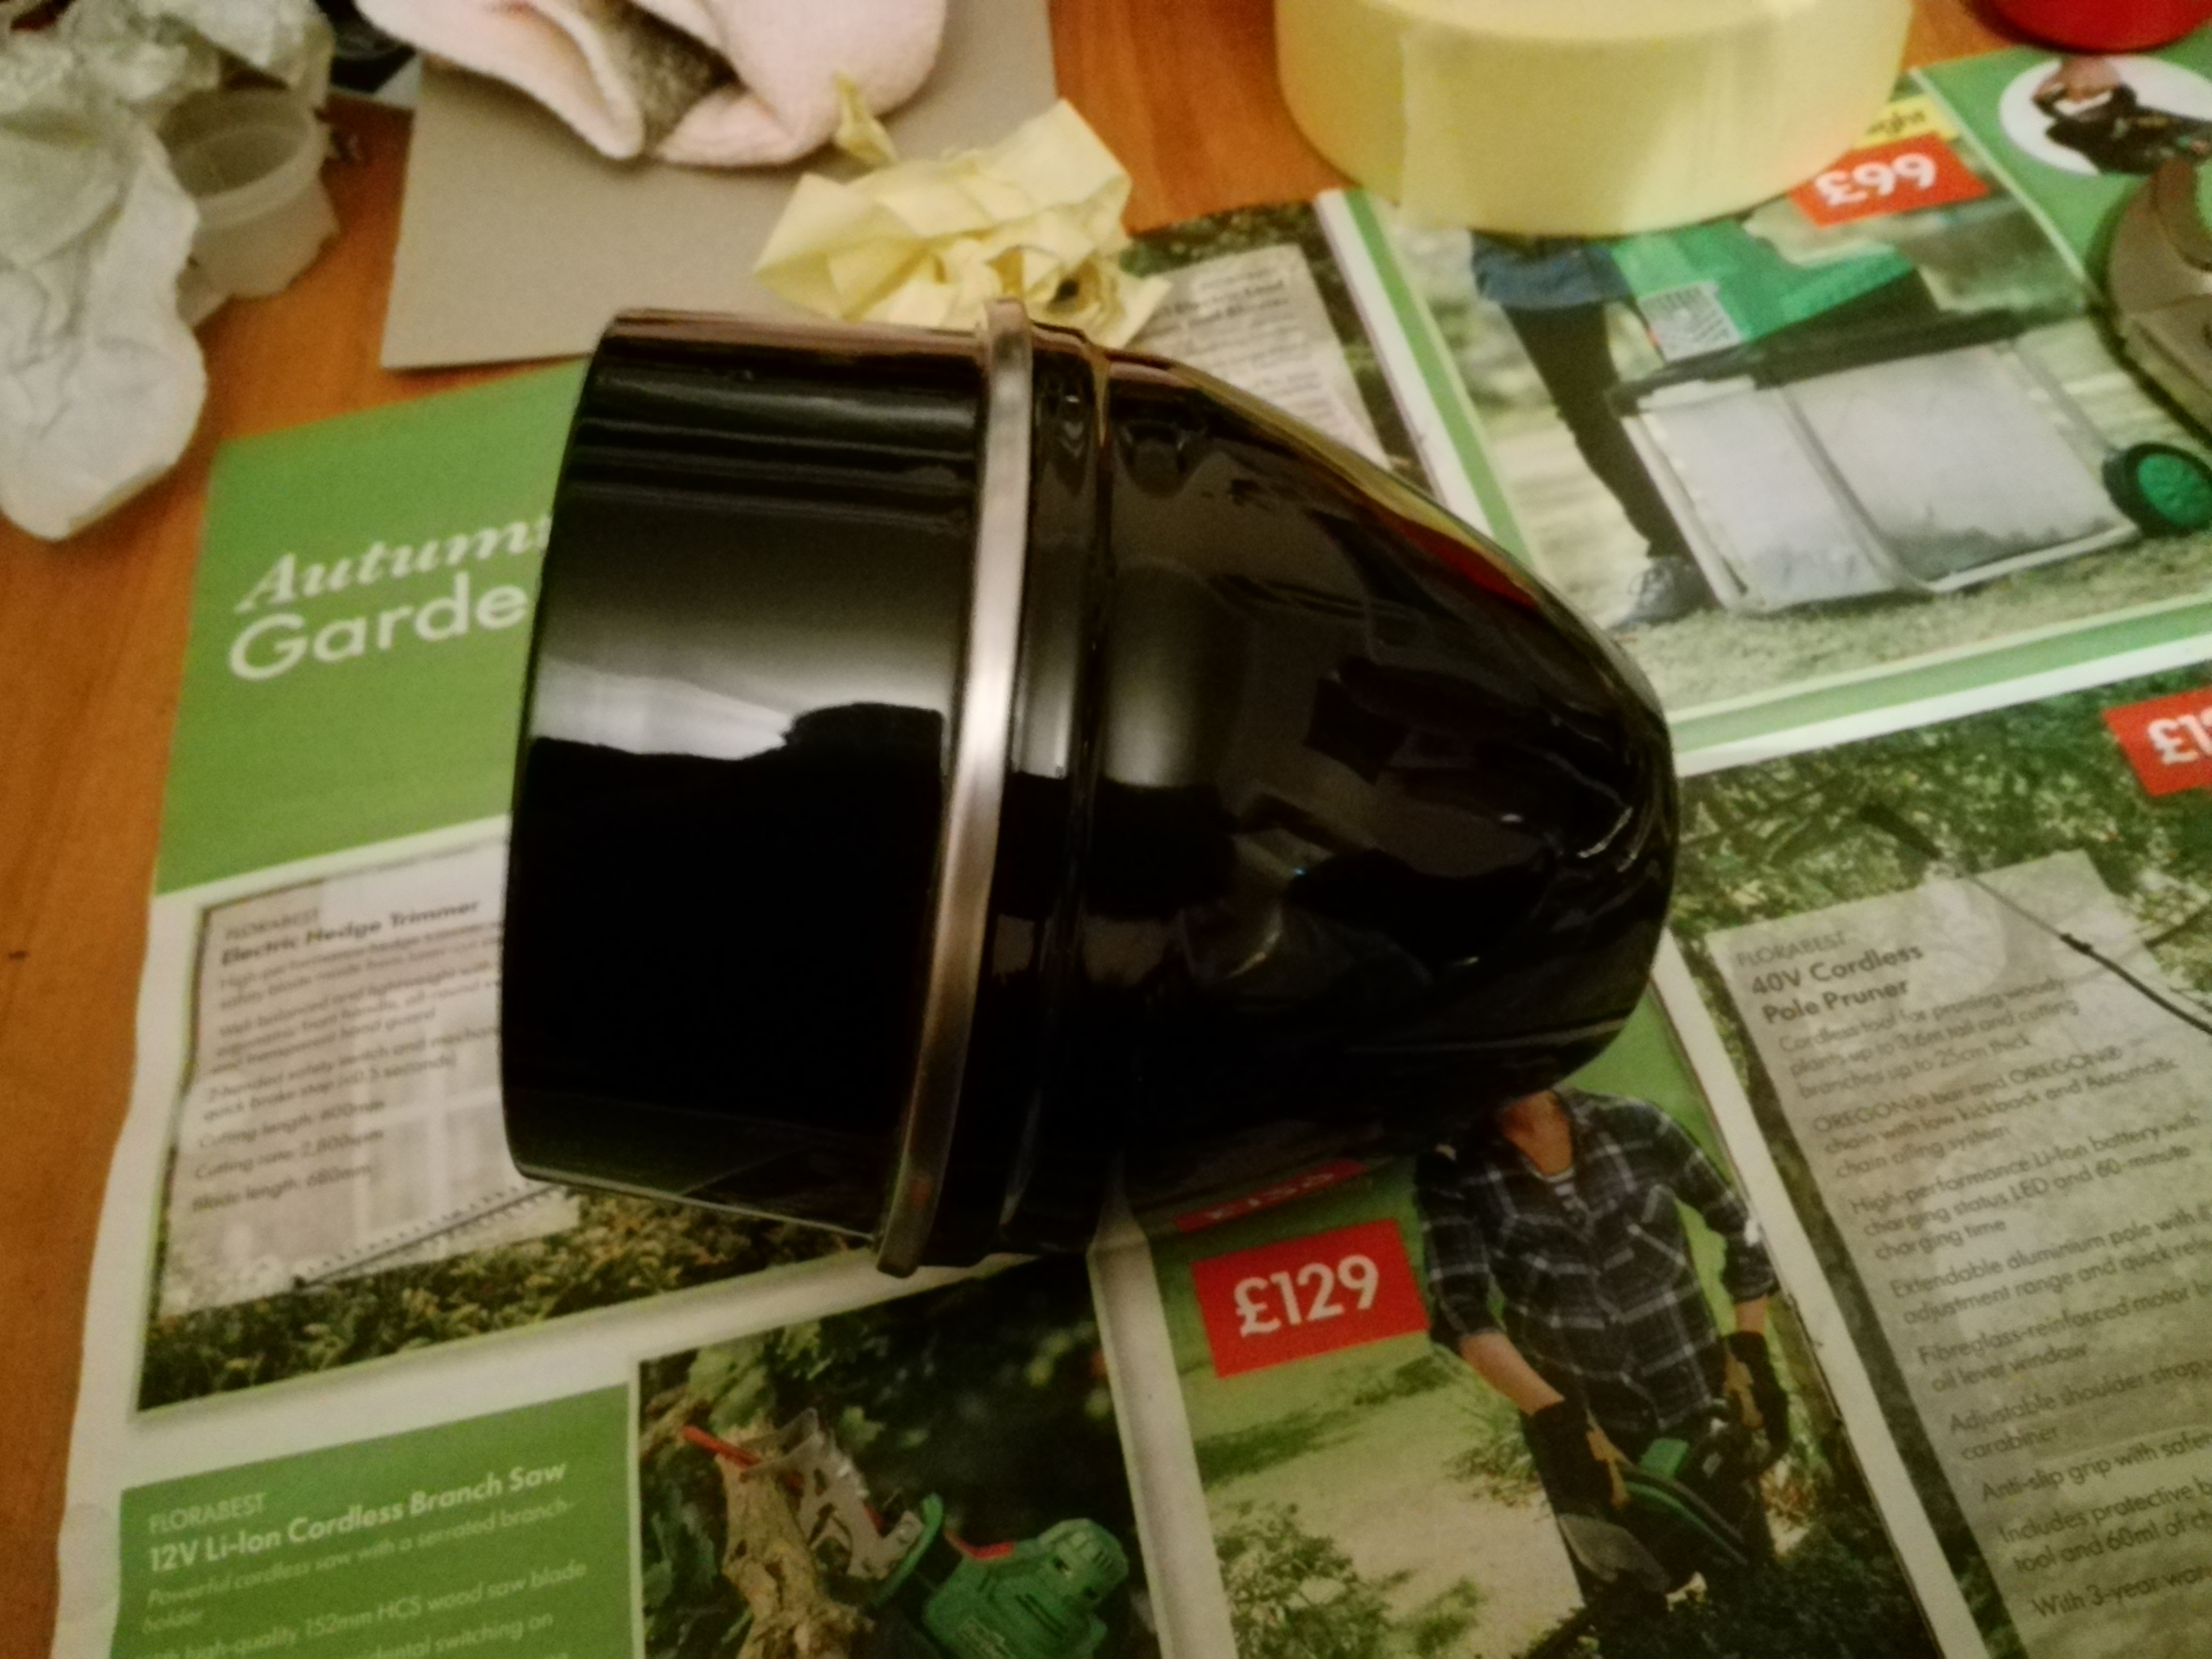
While i was at it I did the lid too. My plan is to polish the lid and lever and paint the body black.

Trying something different by creating a new shoulder bolt from a stainless cap screw with a washer and sleeve. If it works I will loctite it all together.
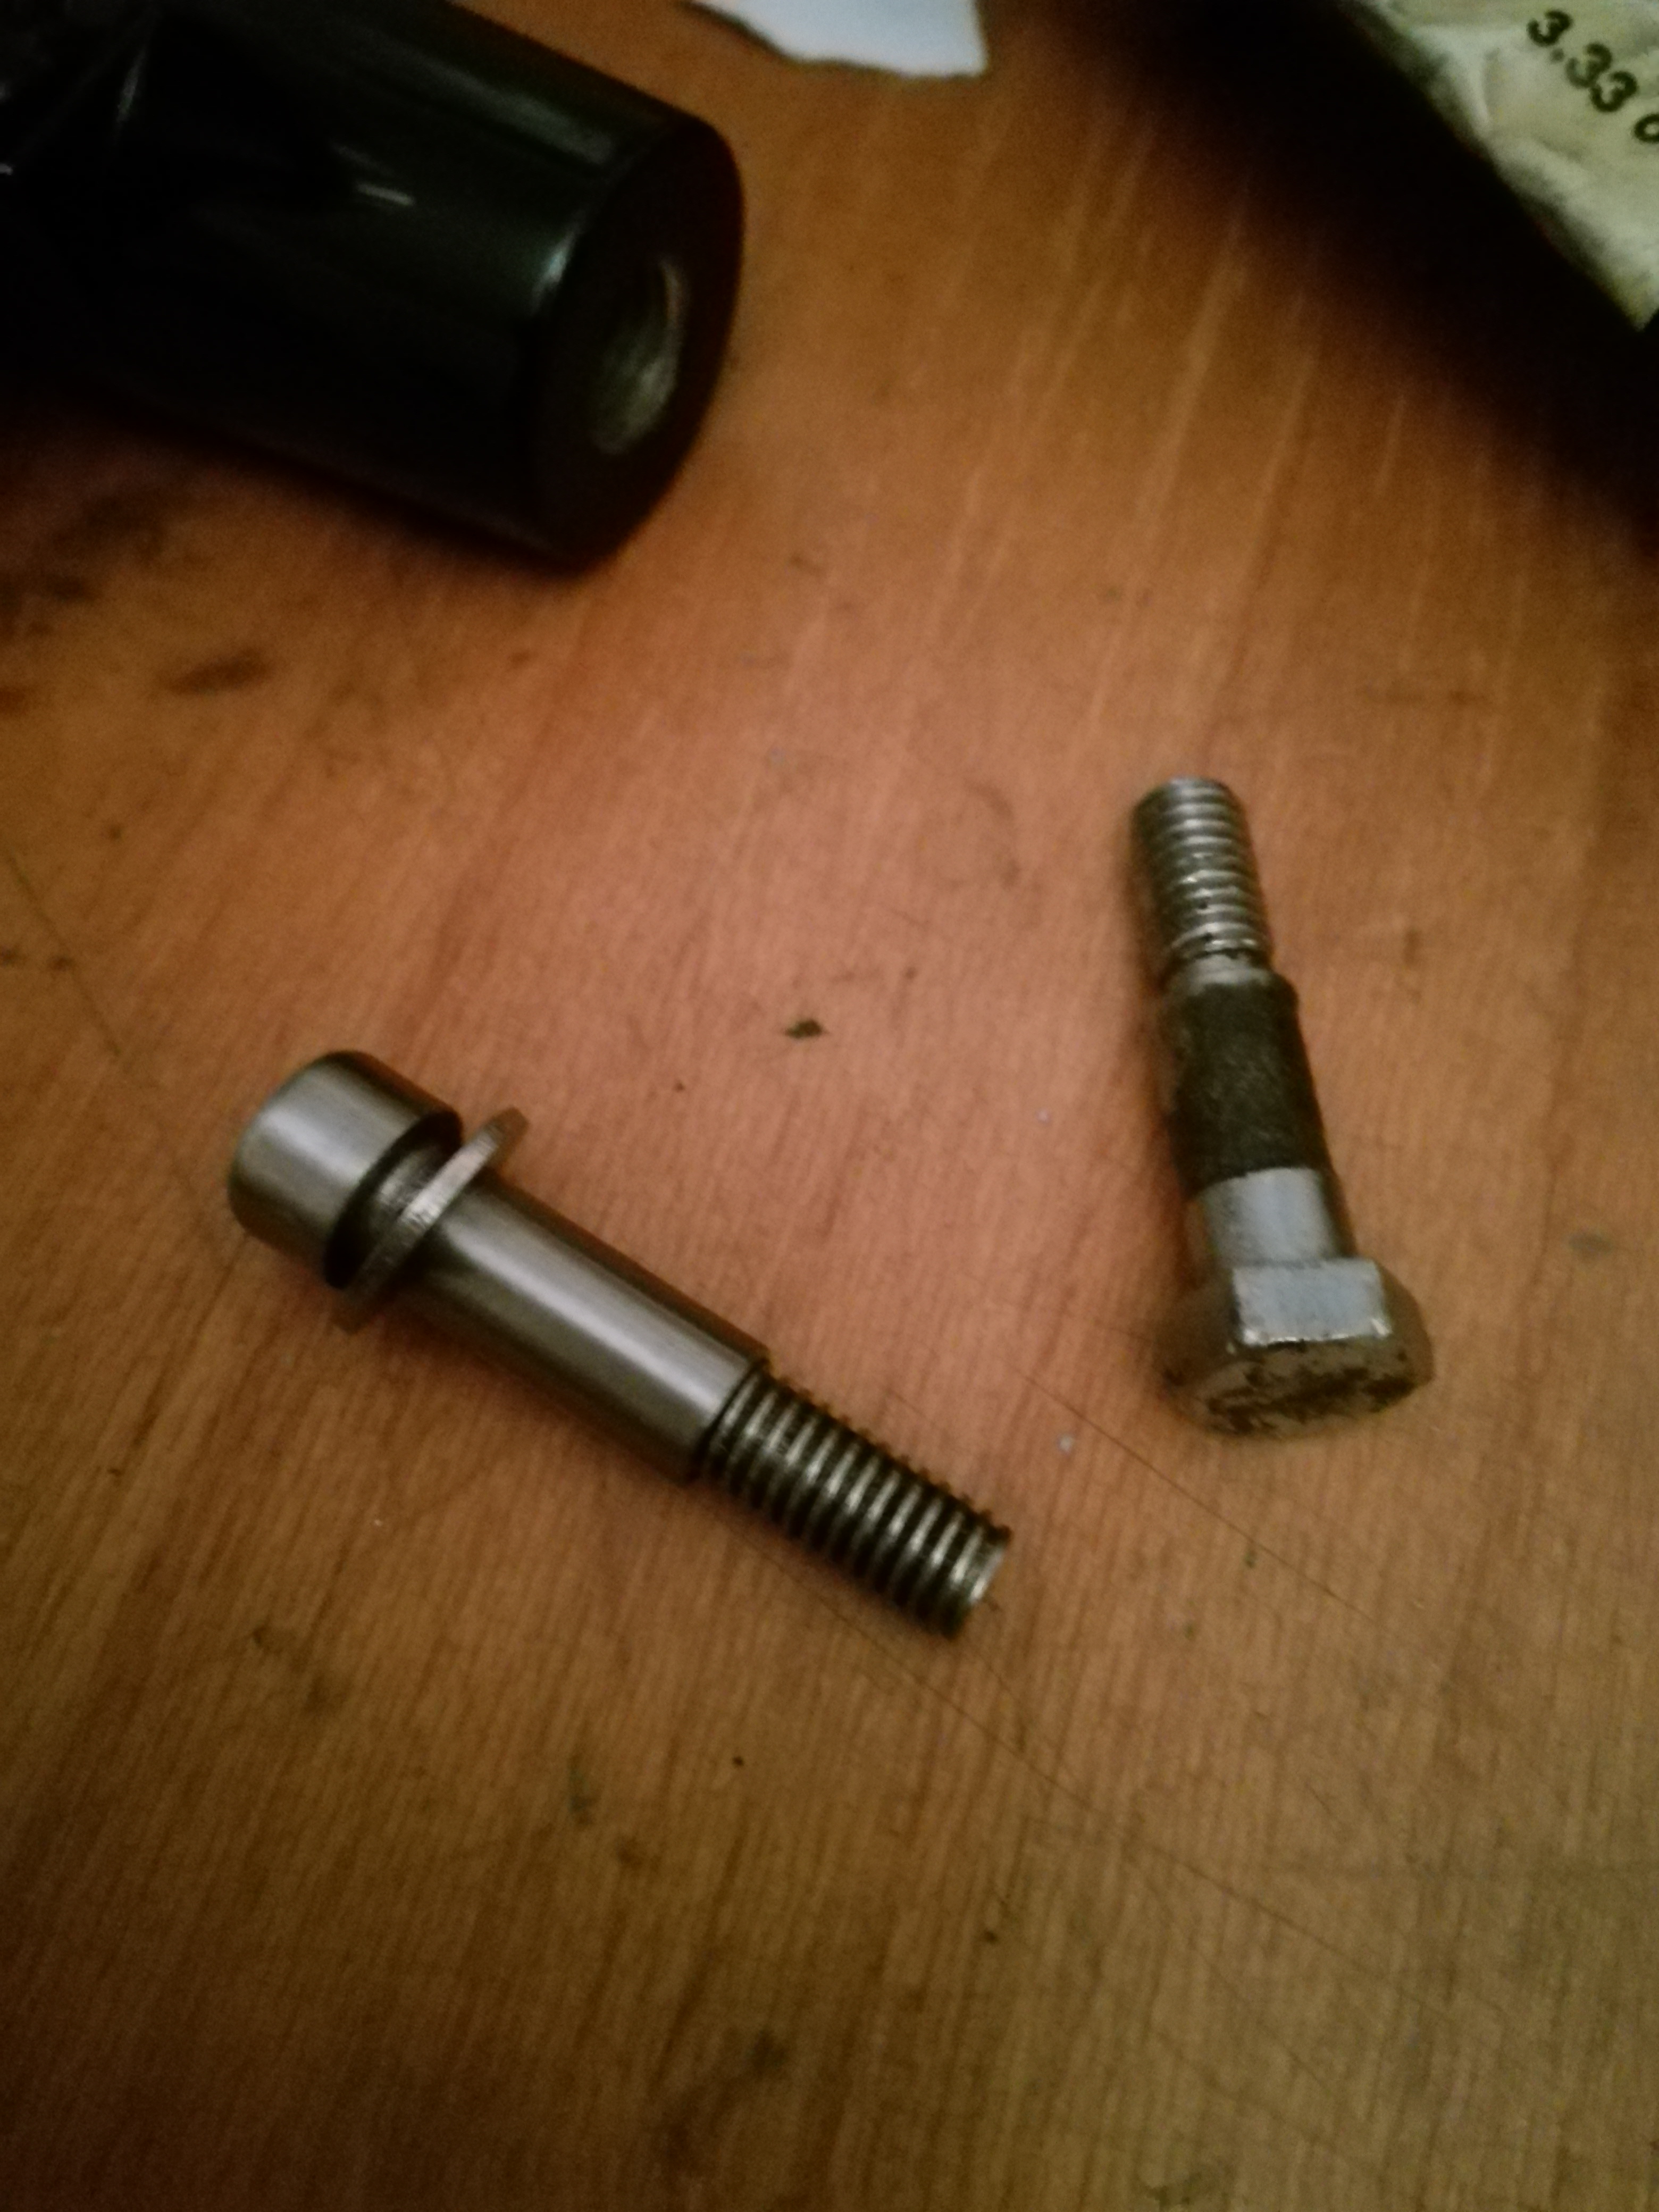
End result looks ok I think
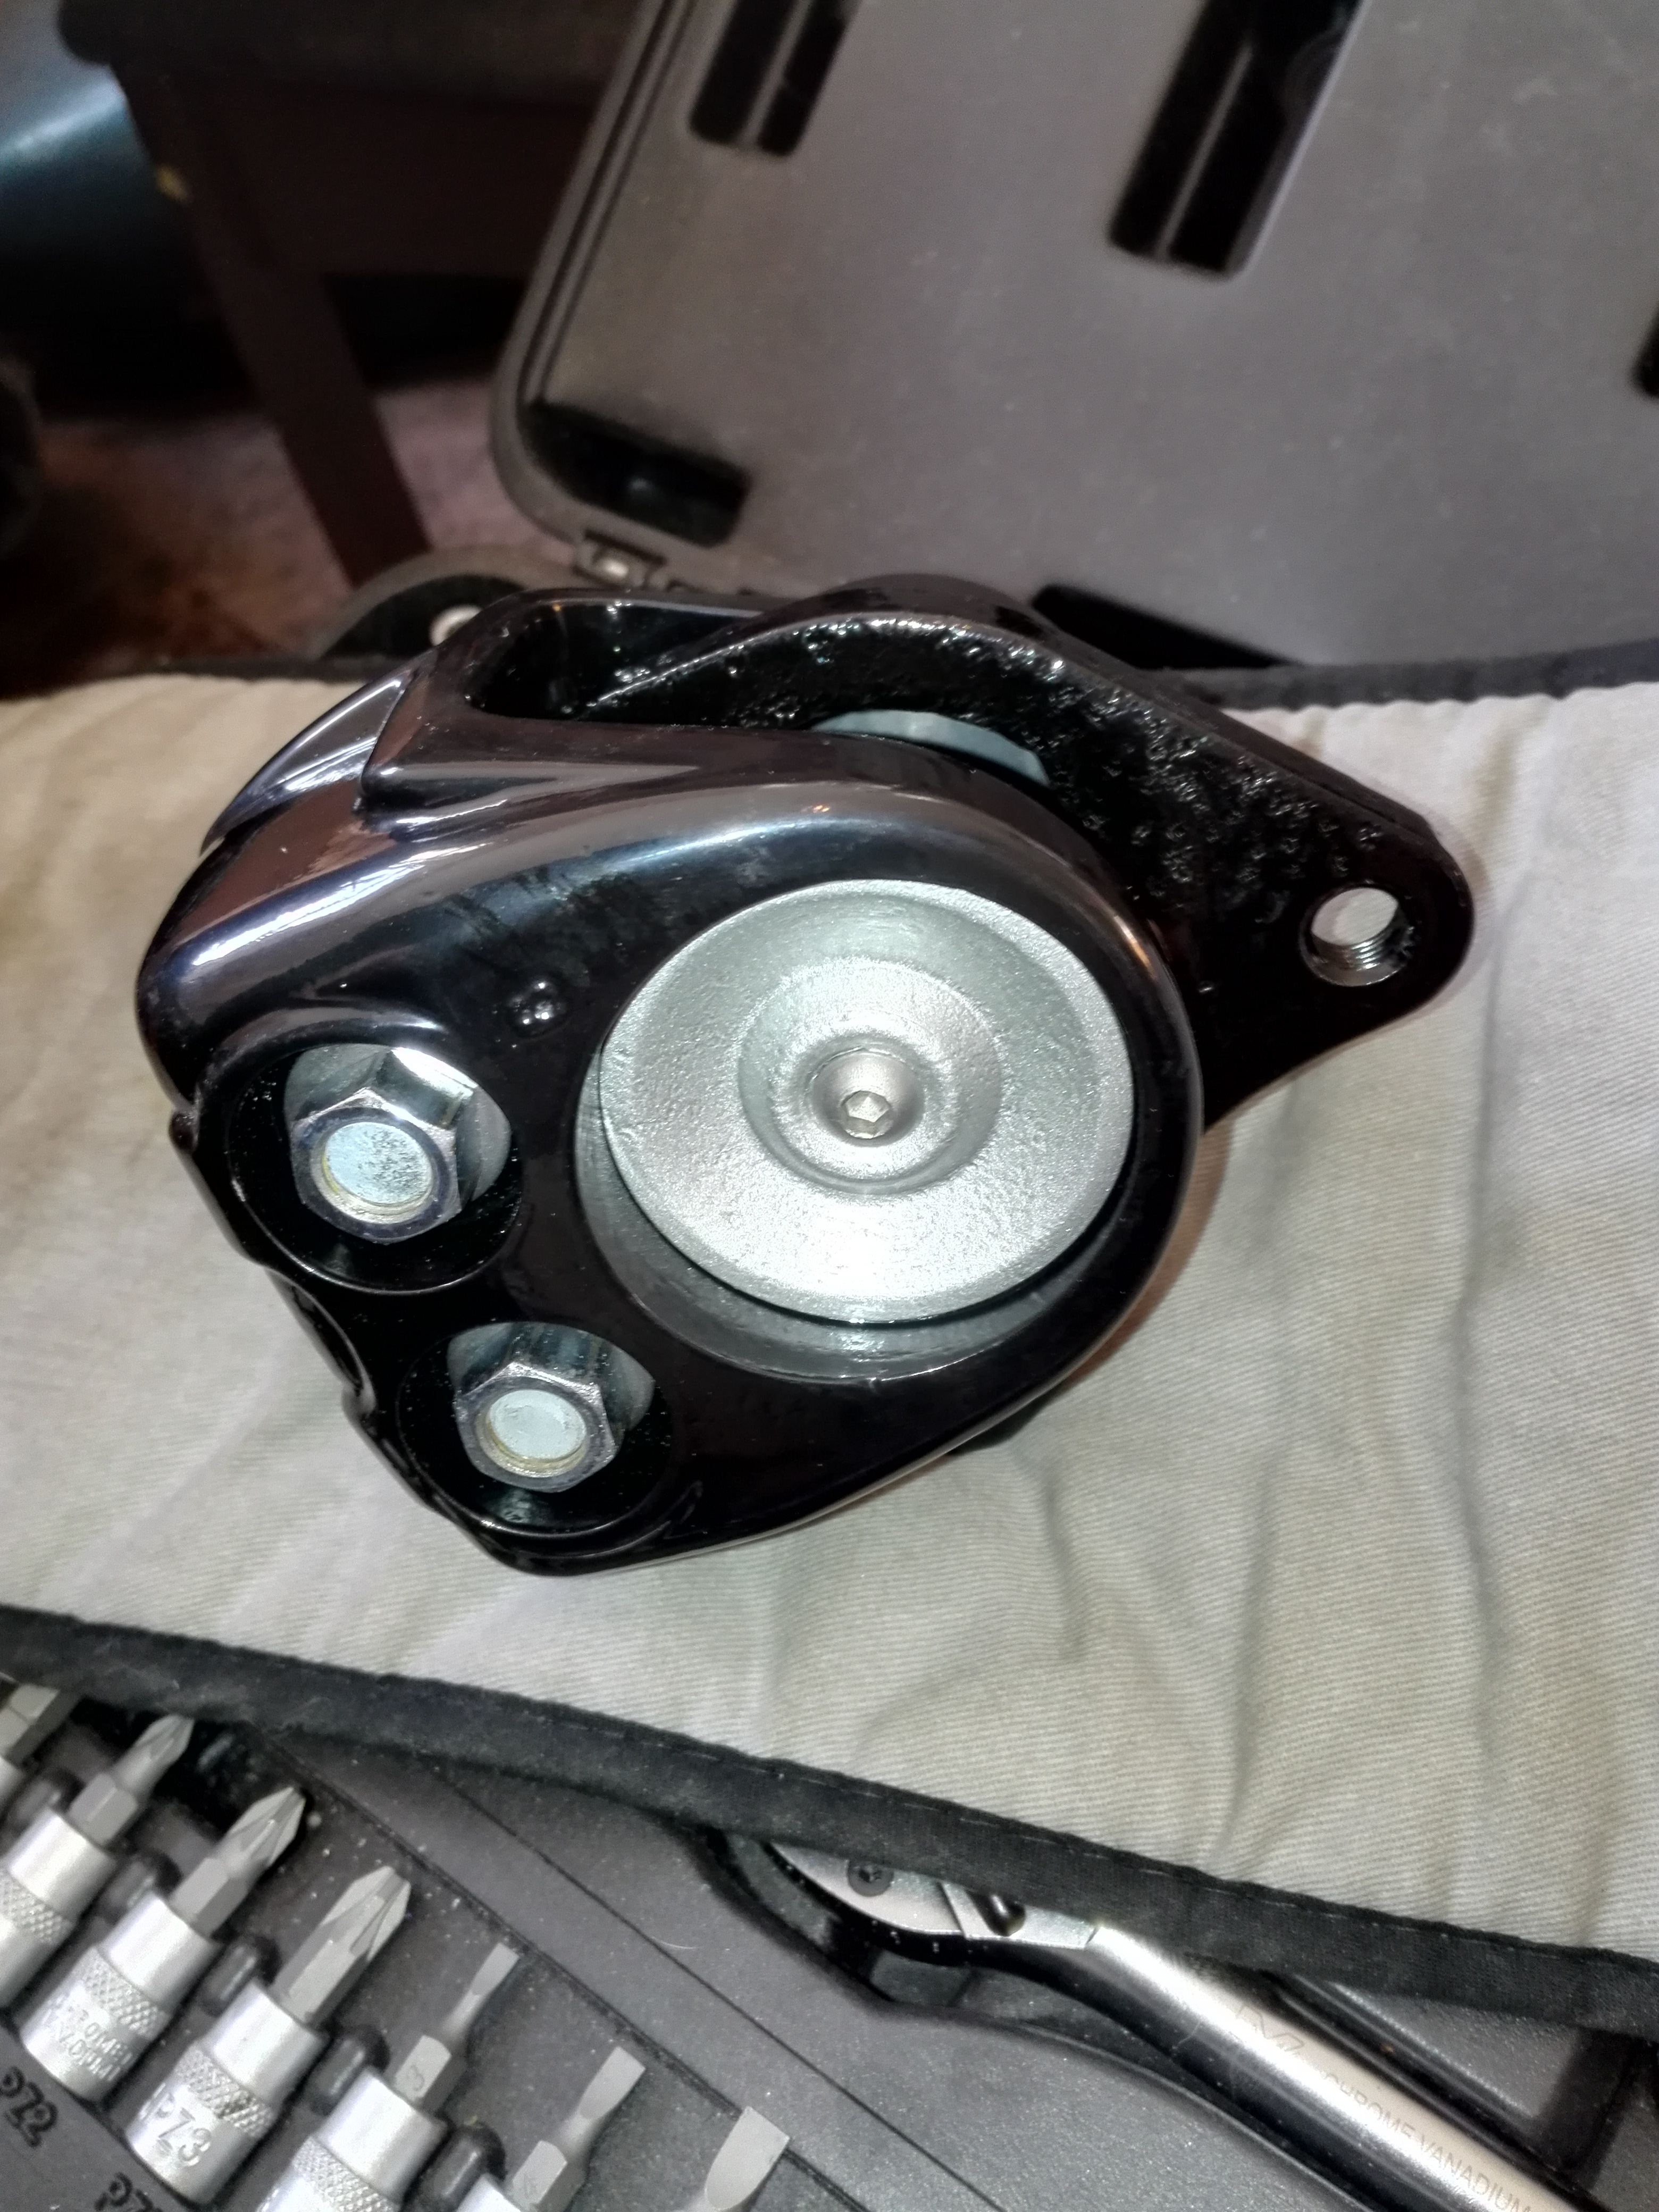
 11th October 2018 at 8:26 pm #23908Ownthesky2010Participant
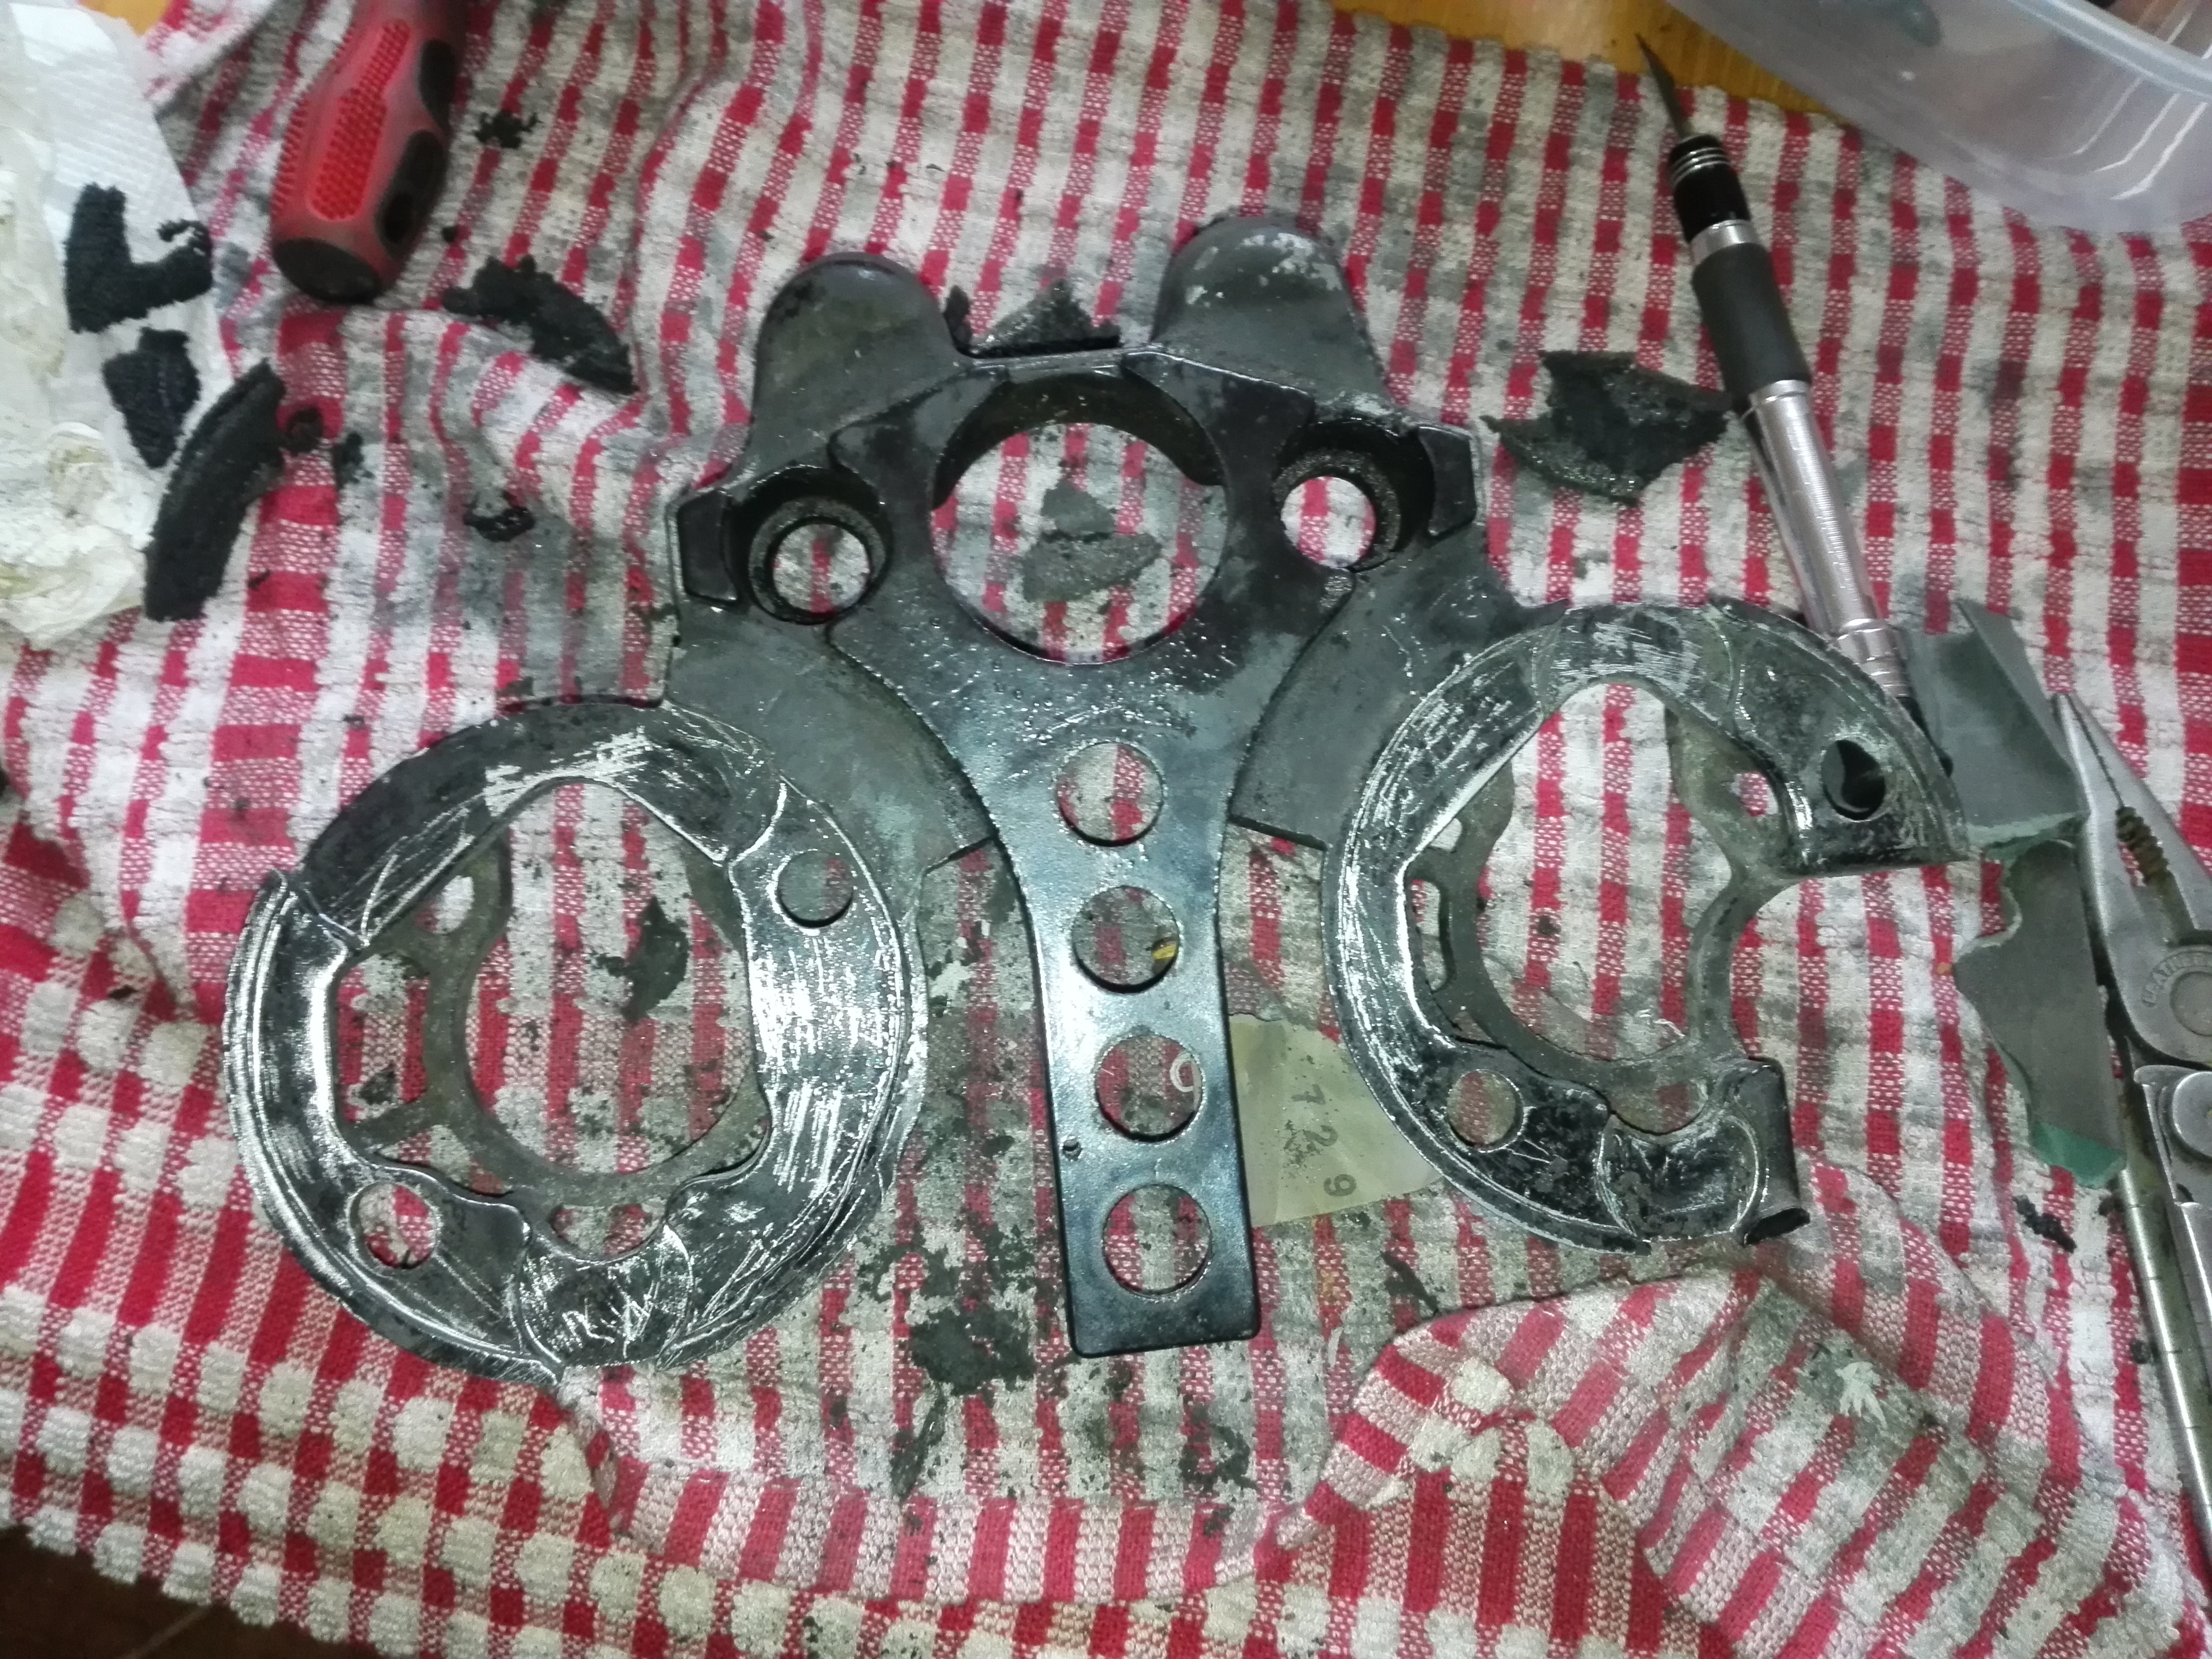
Front caliper next. It looks worse than it actually is. They can be difficult to get apart so its best to loosen all the nuts and bolts while its still on the bike. The bleed nipple was very difficult but a lot of patience paid off.
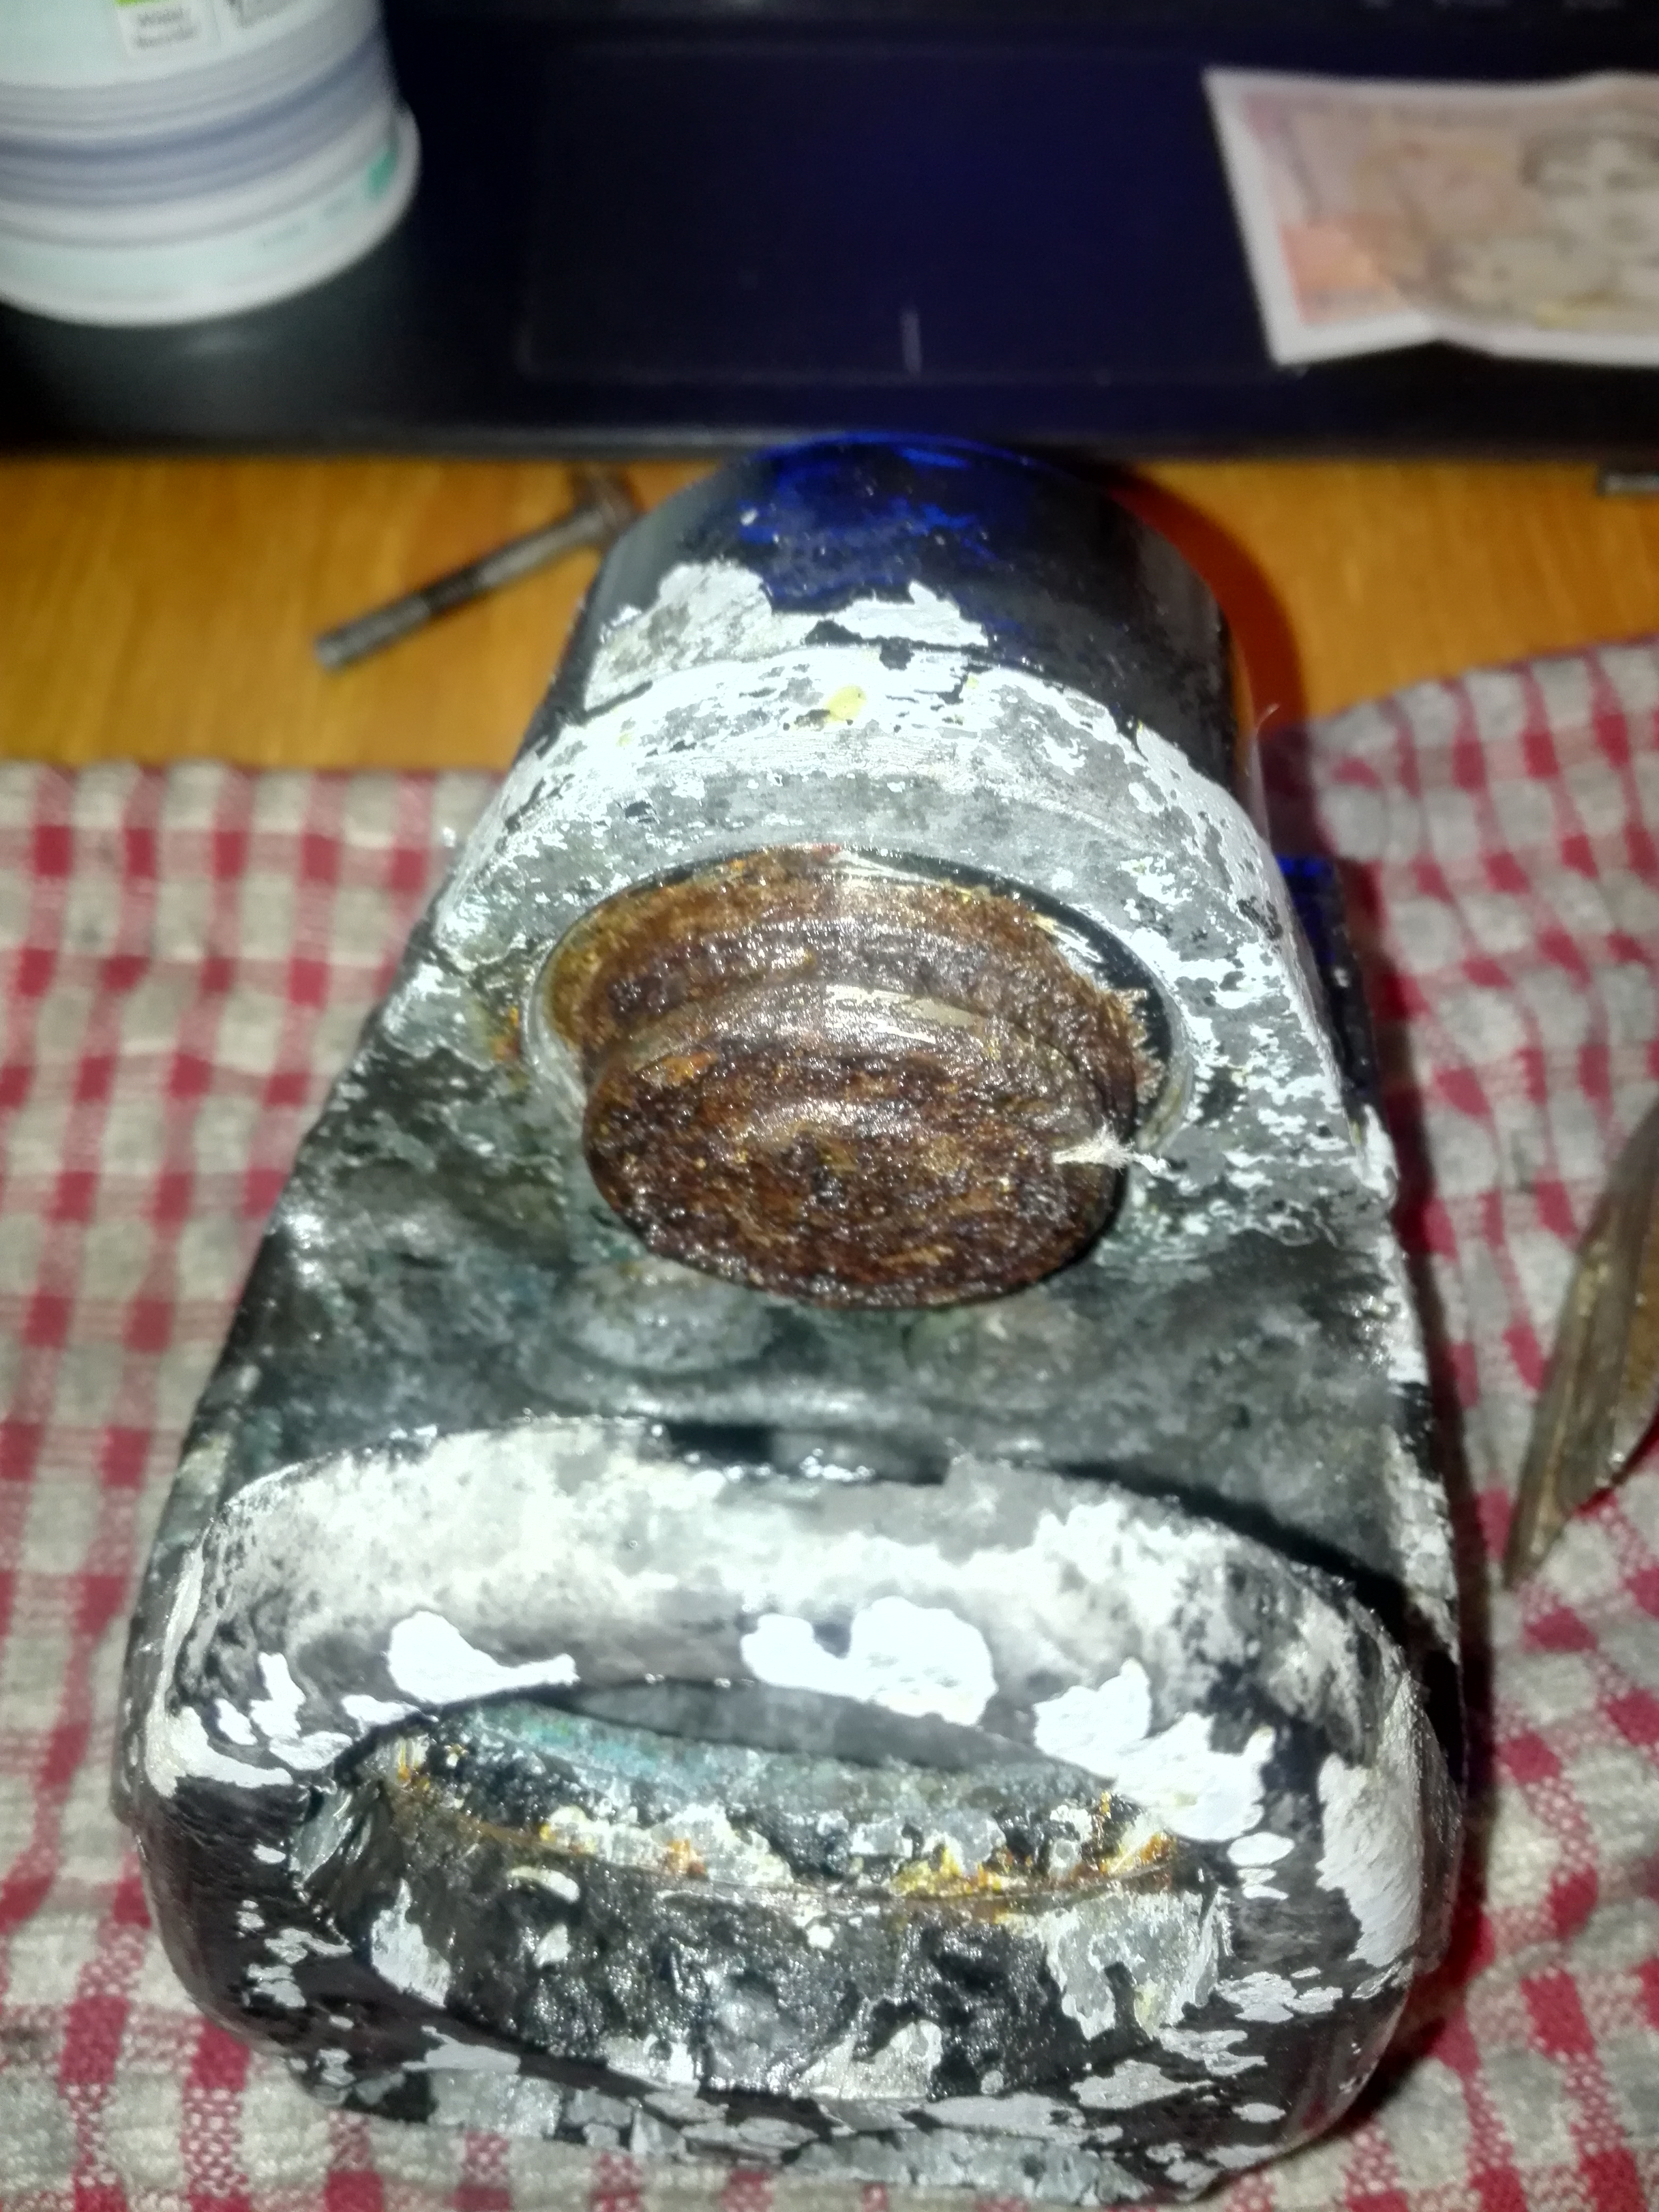

I used compressed air to get the piston out and the front is very rusty but the rest is ok so I can probably re-use it.

Stripped and ready for paint
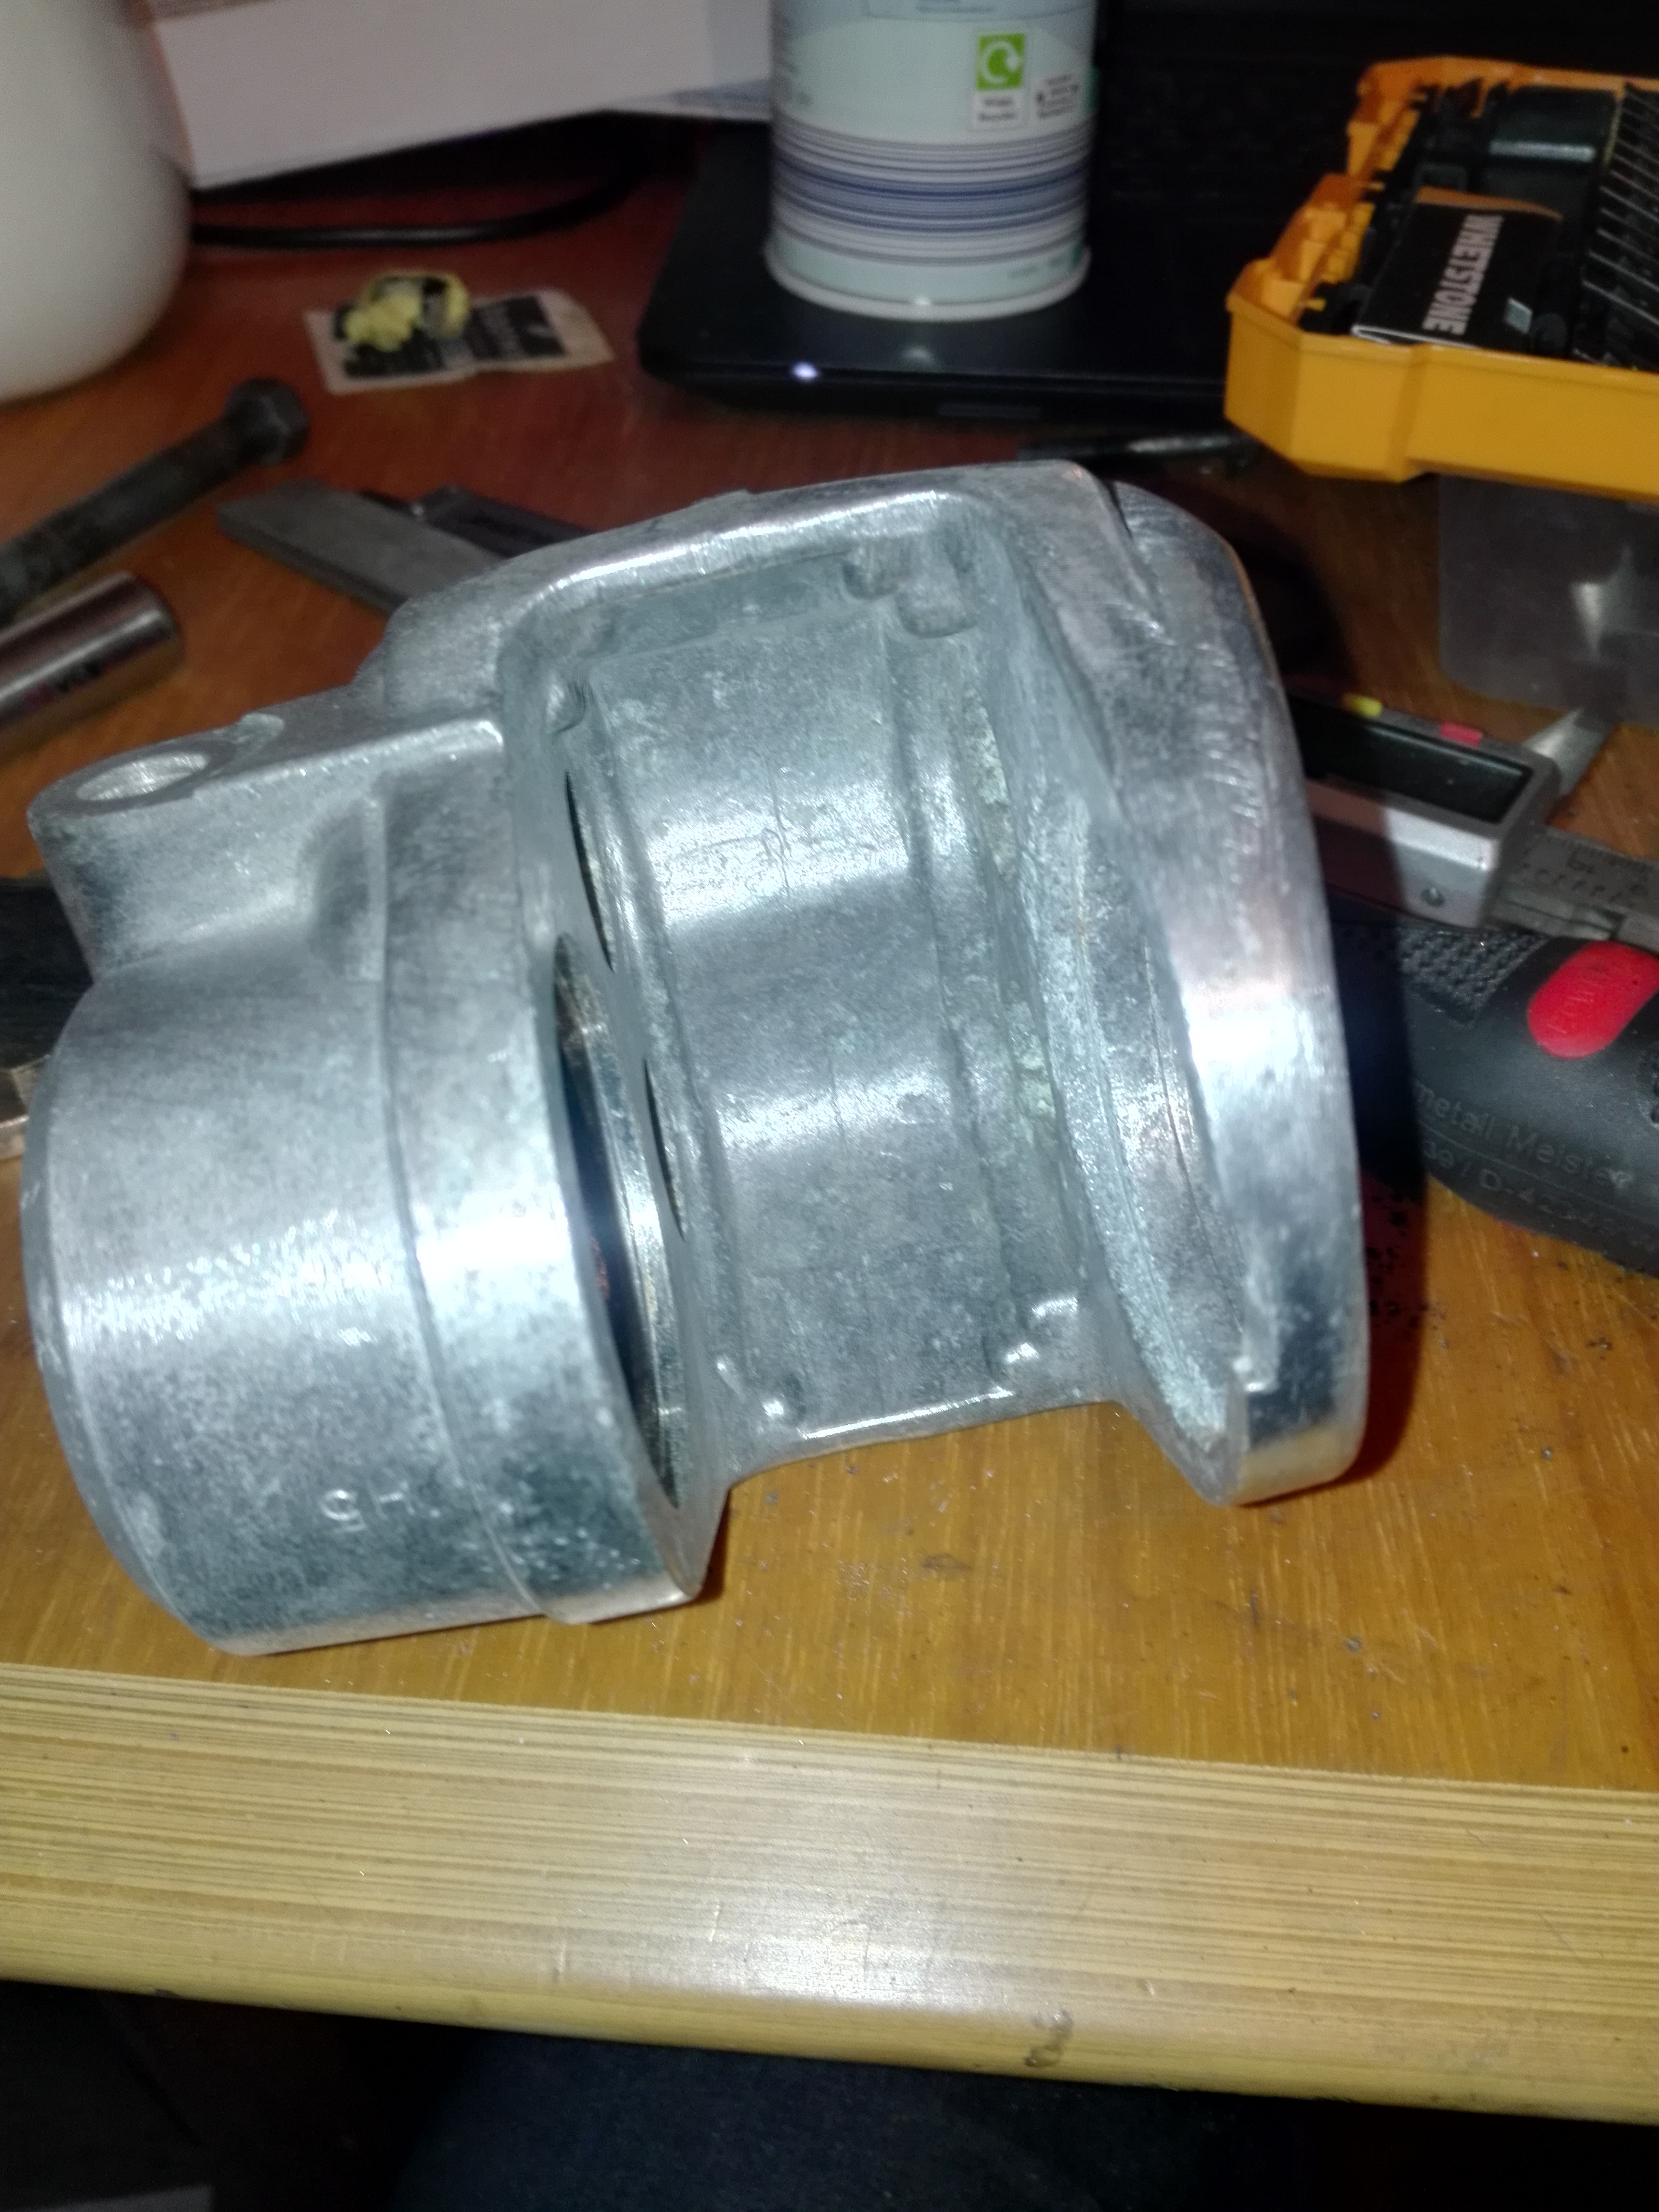

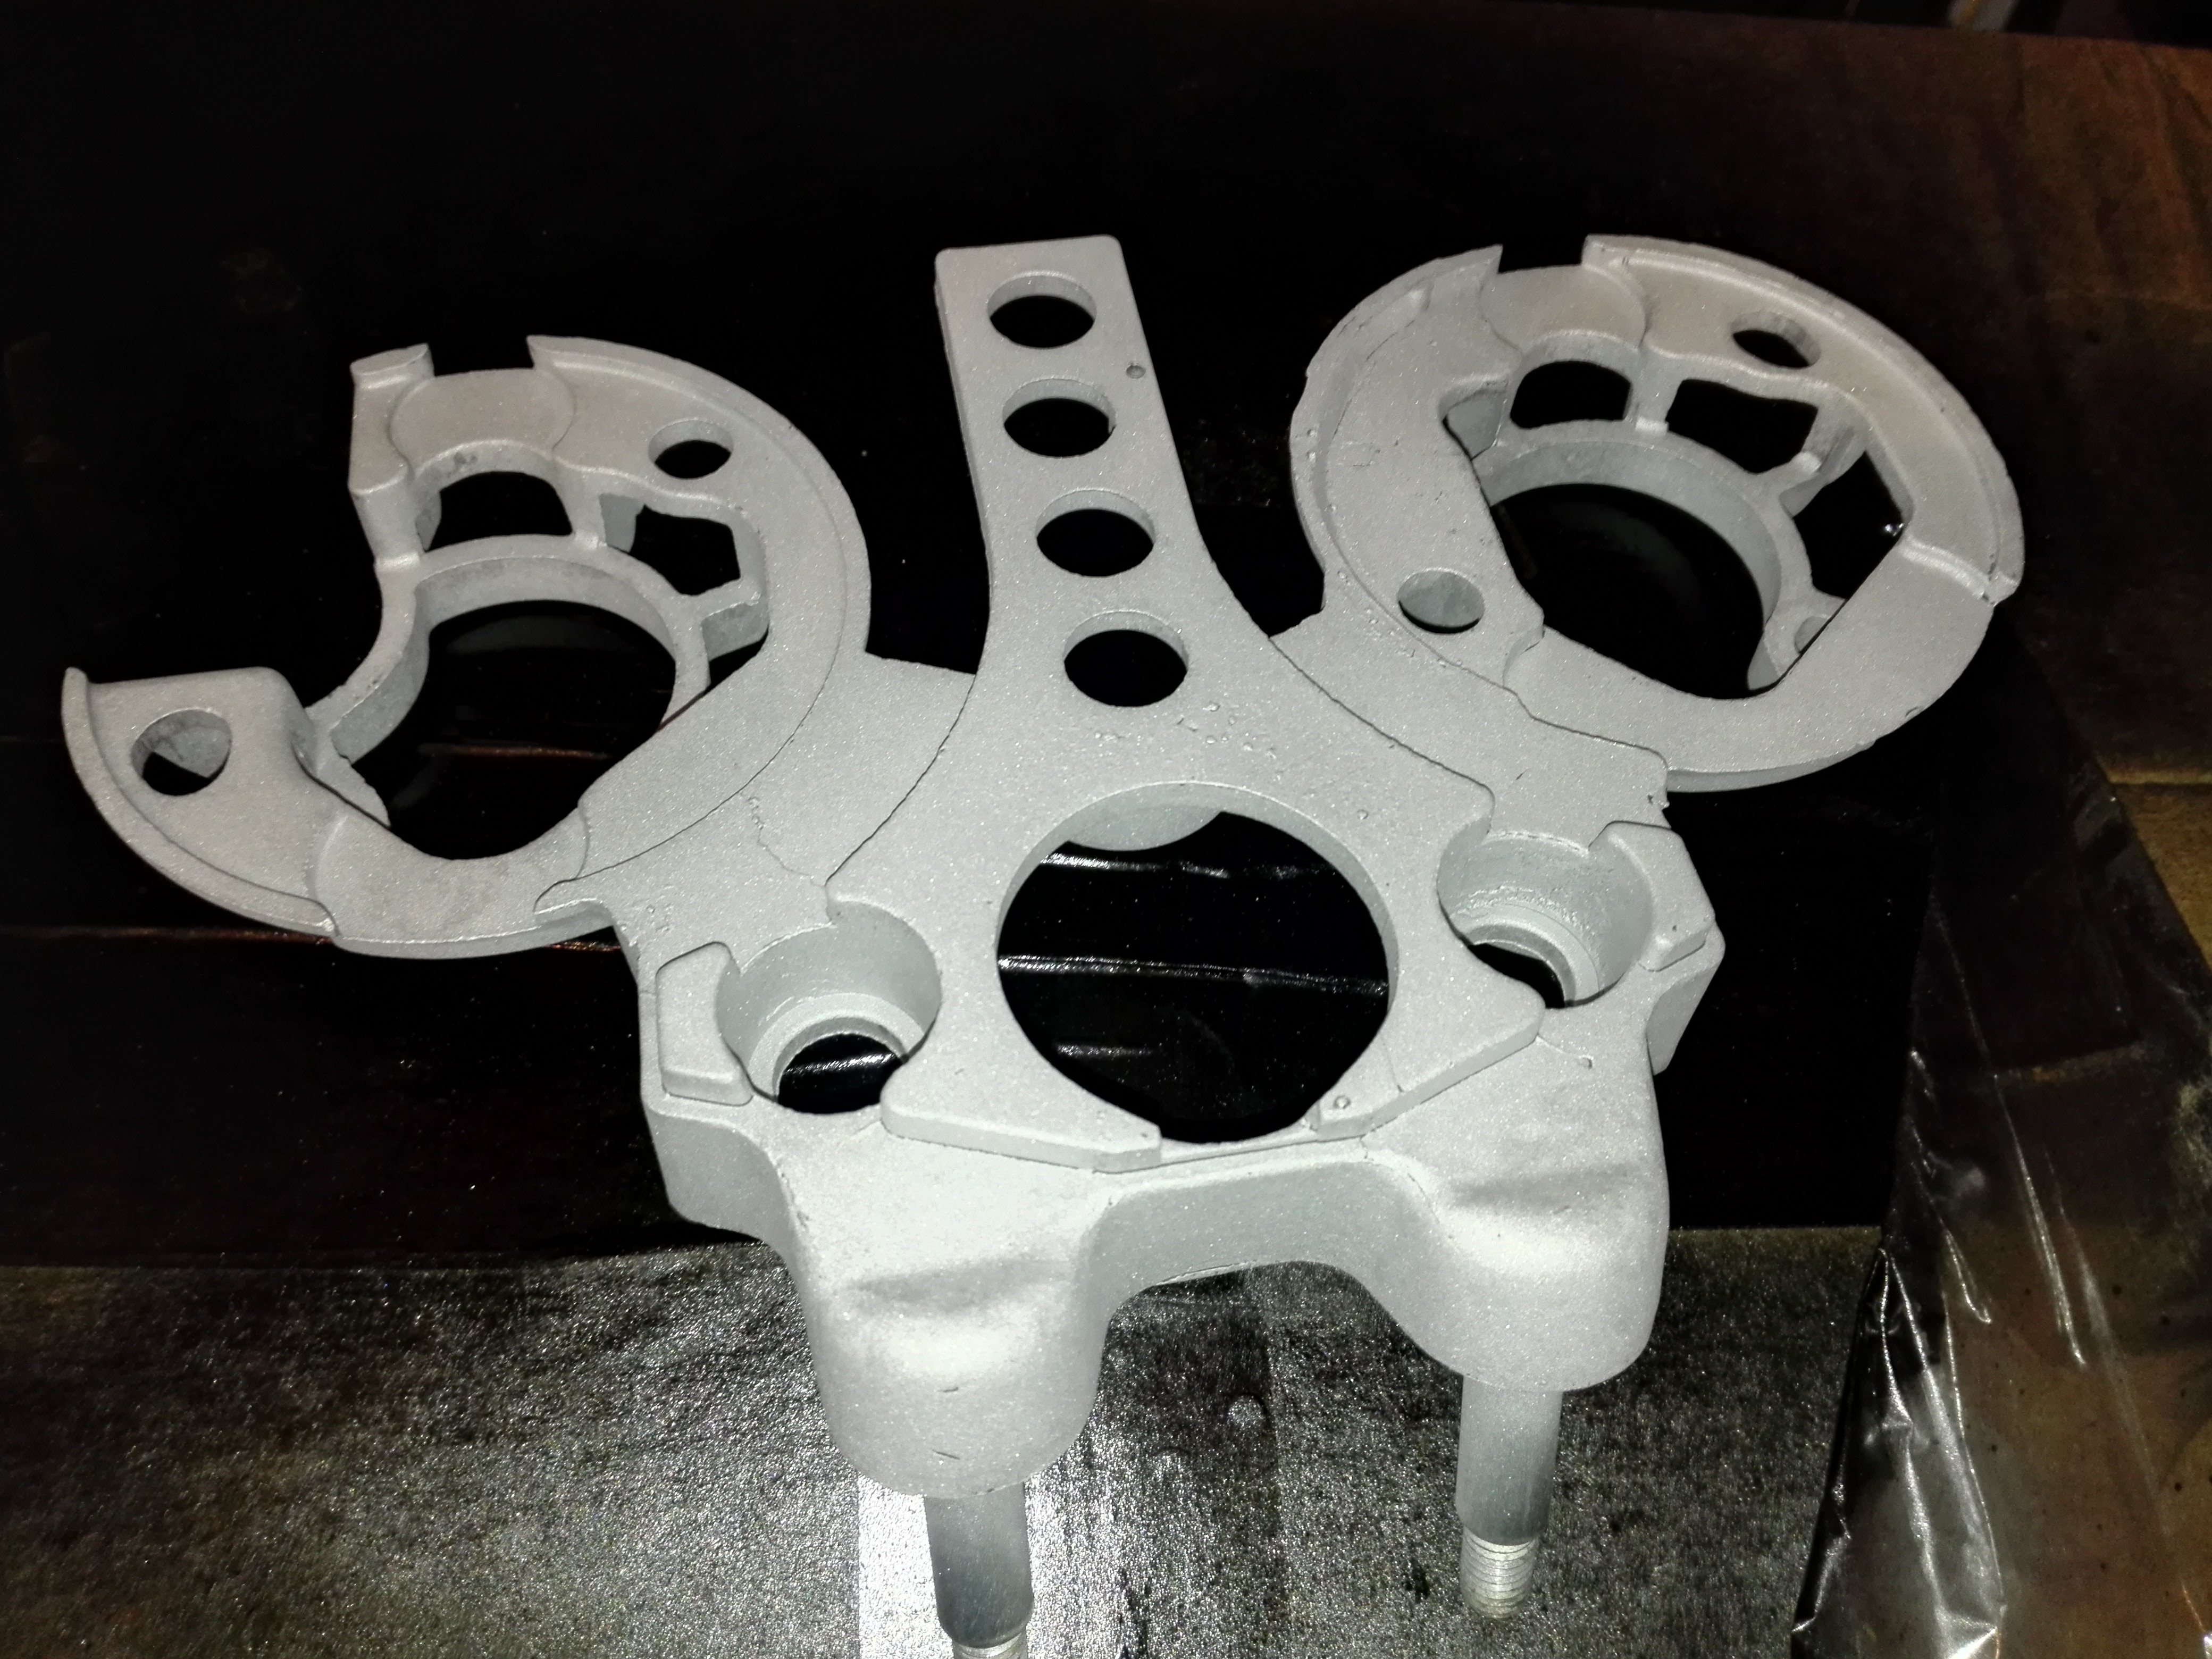
I wire brushed the daylights out of the mount after a good acid soak. The threads and the bores are the important parts and they are ok so I will just paint it. Most of it is invisible anyway.

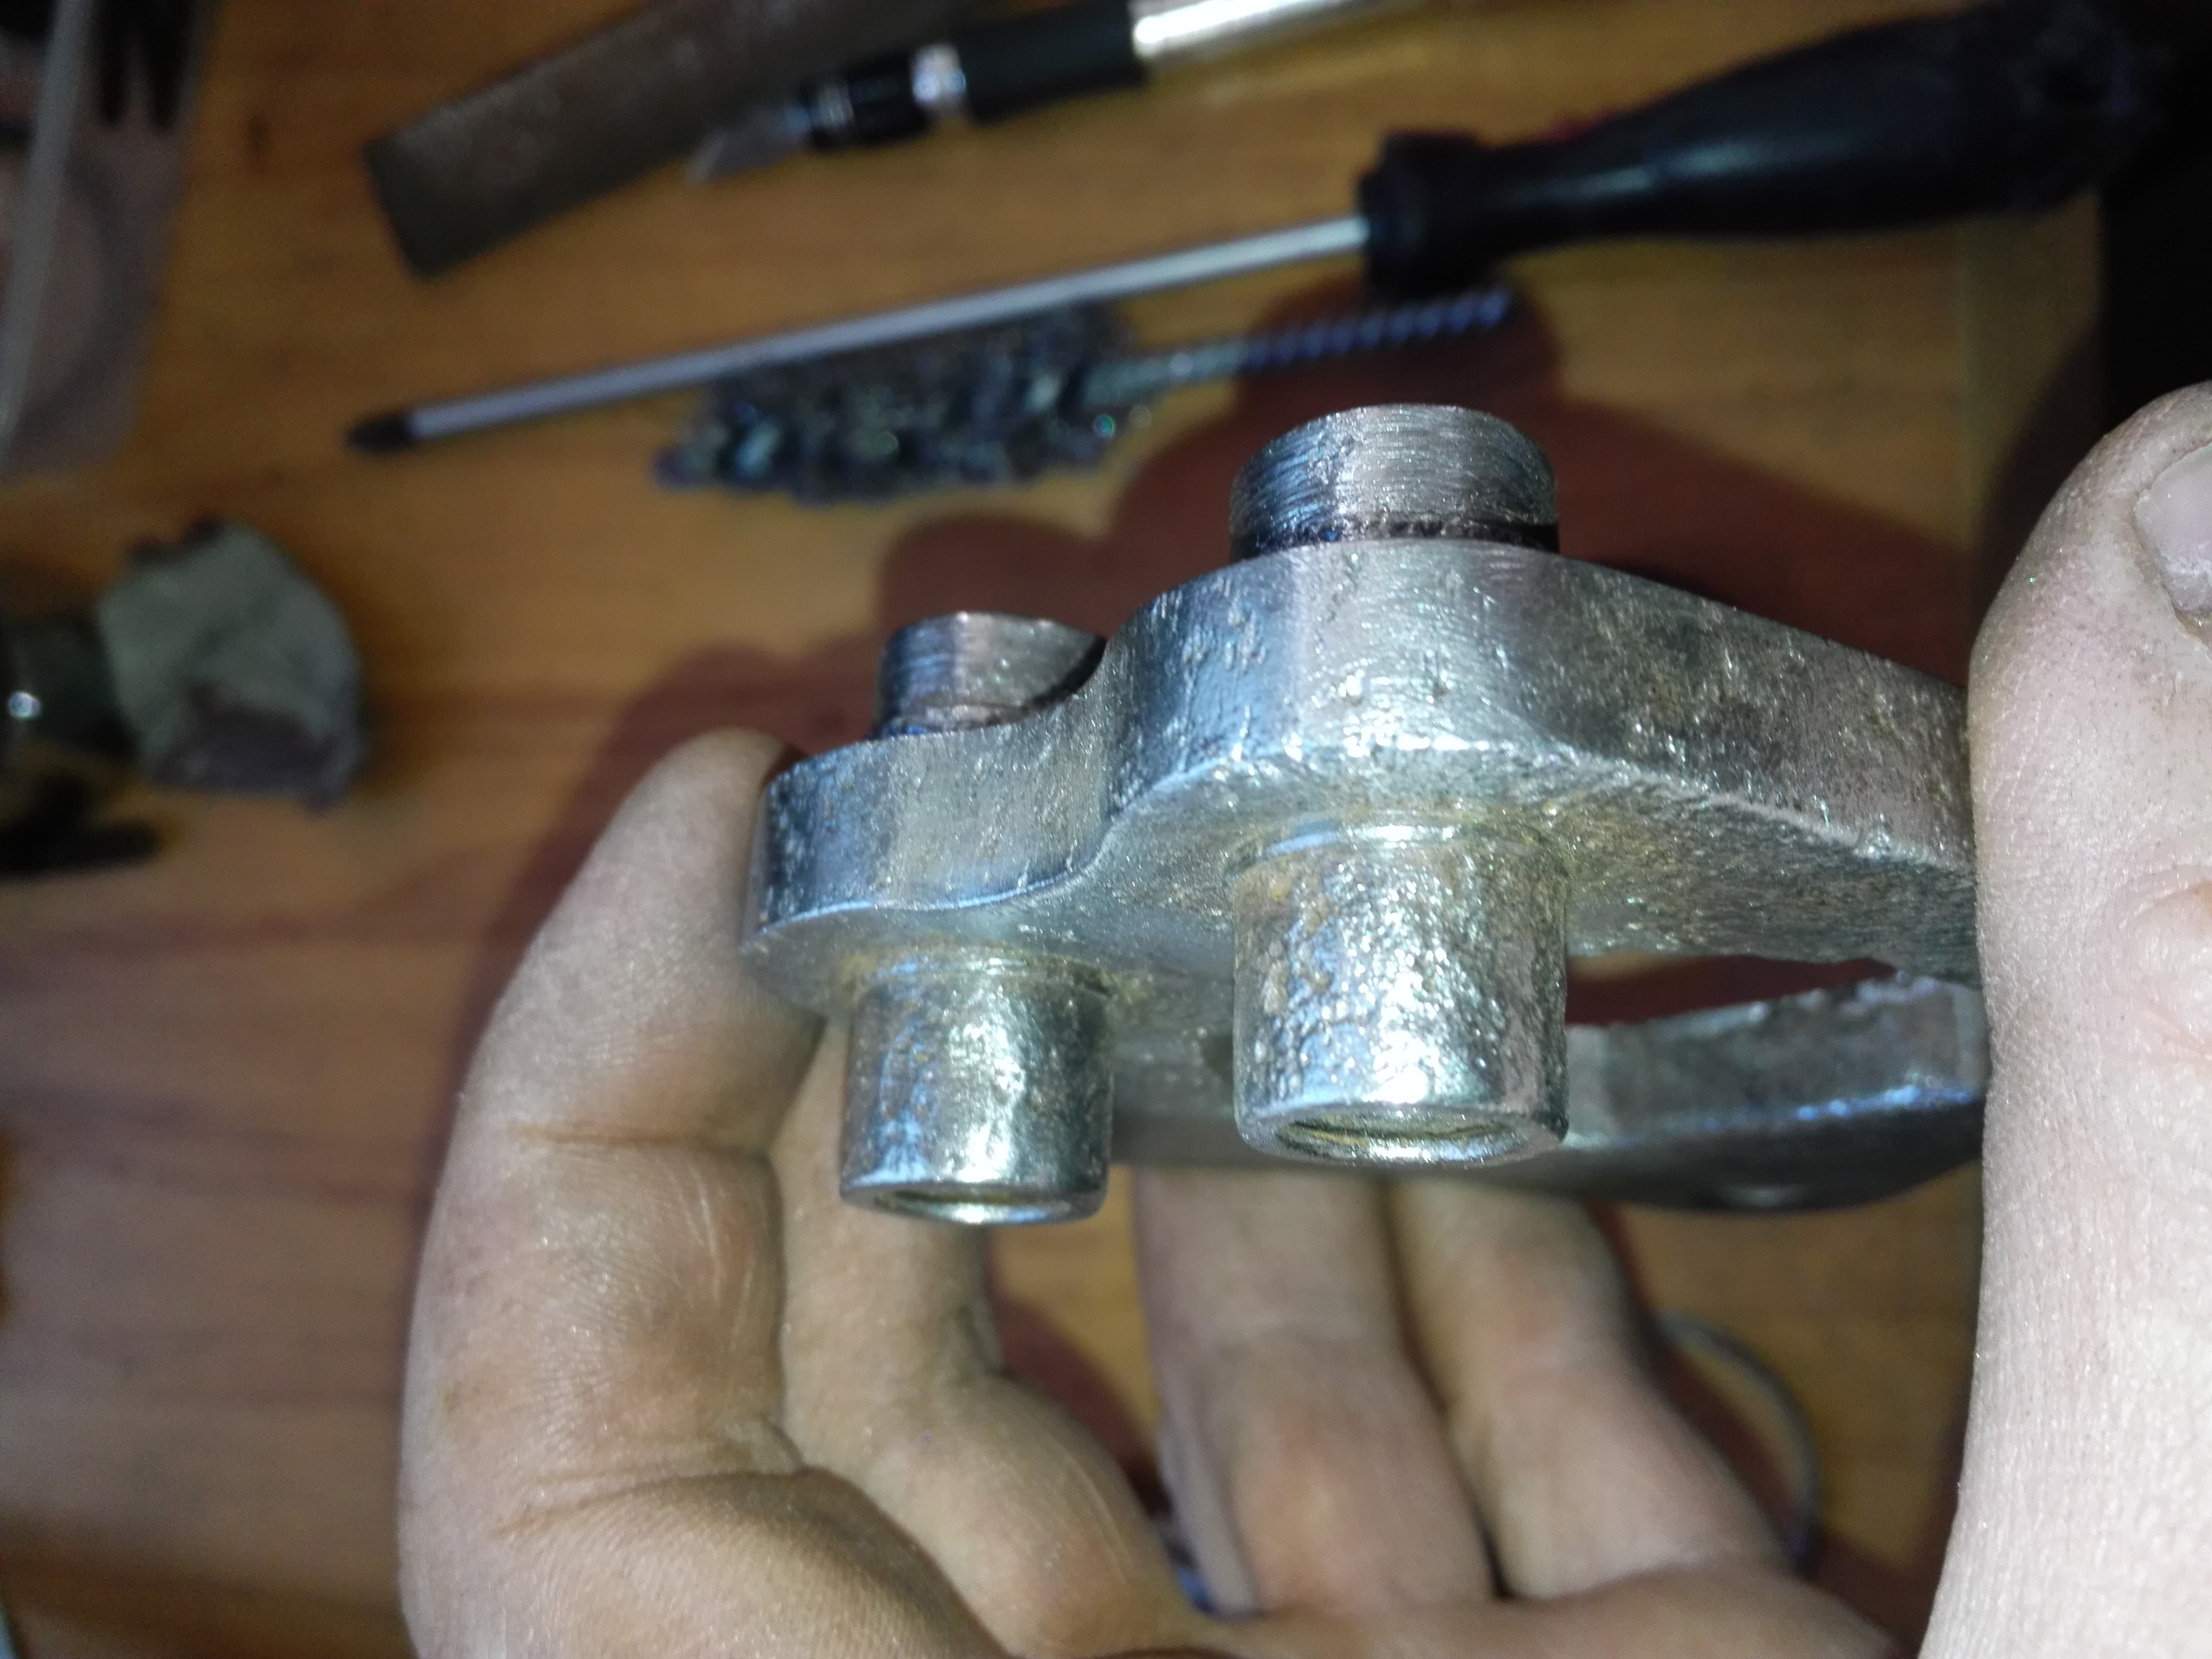
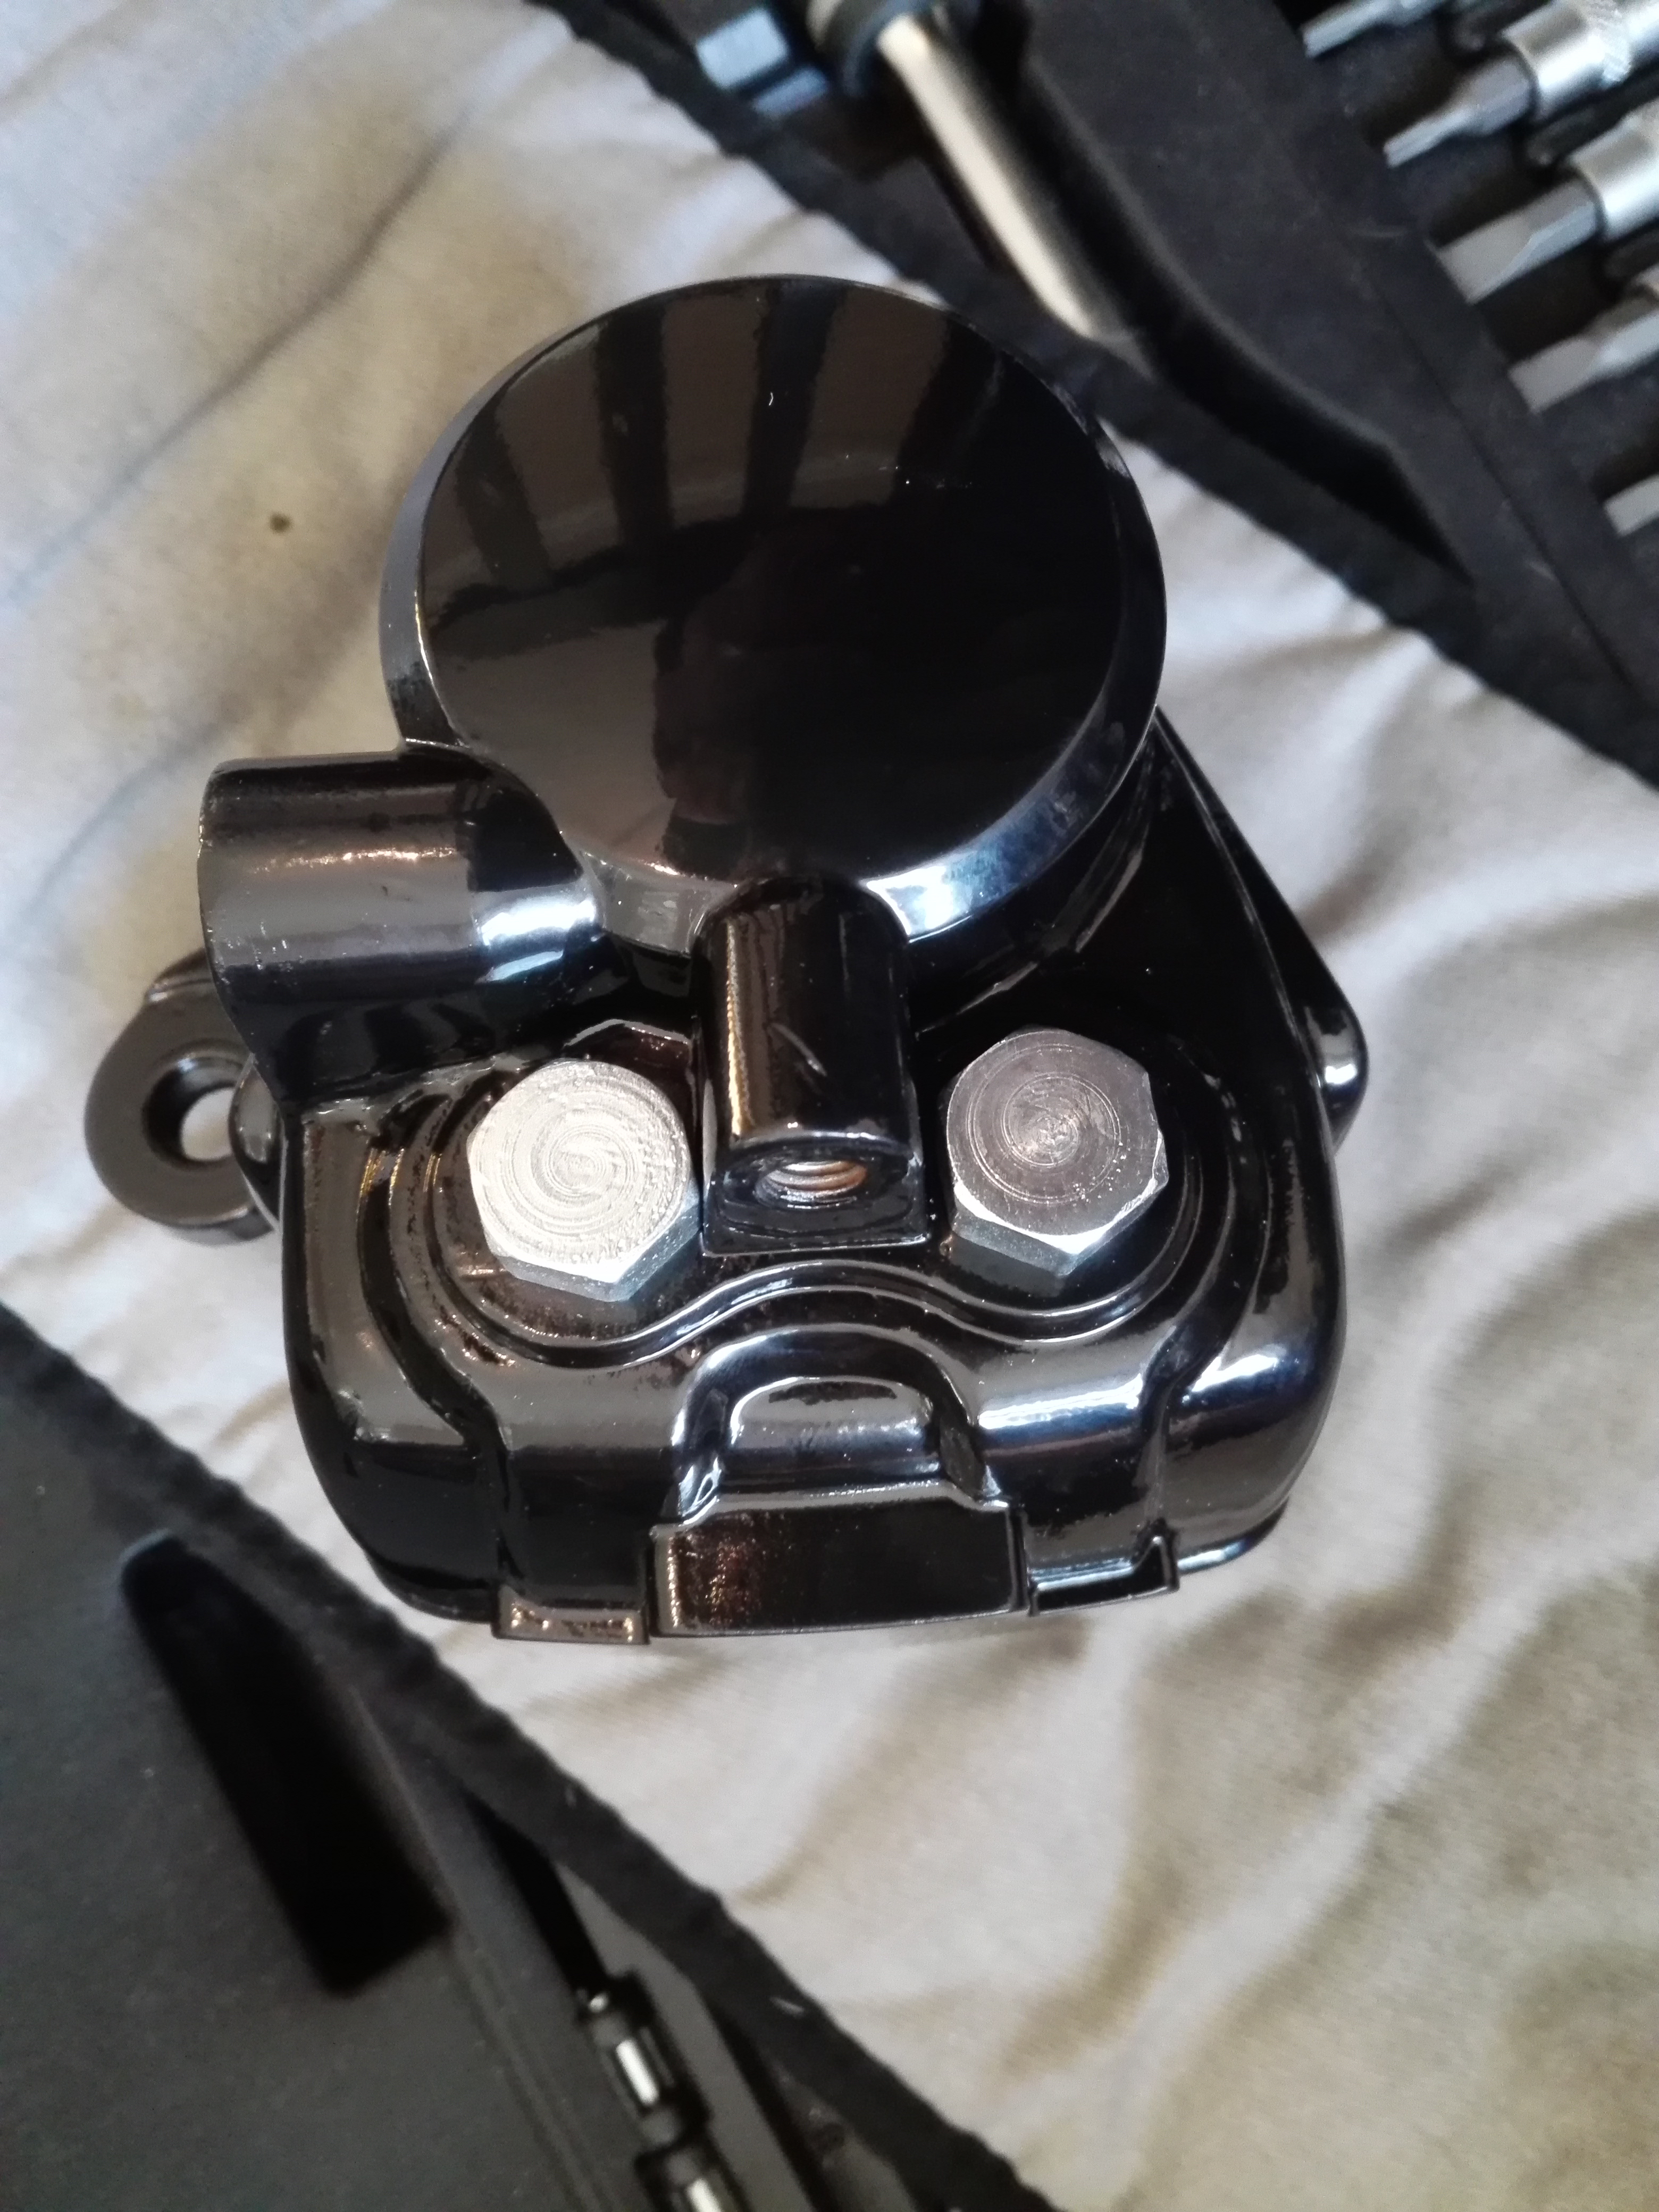
Painted but no seals in it yet. Waiting for them to arrive. I re-coated the bolts and nuts in Blue chromate but I’m not convinced it worked properly. I think I will re-do it with the yellow chromate. I will use new stainless banjos and nipples when they arrive.
You may have noticed my cat teacup. My girlfriend got it for me as I like cats and tea. It takes 2 teabags to get a full shot in it :):)
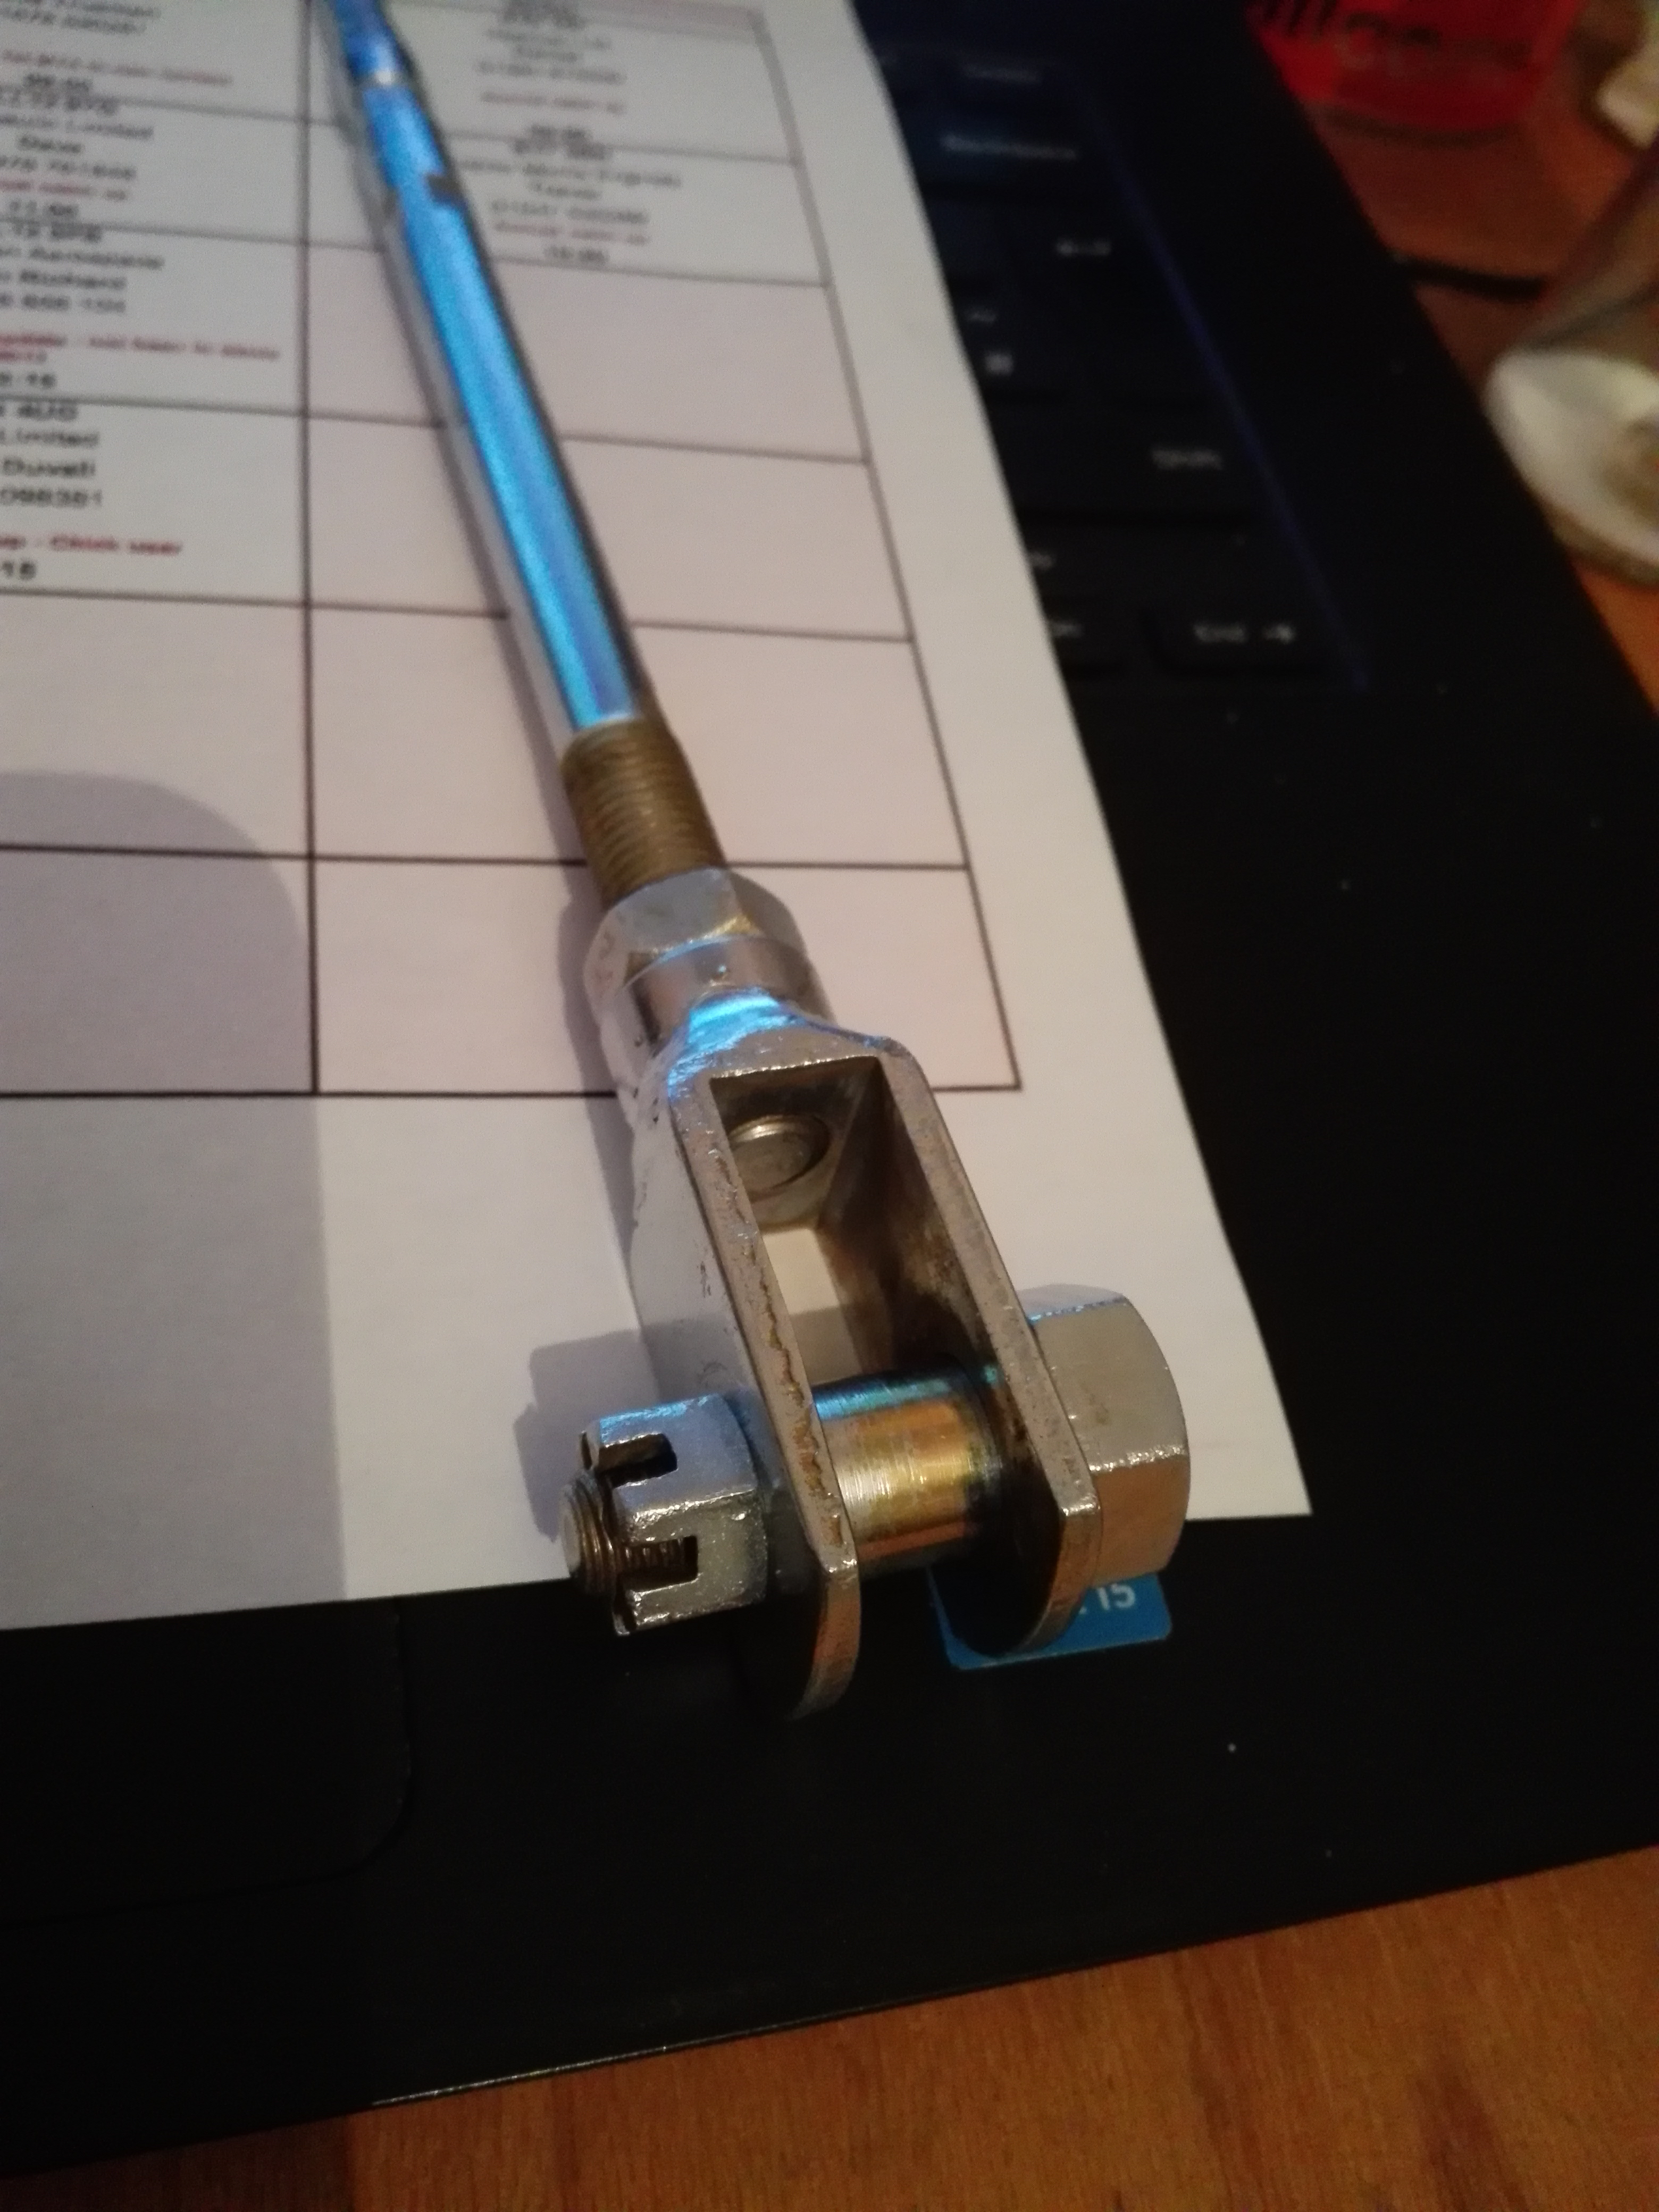
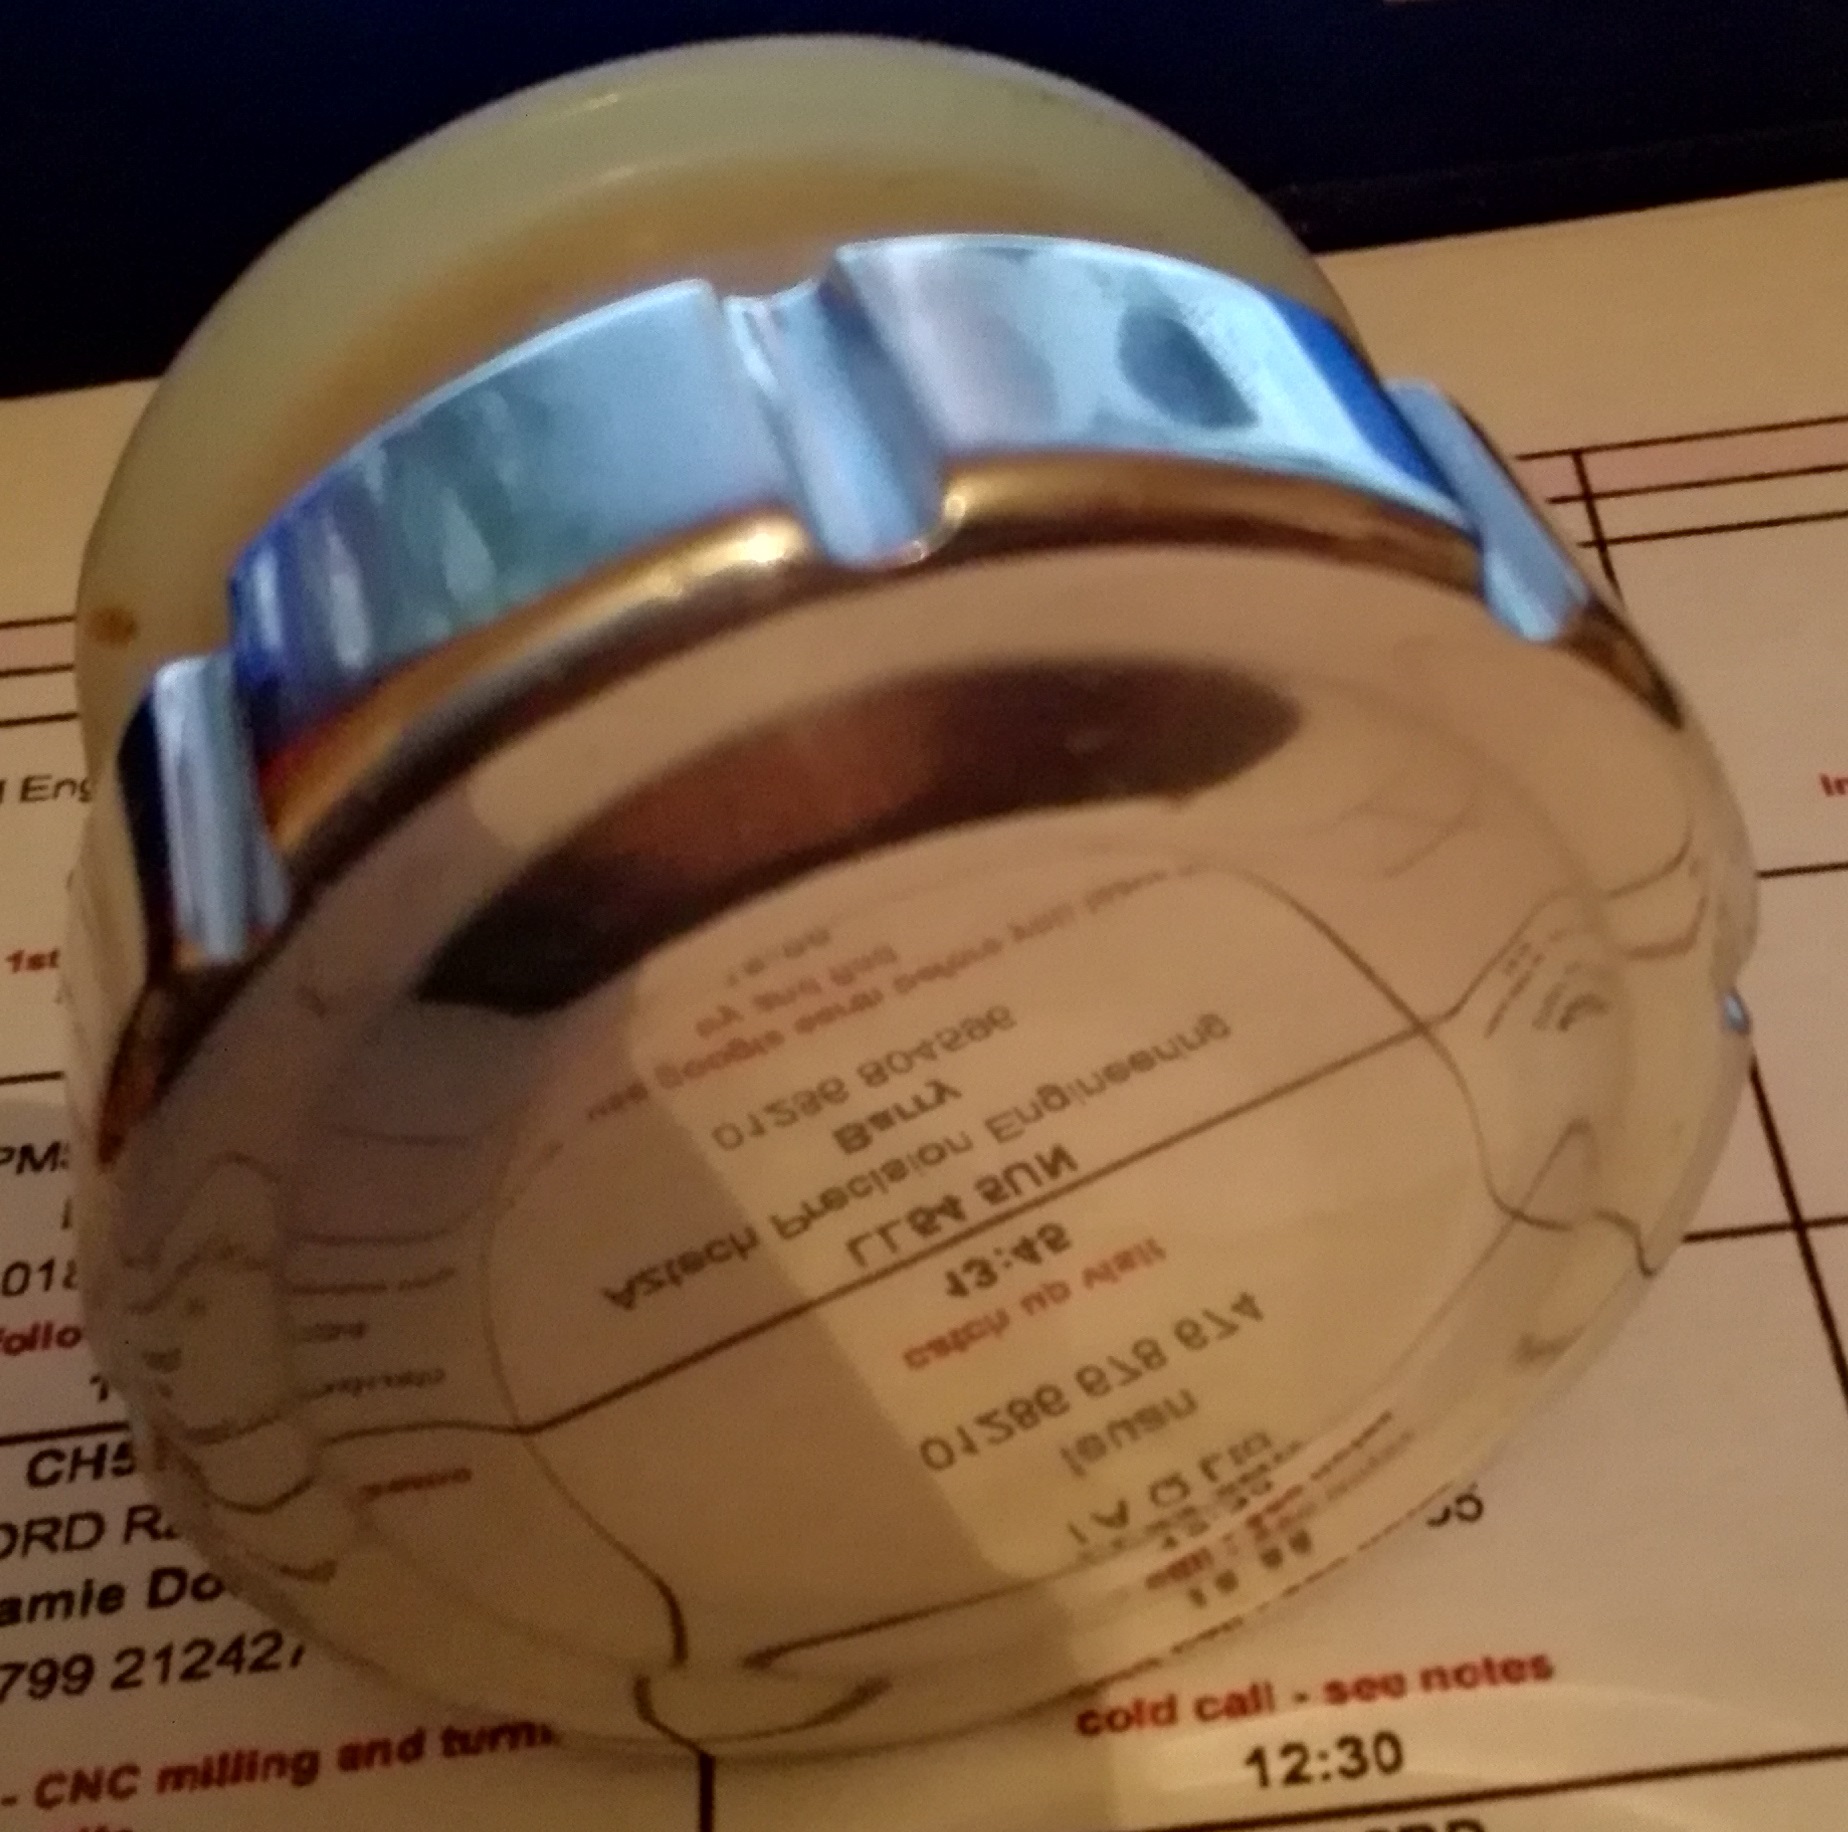
 11th October 2018 at 8:50 pm #23911Ownthesky2010Participant
On to the rear MS next. I really struggled to get the reservoir off and in the end I carefully levered it off using brute force and a kitchen knife. It turns out it just screws off. Luckily the threads are still usable.
I didn’t like the state of the clevis bolt so I decided to repair it

I machined the rusted area down
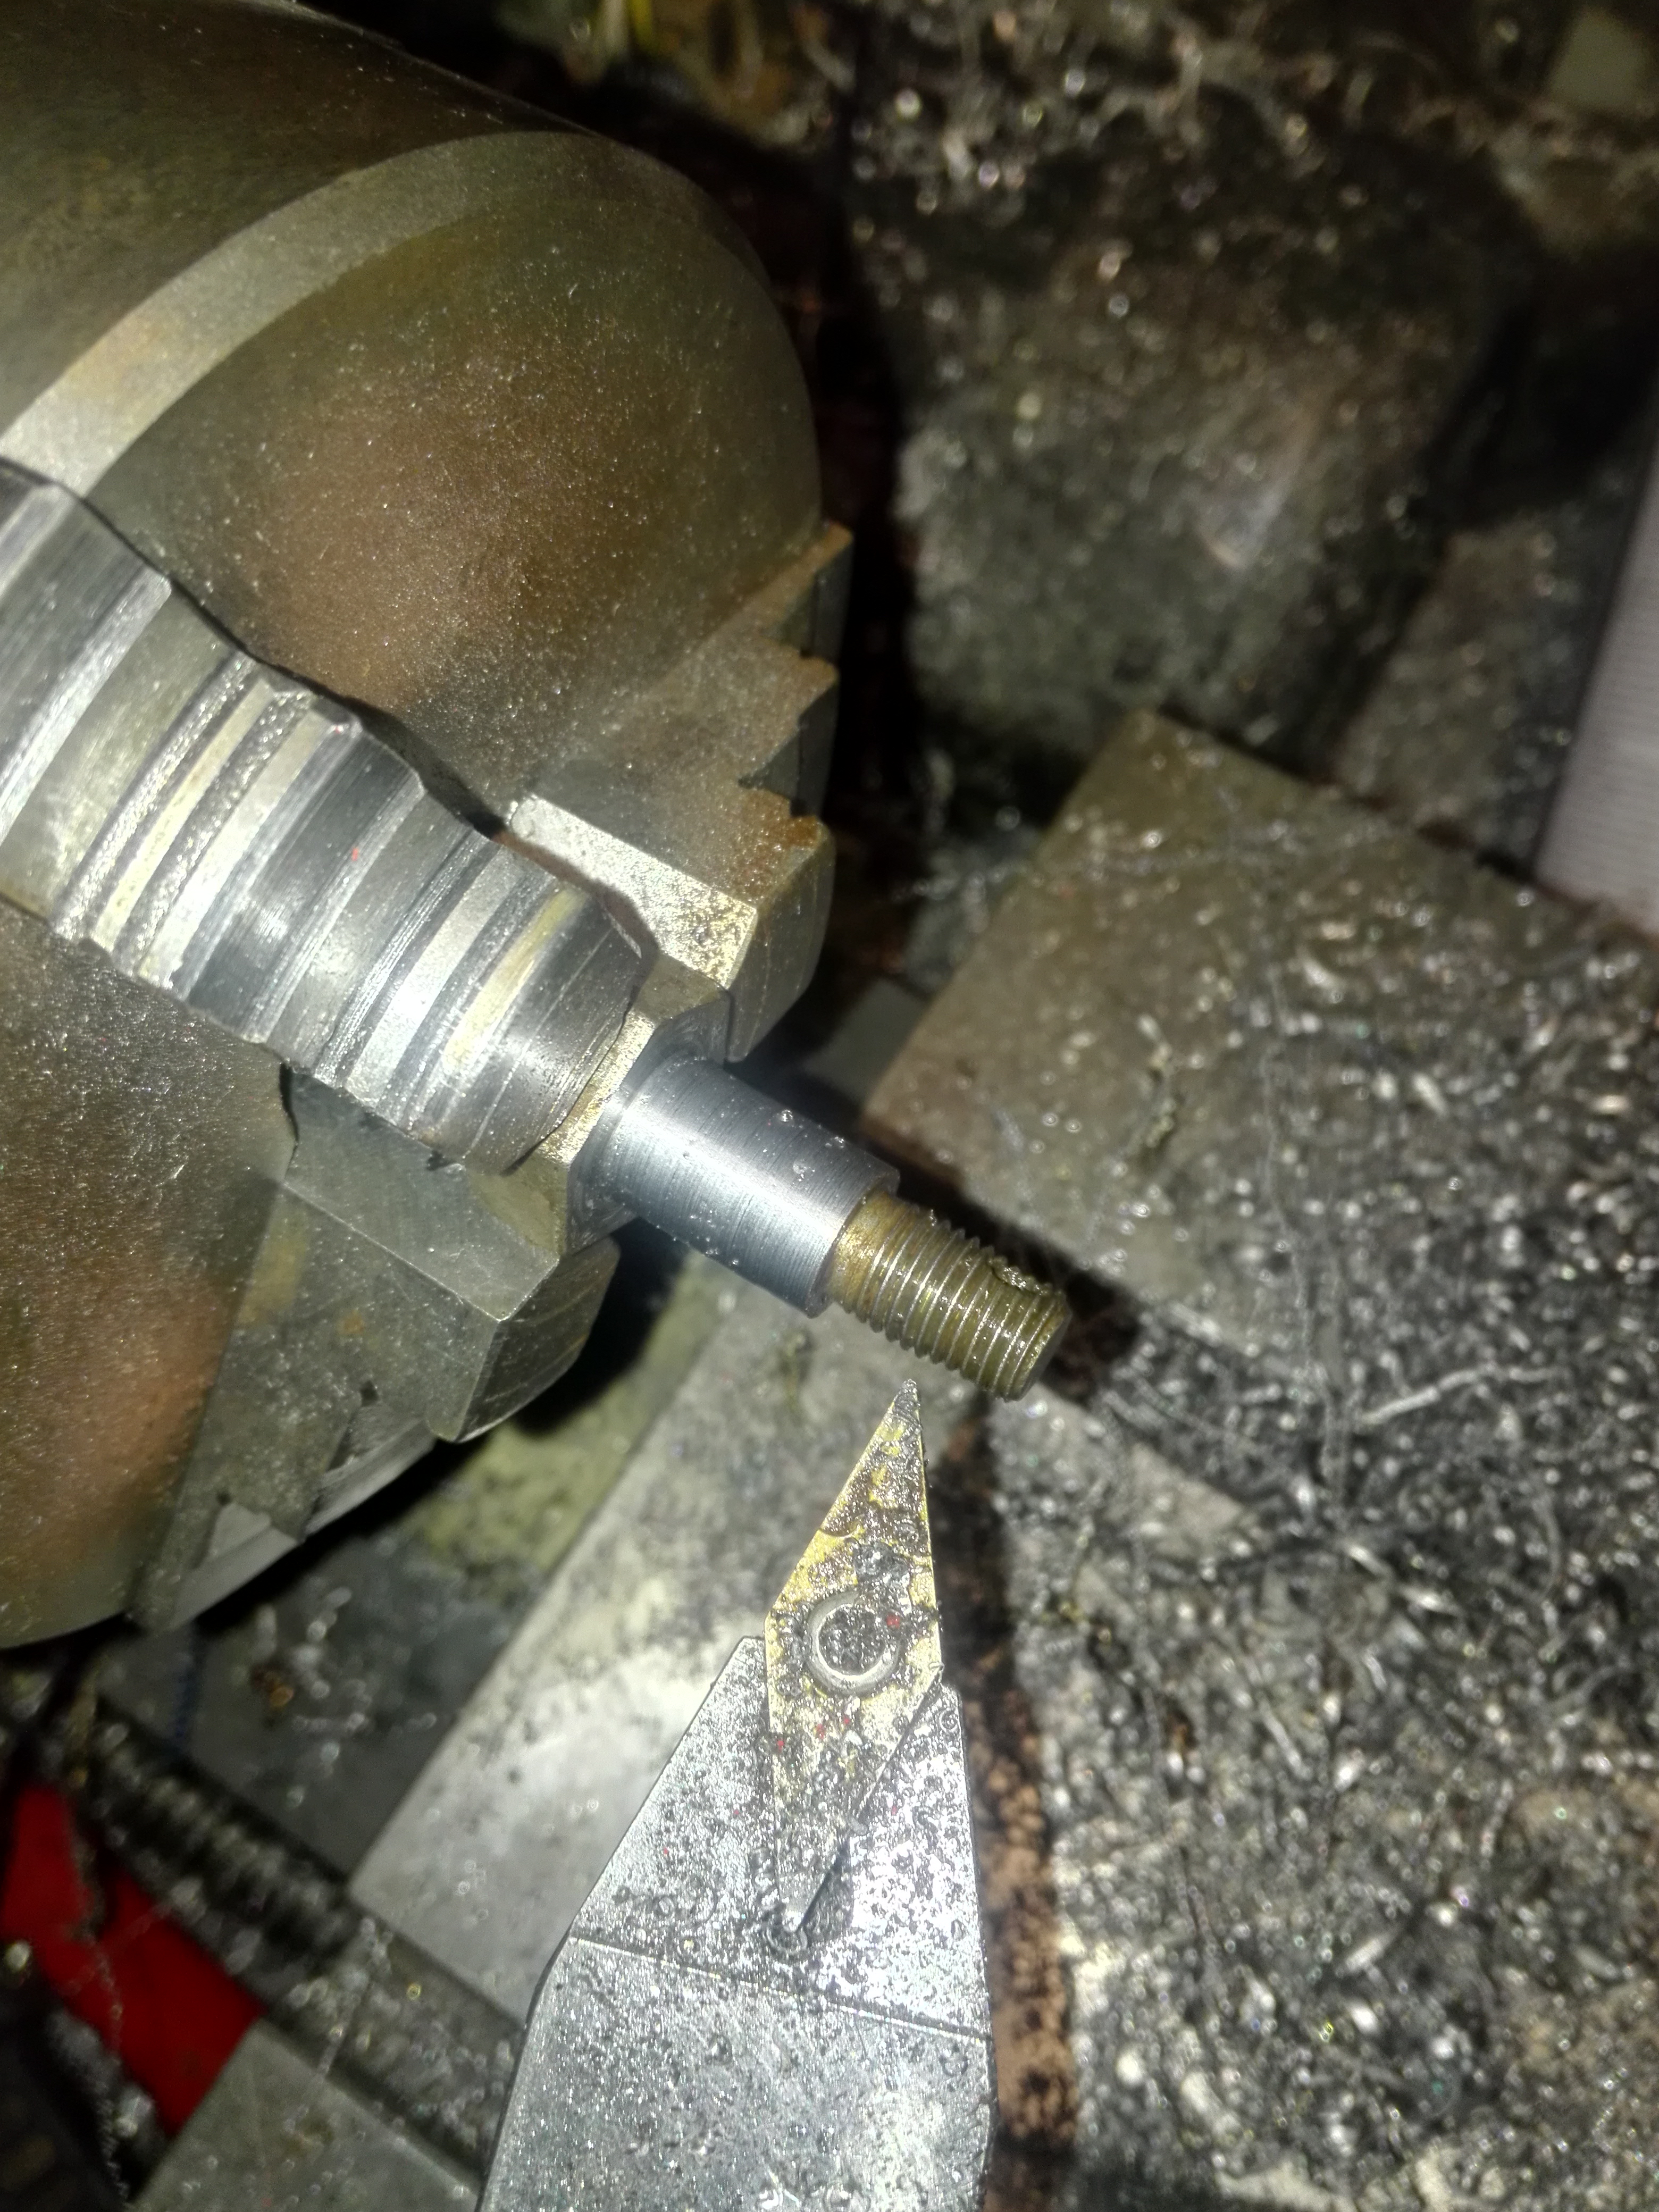
Turned a sleeve with a press fit

Pressed on and now looks good
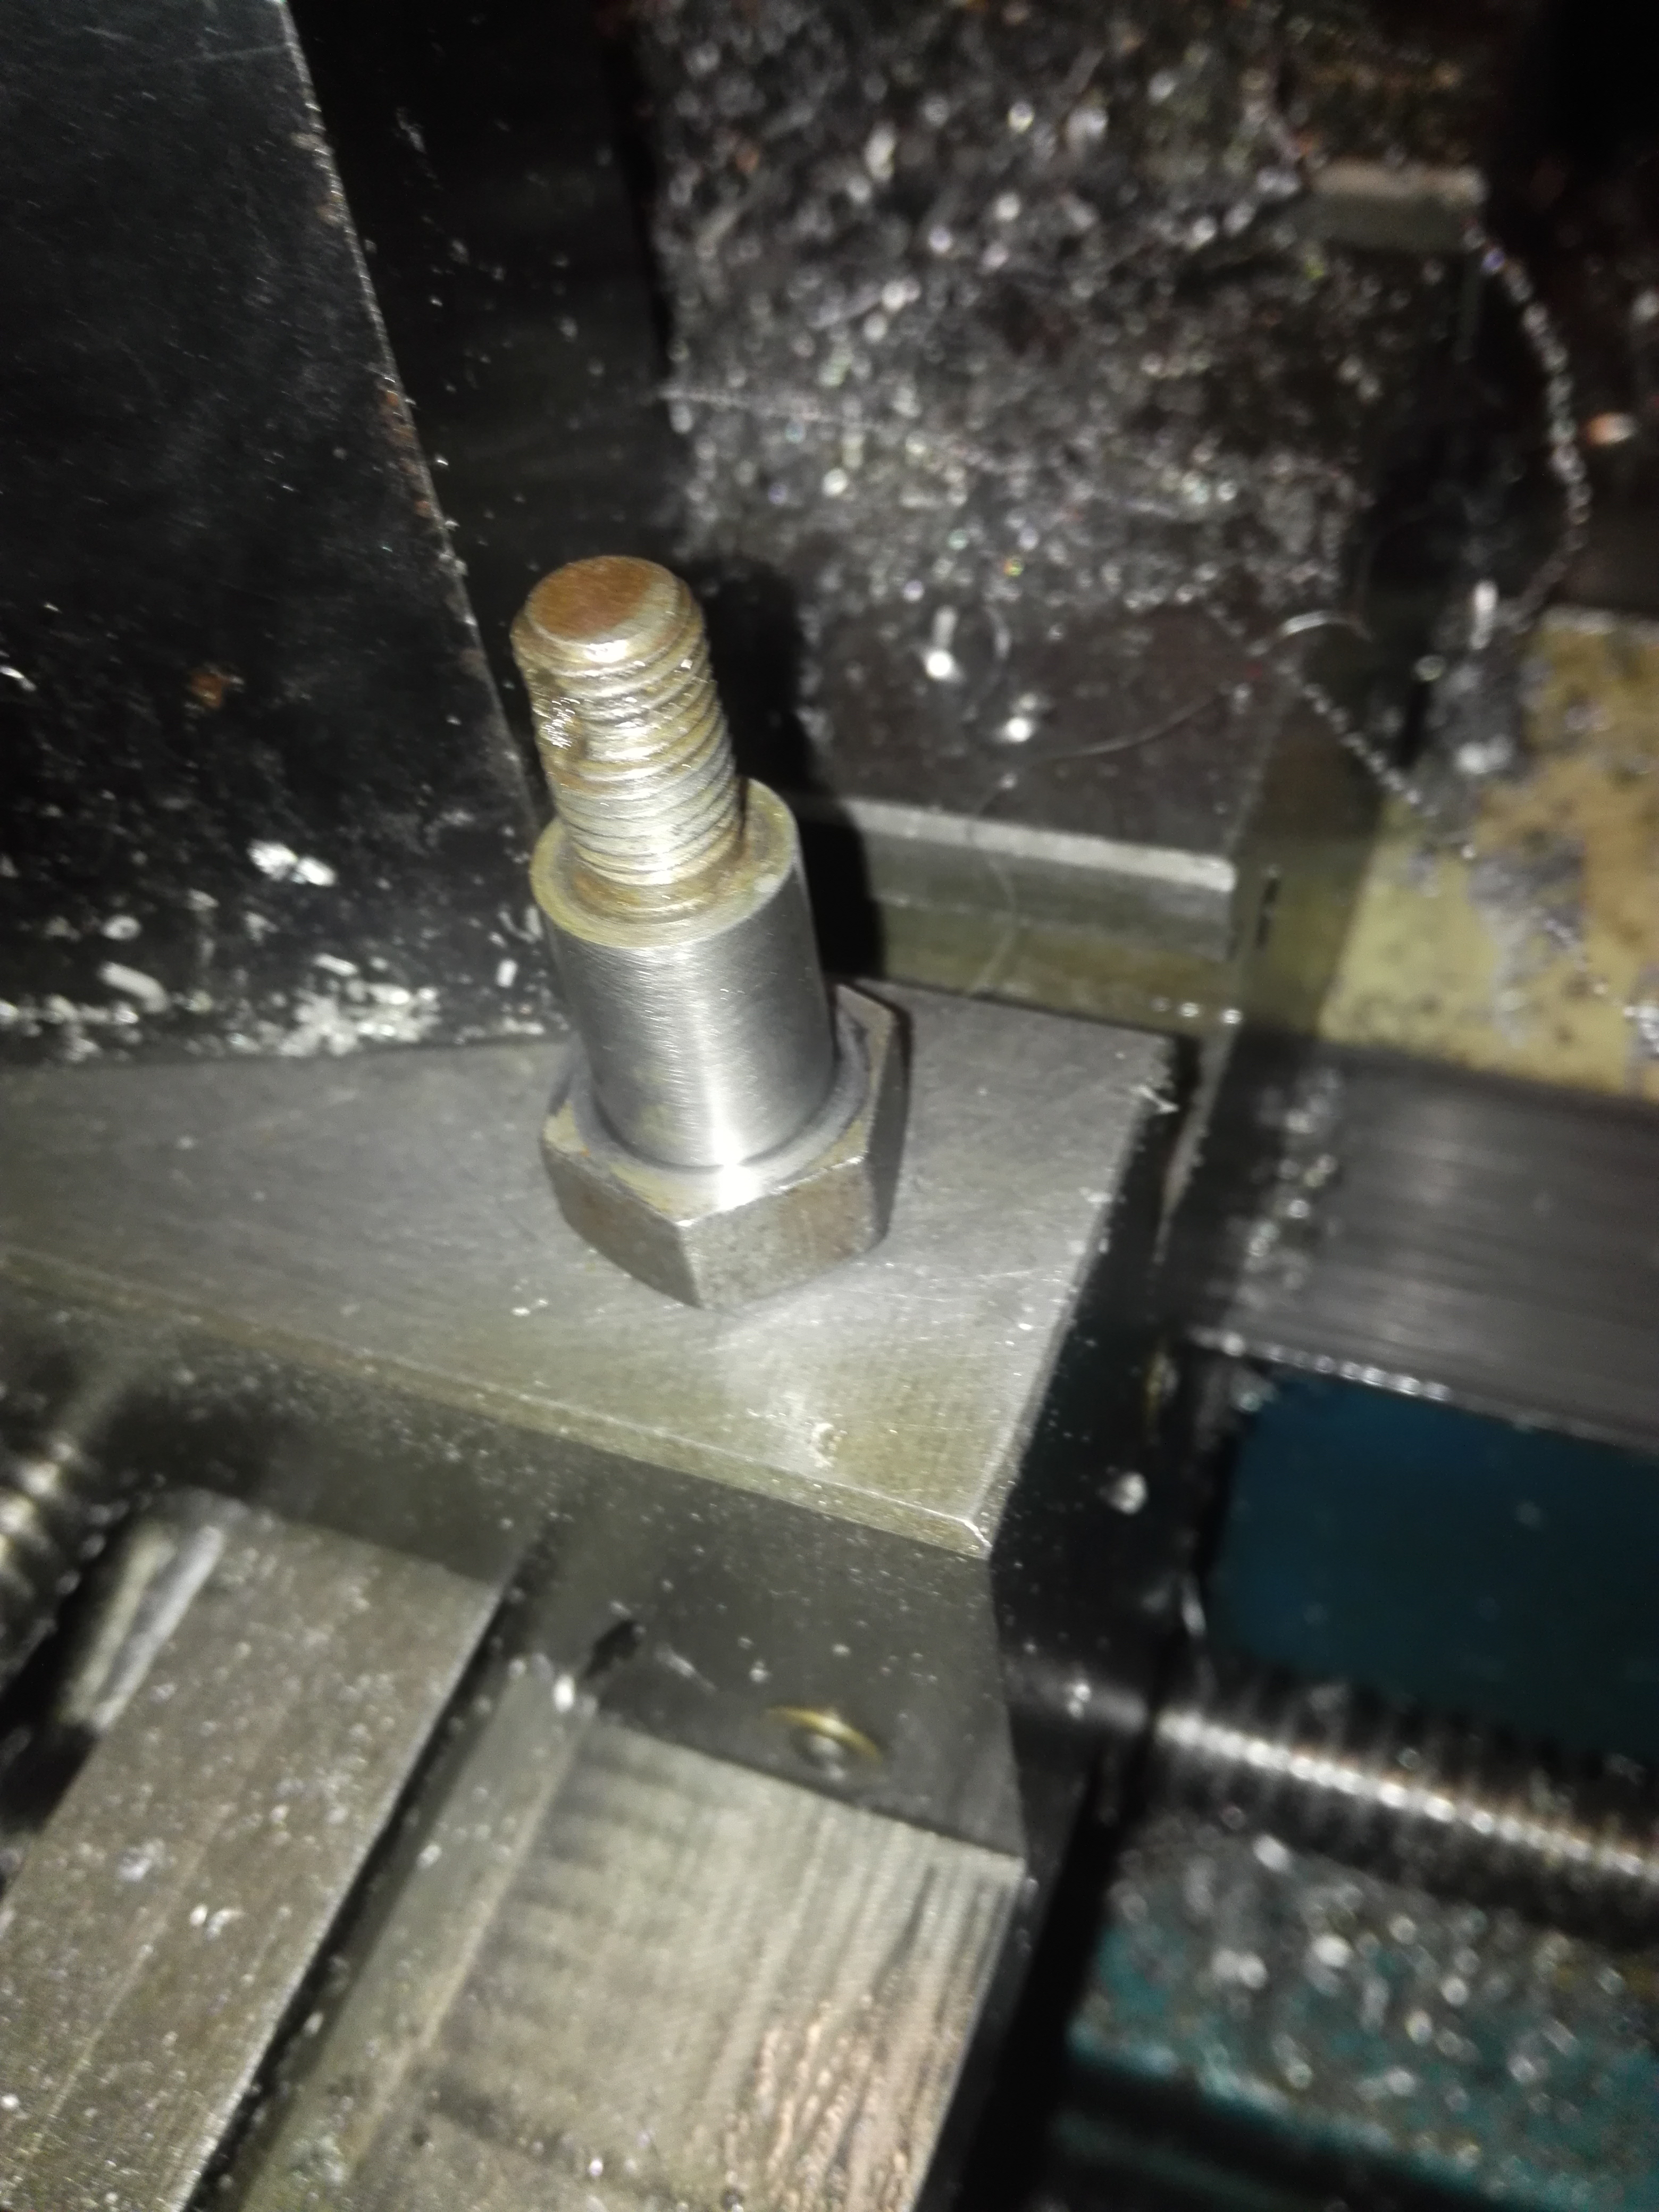
I checked the fit and its spot on. I prefer to repair rather than replace if I can

After zinc plating but the chromate just rubbed off. I have done a bit of reading and I know where I’m going wrong so I will have another go at the weekend.
You can see here that the chromate only stuck in a few patches.
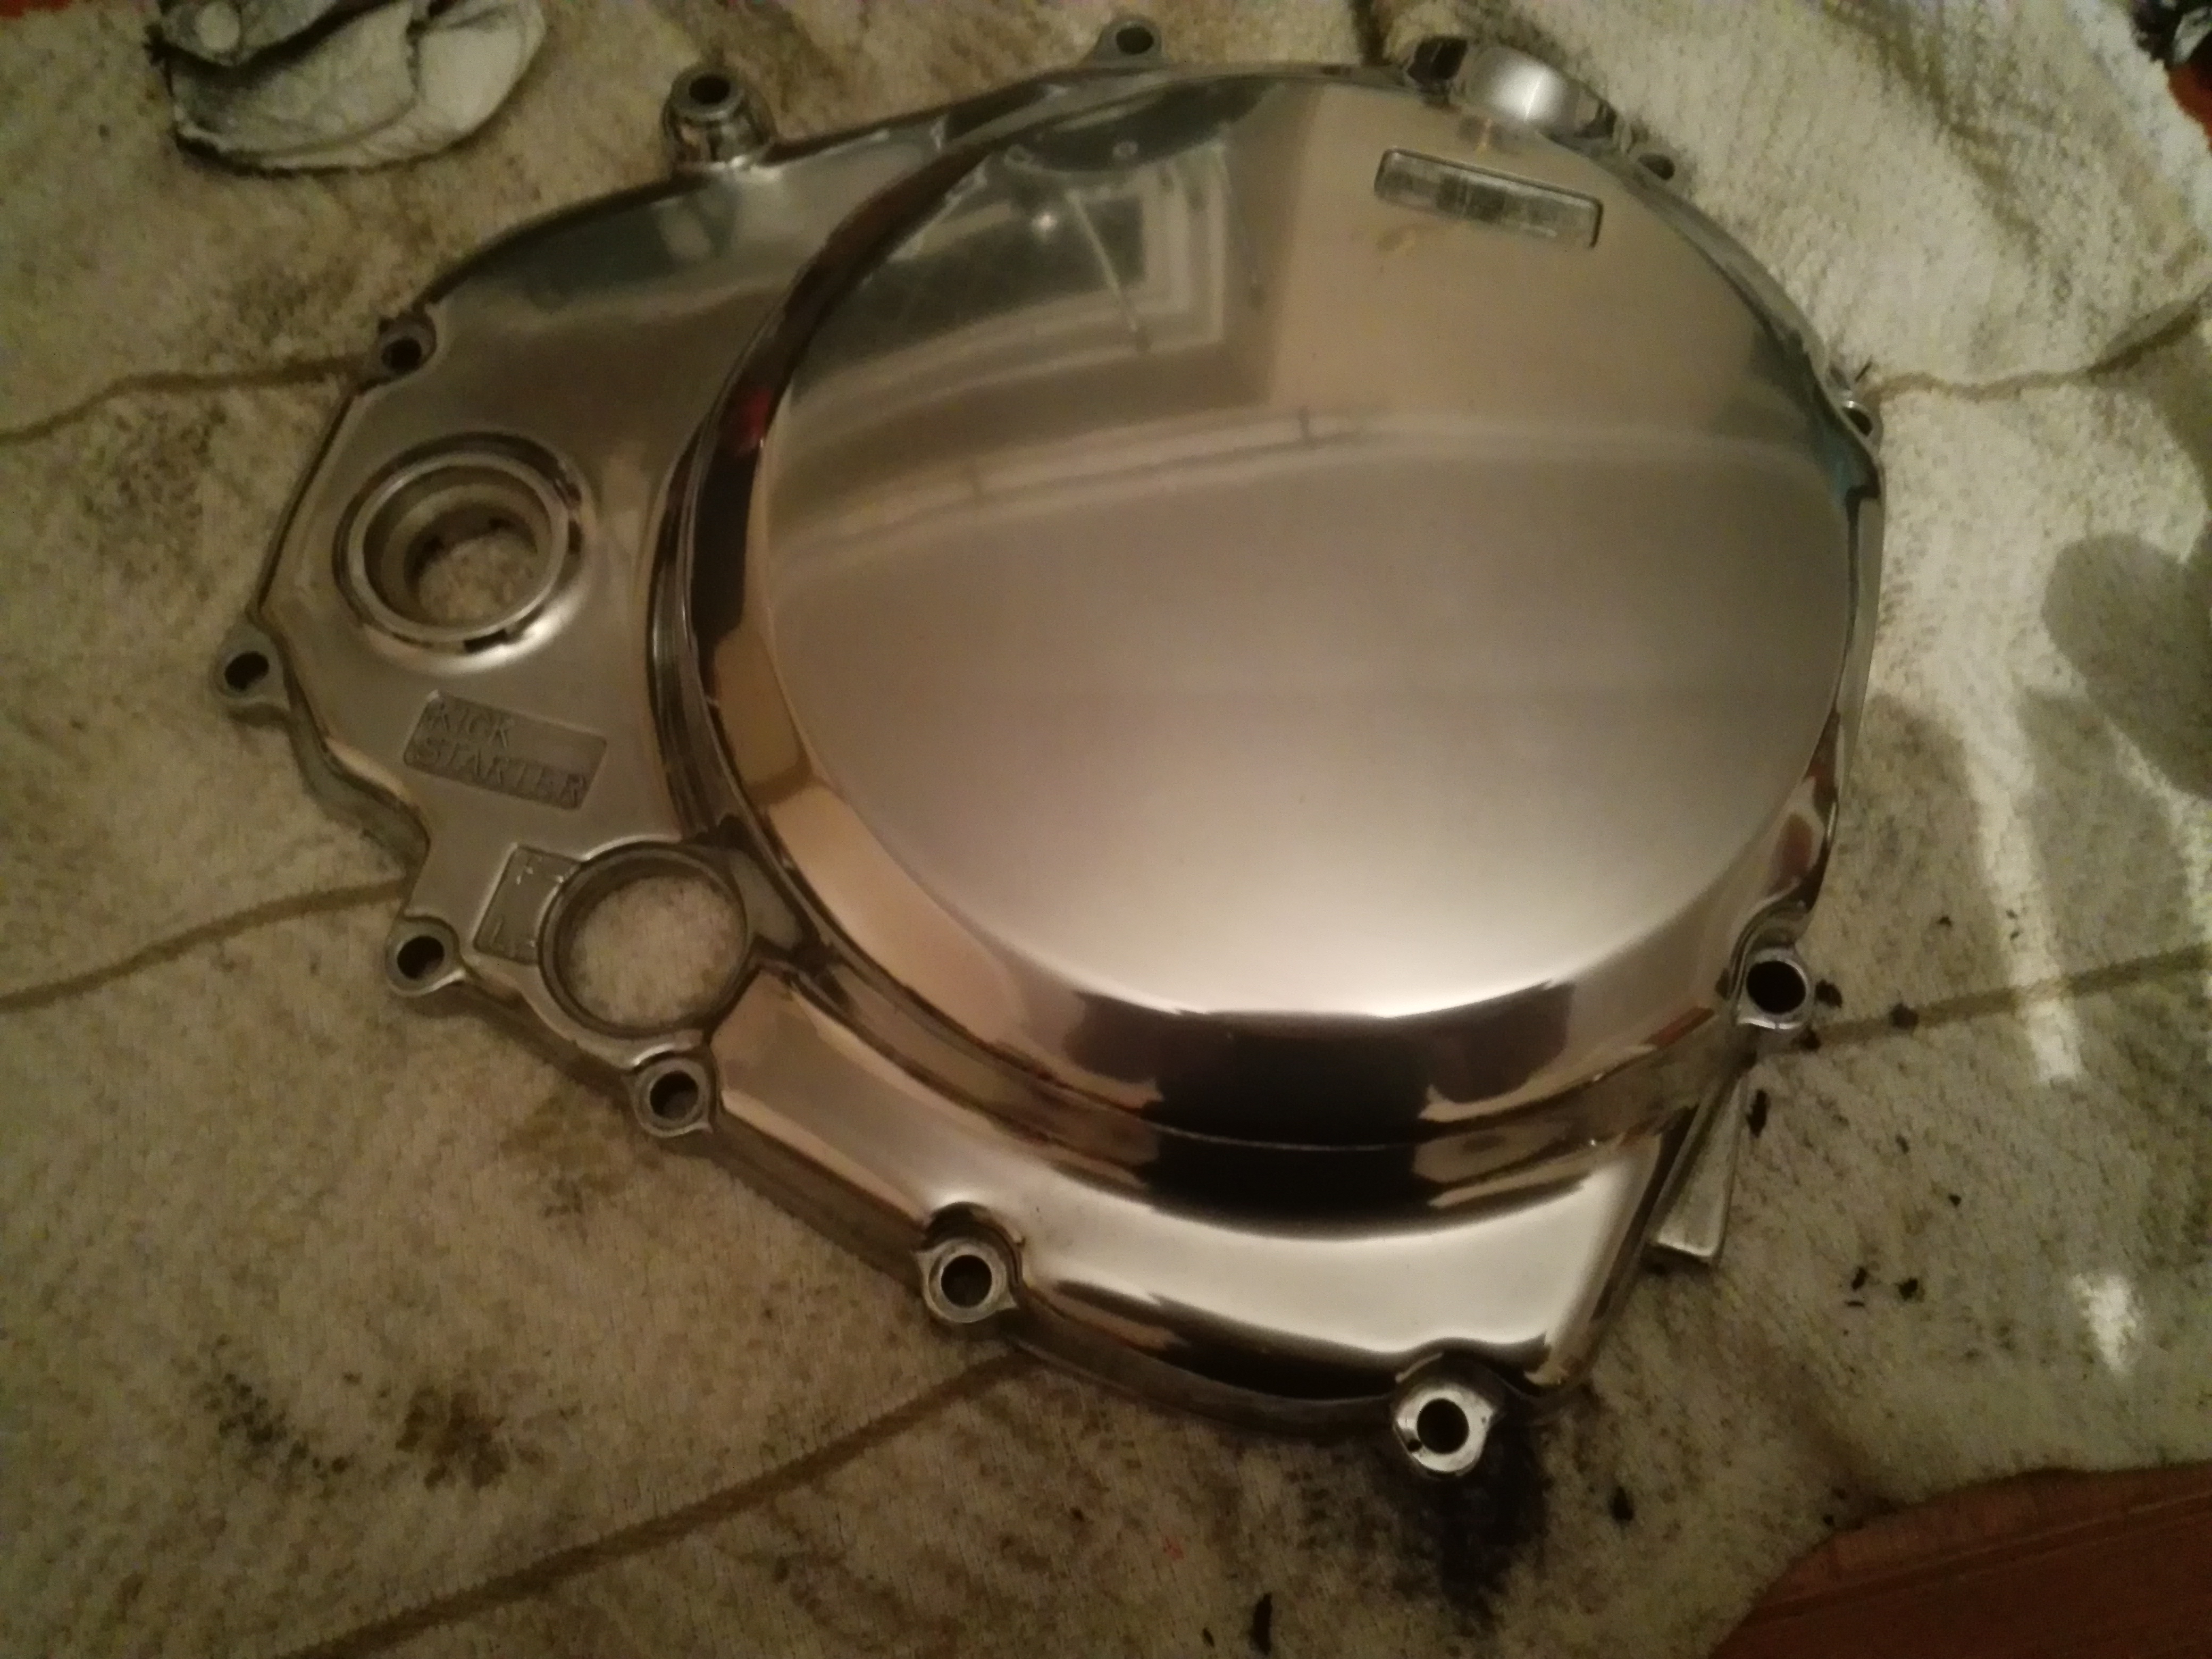
I stripped the anodizing off the lid but there was quite a lot of damage so I machined it flat in the center. Unfortunately this removed the lettering but after polishing it looks ok. I just sand down to 1200 grit and then use Autosol or as my girlfriend calls it, Anusol :):):) I used to use a lot of fine paper down to 2500 grit but I find that just creates work and 1200 is good enough.
This is a GS550 clutch cover I did the same way. To me its just the right amount of shiny. You can still tell its aluminium. Incidentally, I had to rebuild one of the mounting lugs with some of that low temp aluminium repair rod. I will need to do the same on the kwak on one of the mudguard mounts on a fork leg as its broken off. It worked well on this cover but I did get a blow hole. Its the lowest lug in this picture.
 11th October 2018 at 9:12 pm #23912Ownthesky2010Participant
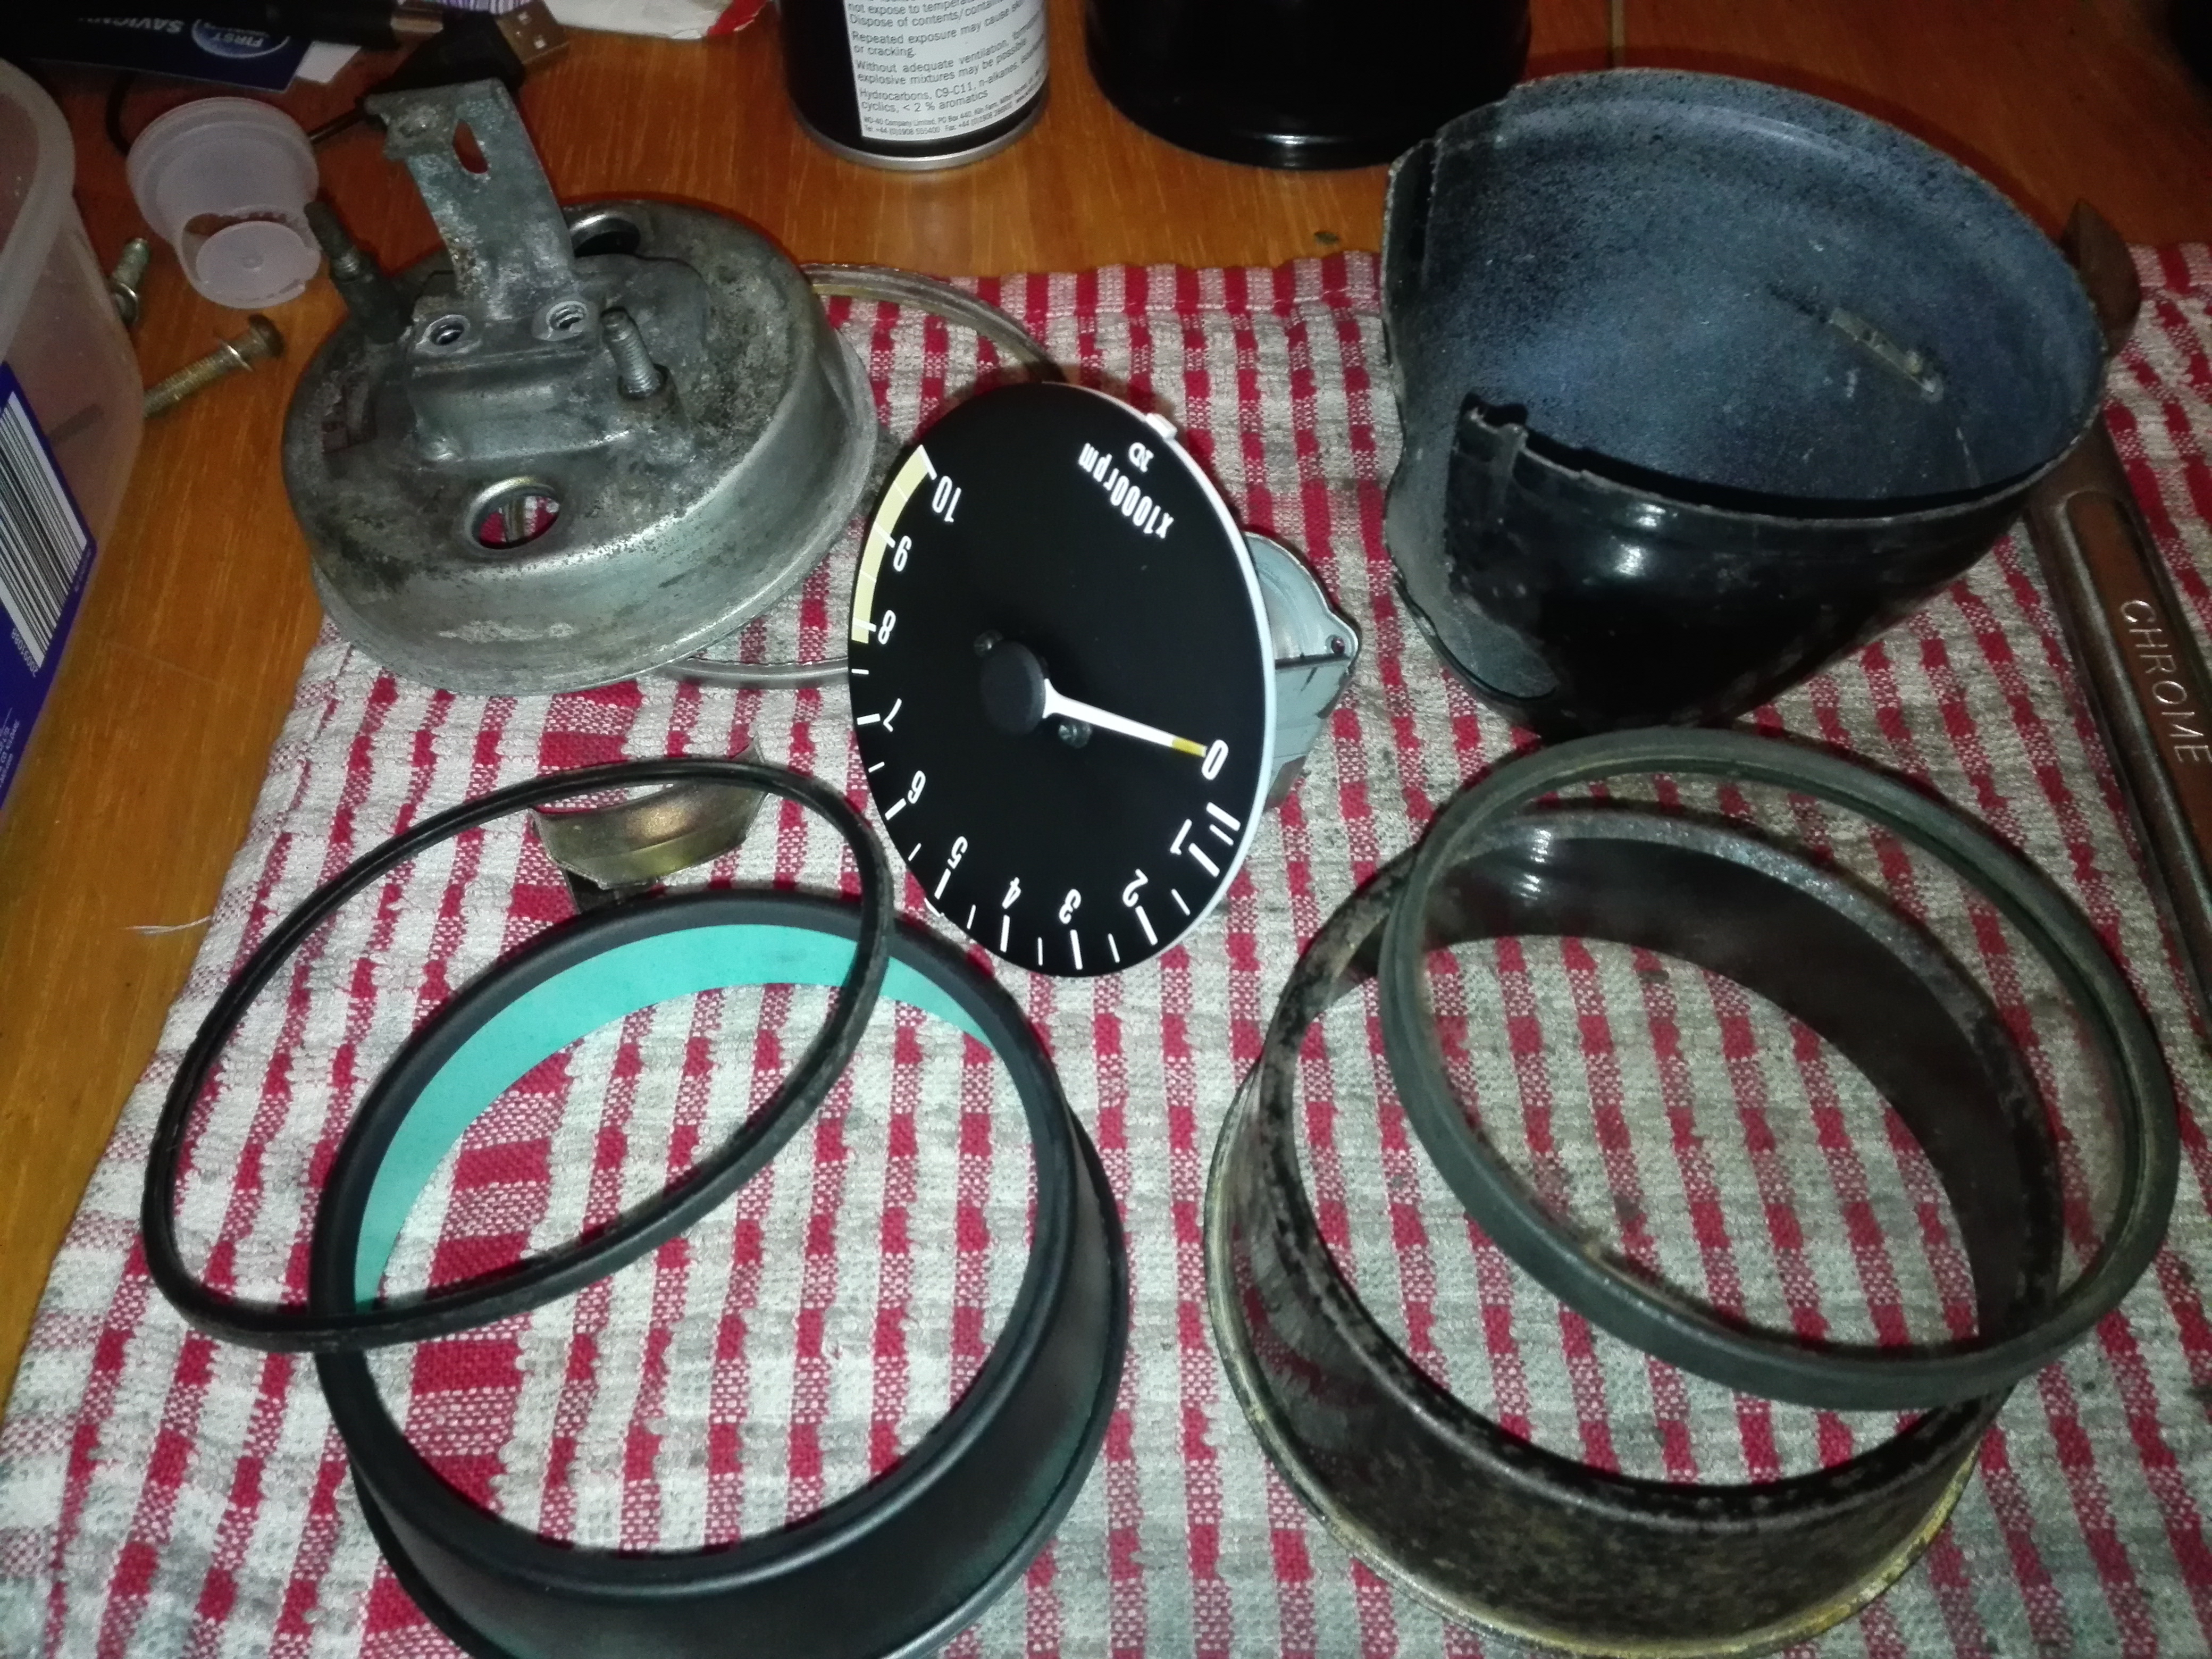
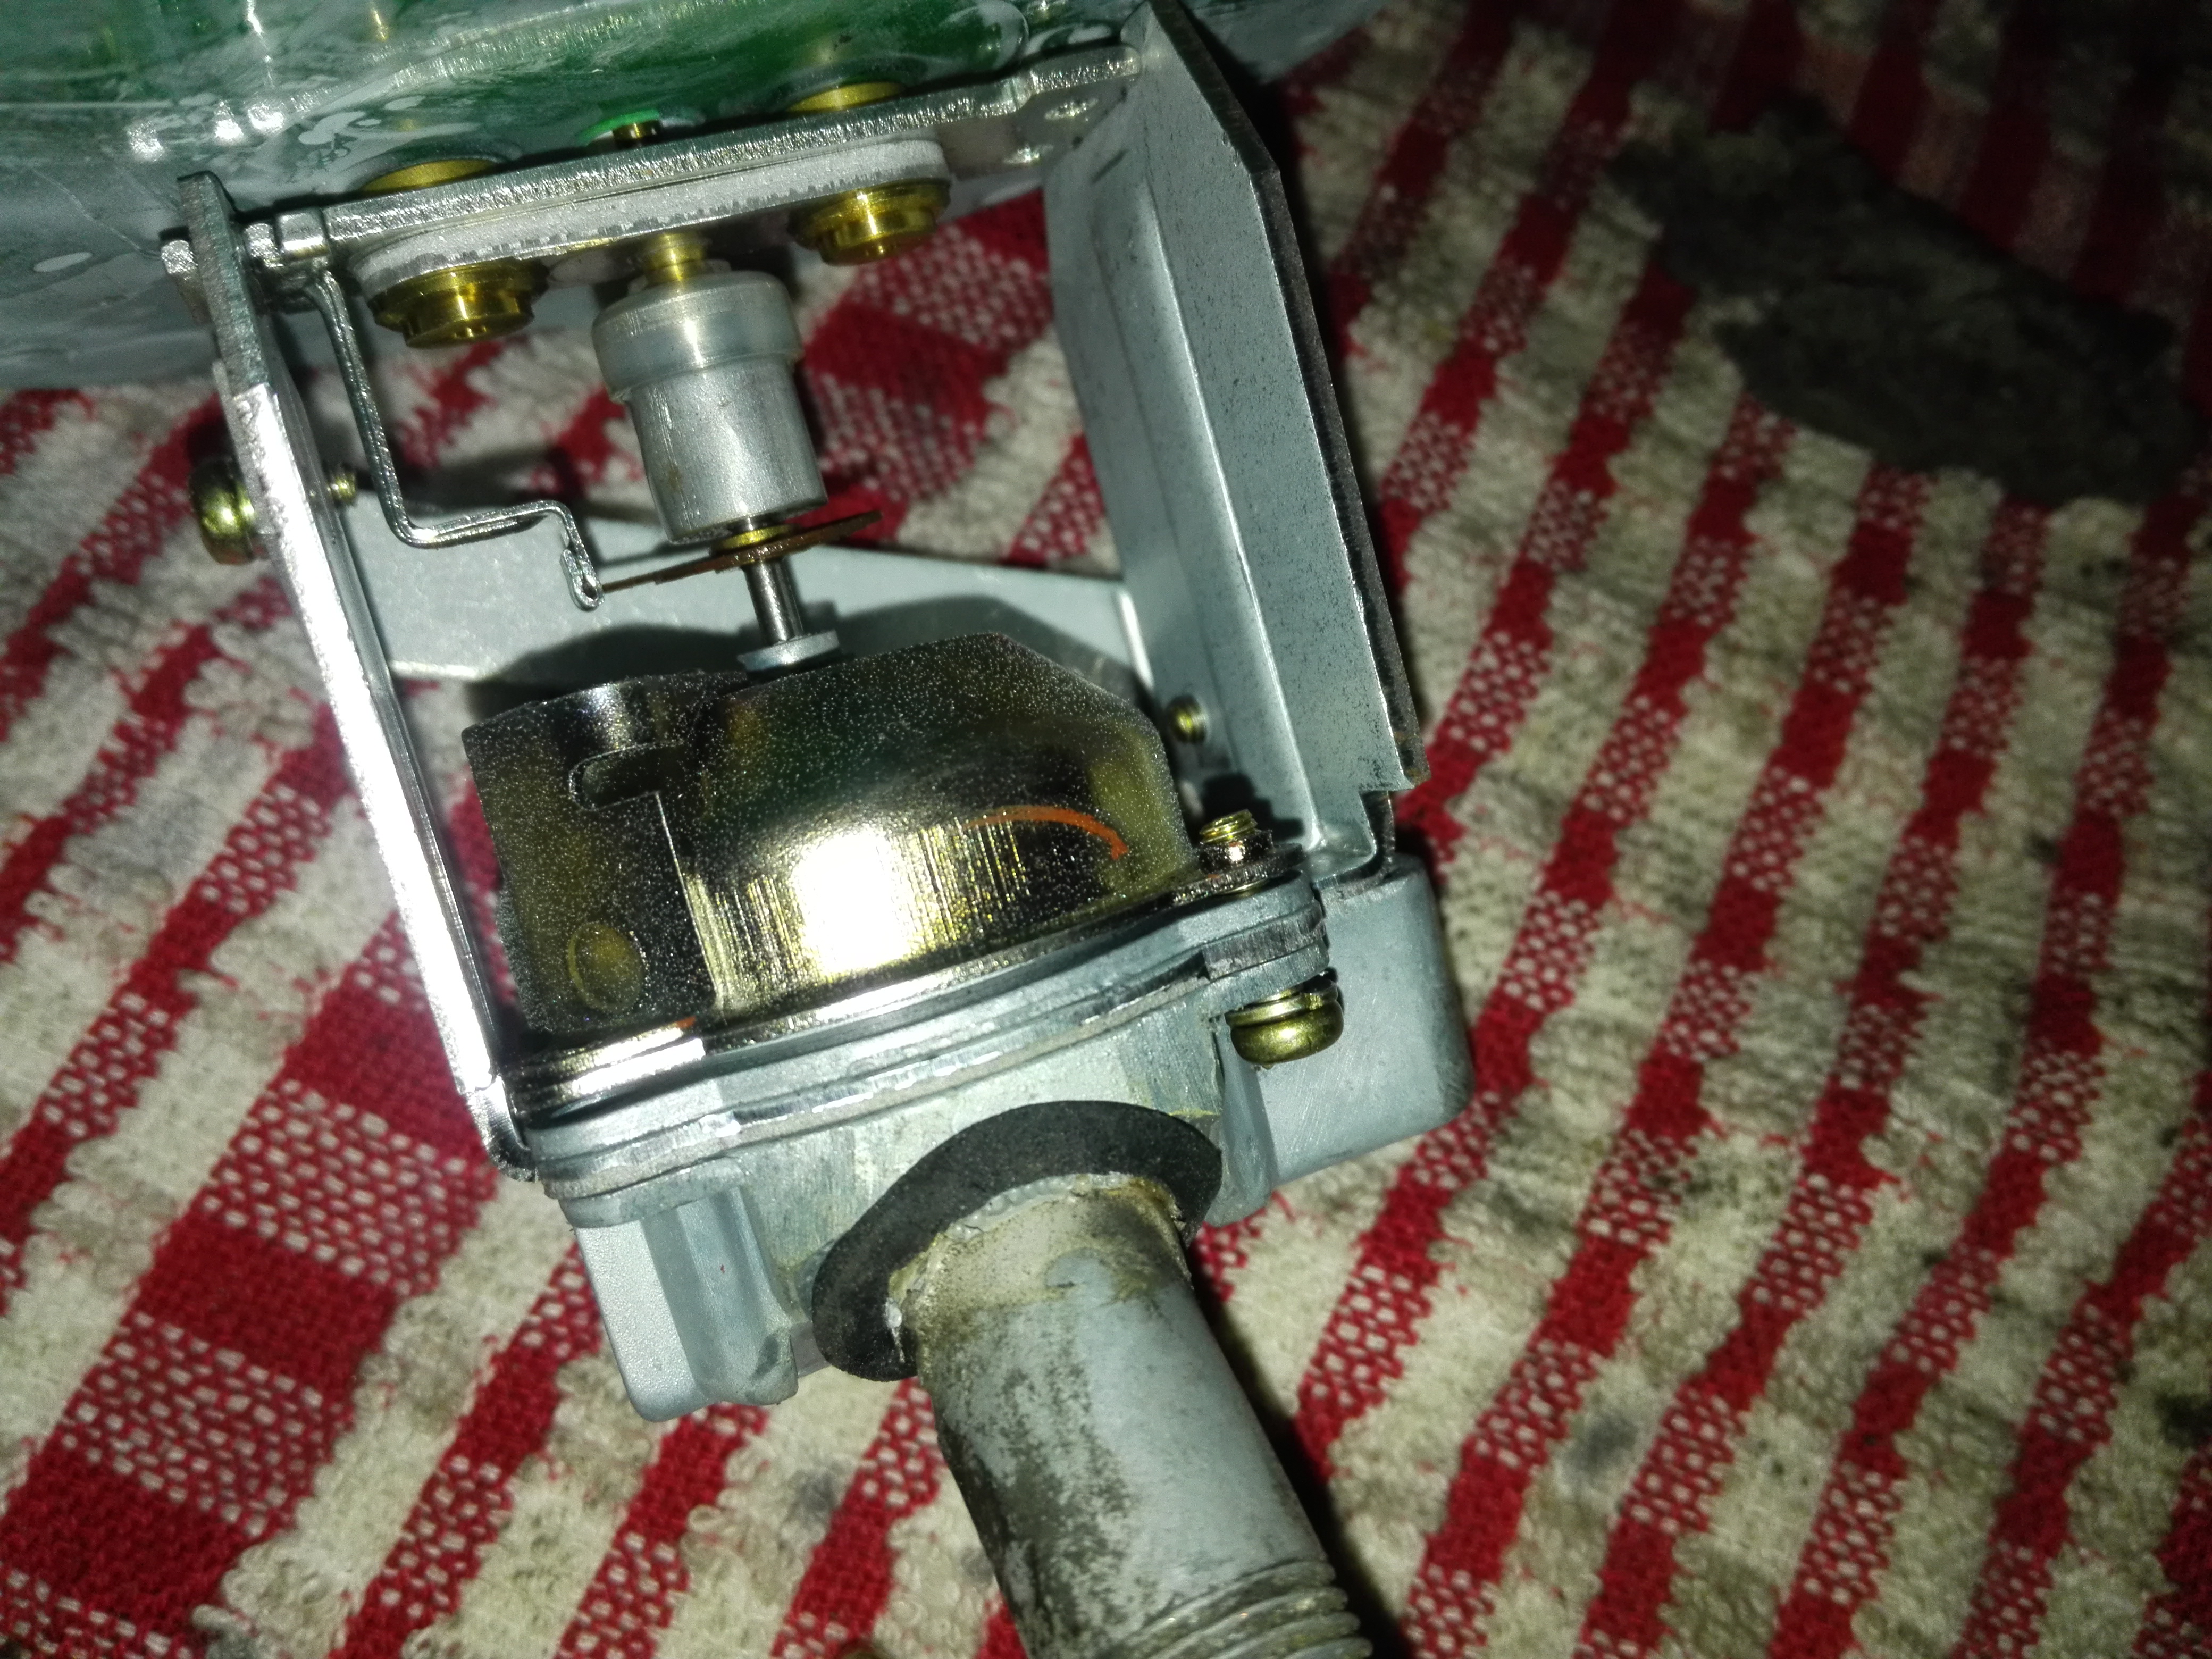
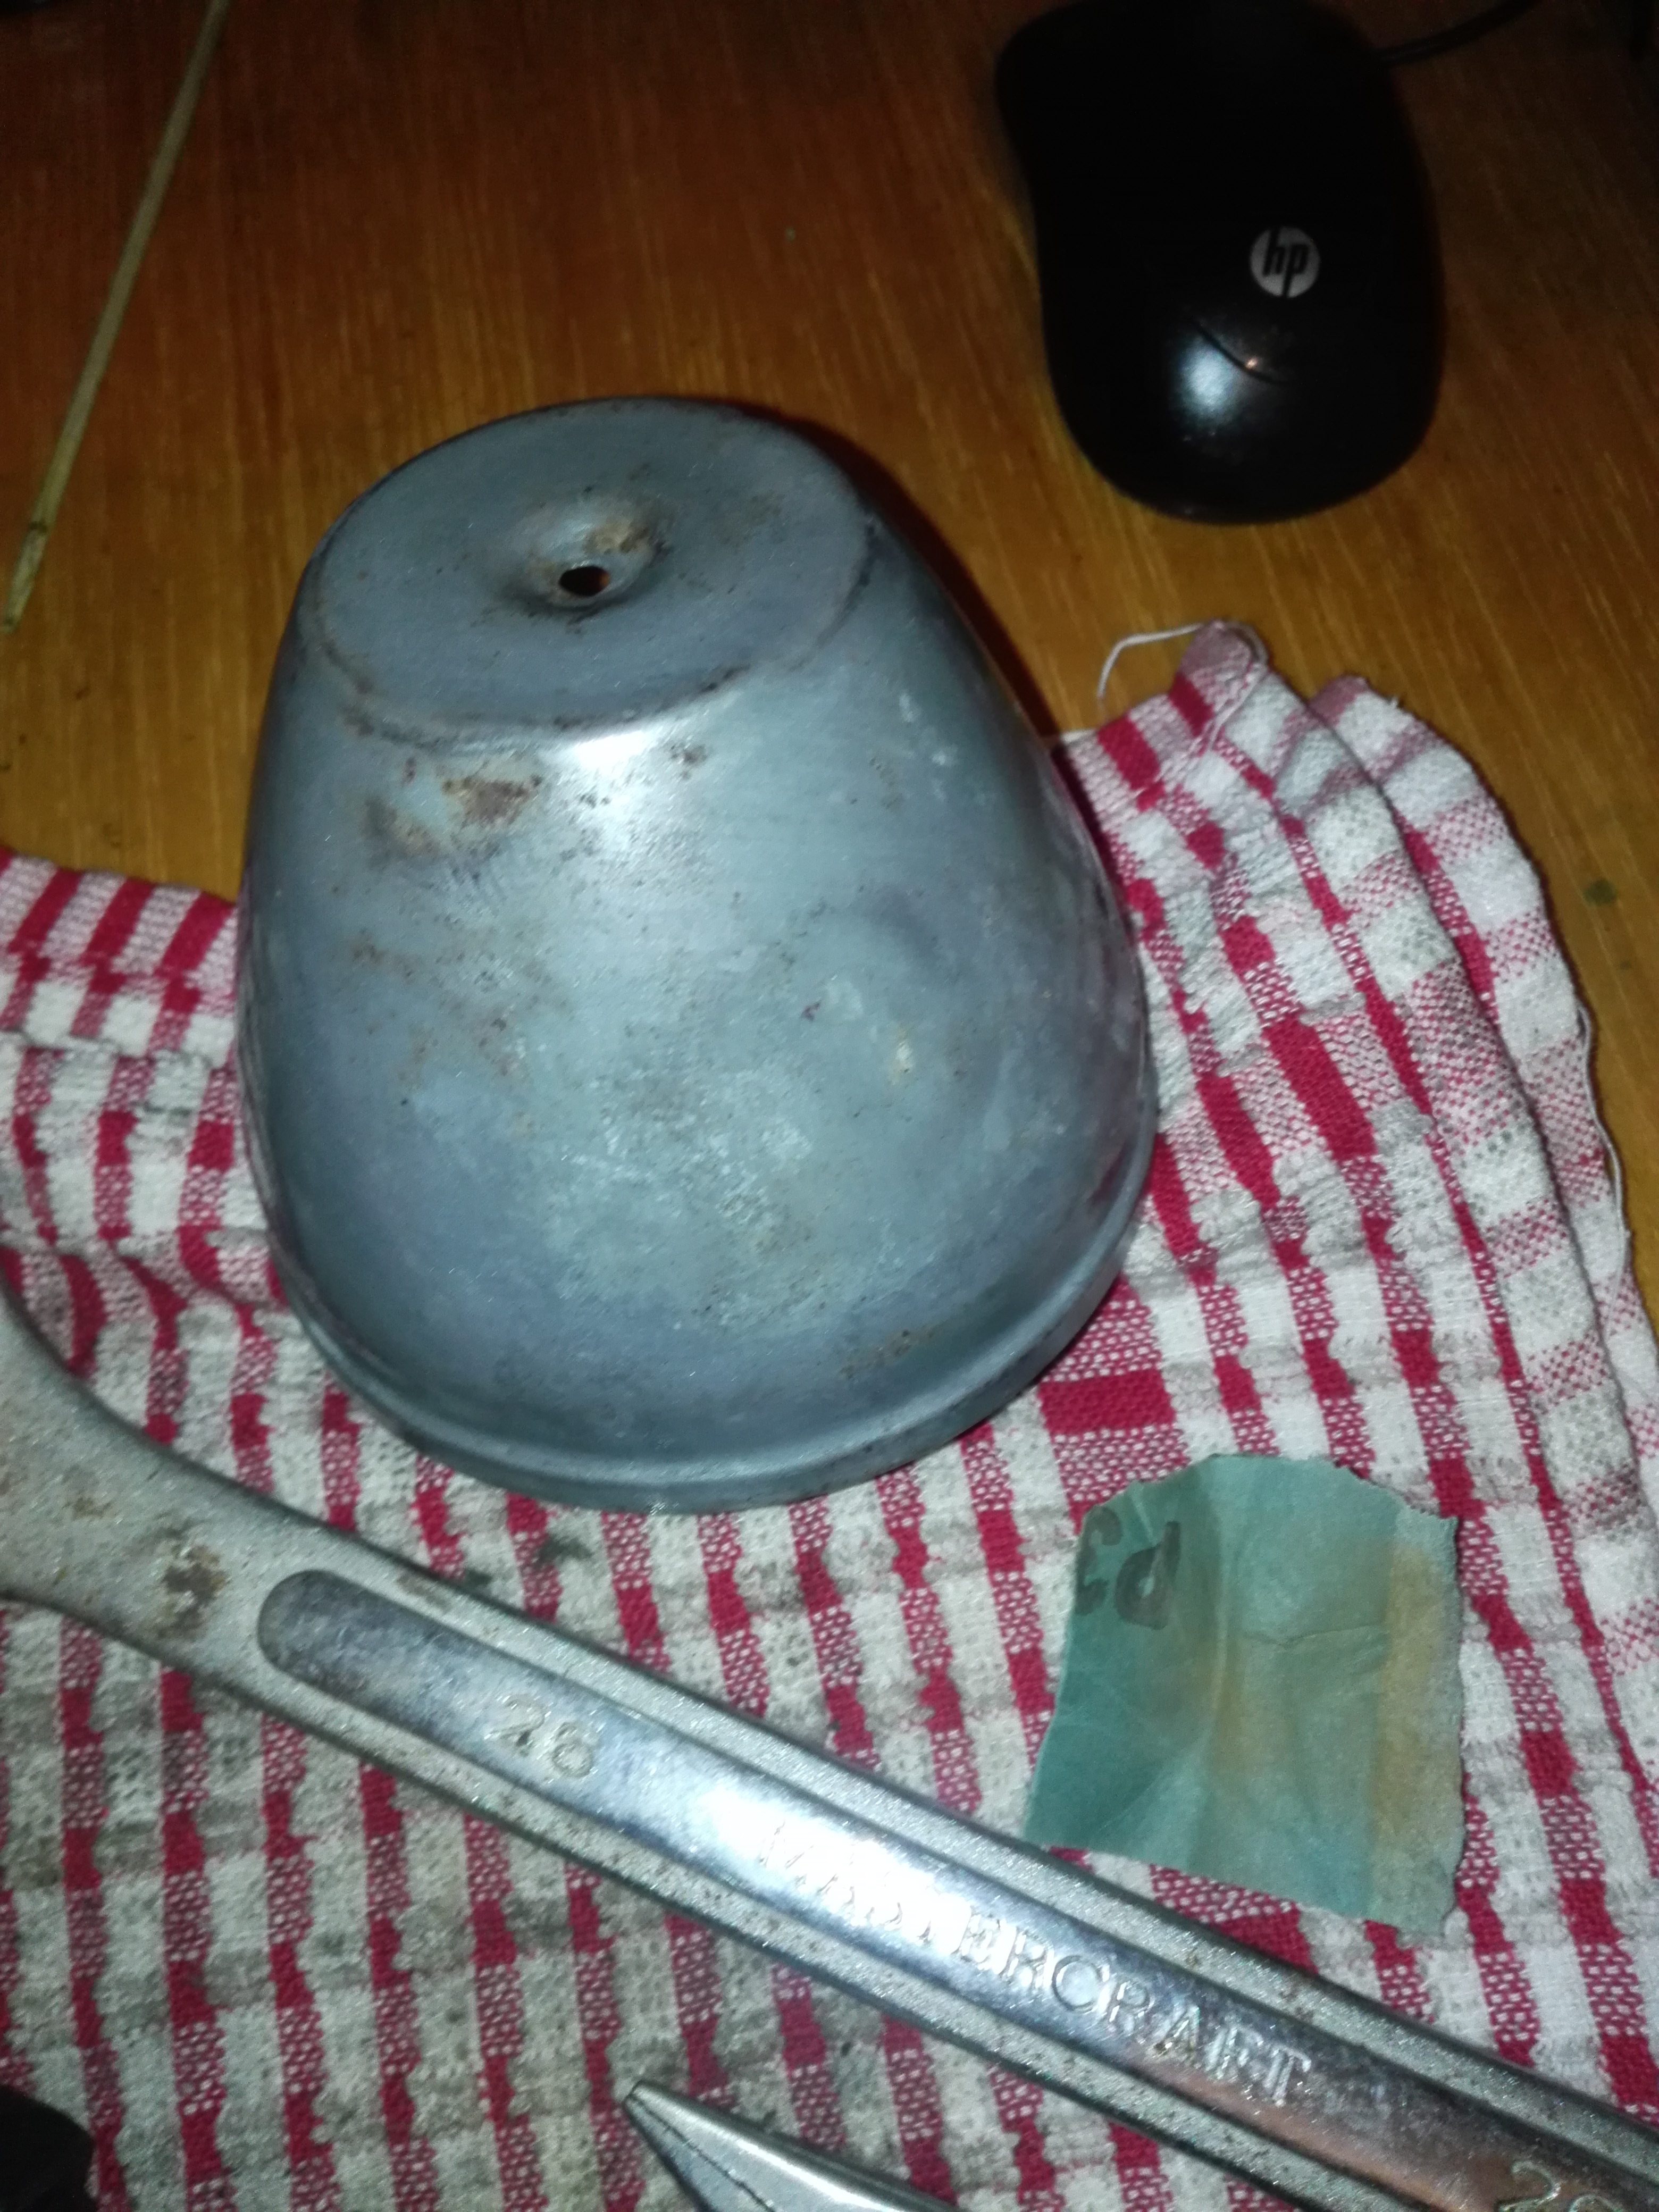
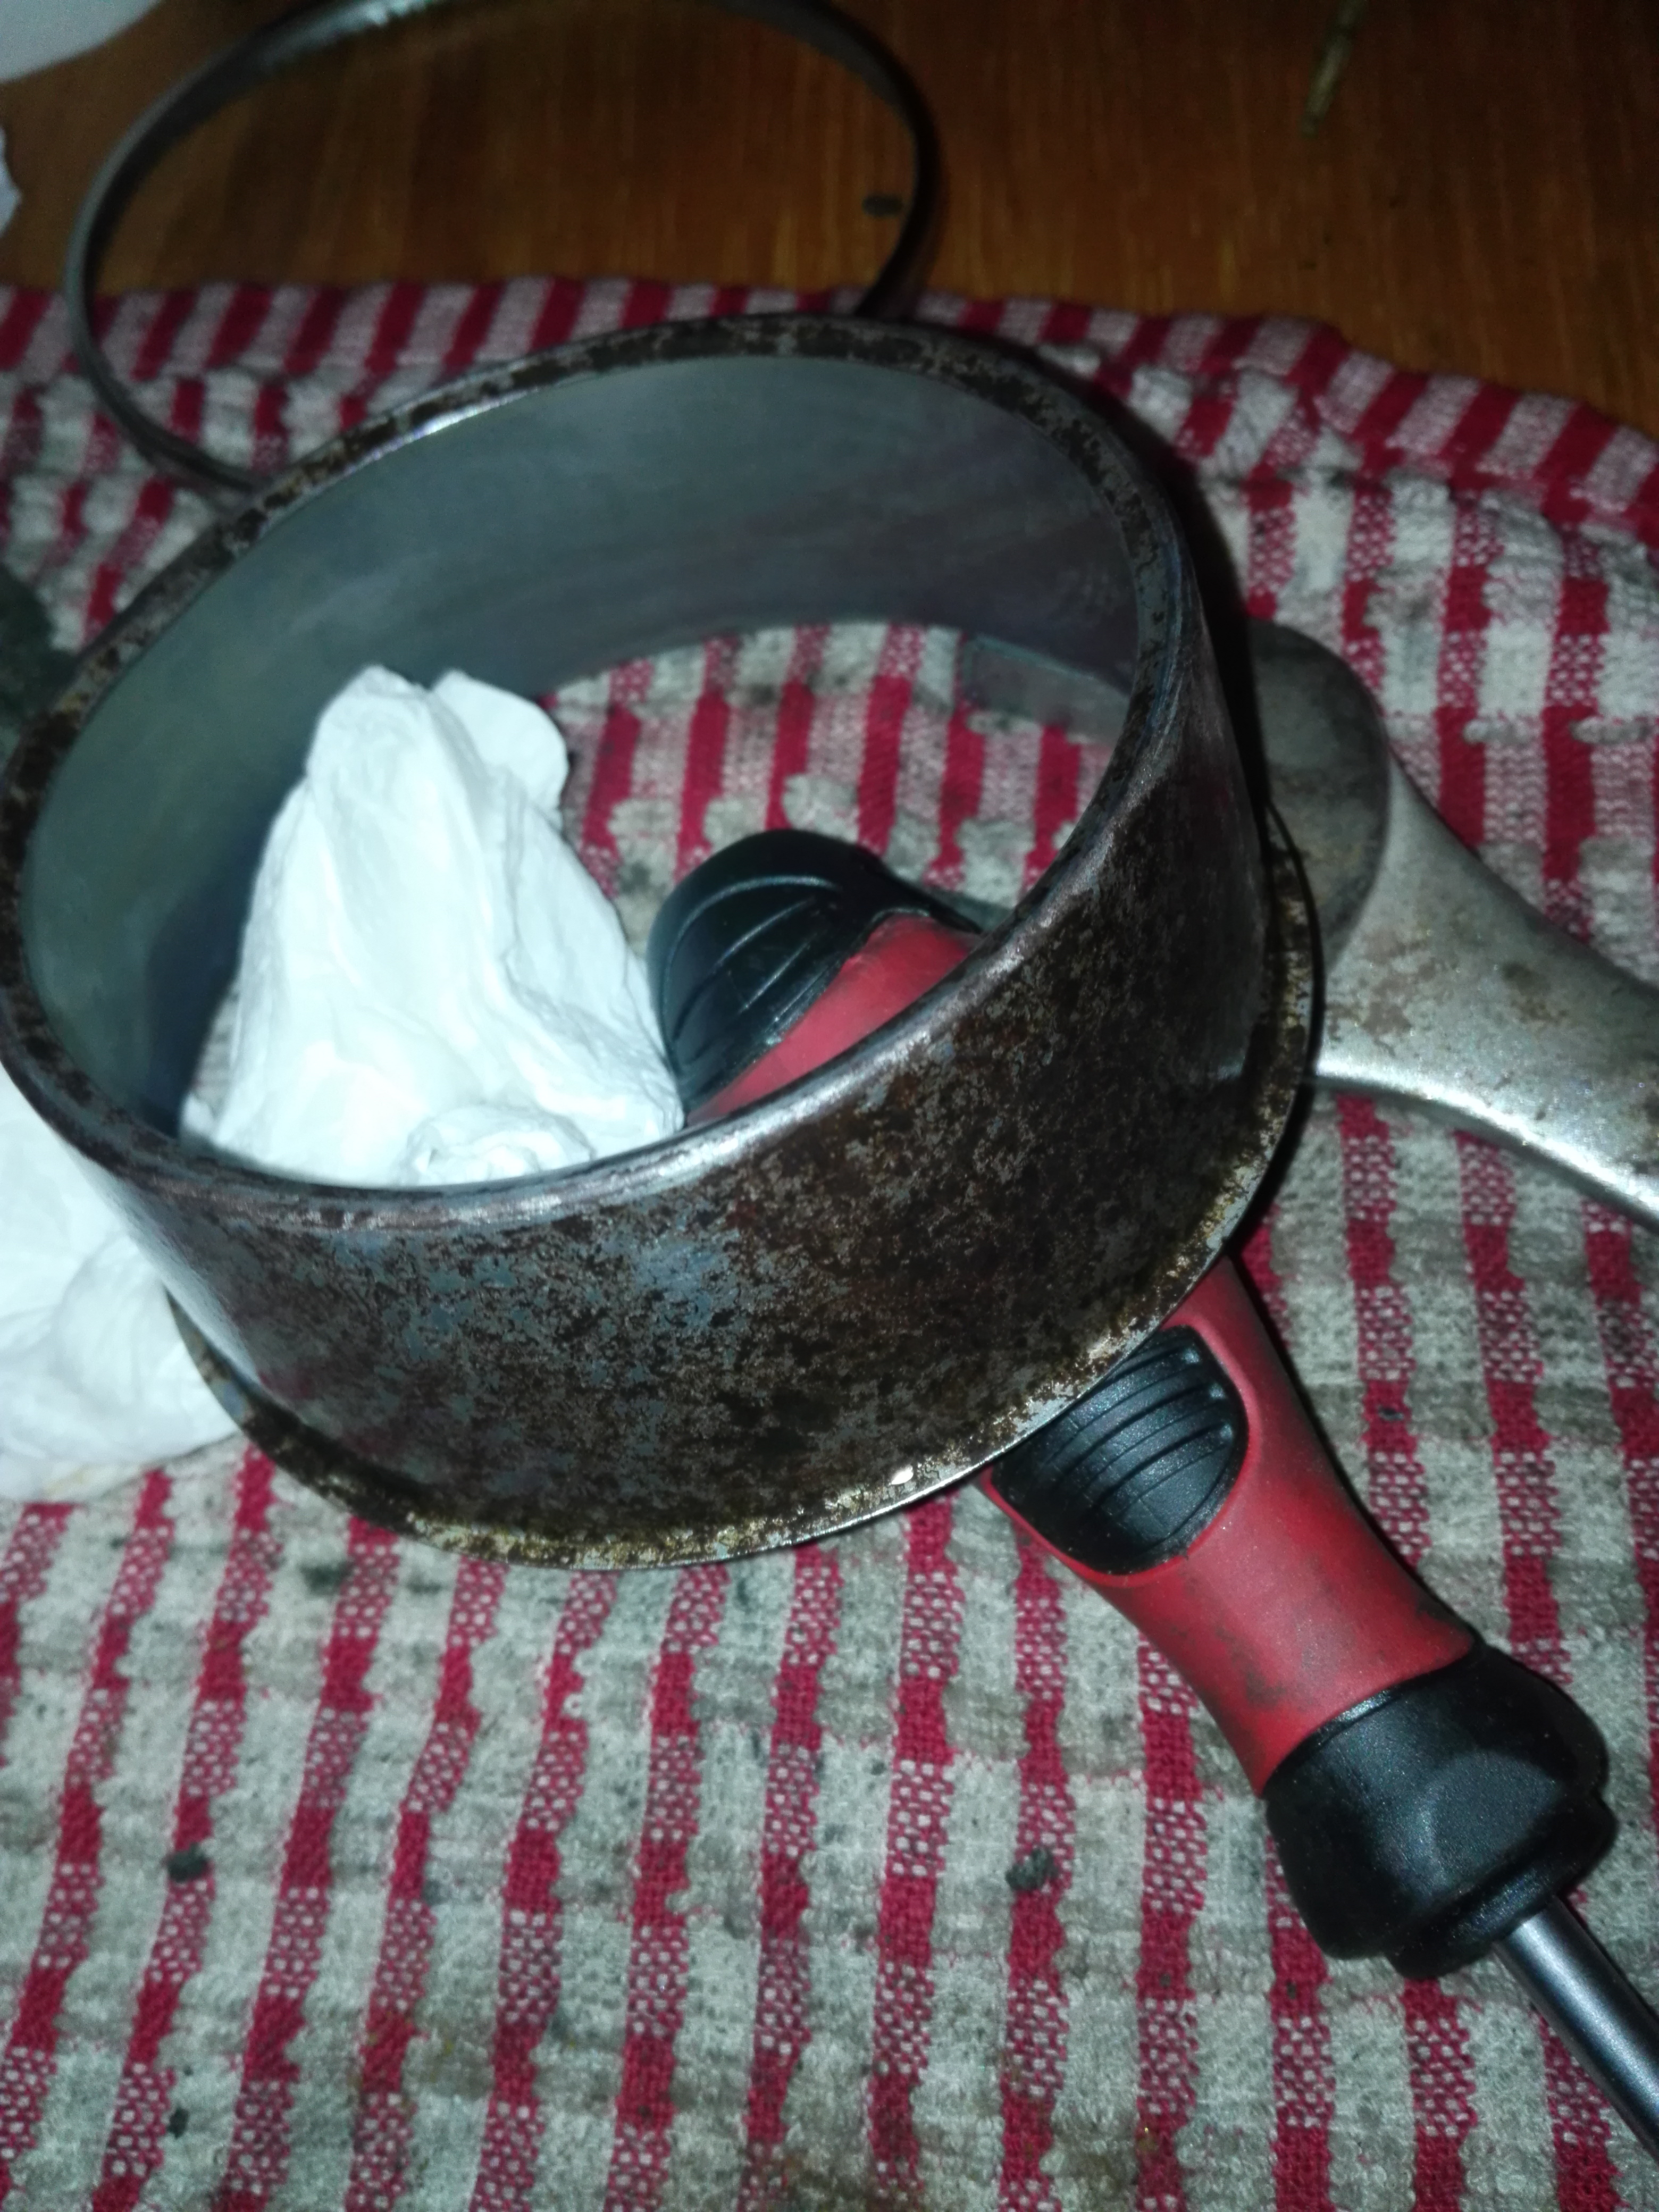
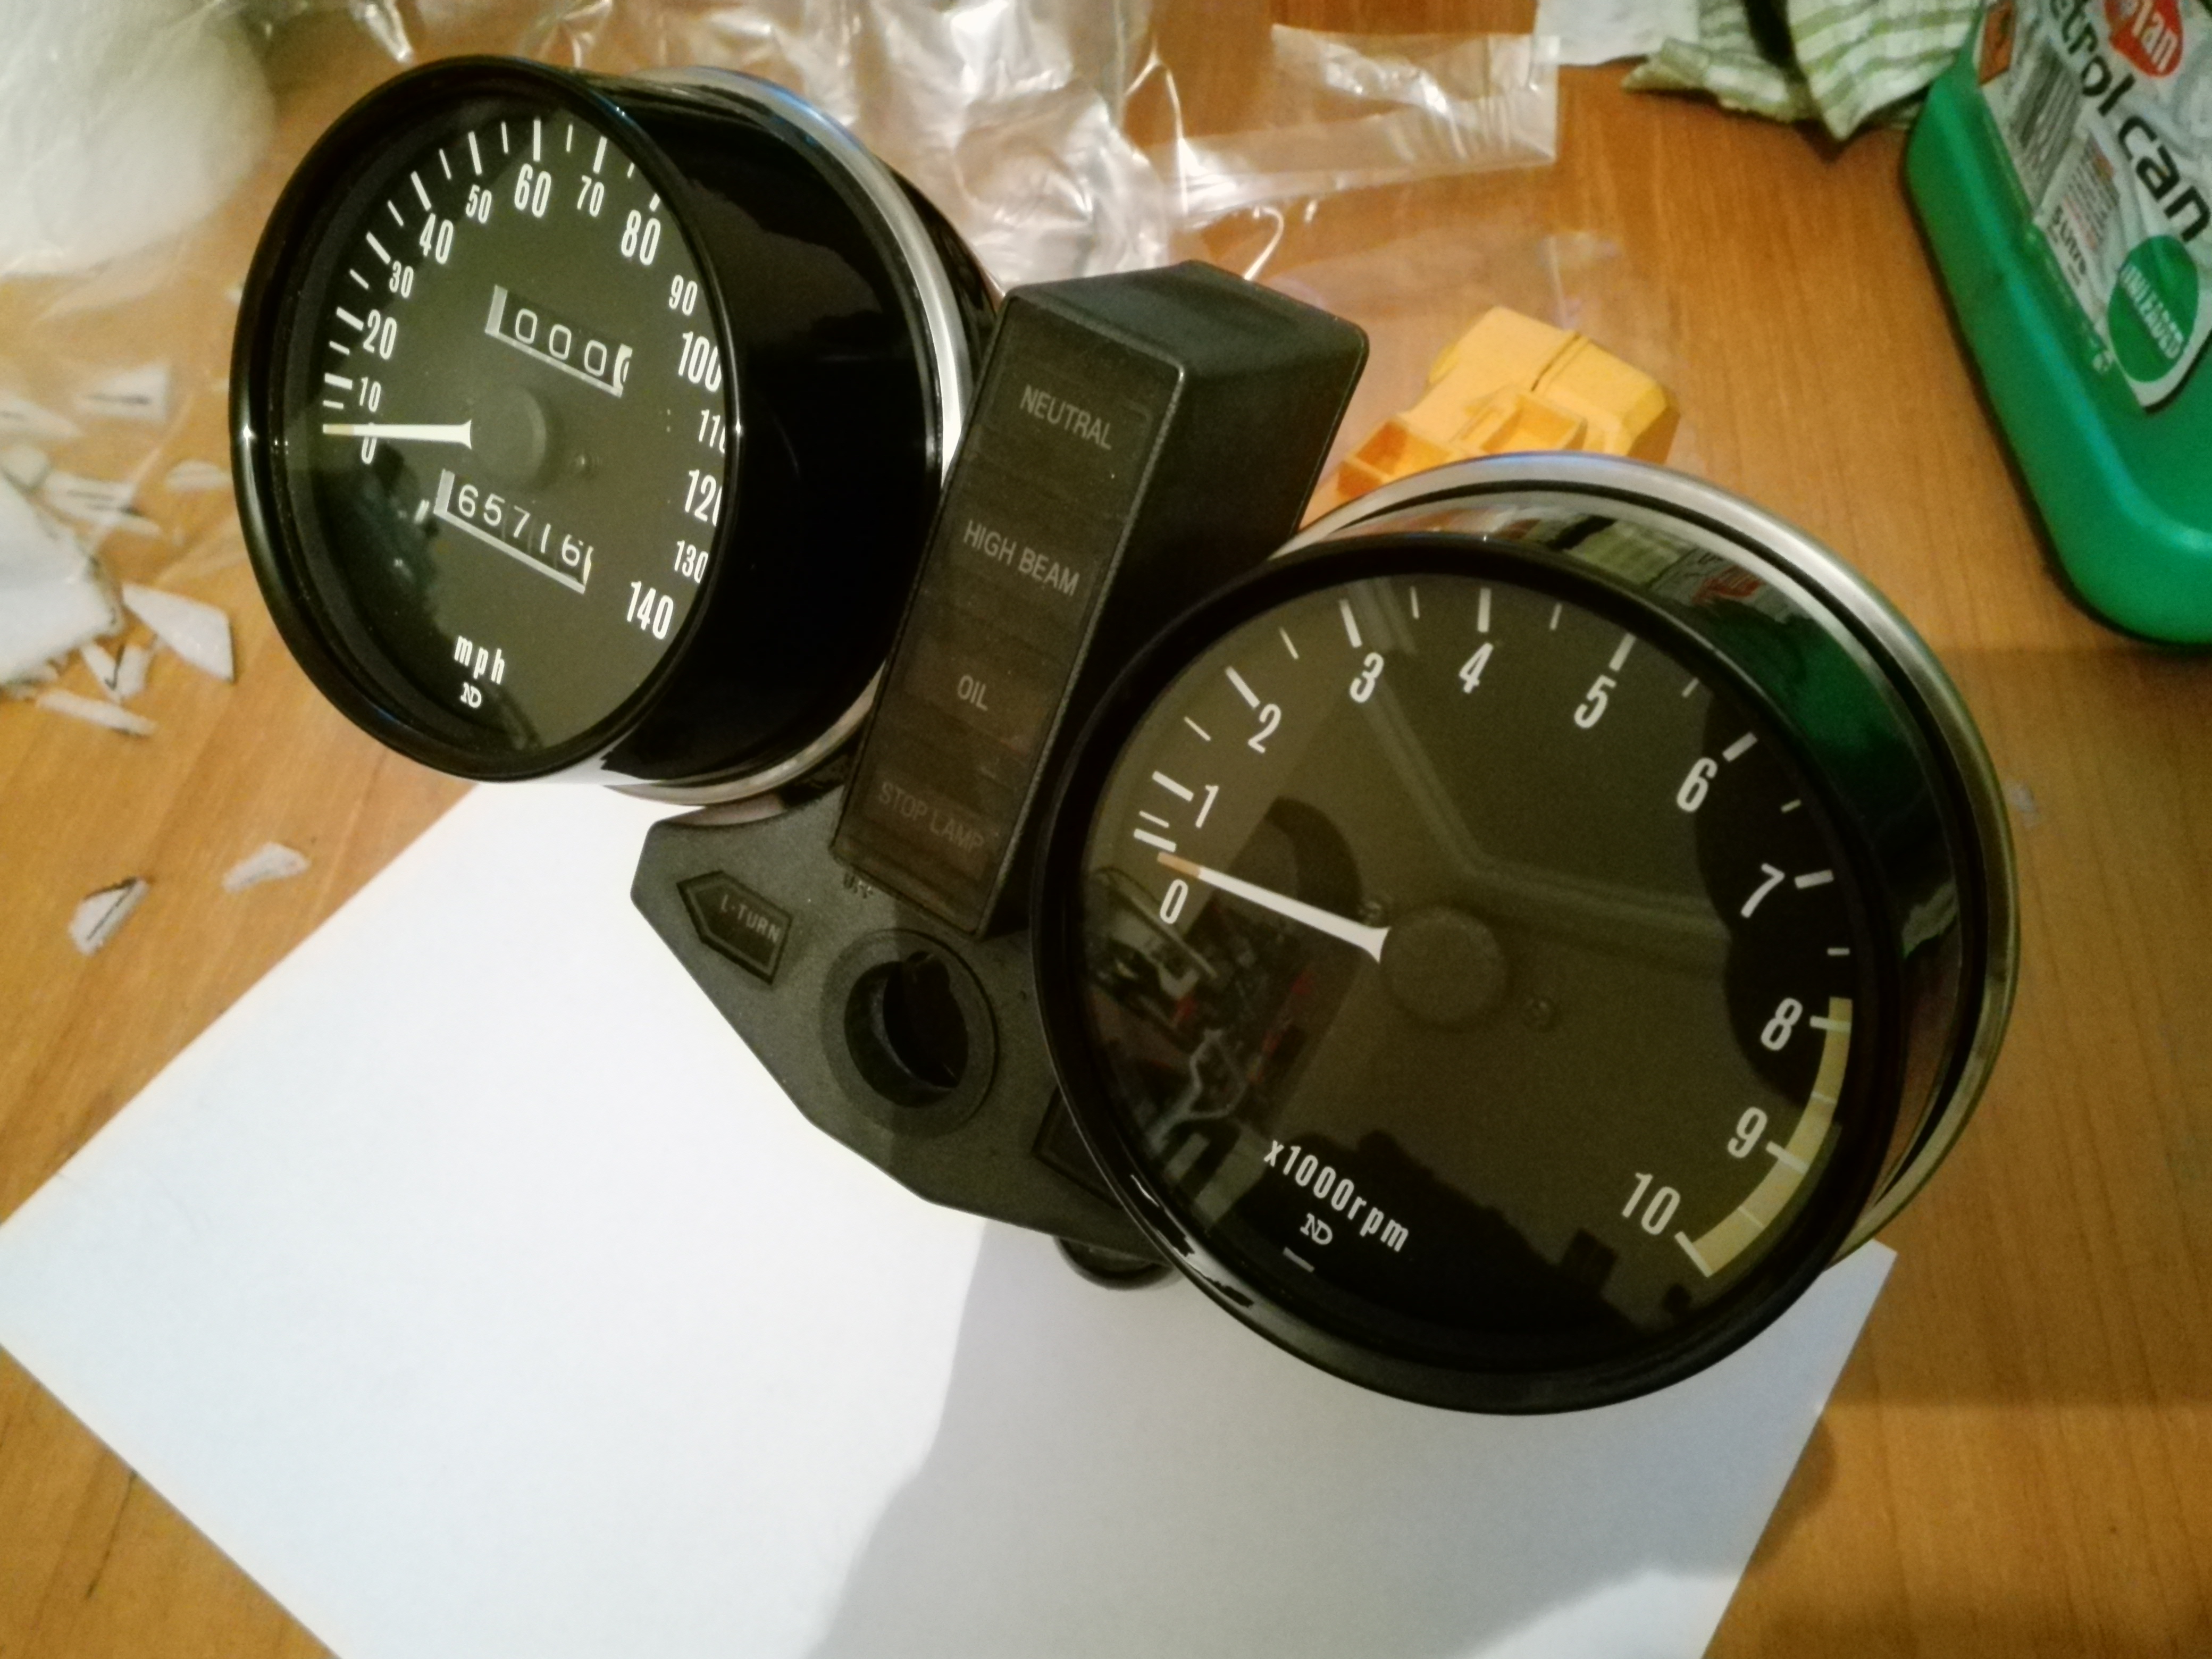
Clocks next. This is as they came off. Quite rusty but definitely usable. They can be tricky to get apart and a lot of patience is required. They cant really be repainted while they are still together.
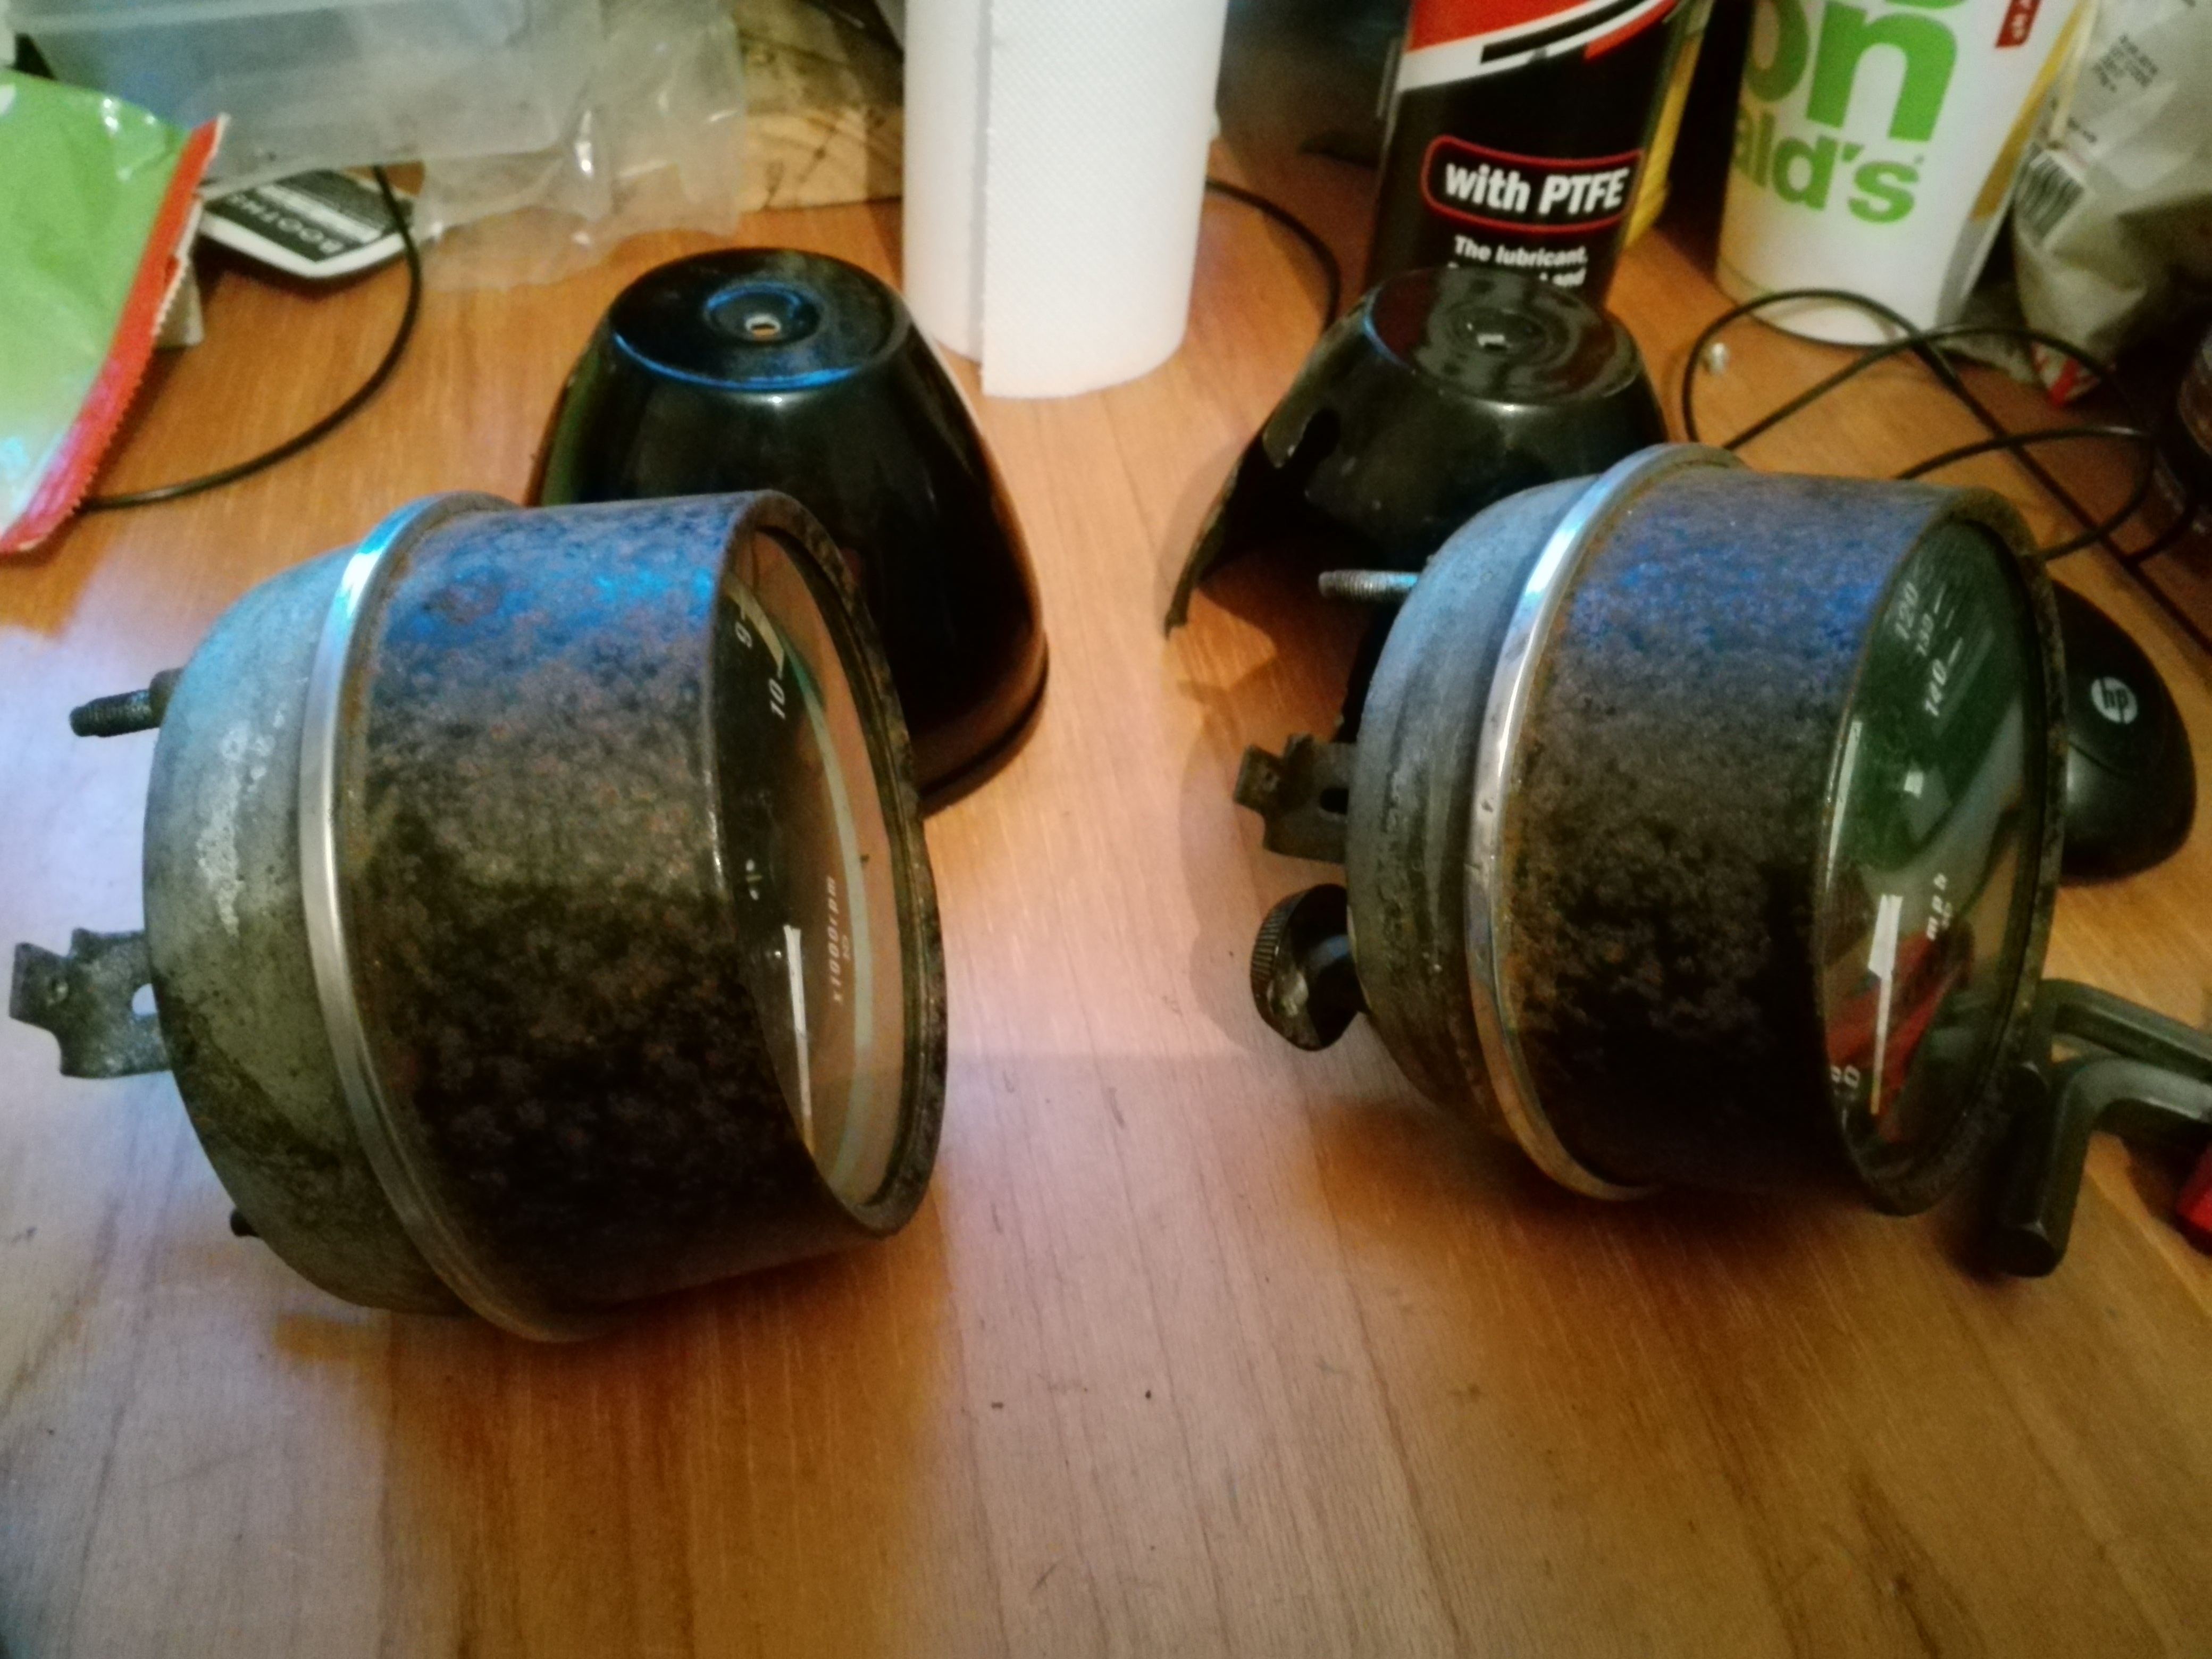
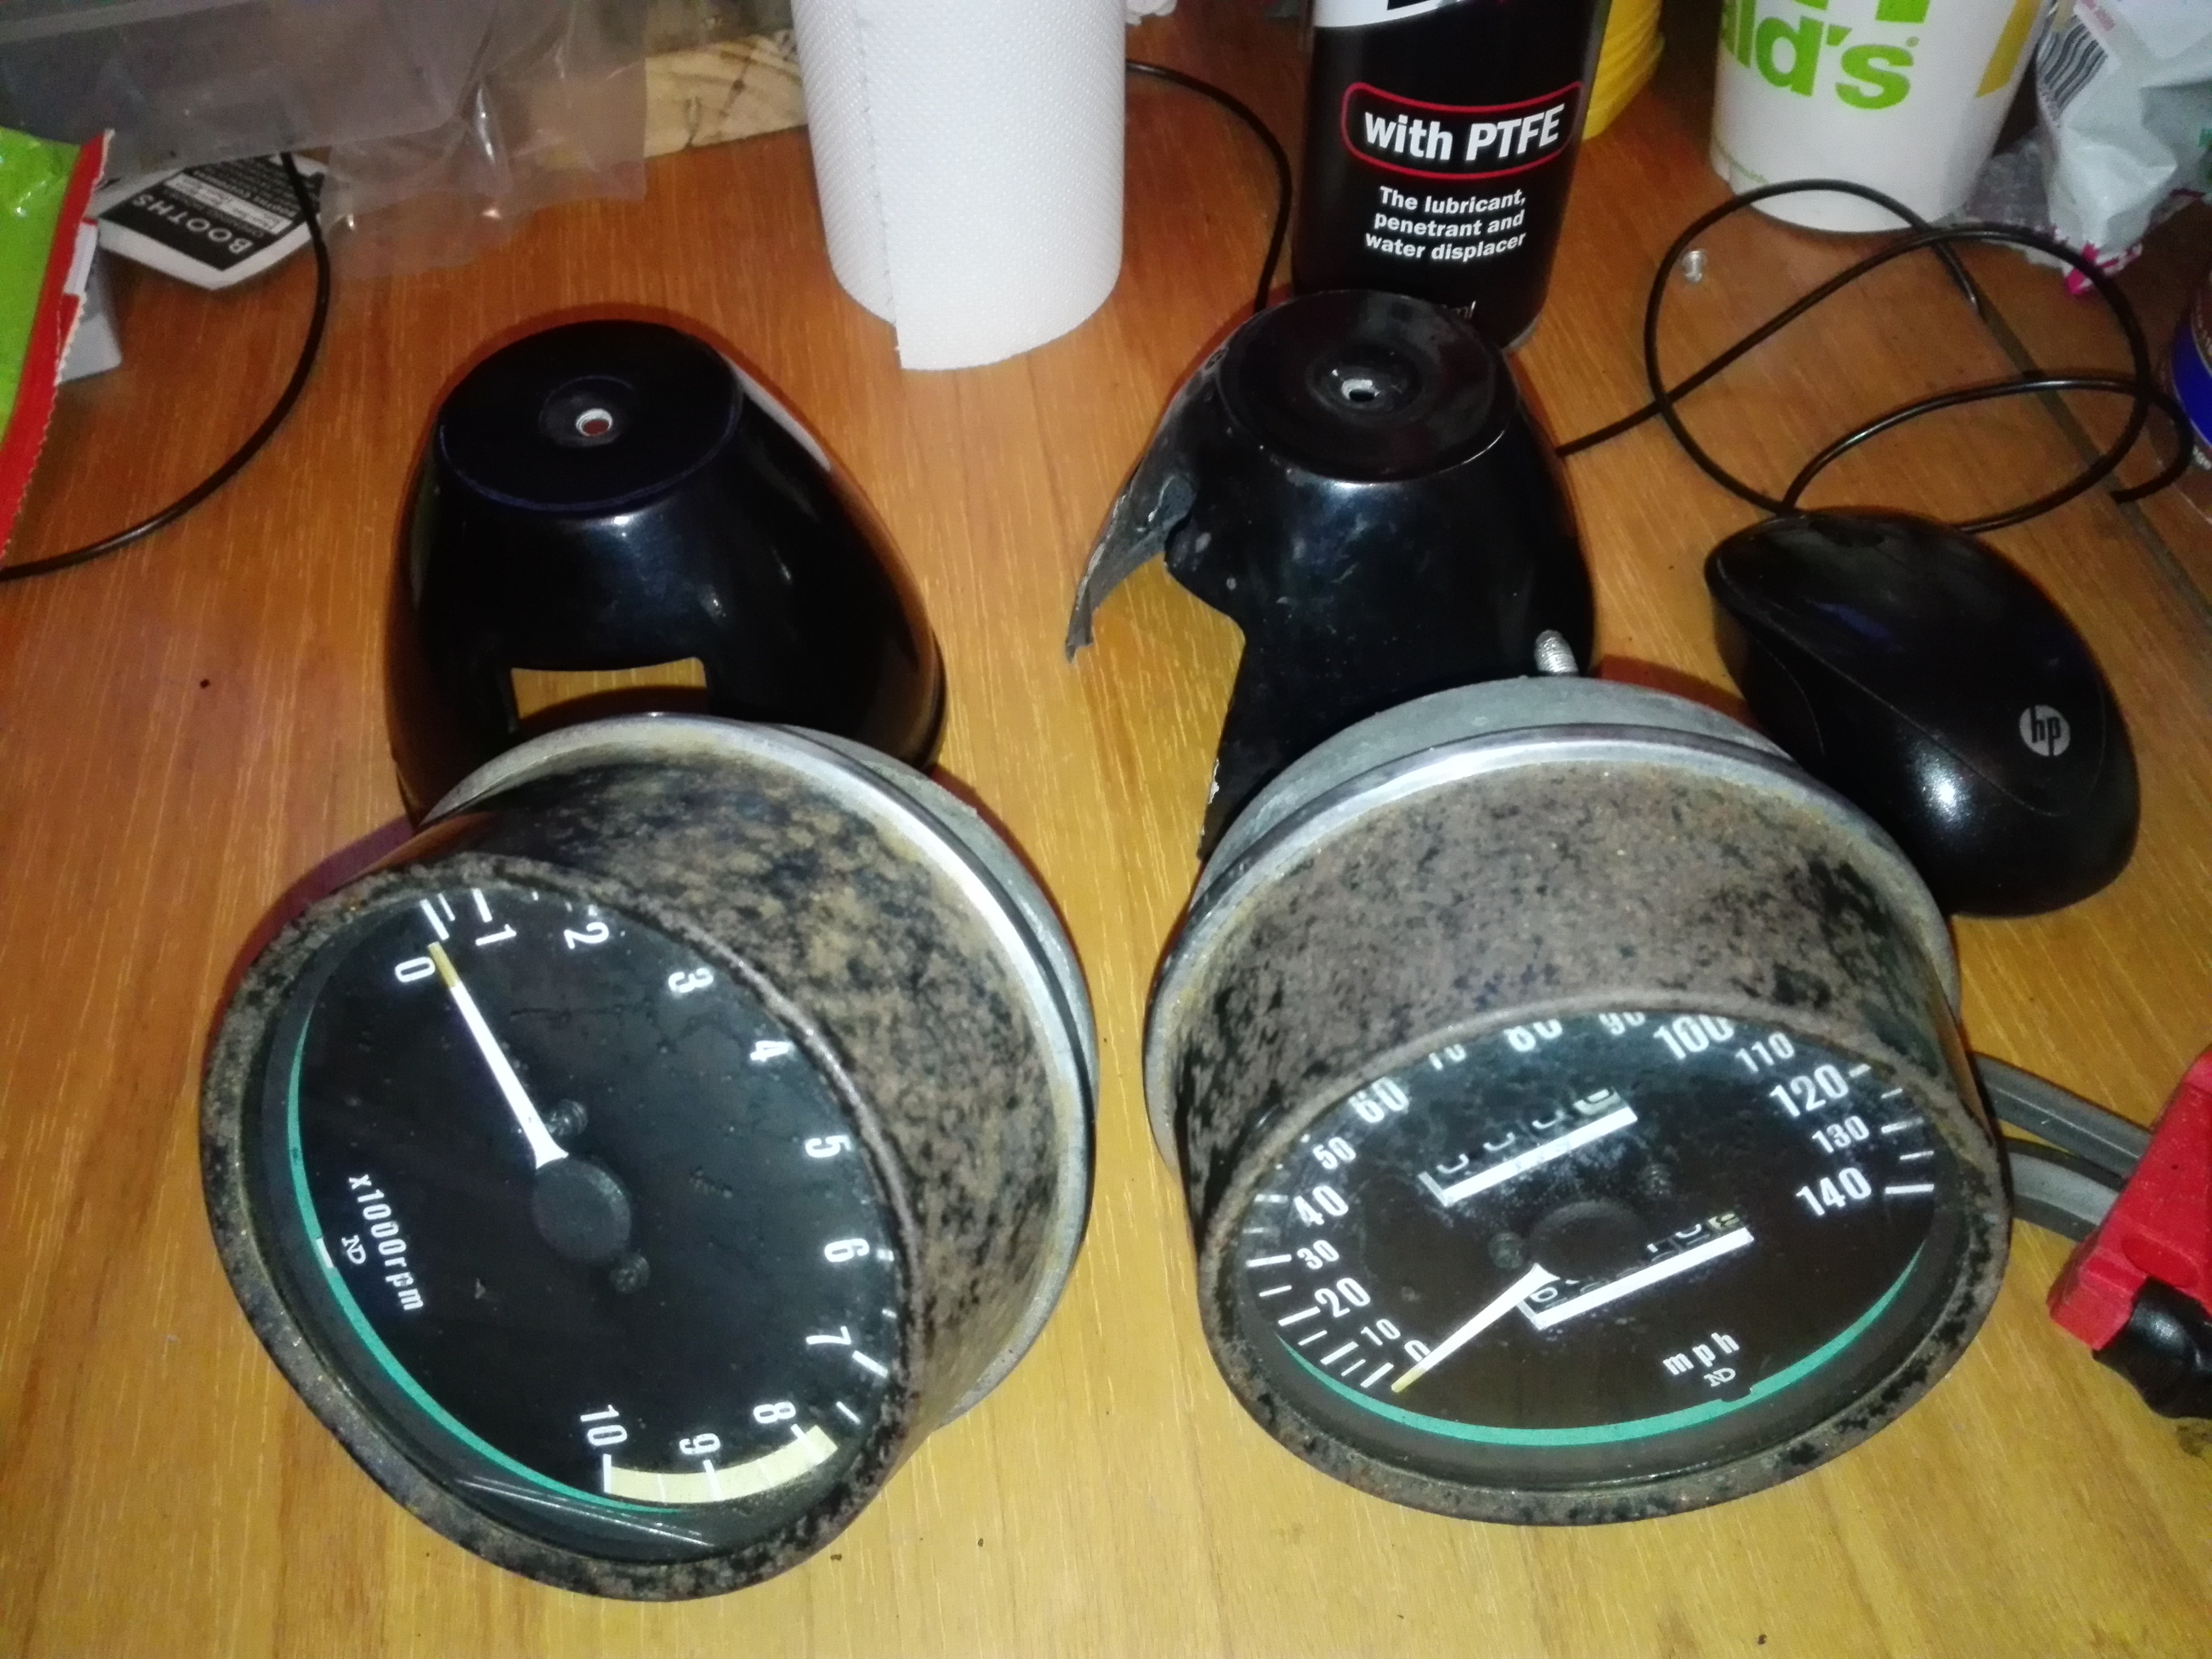
The rev counter in all its bits. It was seized solid so I had to tear it right down.
Rusted solid but with a bit of wd40 and a lot of waggling its fine now, woohoo.
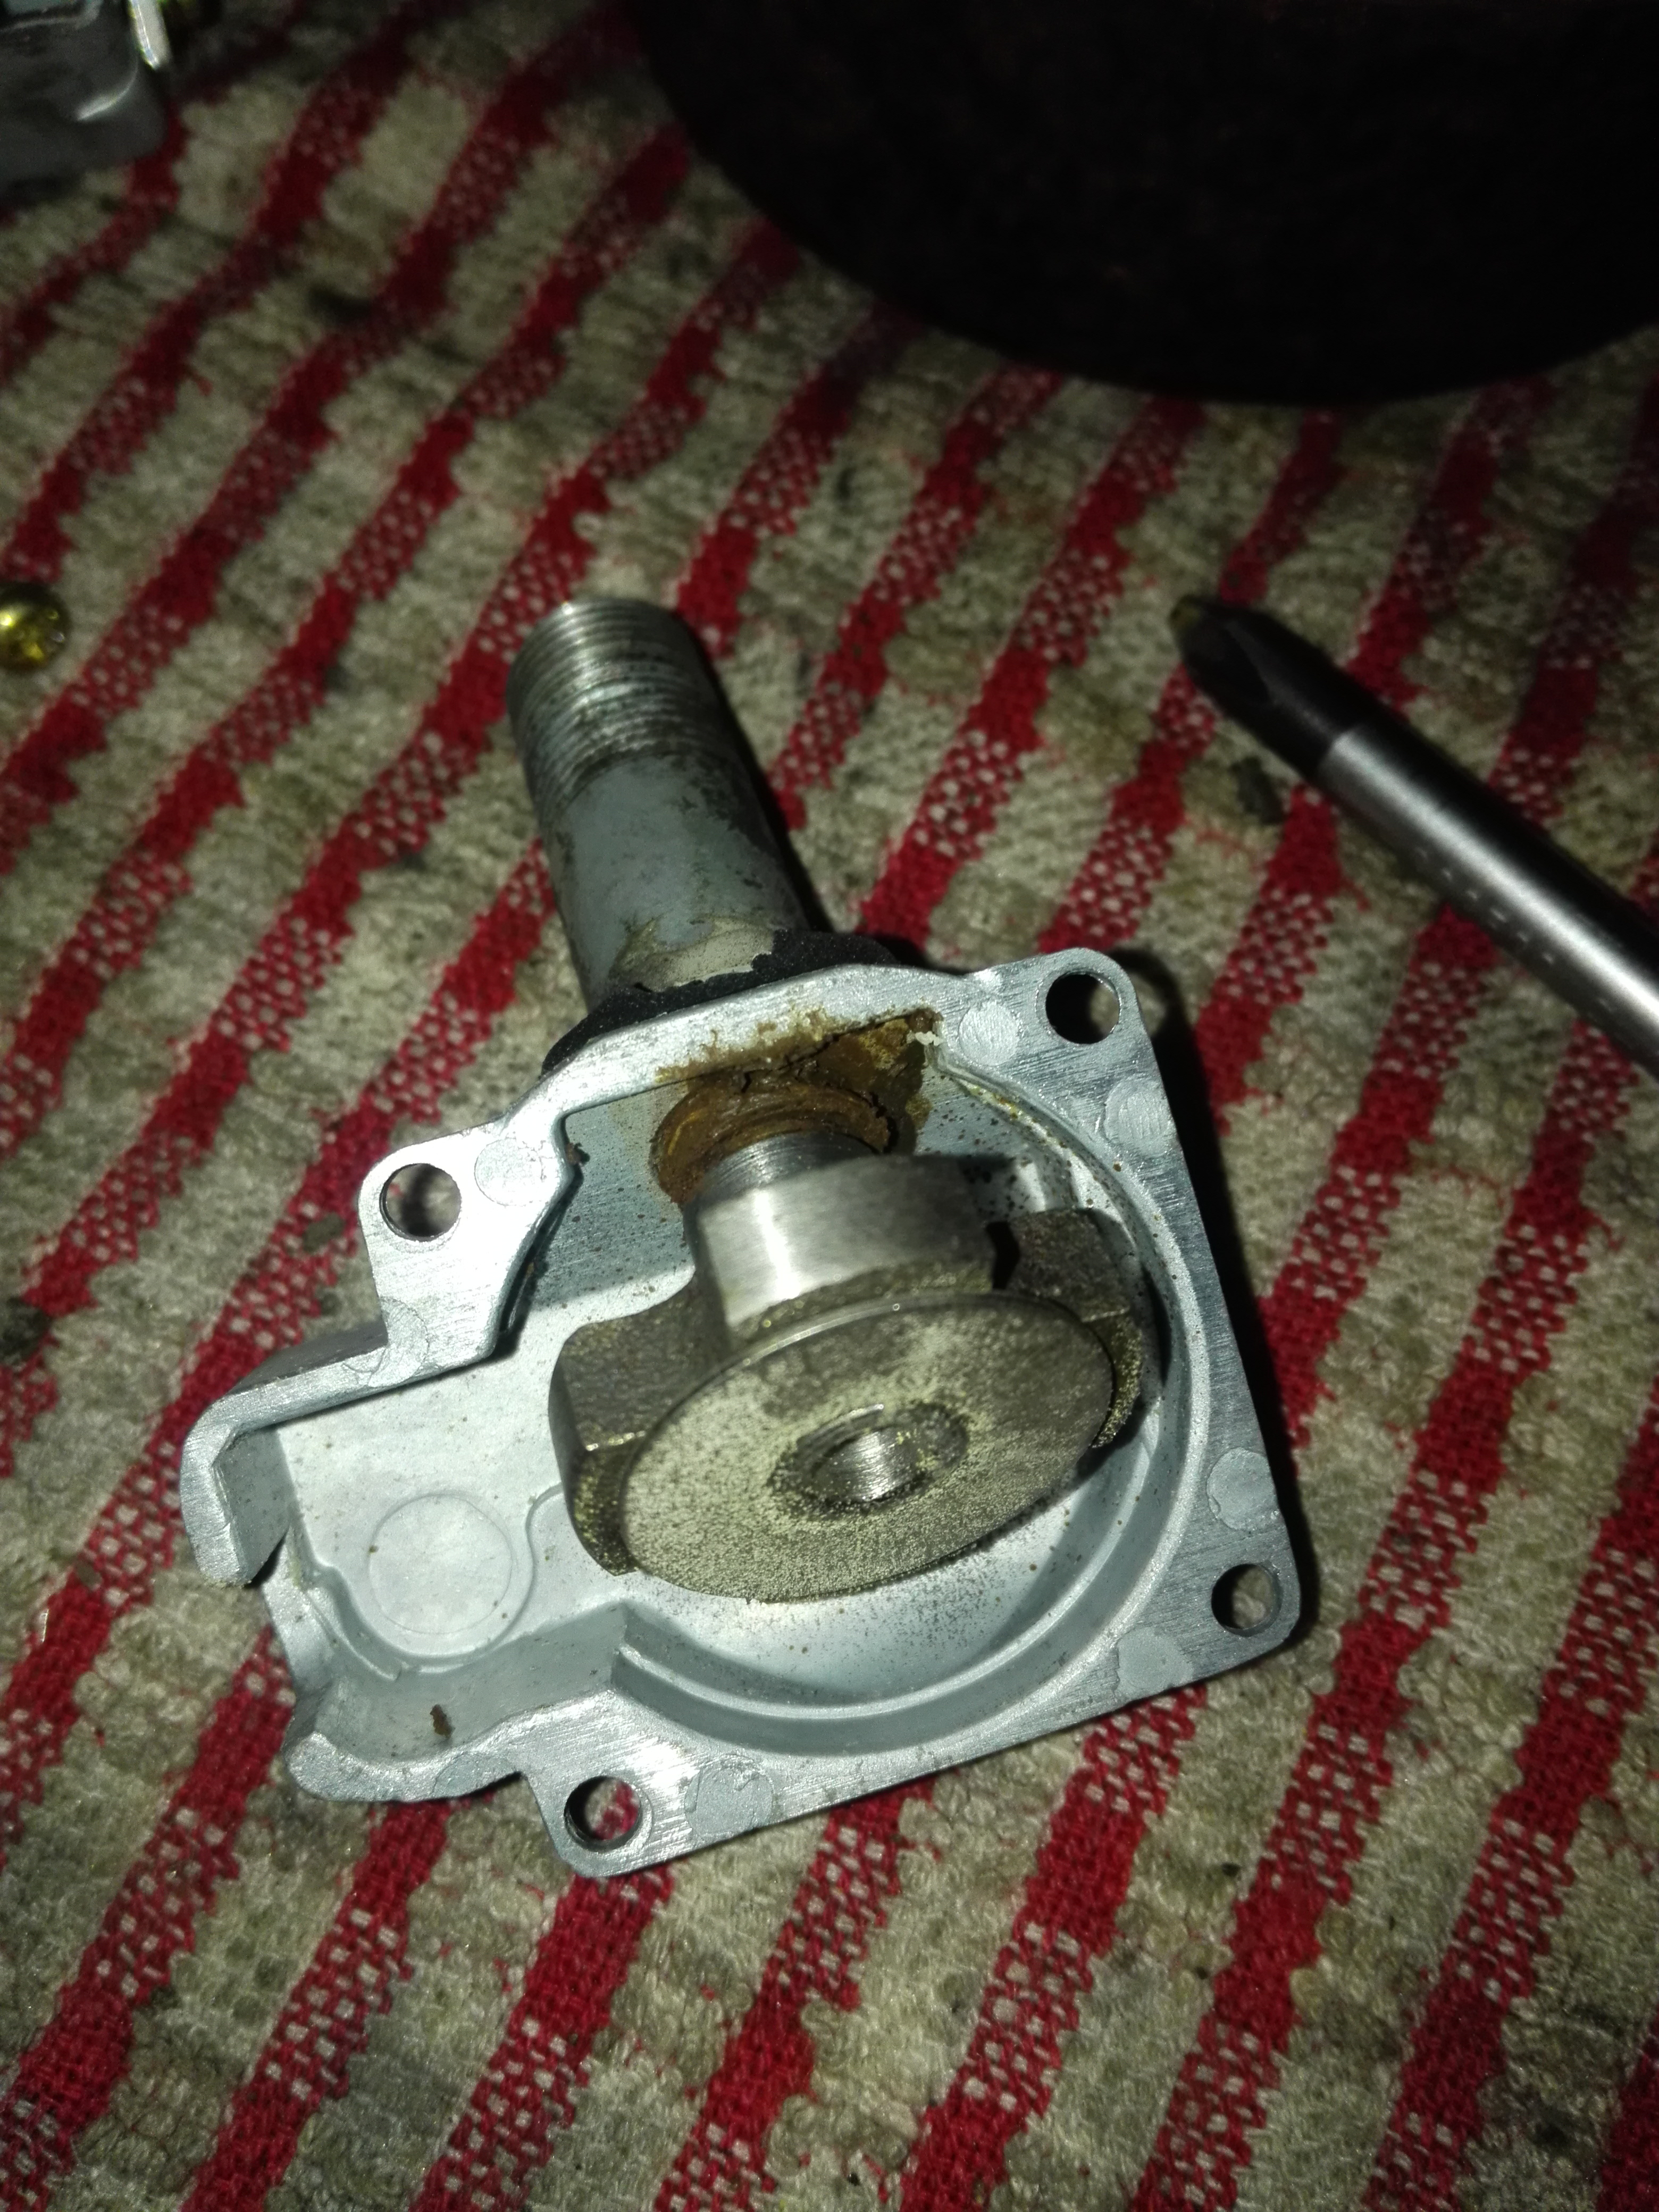
There was a dent on the outside and it transferred to the inner sleeve. You can see it at about 2 o-clock. I just bashed it out with a screwdriver handle and cleaned it.
Despite its age the clock face still looks nice.

Lots of stripping and cleaning on the shells
Many coats of paint later

One of the trickiest parts is getting it back together. First careful bending with a hammer and screwdriver
Then crimped flat with vice grips with masking tape as protection. There are probably better ways of doing it but this worked acceptably well.
I’m happy with the end result
On to the mounting bracket.
I decided to blast this as its just too complex. I don’t have a cabinet or even a decent compressor so I use this as a last resort. On some jobs its the only way.
I will paint this black and make new rubber pads from mouse mat. I did the same thing to fix my orbital sander and it worked well. The clocks are looking ok I think. I need to get some plastic restorer and to finish all the mounting parts. This is just loosely put together.
 27th October 2018 at 11:32 am #24306
 TangoParticipant
Wow.. that is fantastic!
This post is going to require a Brew to veiw properly! …. I shall do this later
But Please keep up the posts and updstes
Looking forward to what’s next.
30th October 2018 at 6:39 pm #24324Ownthesky2010ParticipantThanks Tango
I haven’t worked on a bike for many years so please feel free to tell me when I’m doing something stupid 🙂
I’m pretty much making this up as I go along
30th October 2018 at 7:20 pm #24369Ownthesky2010ParticipantThe next thing I decided to tackle is my plating kit. I got it off ebay and it works but I have had a few issues with weird rough patches in the zinc plating and yellow chromate that just rubs off.
I resolved the chromate issue as it turned out I’m dipping it for too long so I just dip for 3 seconds now and repeat for a darker yellow if desired.
The issues with the finish of the zinc I put down to current control so I decided to do a few upgrades.
This is the zinc anode arrangement as it came with the kit
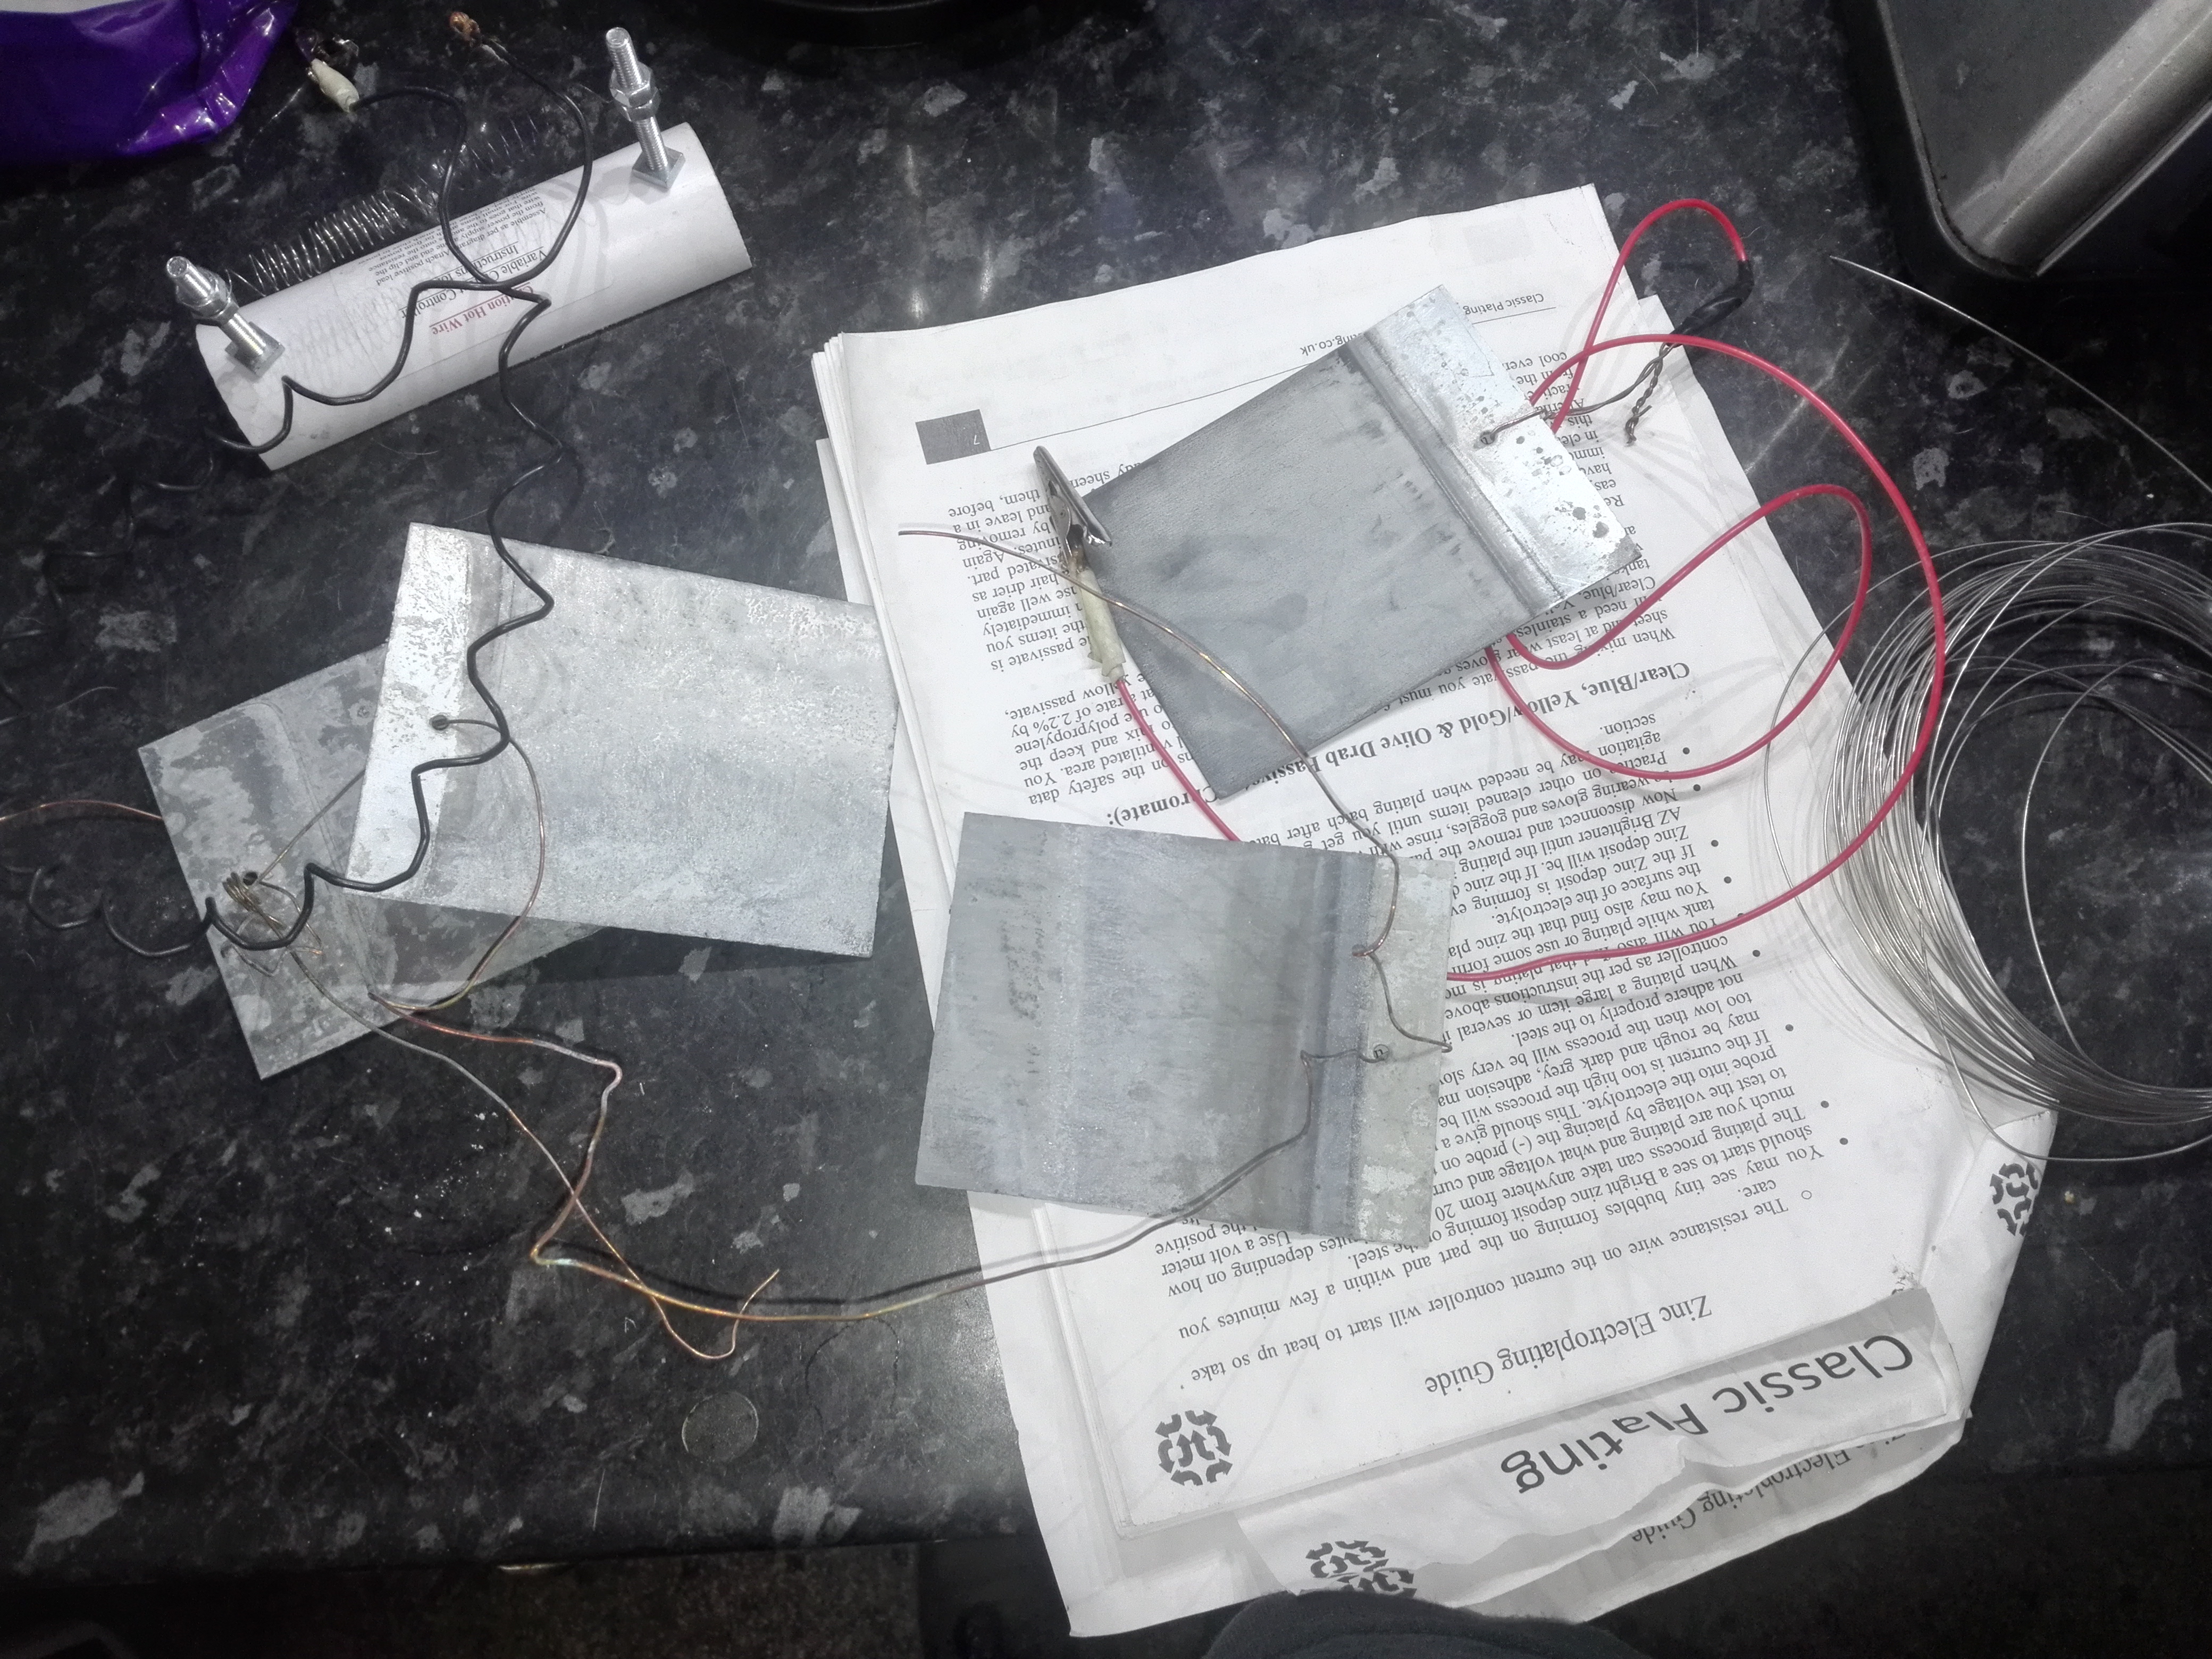
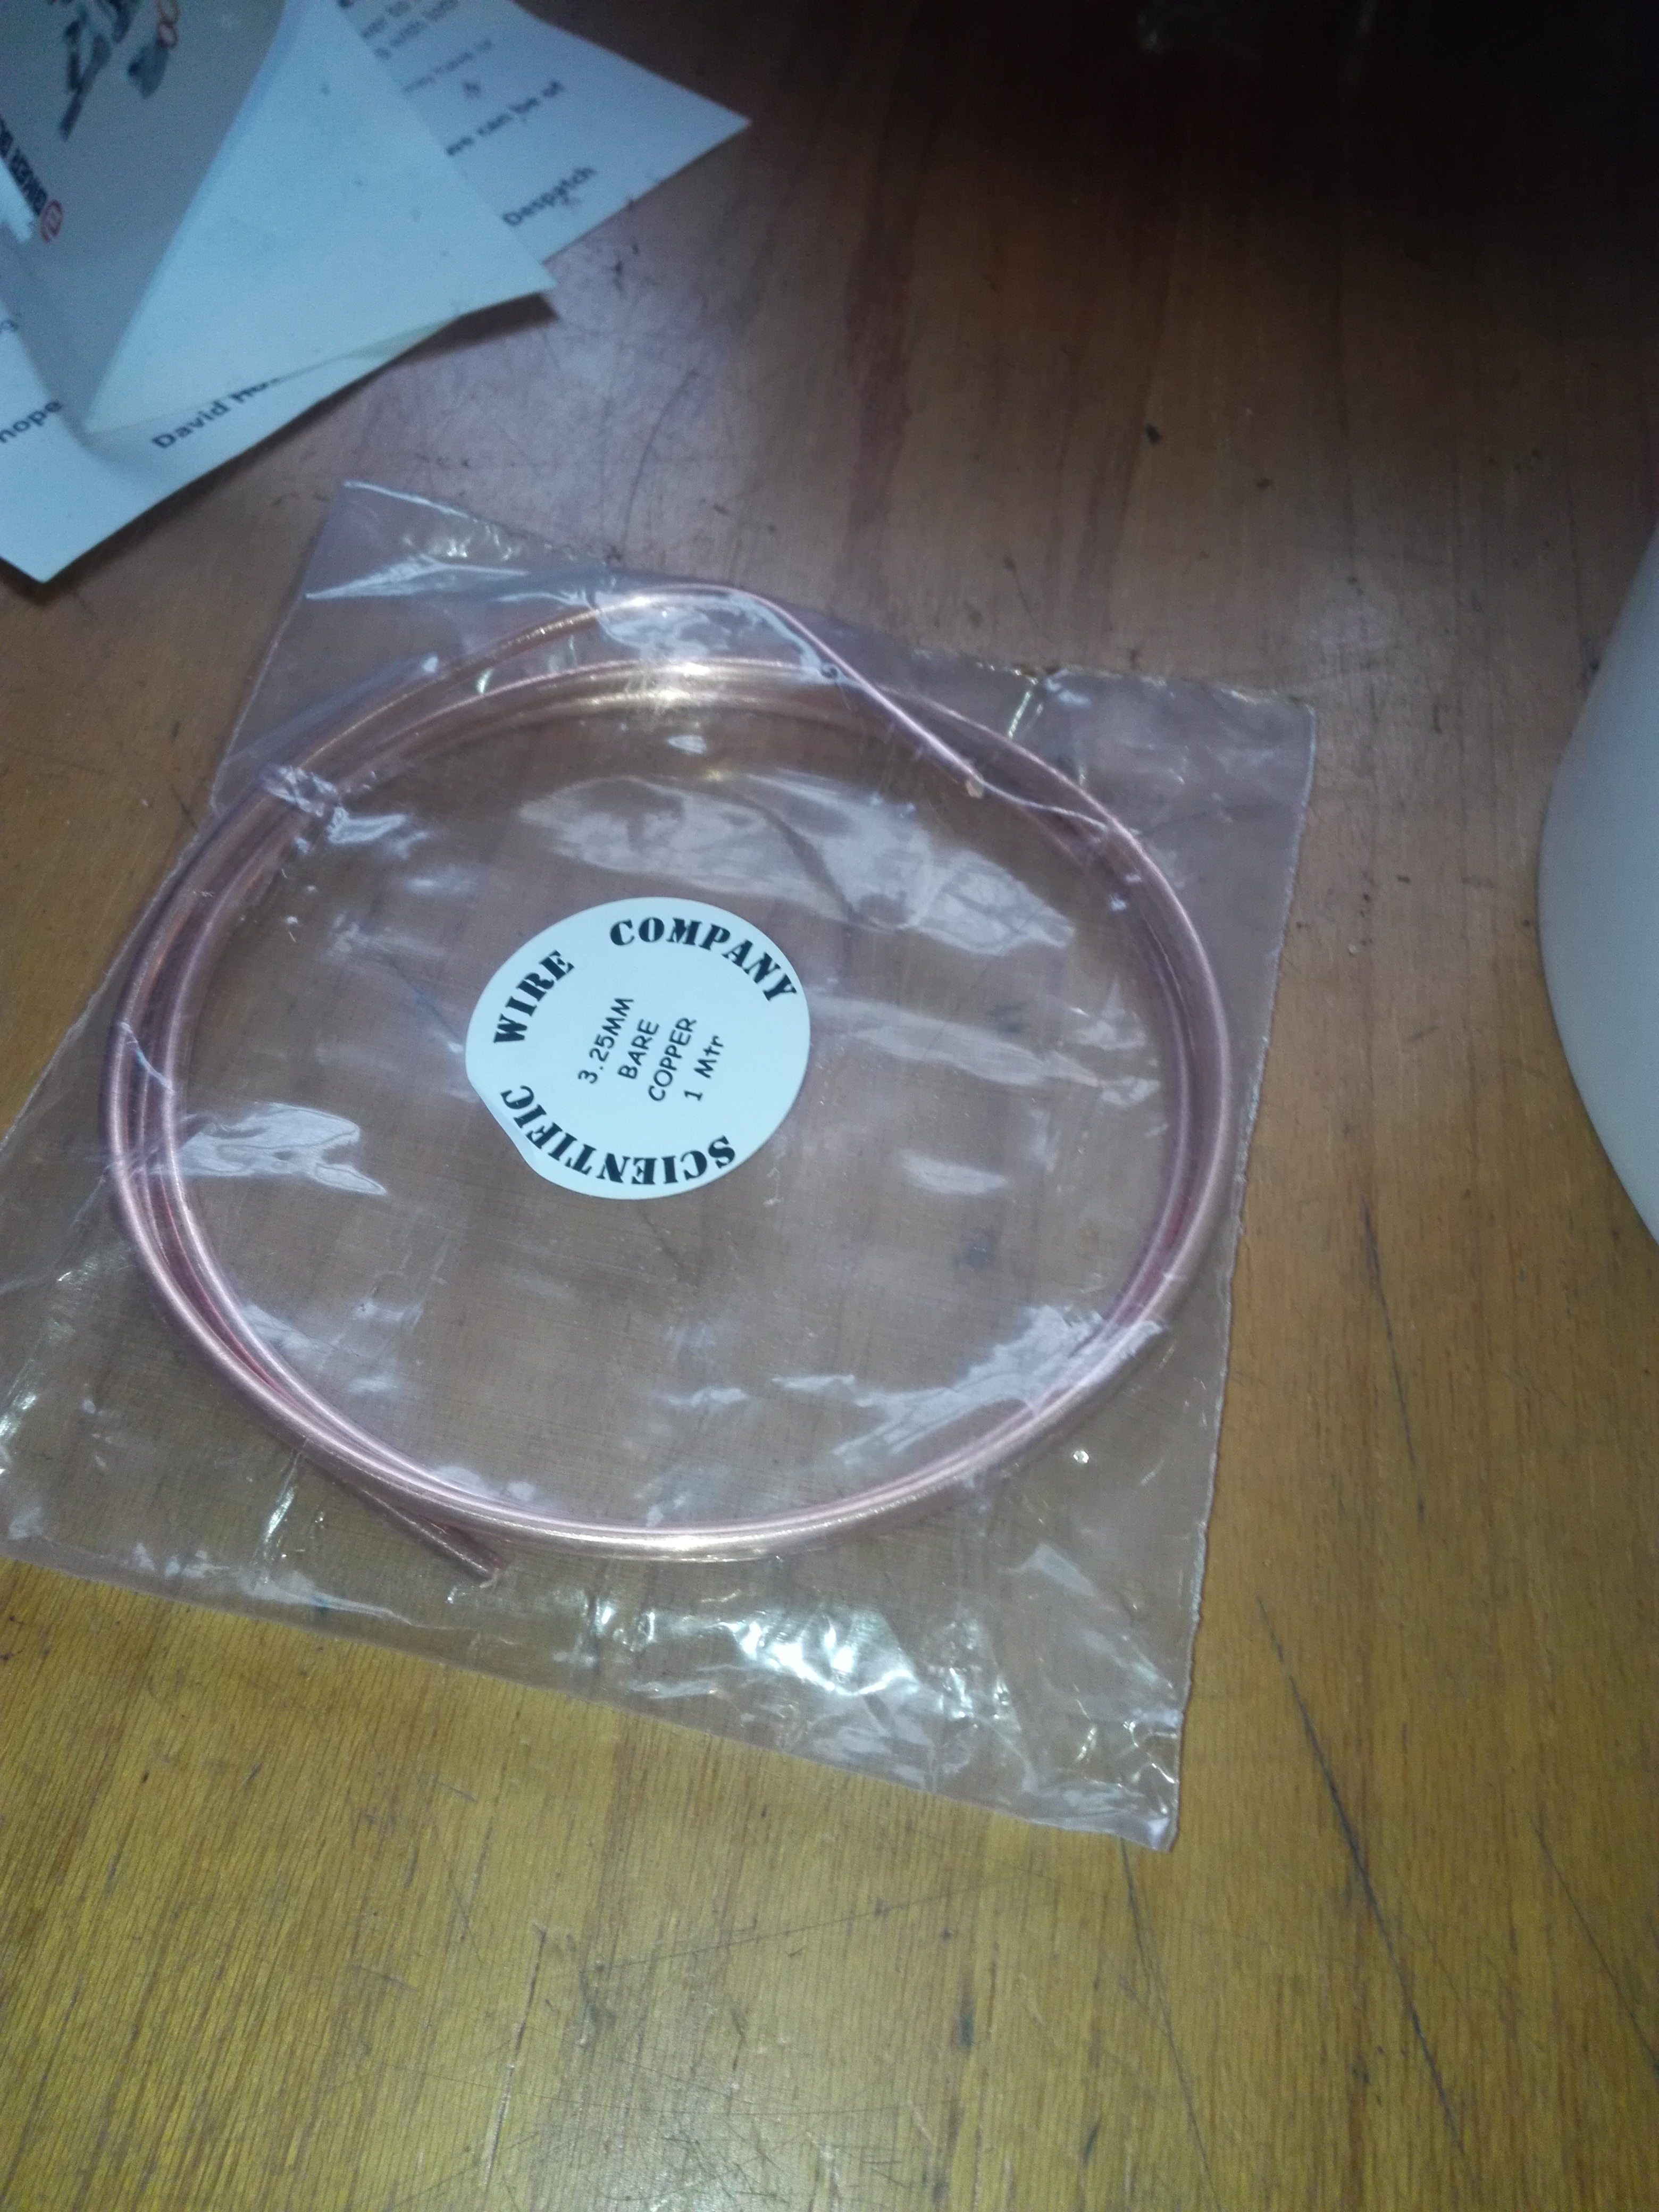
I ordered some thick copper wire to build a rack to hold the anodes with some croc clips for easy removal.

Much easier and now I can just plate what I need as I go along as it takes seconds to set the tank up.
The kit came with a very crude variable resister to limit the current and I have been using it with a 12v battery charger.
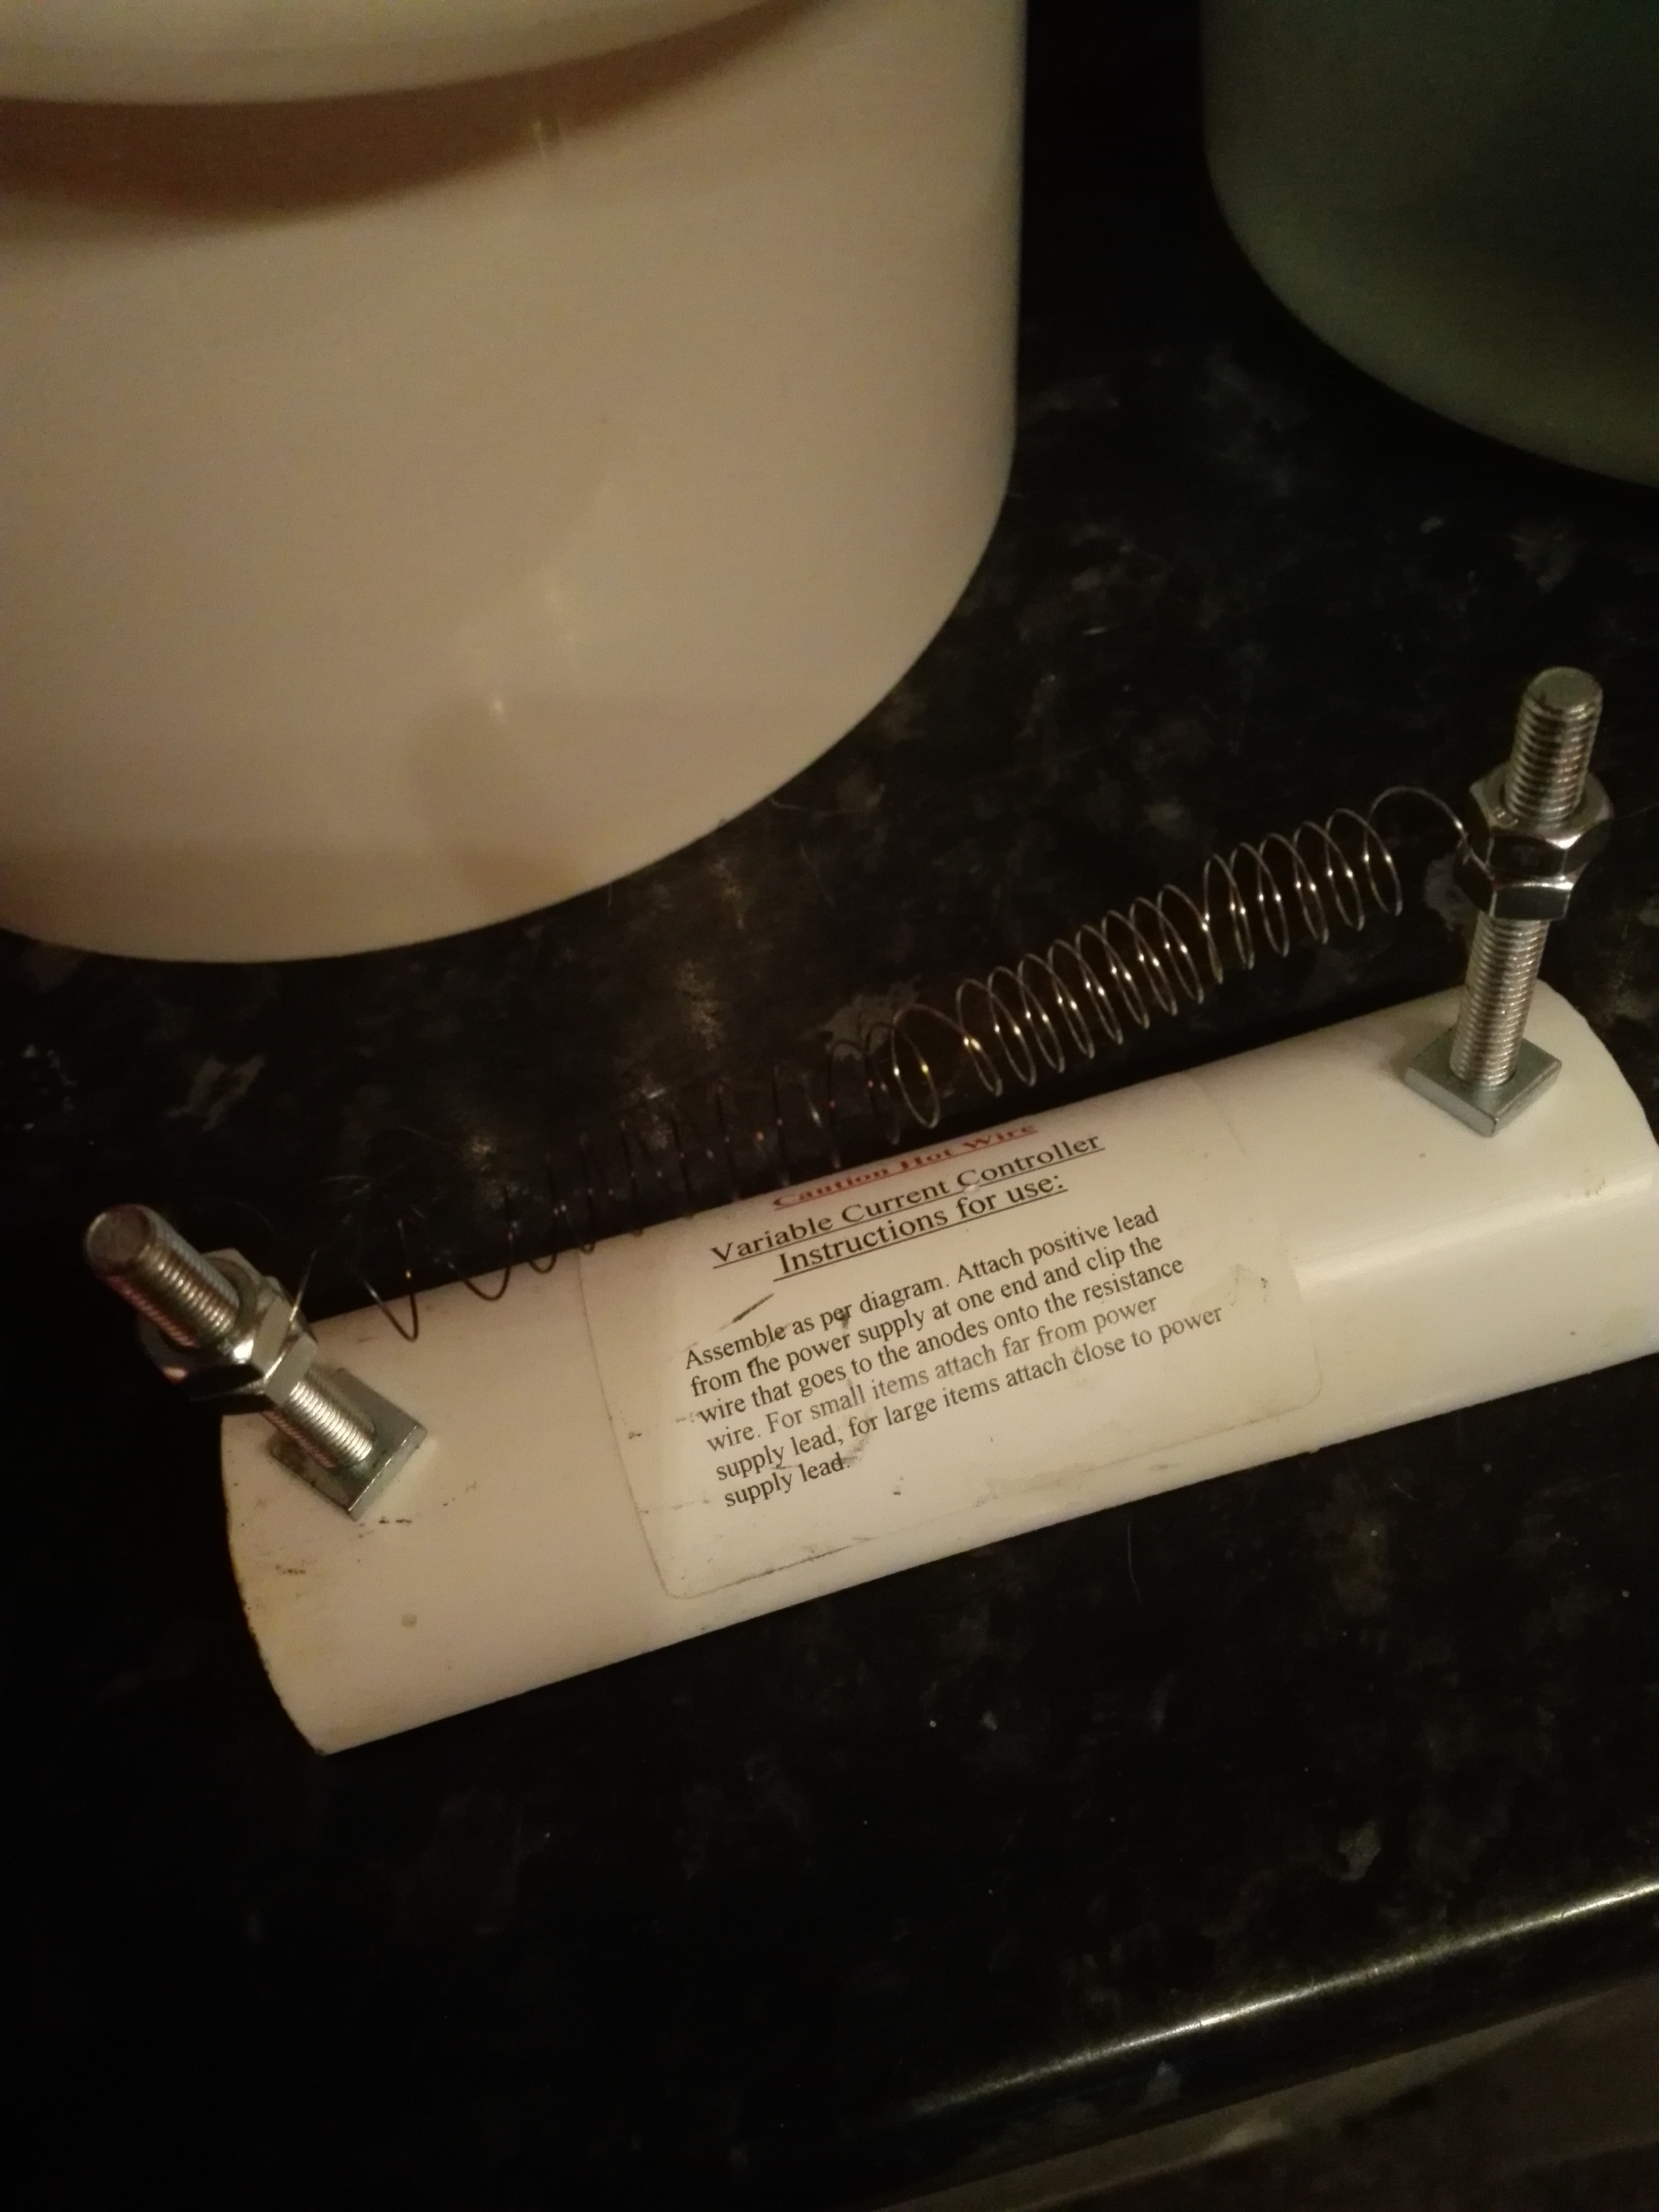
I replaced it with a cheap but very useful power supply and now the kit if working very well. I just take the lids off the various buckets, mount the rack and anodes and I’m ready to go.
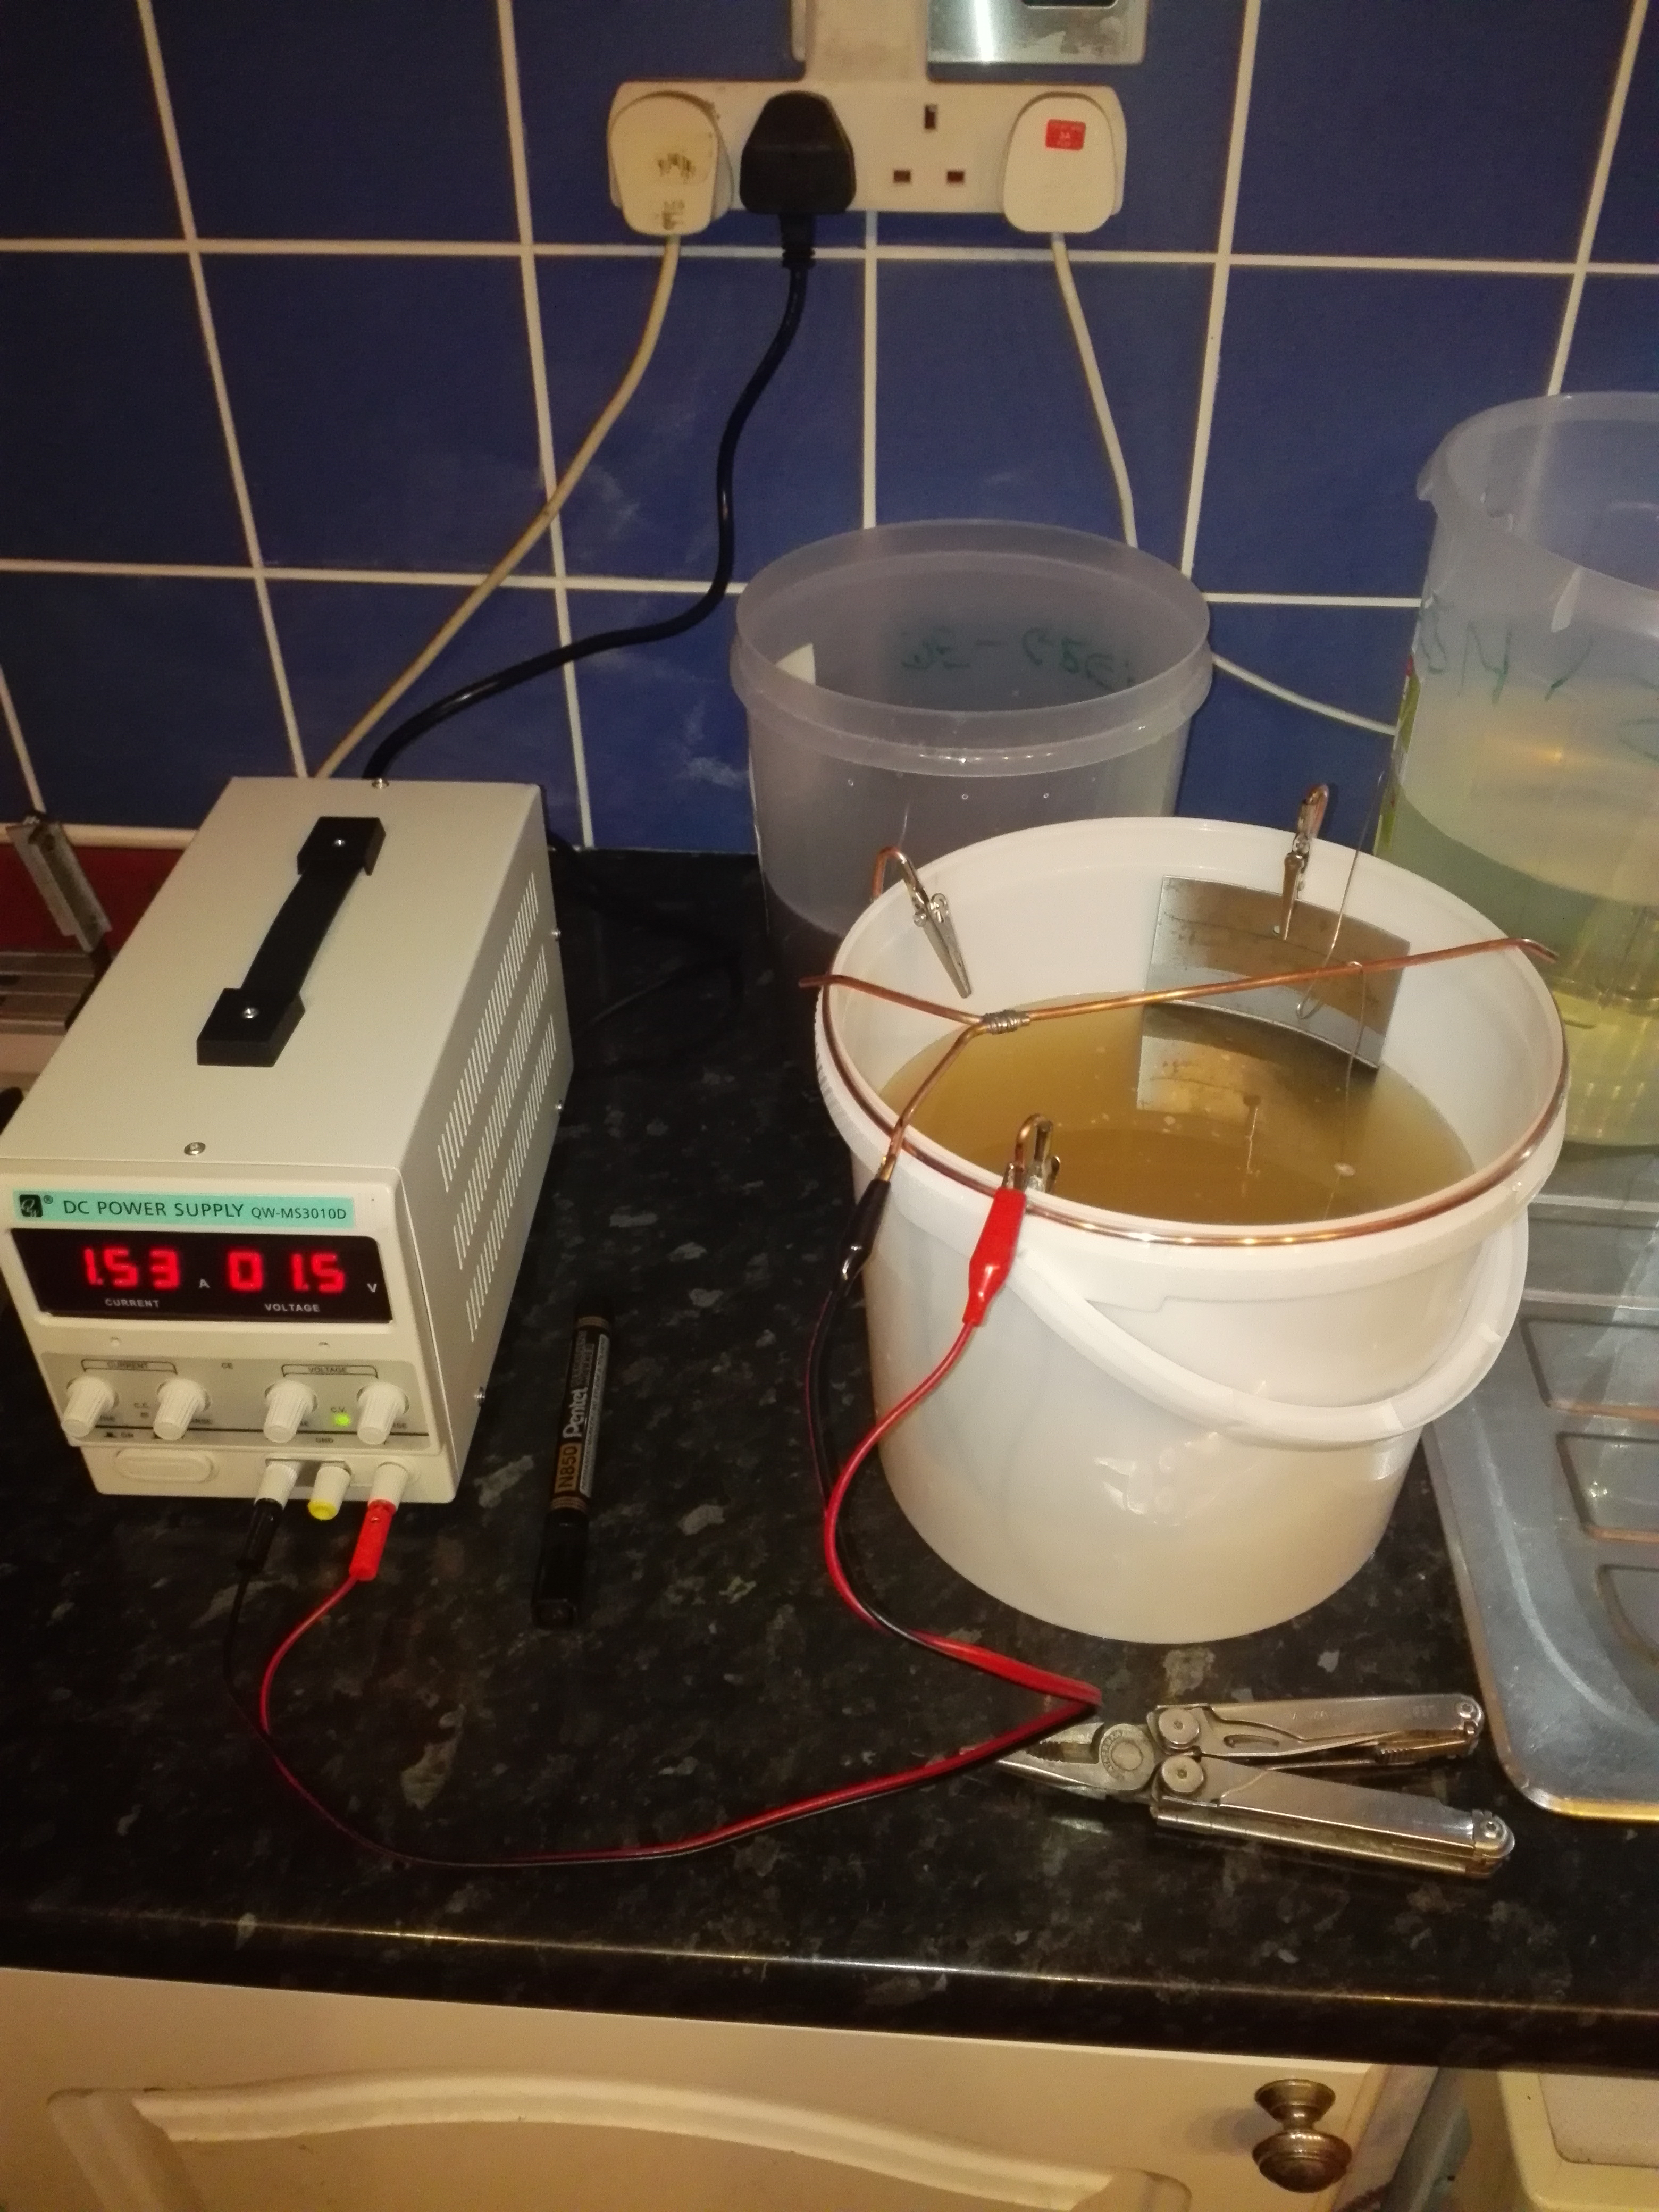
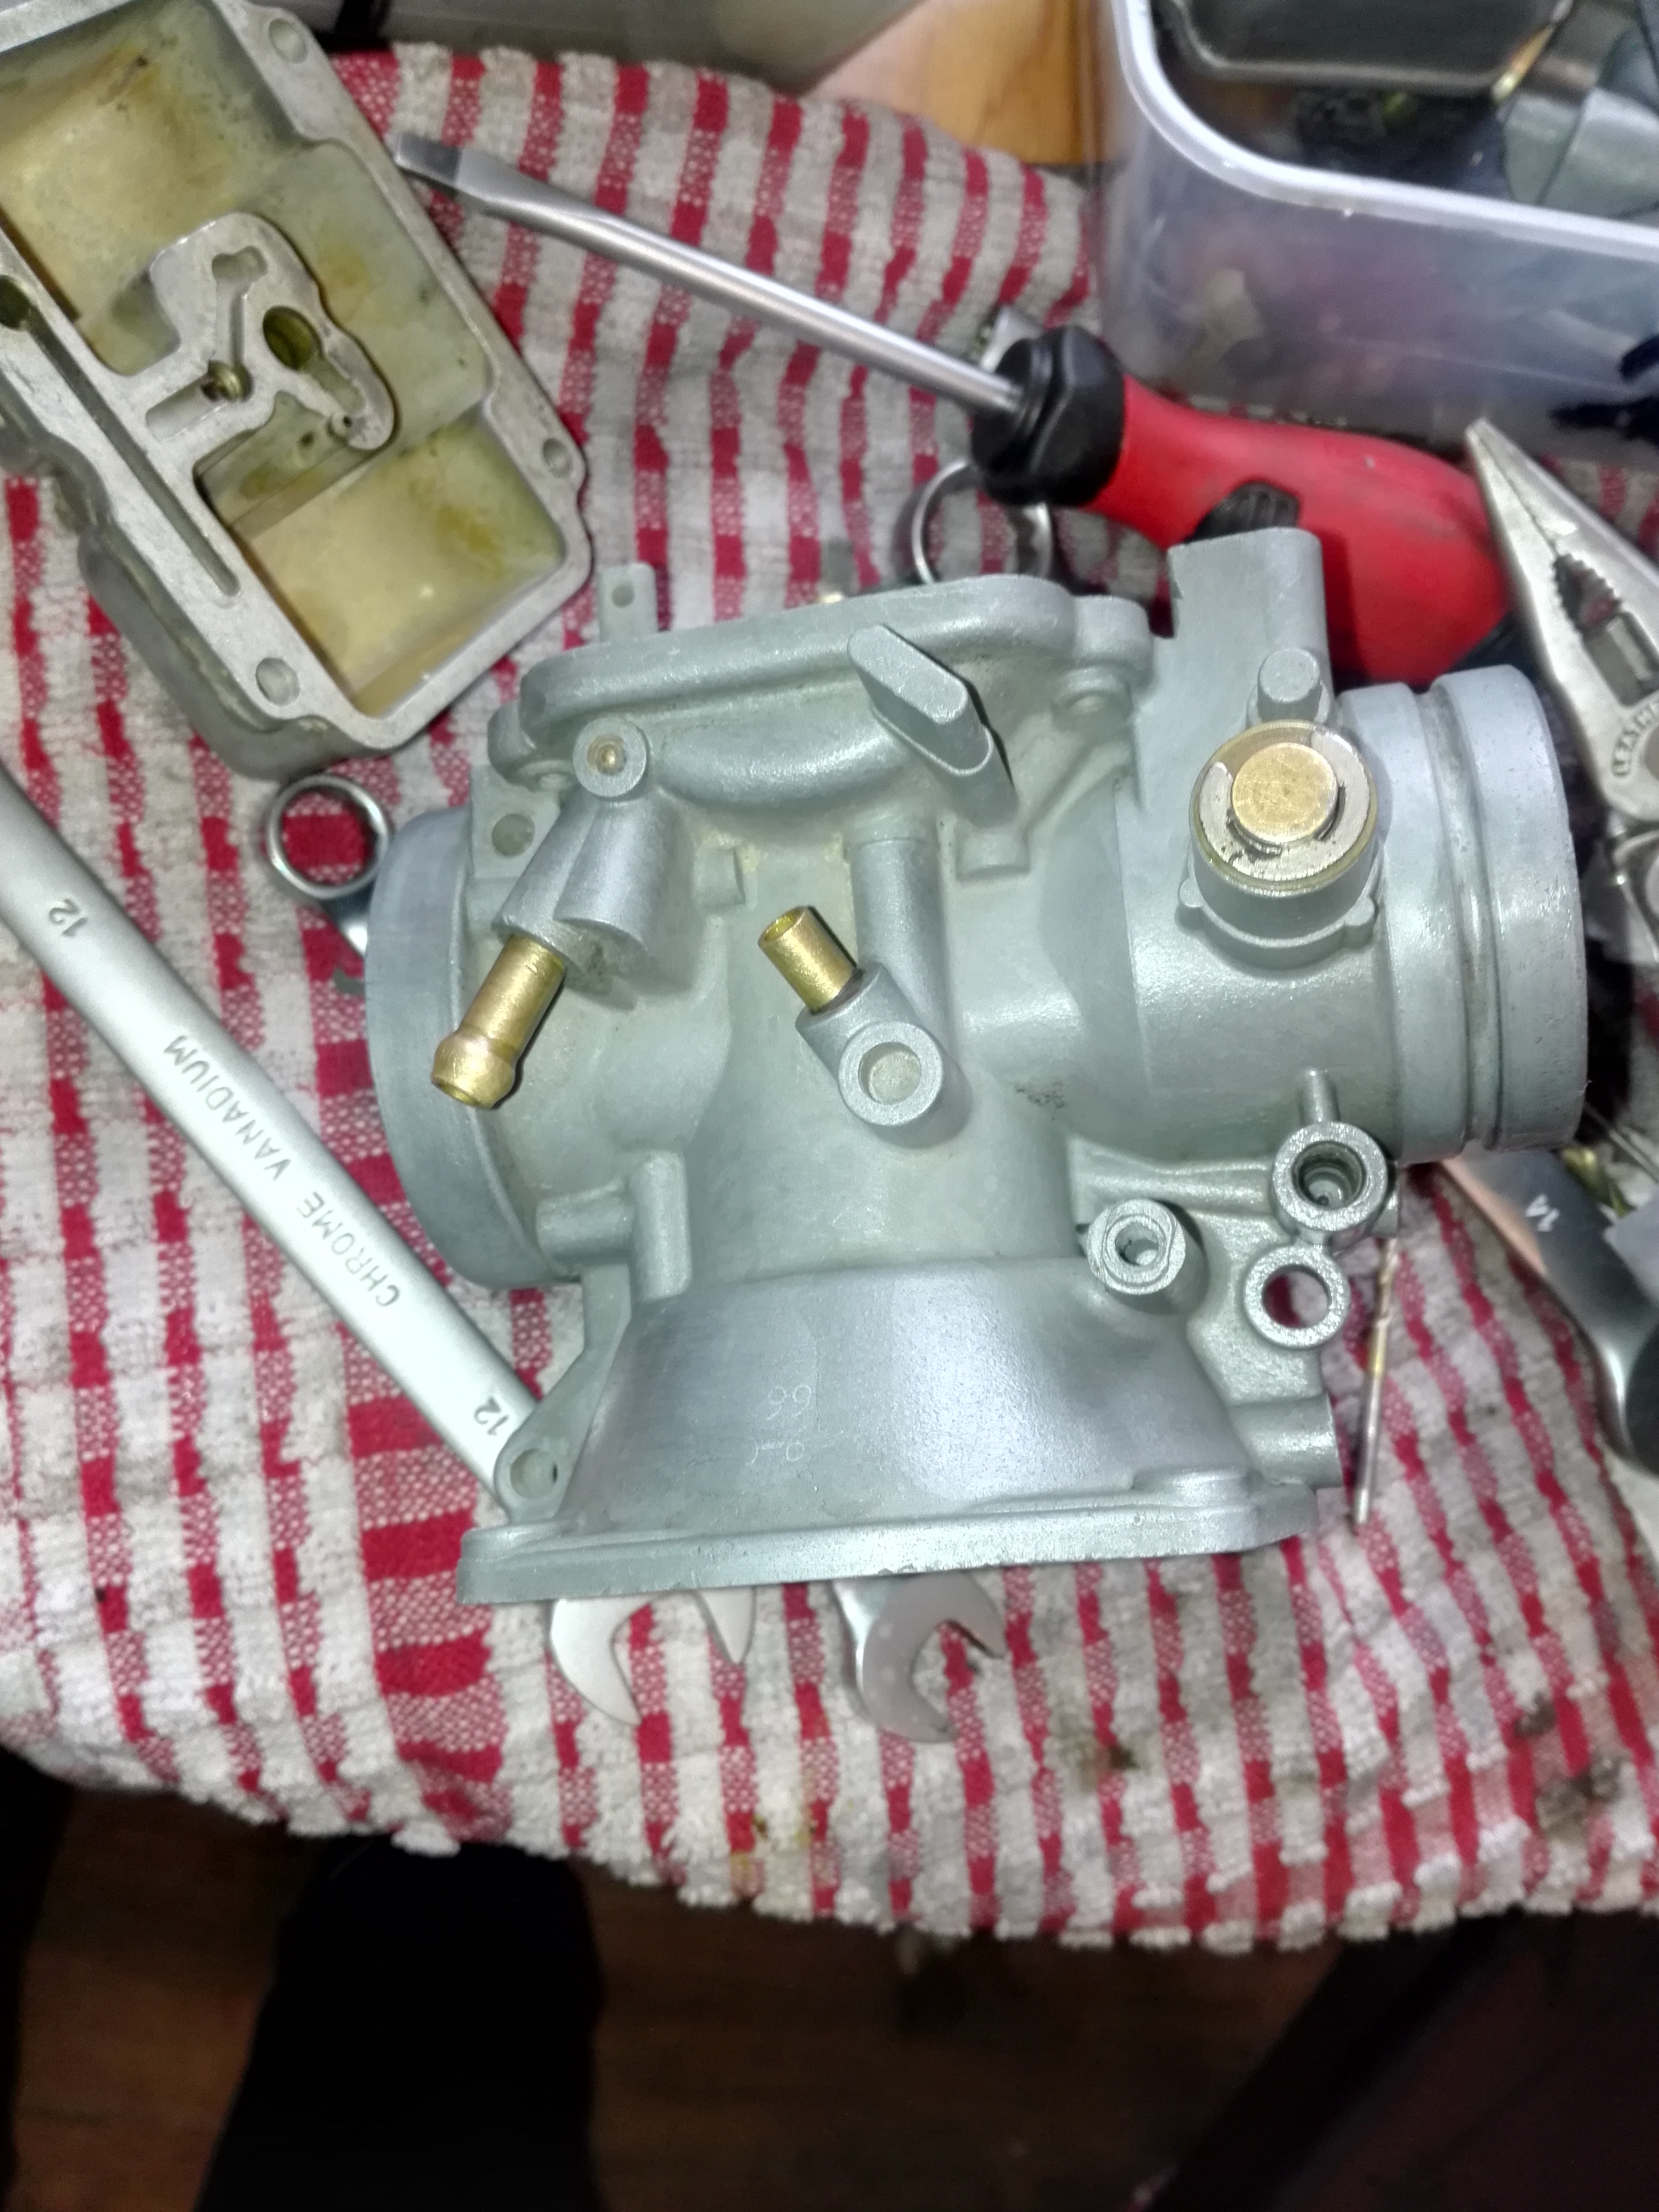
Now that it was all set up correctly I decided to do some of the carb parts I had been putting off. They came out quite good. Especially the choke lever.
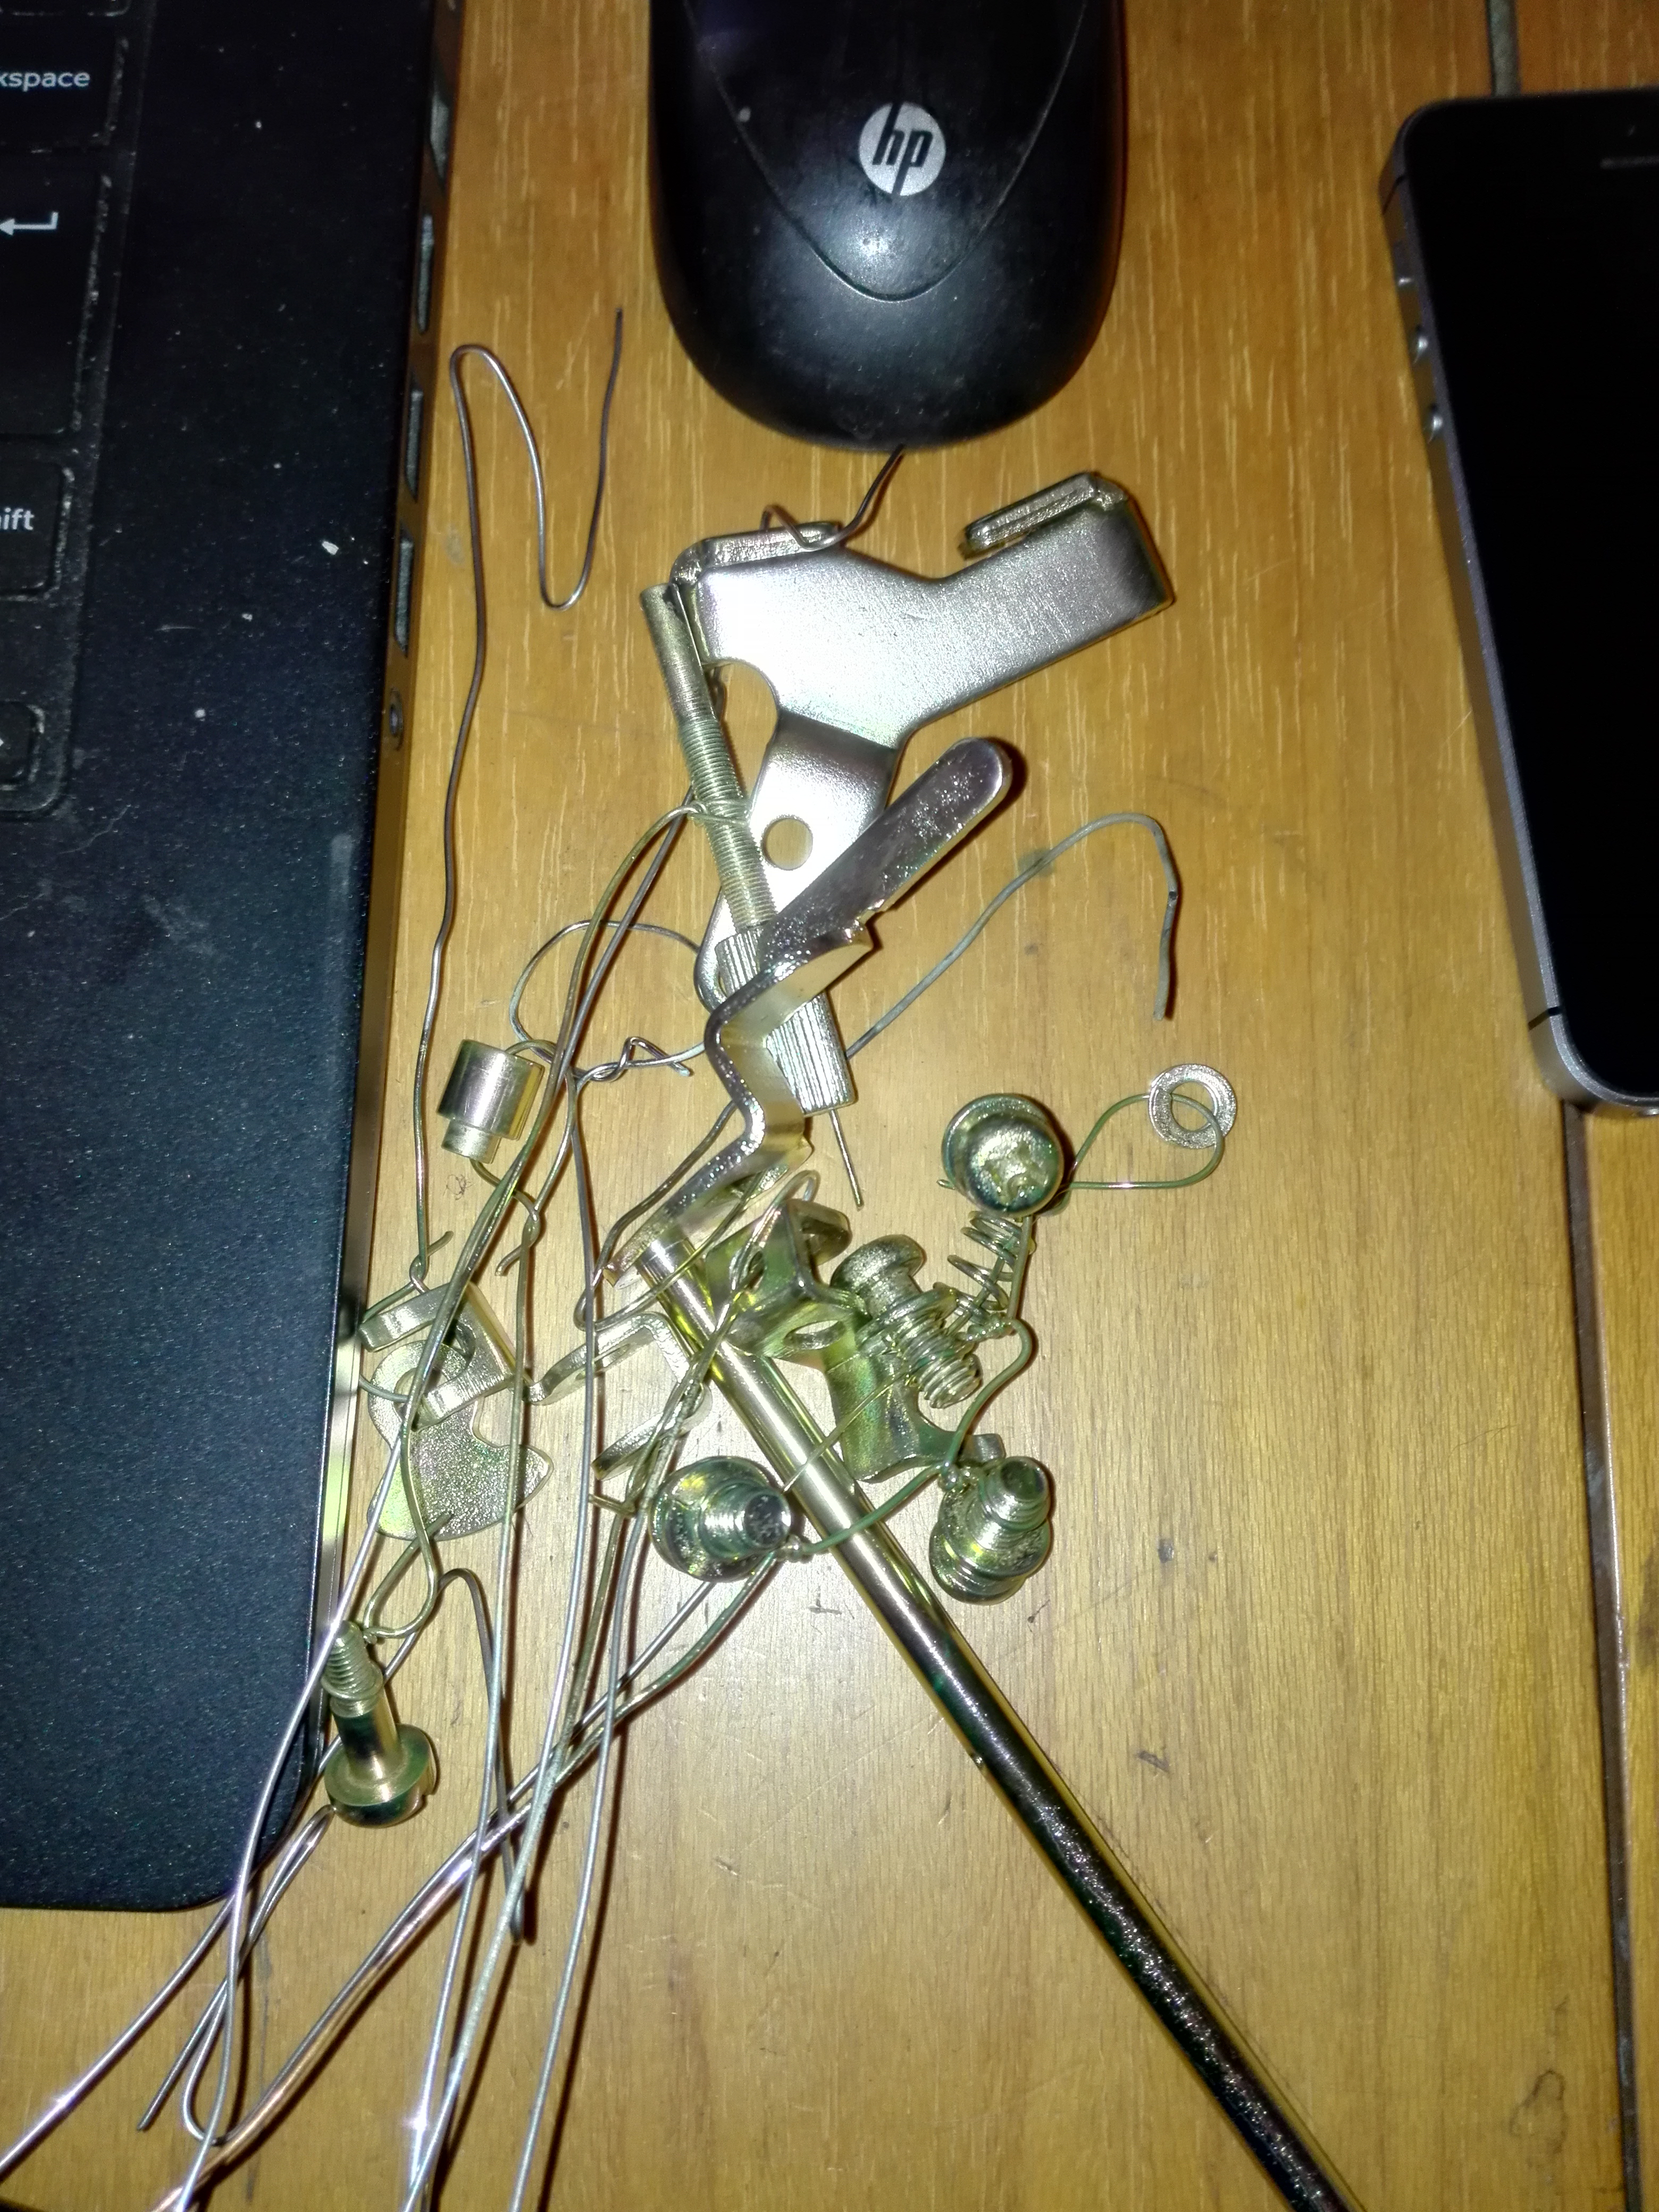

I had also been mulling over a solution for some of the chromed bits. The brake pedal is in excellent condition except for a scrape on one side. I have read that zinc wont stick to chrome so I theorized that I could plate zinc over the damaged area and then clear chromate and it should only stick where the chrome was missing.
This is the damaged area

The rest of the pedal looks good
I filed and sanded the dodgy parts and prepared them to plate

Then after plating and chromate this is the result. The zinc seems to have stuck to the chrome too. I’m guessing it will rub or flake off at some point but it should stay stuck on the damaged parts. Who knows.

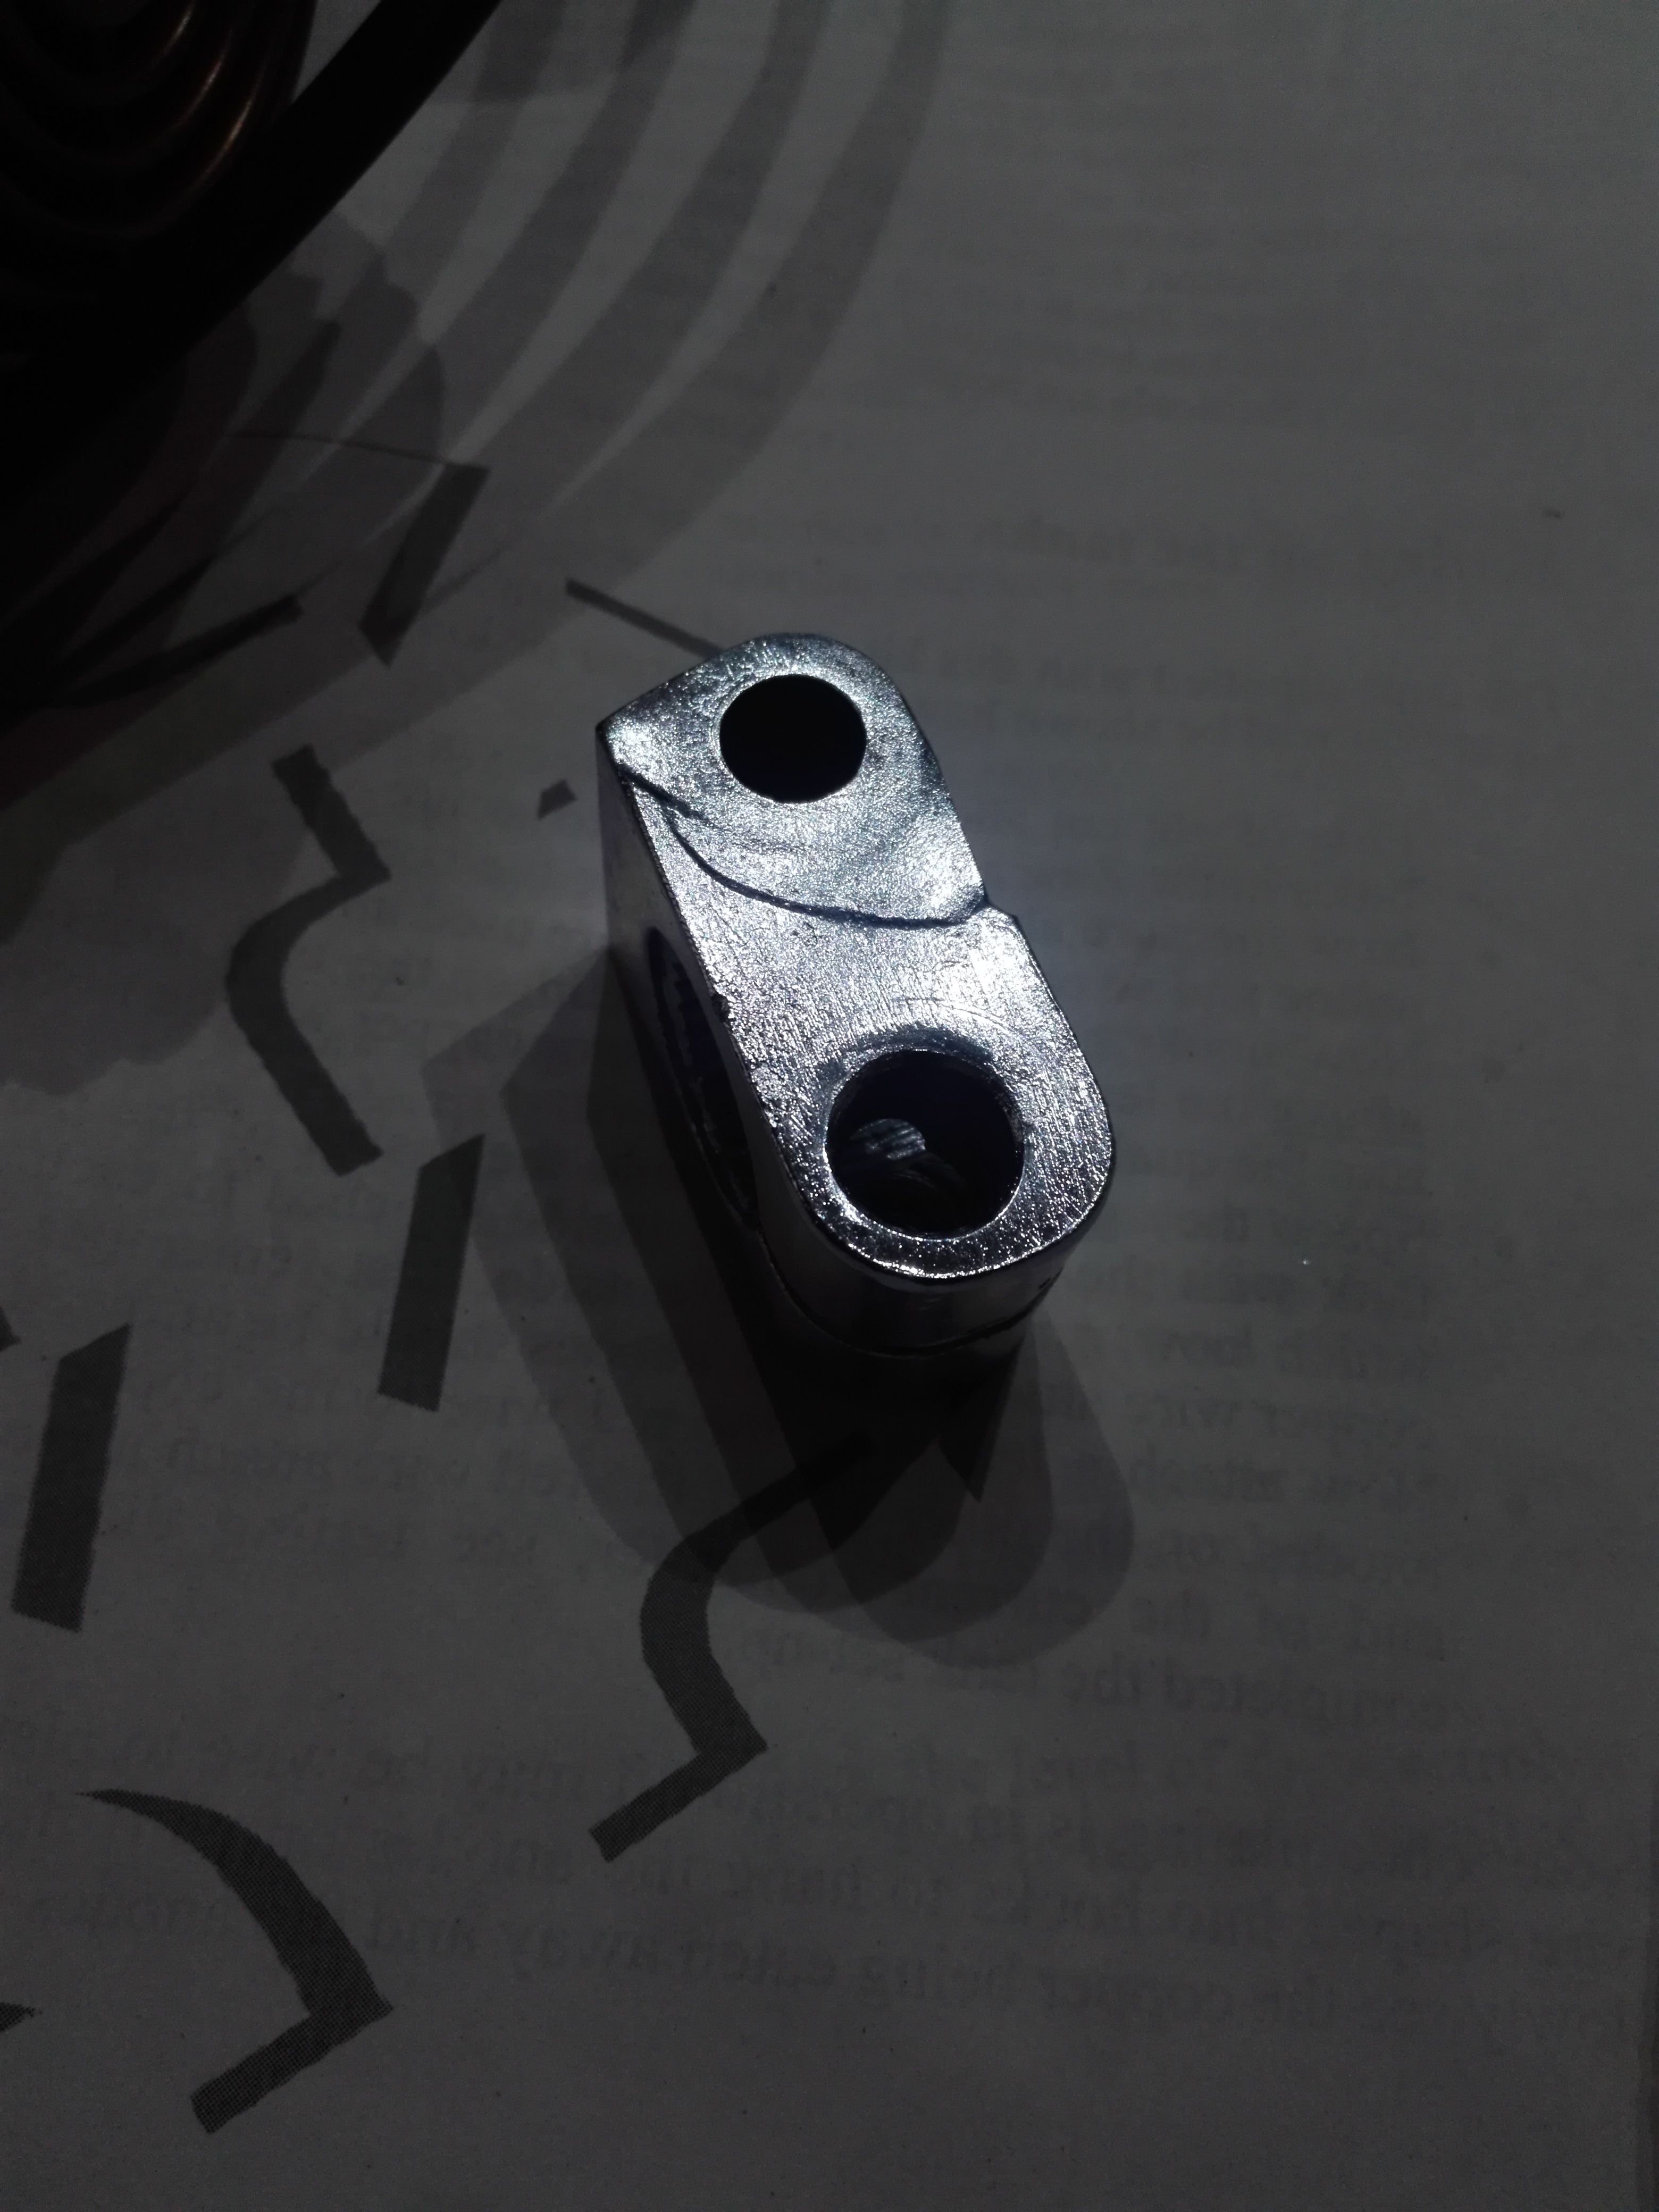
I tried the same trick on the kickstart mount and it had the same effect. This part was missing a lot of chrome but it looks acceptable now. We will see how long it lasts.

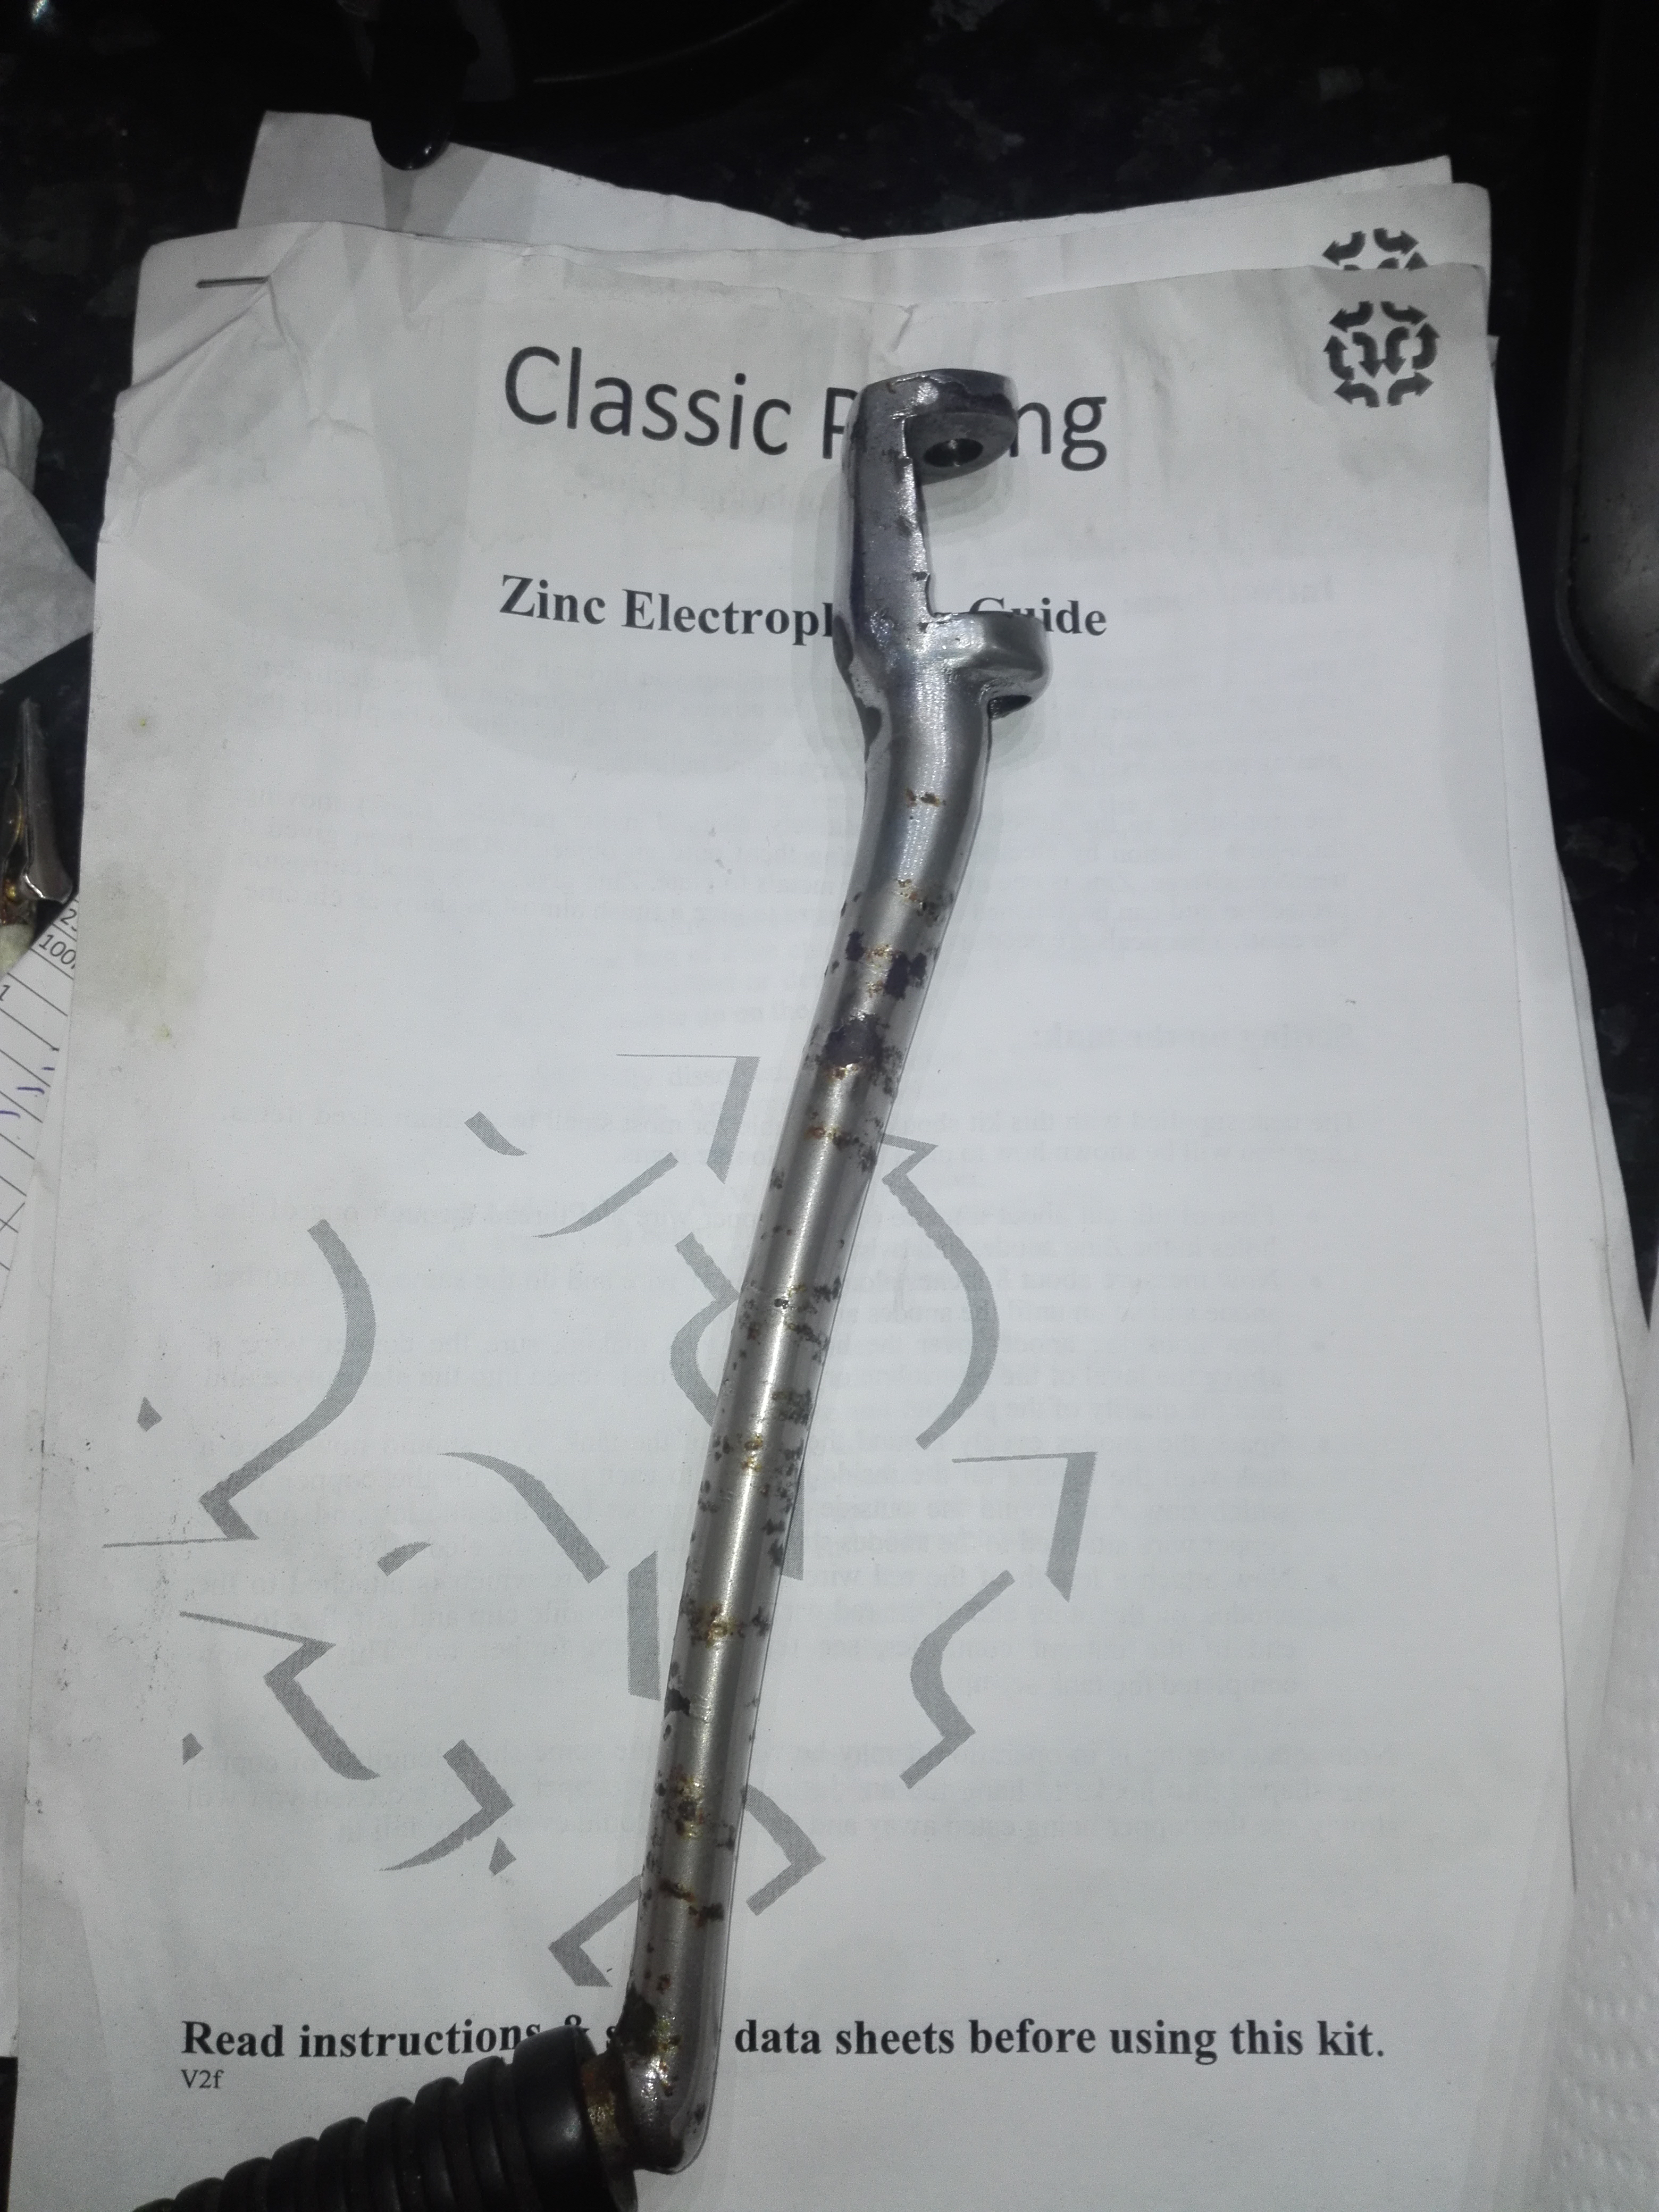
The kickstart lever got the same treatment after a lot of wire brushing. I dont have any pics after plating but I have left it outside in the weather to see what happens. I will leave it for a few weeks.

-
AuthorPosts
- You must be logged in to reply to this topic.
